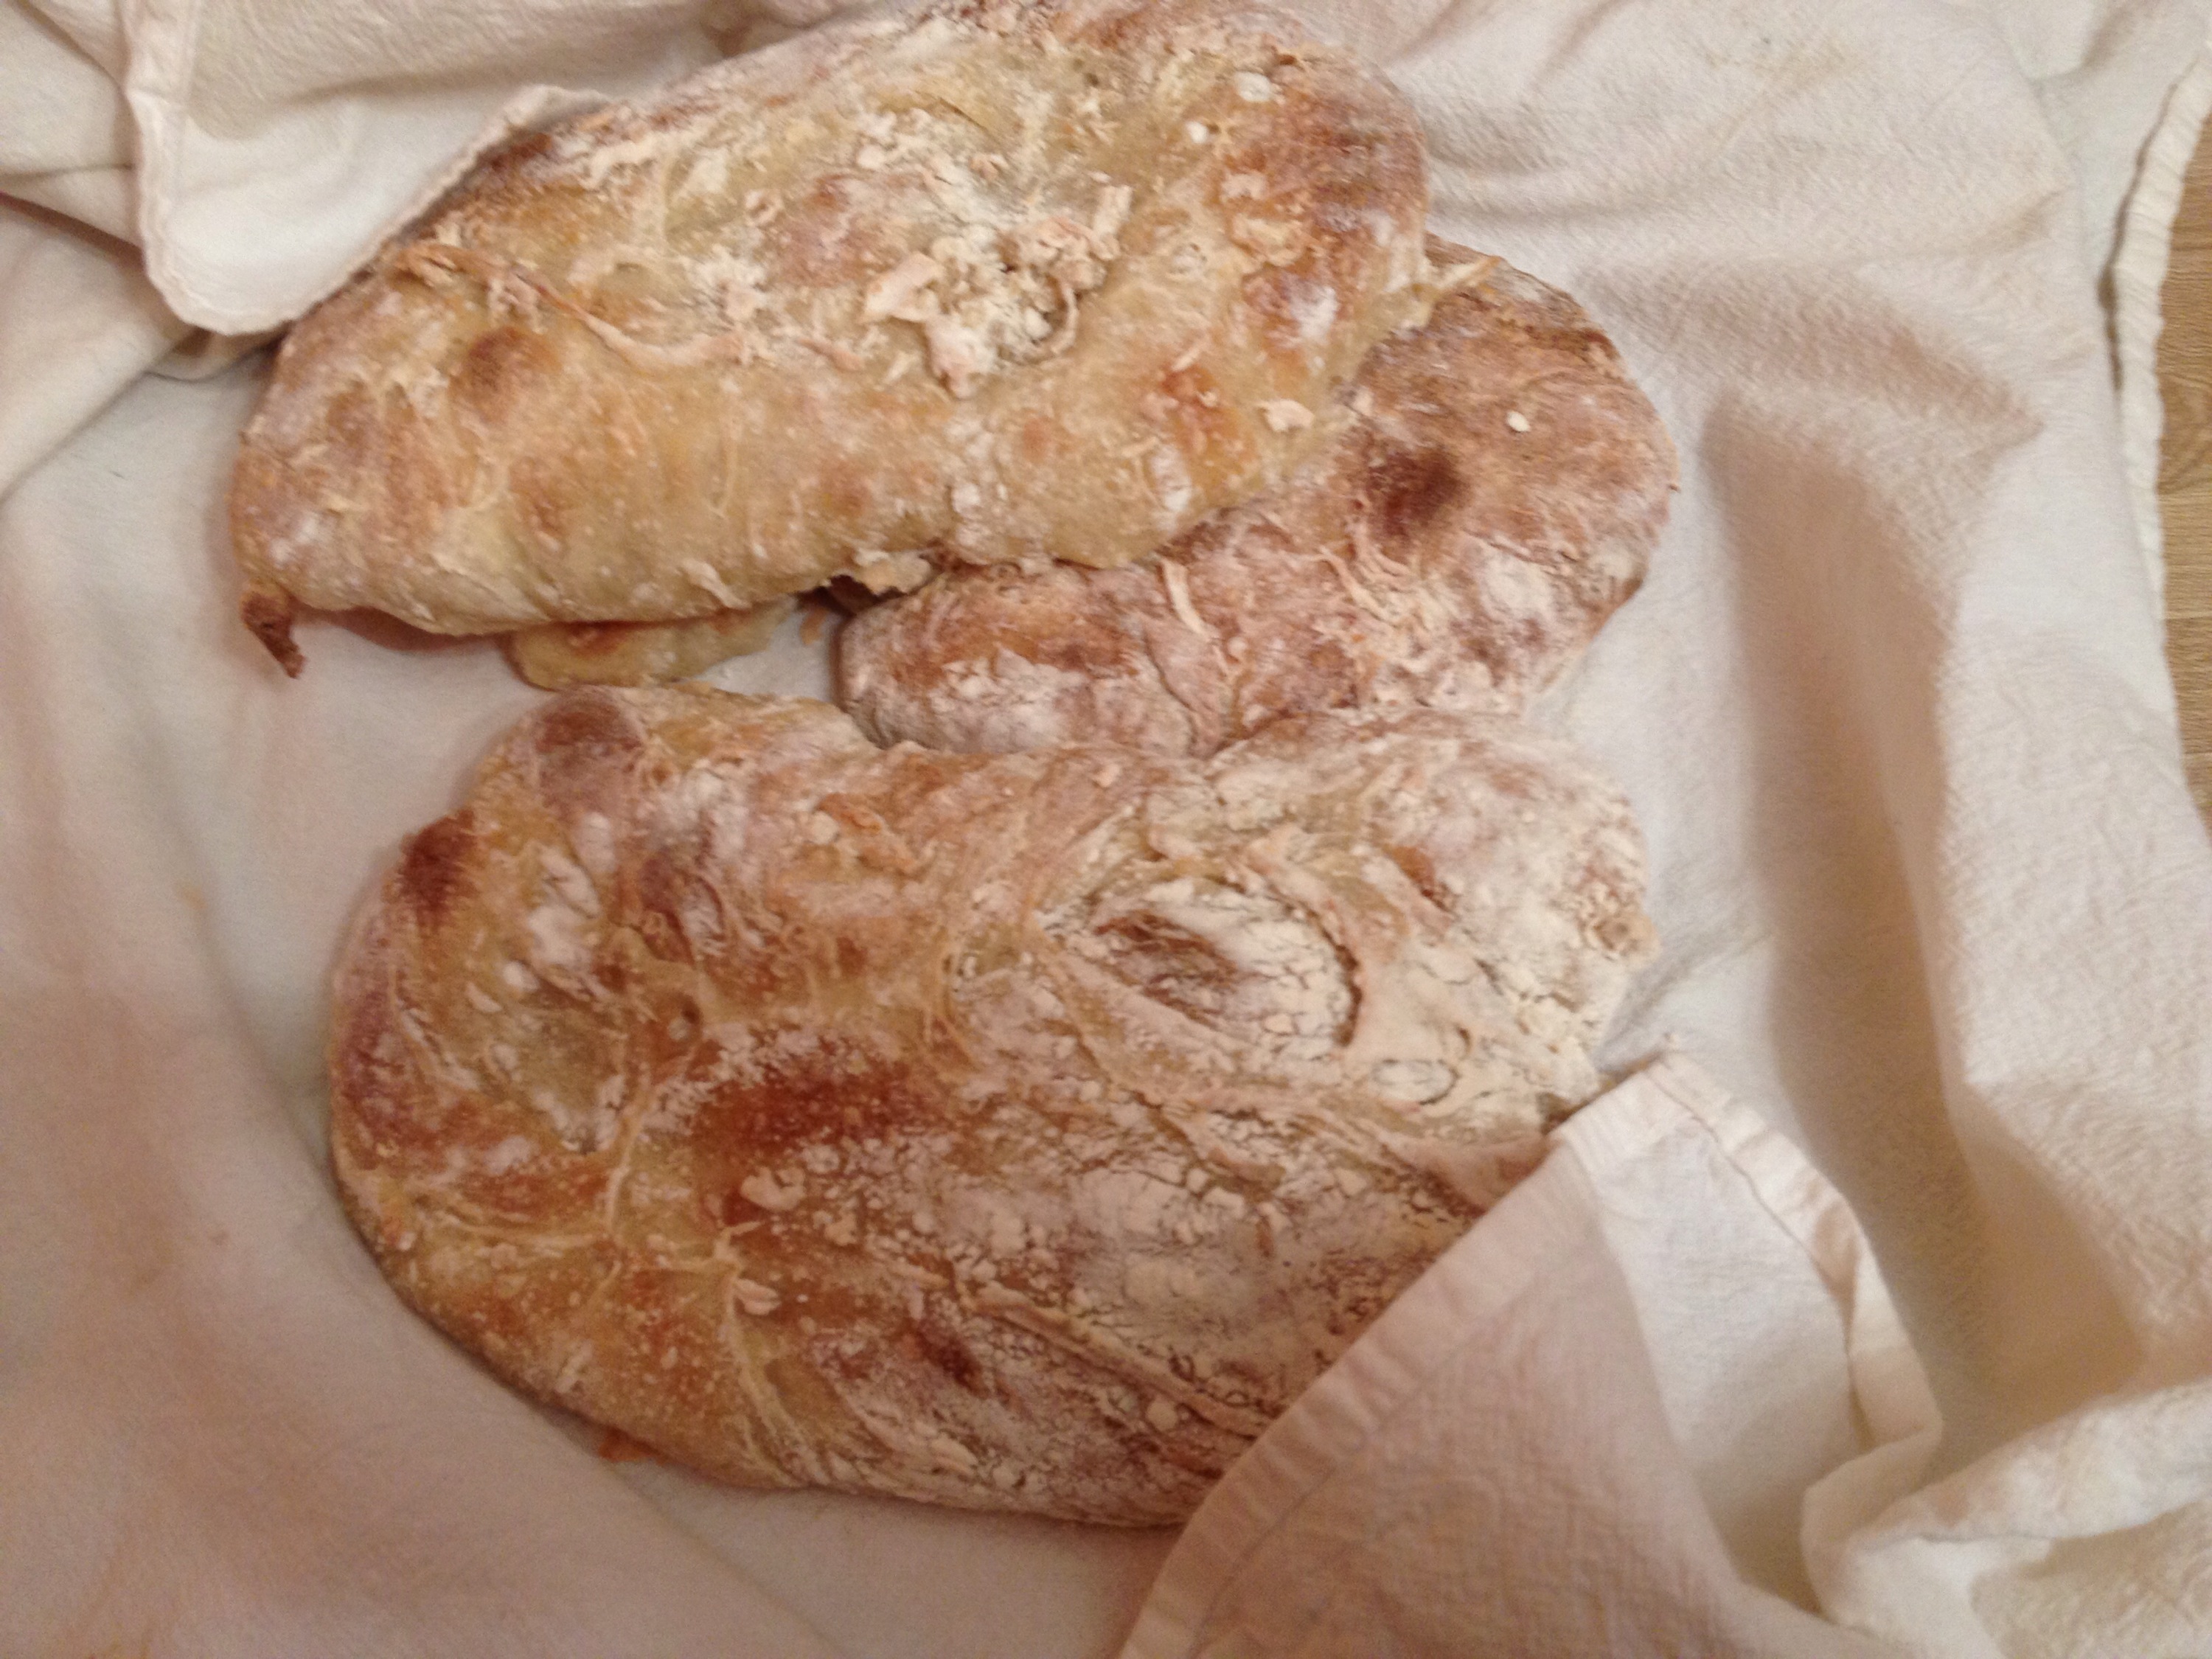
Ciabatta bread is great for panini sandwiches, dipping into soups, or just eating. This is a step into the artisan bread making, and I’ll admit that I’m not quite a true artisan just yet… I’ve attempted this recipe twice and the bread has turned out great tasting and like any bread makes the house smell great while it’s baking. While that all sounds good, I still can’t get the rise I’m hoping for with the large air bubble holes that is so iconic to a ciabatta loaf. Regardless, I like this recipe and will continue to try it again and see if I can’t improve on my form a bit.
I have a feeling one of the keys I’m missing is that I’m using store brand flour as opposed to some of the finer flours – that may be part of the issue.
One thing to note though – this recipe will create more of a glop for the dough – it’s not the traditional dough ball you may be familiar with. I’ve found this makes a bit of a mess in the kitchen, but it’s worth it. It should be a bit gloppier than some other doughs.
Recipe
1 2 3 4 5 | 500g (3 1/2 cups) bread flour 475g (2 cups) warm water 0.2 ounces (2 teaspoons) active dry yeast 15g (1 teaspoon) salt |
- Using a stand mixer, put all the dry ingredients into the bow and begin to mix on slow with the paddle.
- Slowly pour in the water.
- Mix until all the ingredients are combined.
- Turn the mixer off and let it rest for 10 minutes.
- Continue to mix on slow with the paddle for 10 to 30 minutes. The dough will be a bit more of a batter at this point. The dough should come together a bit more as you mix (knead) it. You may want to switch to the dough hook at some point as well as it thickens up.
- If the dough is not coming together, you may need to add more flour, adding a tablespoon at a time up to about 1/2 cup additional.
- Transfer the dough to a bowl lined with olive oil and cover with a lid or cling wrap. Let the dough rise until it triples in size – this should take about 2 1/2 hours or more.
- Flour a work surface and transfer the dough from the bowl to the surface. It may still be a bit of a glop as opposed to a dough, but that’s ok. Ensure your hands are well floured to try and reduce the mess.
- Using a dough scraper, cut the dough into 4 even pieces and start to form the rectangular shaped ciabatta loaves.
- Let the loaves proof for about 45 minutes. This should allow for more air bubbles to form and the loaves may rise a bit more.
- Preheat the oven to 500°F, warming a pizza stone at the same time.
- Once the loaves are done proofing, it’s time to transfer them to the hot stone. This takes a bit of effort as the stone is hot, the loaves are still sticky and gloppy. And to make it a bit tougher, you want to flip the loaves when you move them to redistribute the air bubbles a bit. To do this, I flour the dough scraper, work it around all the edges of the loaves on the work surface, and use it to scoop up the loave and flip onto the hot stone. Use the scraper to do any last shaping of the loaf if needed.
- Bake for 15-20 minutes. The loaf should have a nice toasted brown / tan color.
- Enjoy!
Reference
http://www.thefreshloaf.com/node/2984/jasons-quick-coccodrillo-ciabatta-bread
