With the upcoming birth of our twin boys (yes – I said twin boys. In addition to our 2 year old son that is) we have a need for an additional changing table. We already have a free-standing version that is in our sons room, but for the twins a dresser mounted version is what we are after.
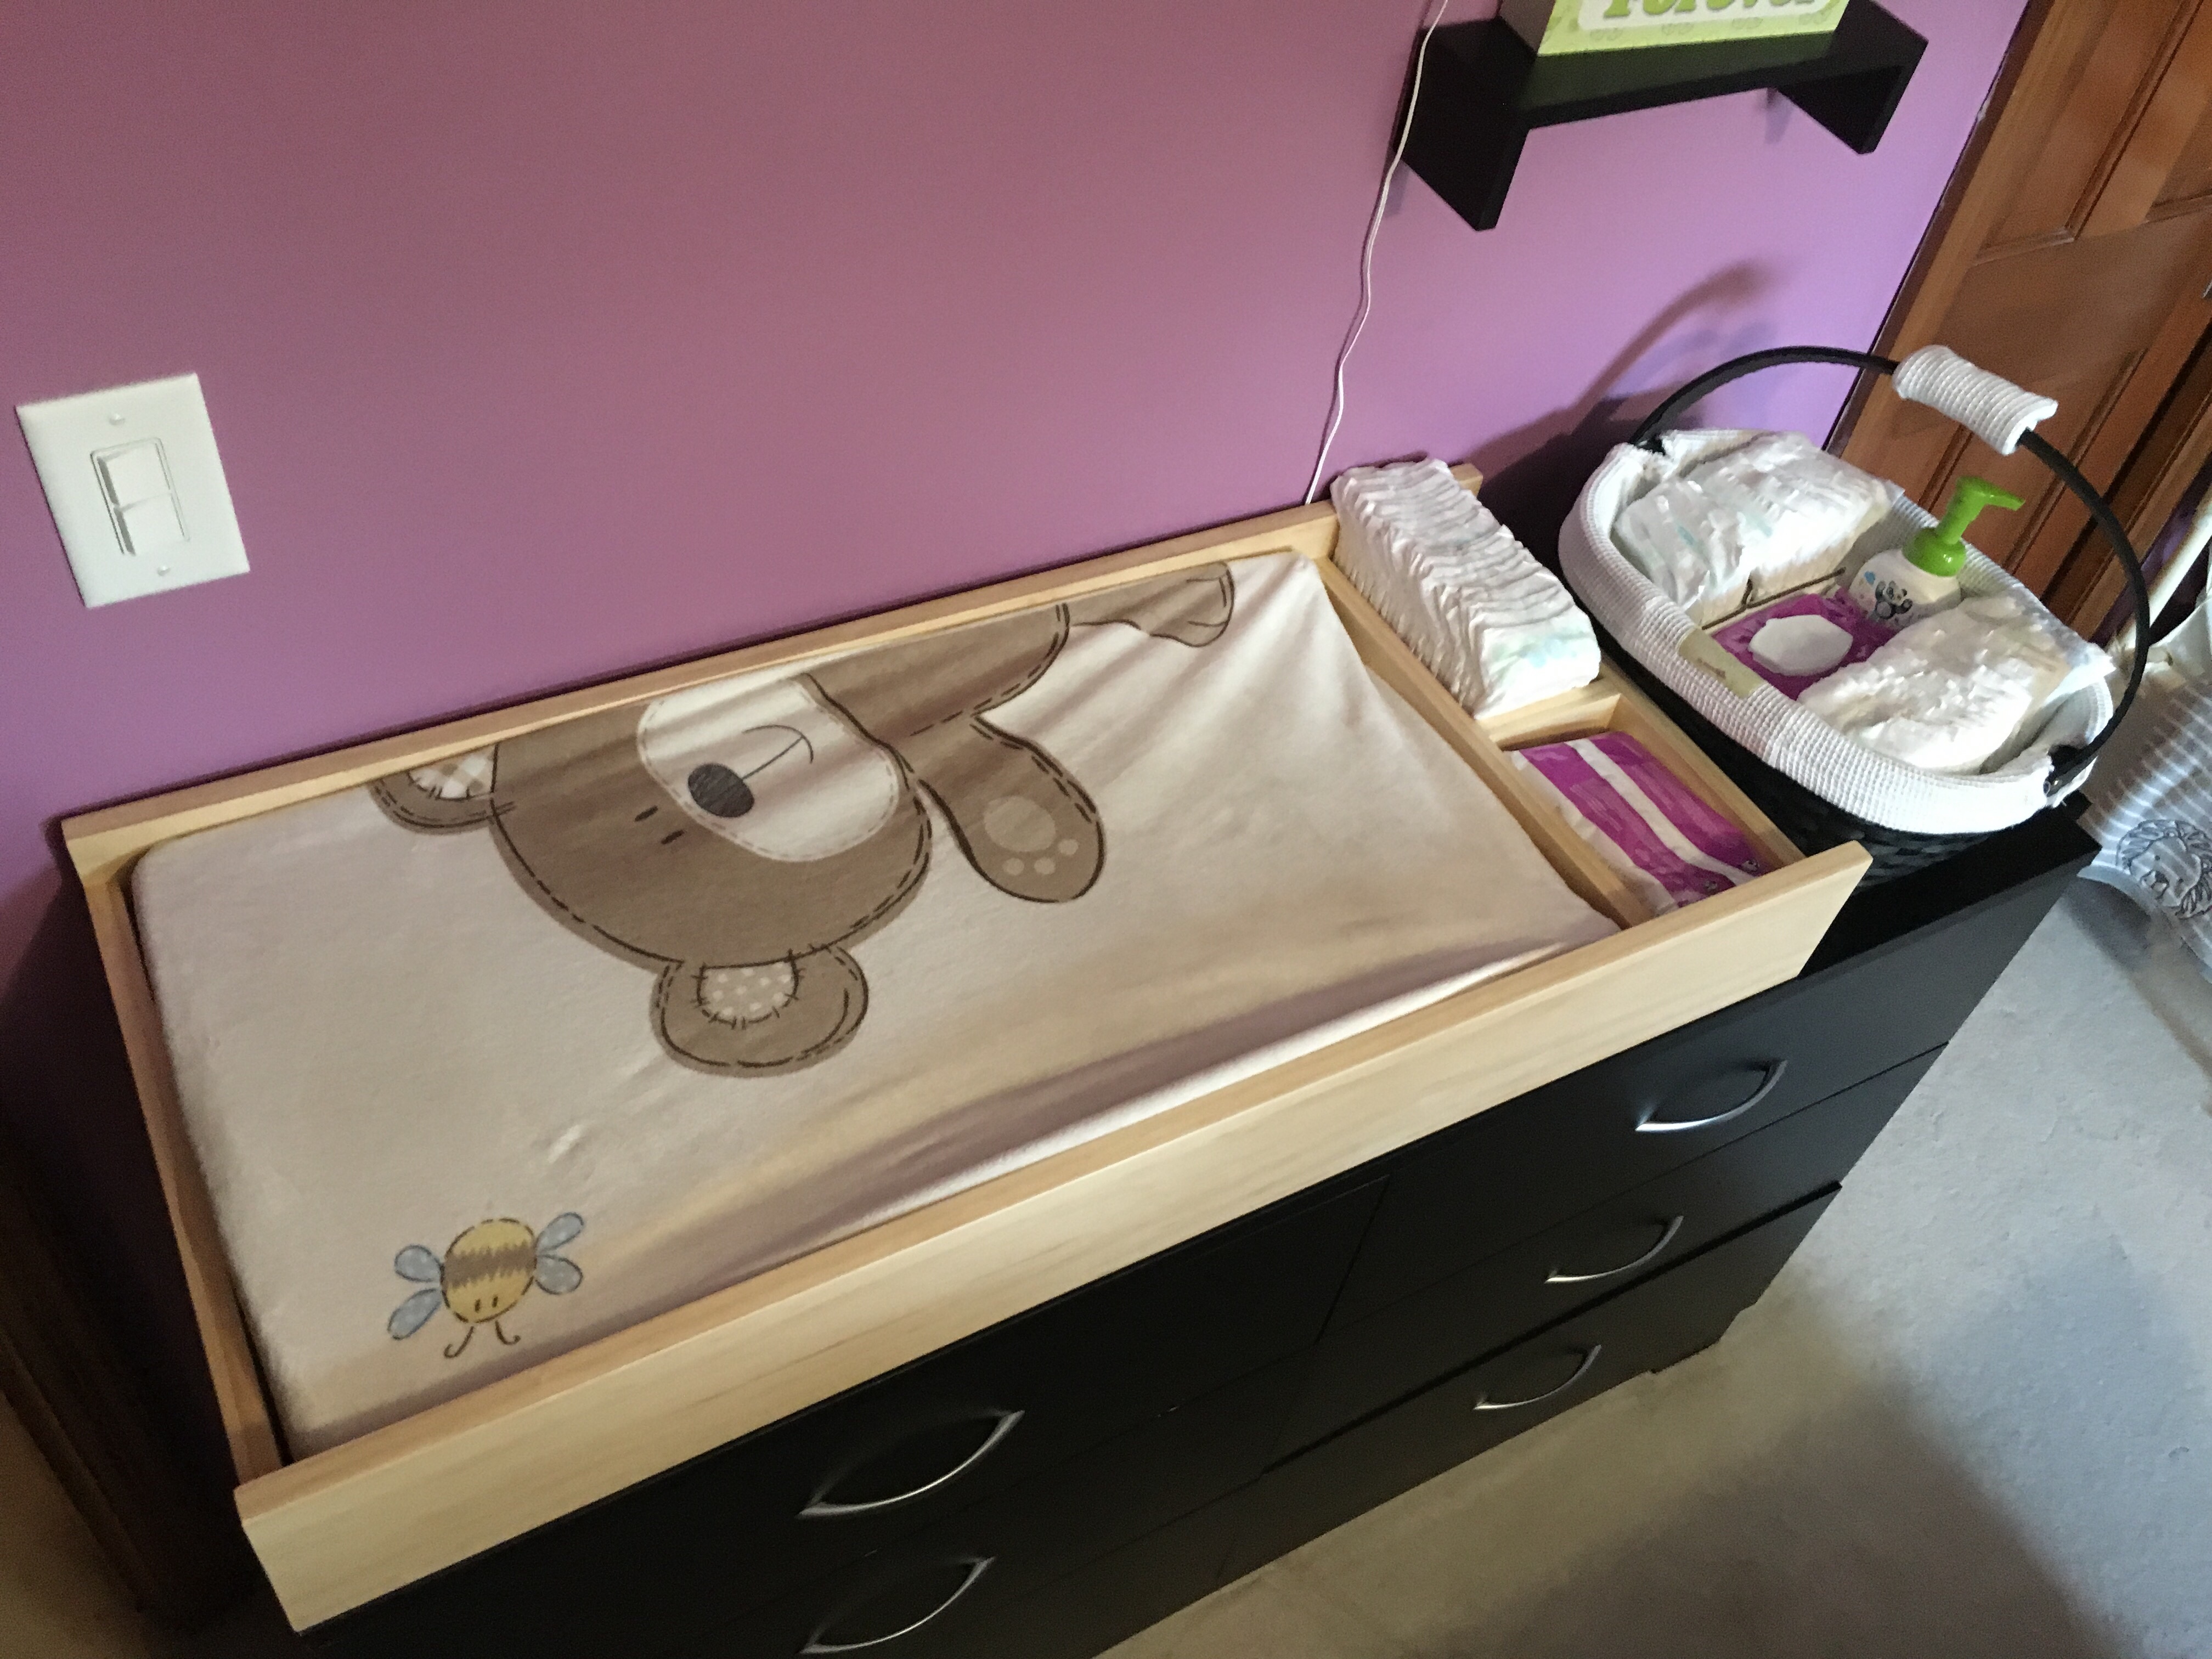
This style of changing table isn’t anything new or earth shattering. But as I often find the options in the marketplace are more expensive than I feel they should be, not built as well as I feel they should be, and quite frankly – aren’t built by me!
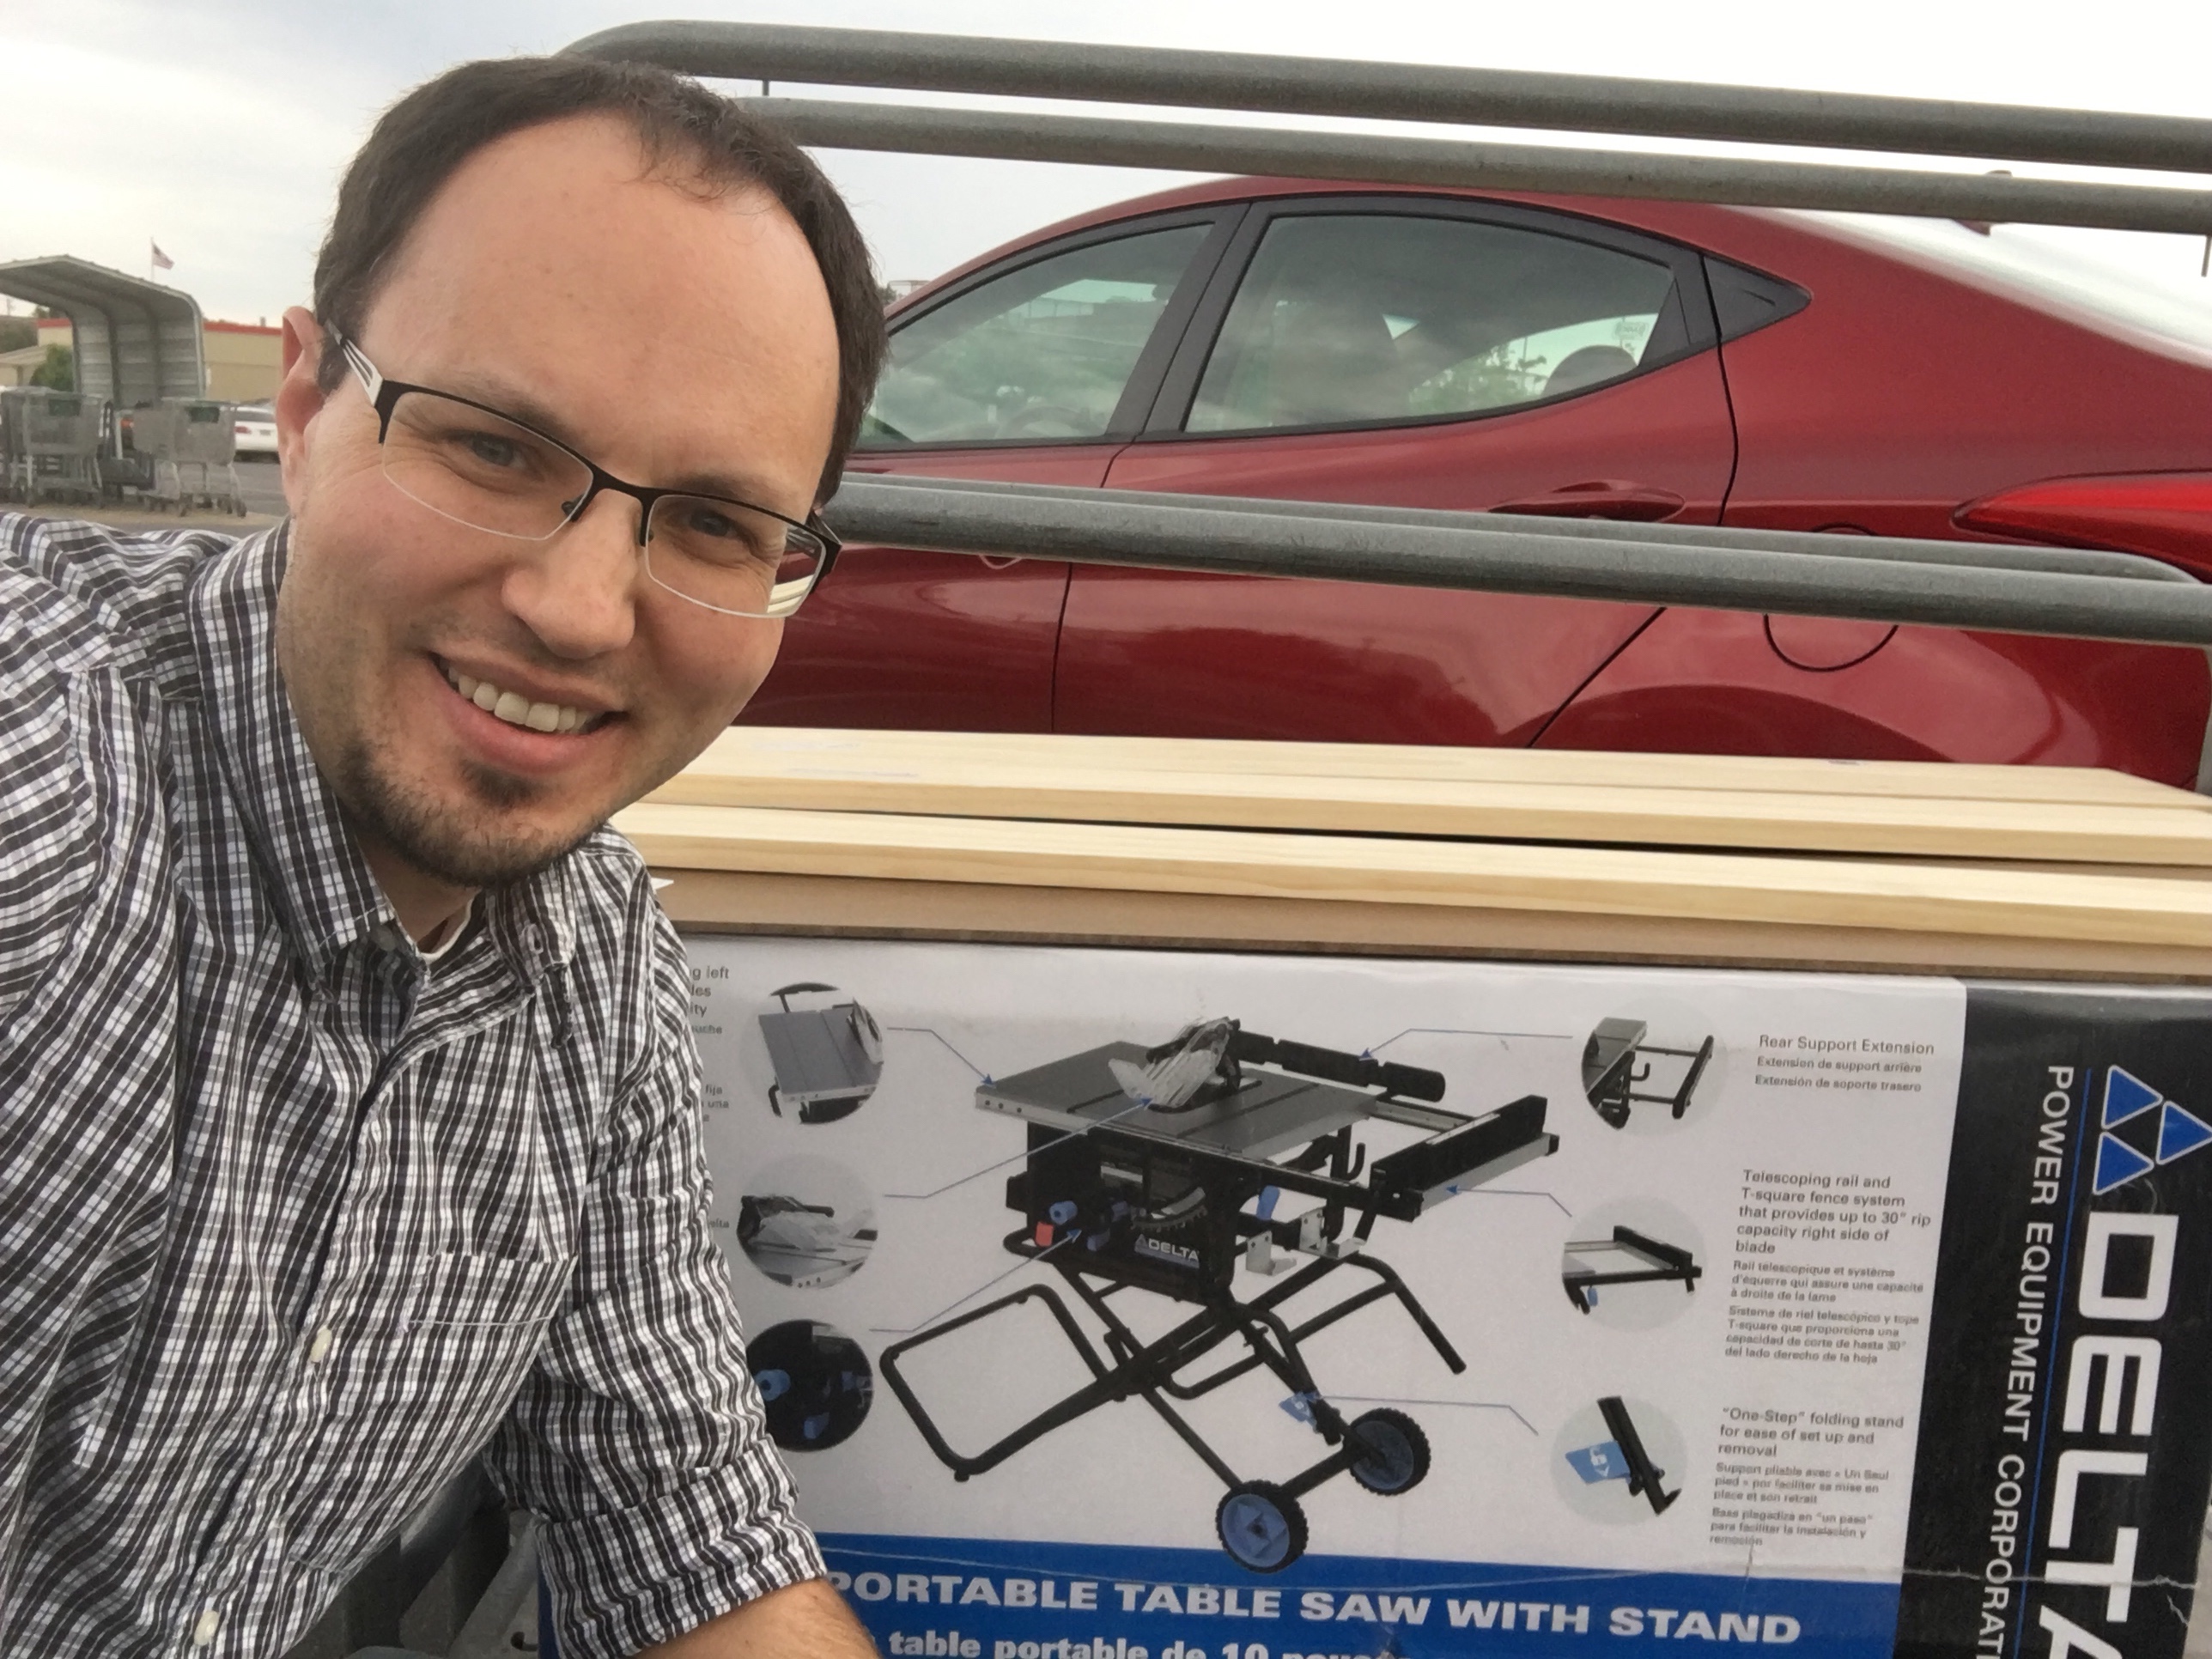
So, some simple pieces of 3/4″ pine stock and I’m all set to go. Well… I guess there’s the new table saw I “had” to buy as well… Now I’ll admit – this saw is overkill for this project and kind of skews the cost effectiveness of this project, but I don’t care. This was a good excuse for me to get a new toy I’ve wanted for years. (and I’ve been saving for it for that long as well!)
Contents
Materials List
I’d suggest you verify my measurements against the changing table pad you intend to use, wipes, etc. but this should be pretty close for most applications as most of the supplies you will put into this table are standard sizes.
| Qty | Description |
| 1 | 1/4 x 2 x 4 Hardboard Panel (or plywood) |
| 1 | 1 x 8 x 4′ Quality Pine Board |
| 1 | 1 x 6 x 4′ Quality Pine Board |
| 1 | |
| 16 | Wood Dowels |
Wood Glue | |
Brad Nails | |
Clear coat (polyurethane, polycrylic, etc.) |
Cut List
Using the above materials list, cut the boards down the the following pieces:
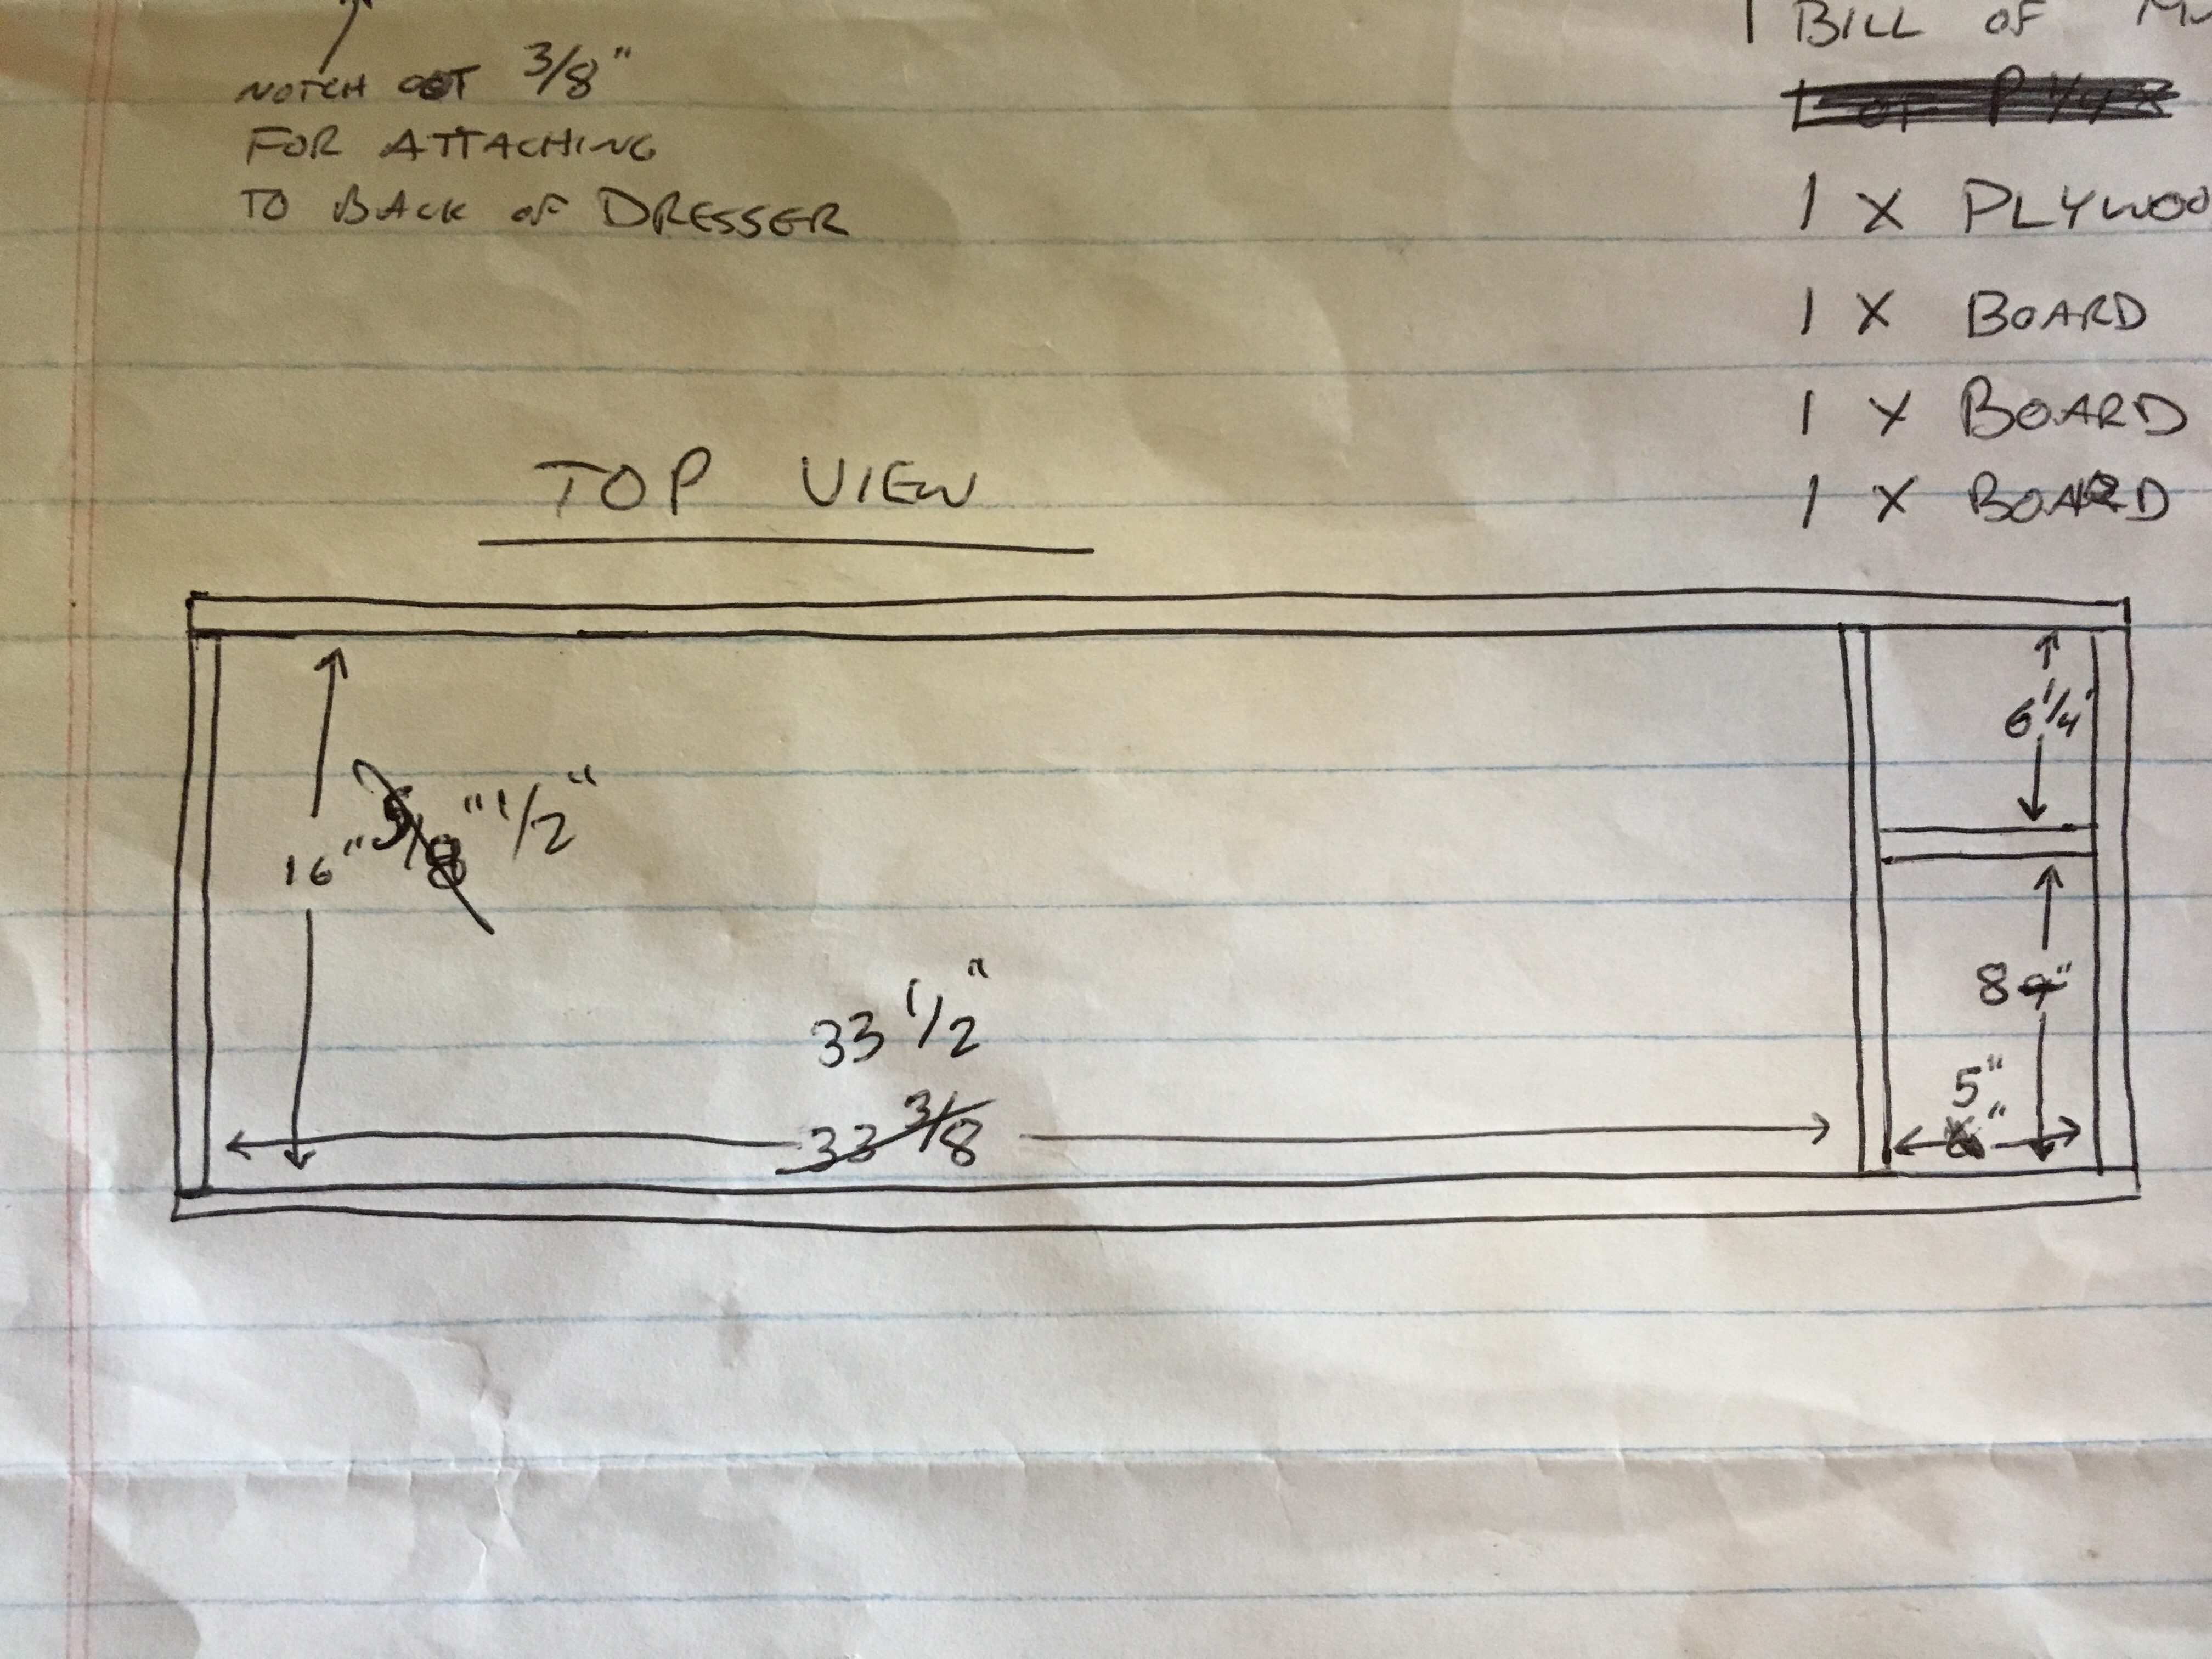
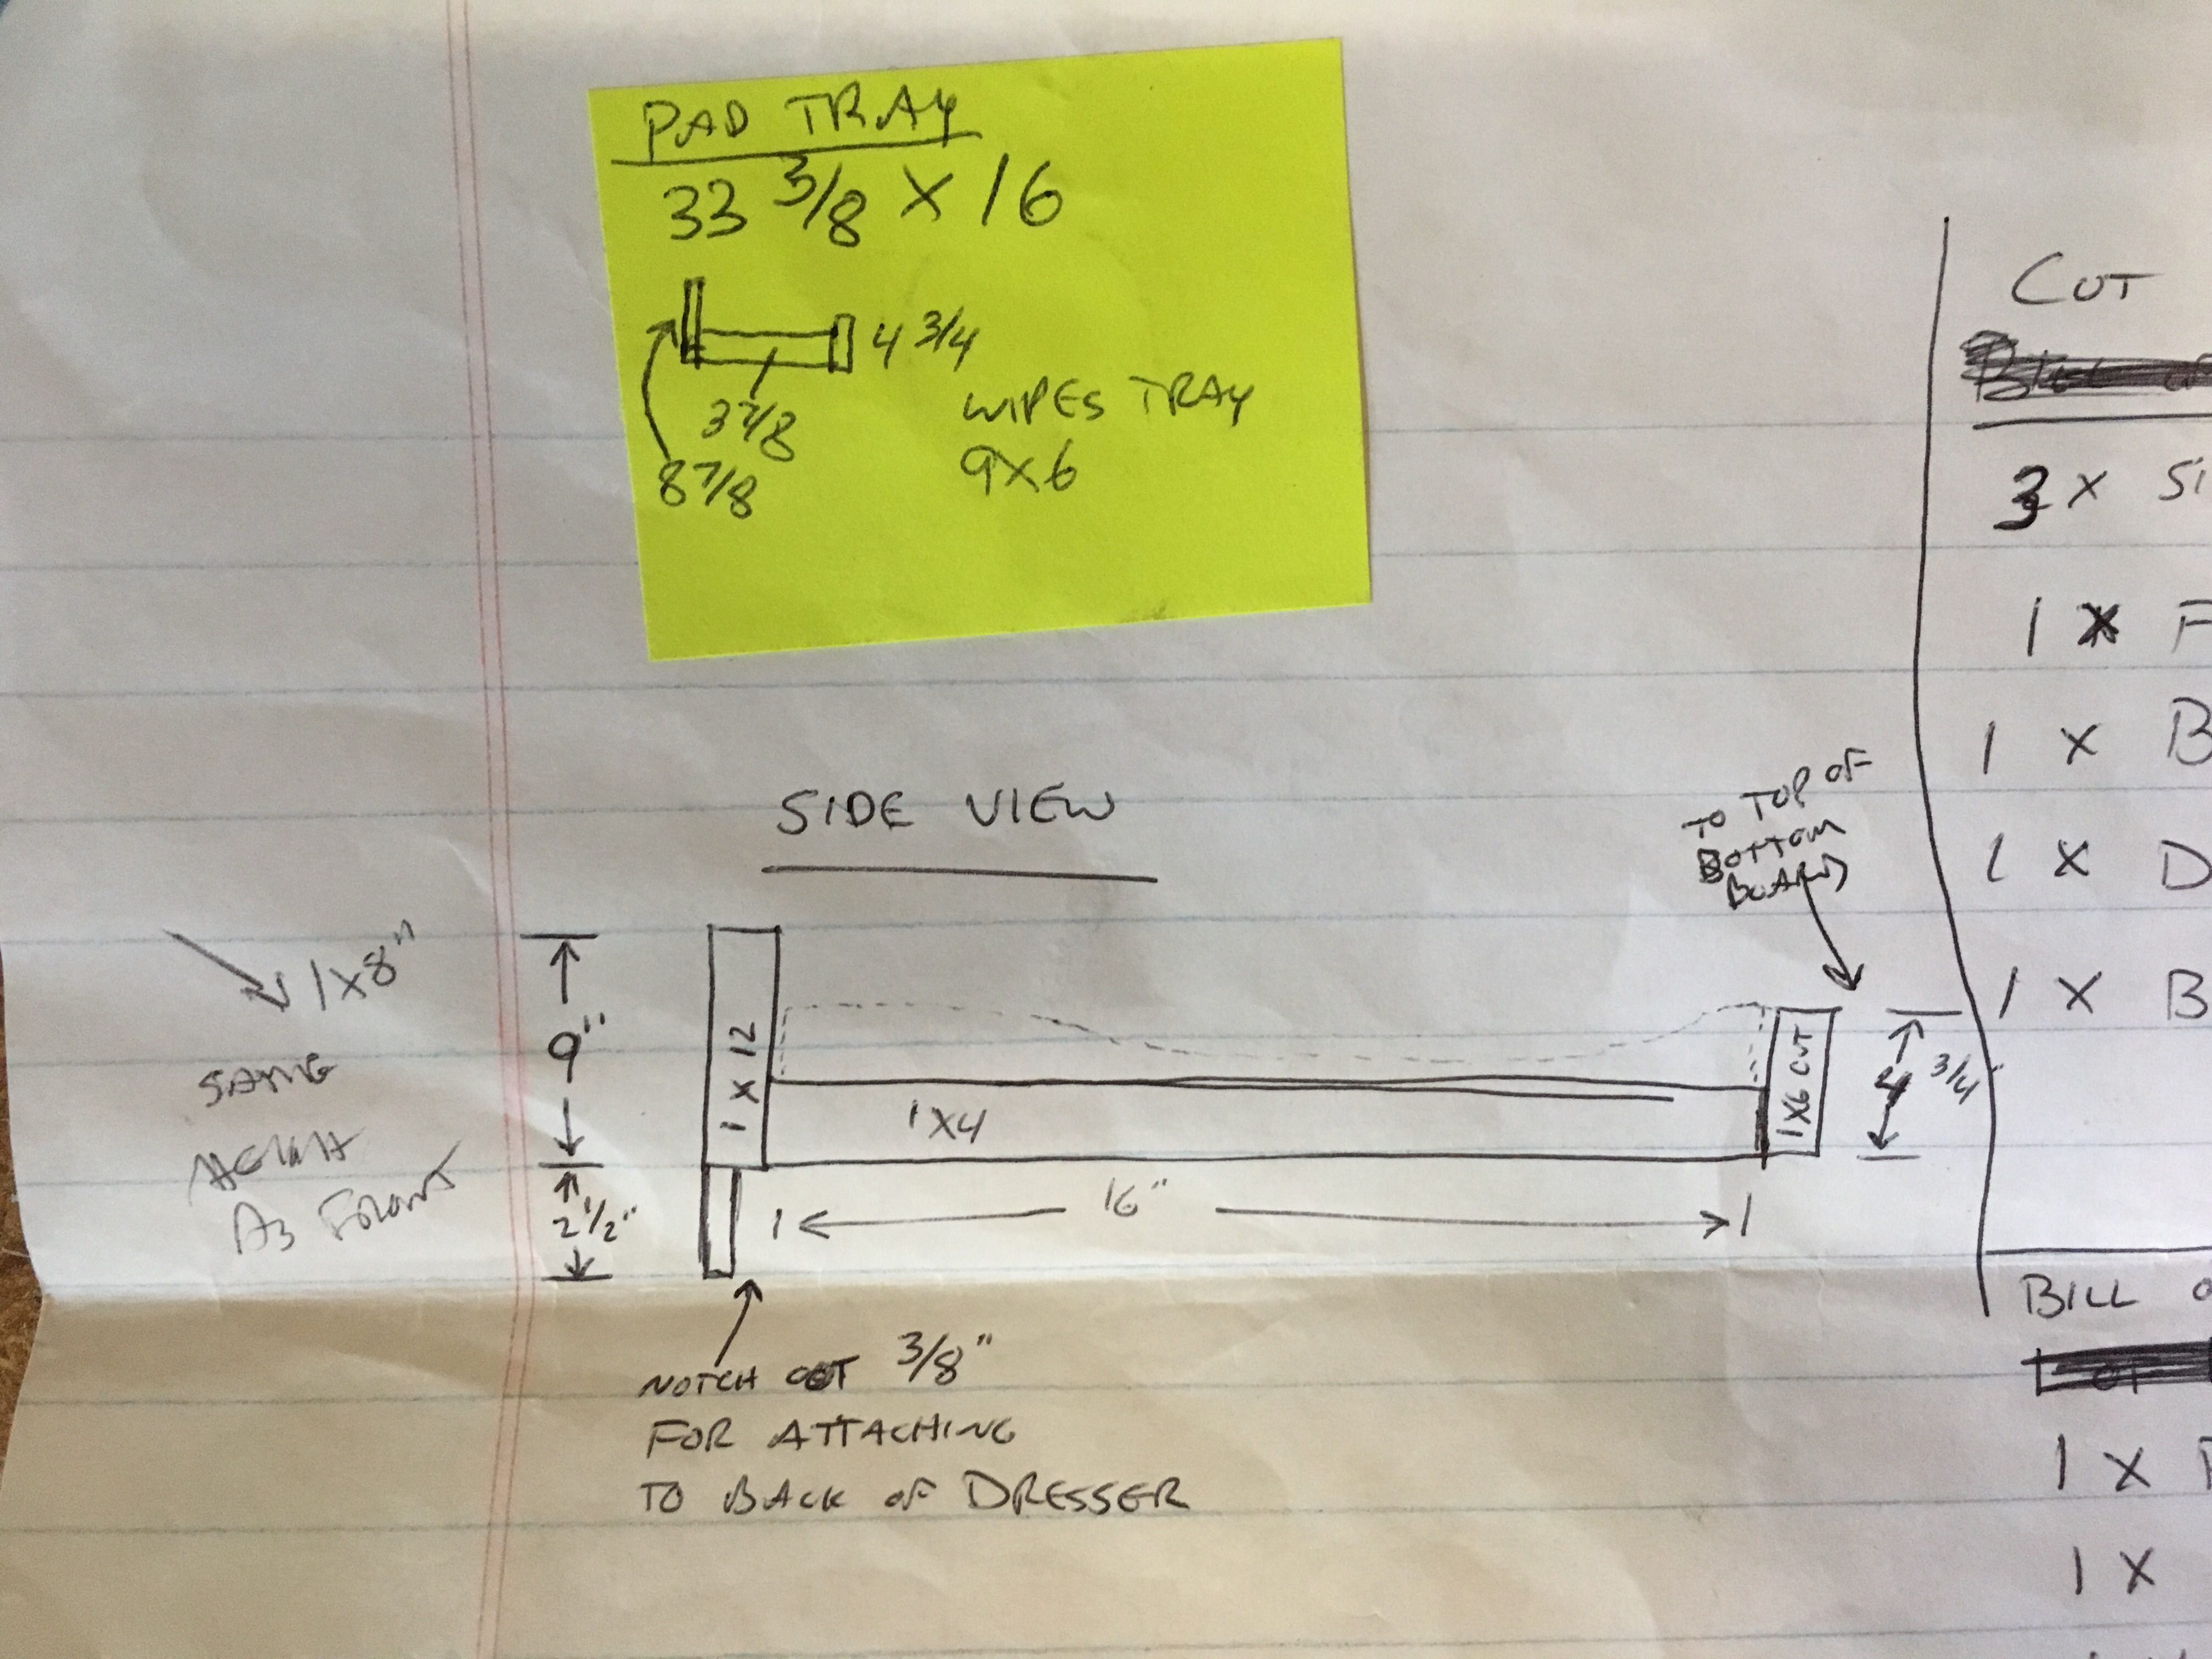
| Qty | Dimensions | Part Name | Material |
| 2 | 1″ x 4″ x 16″ | Side rails | Pine board |
| 1 | 1″ x 3 3/4″ x 16″ | Inside rail | Pine board |
| 1 | 1″ x 6″ x 41 5/8″ | Front rail | Pine board |
| 1 | 1″ x 8″ x 41 5/8″ | Back rail | Pine board |
| 1 | 1″ x 3 3/4″ x 6″ | Dividing rail | Pine board |
| 1 | 1/4″ x 16 1/2″ x 40 5/8″ | Bottom panel | Hardboard |
Blue Prints
These are my rough blueprints I drew up when planning this project. They may not be 100% accurate but should be sufficient for getting an idea of how it all comes together.
Assembly Instructions
Preparing for the bottom panel
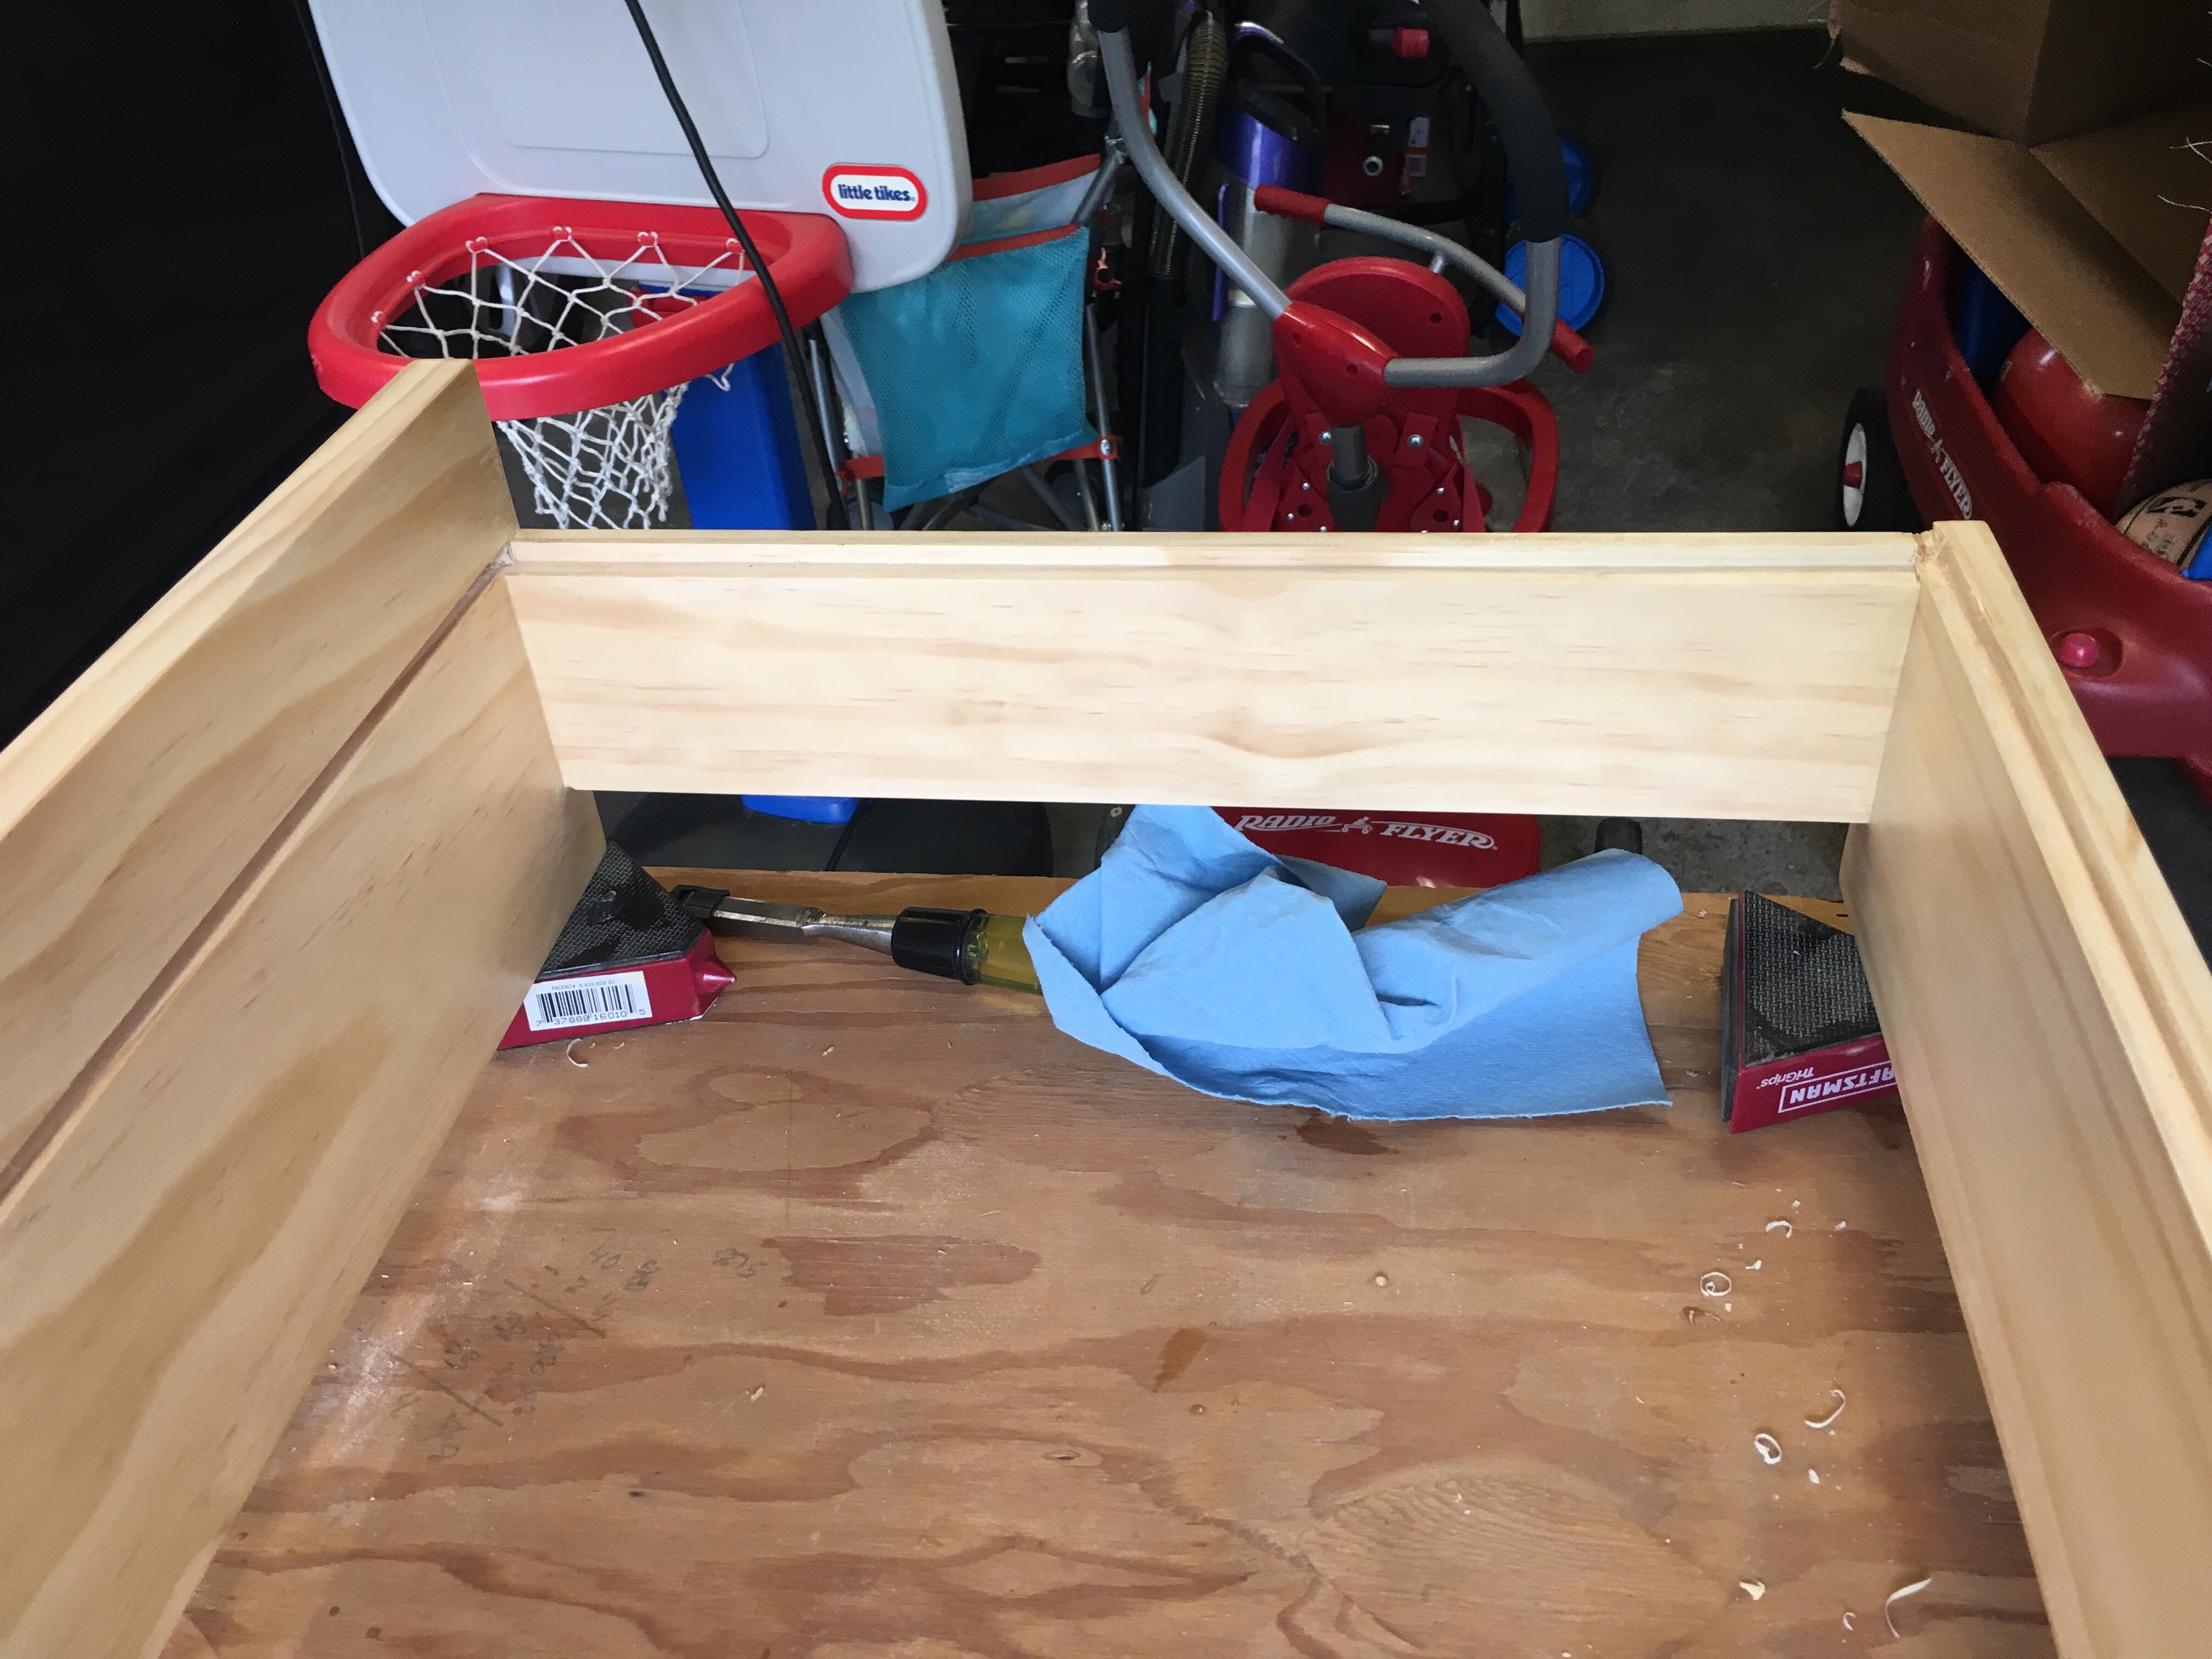
The bottom panel should be inset into the bottom of the table topper. To do this, 1/4″ grooves will need to be cut into the bottom so the panel can be laid in.
Using a table saw and/or chisel, cut a 1/4″ groove on the inside of the front and back rails to allow the bottom panel to be inset into it. Don’t cut all the way to end though – leave a 1/2″ on either end so you have a clean finish on the outside.
Cut a matching 1/4″ groove on the inside of the two side rails.
Lastly, cut a 1/4″ deep groove into the back rail for the bottom panel 3 3/4″ down from the top to 4″ so the bottom panel can be inset into the back rail.
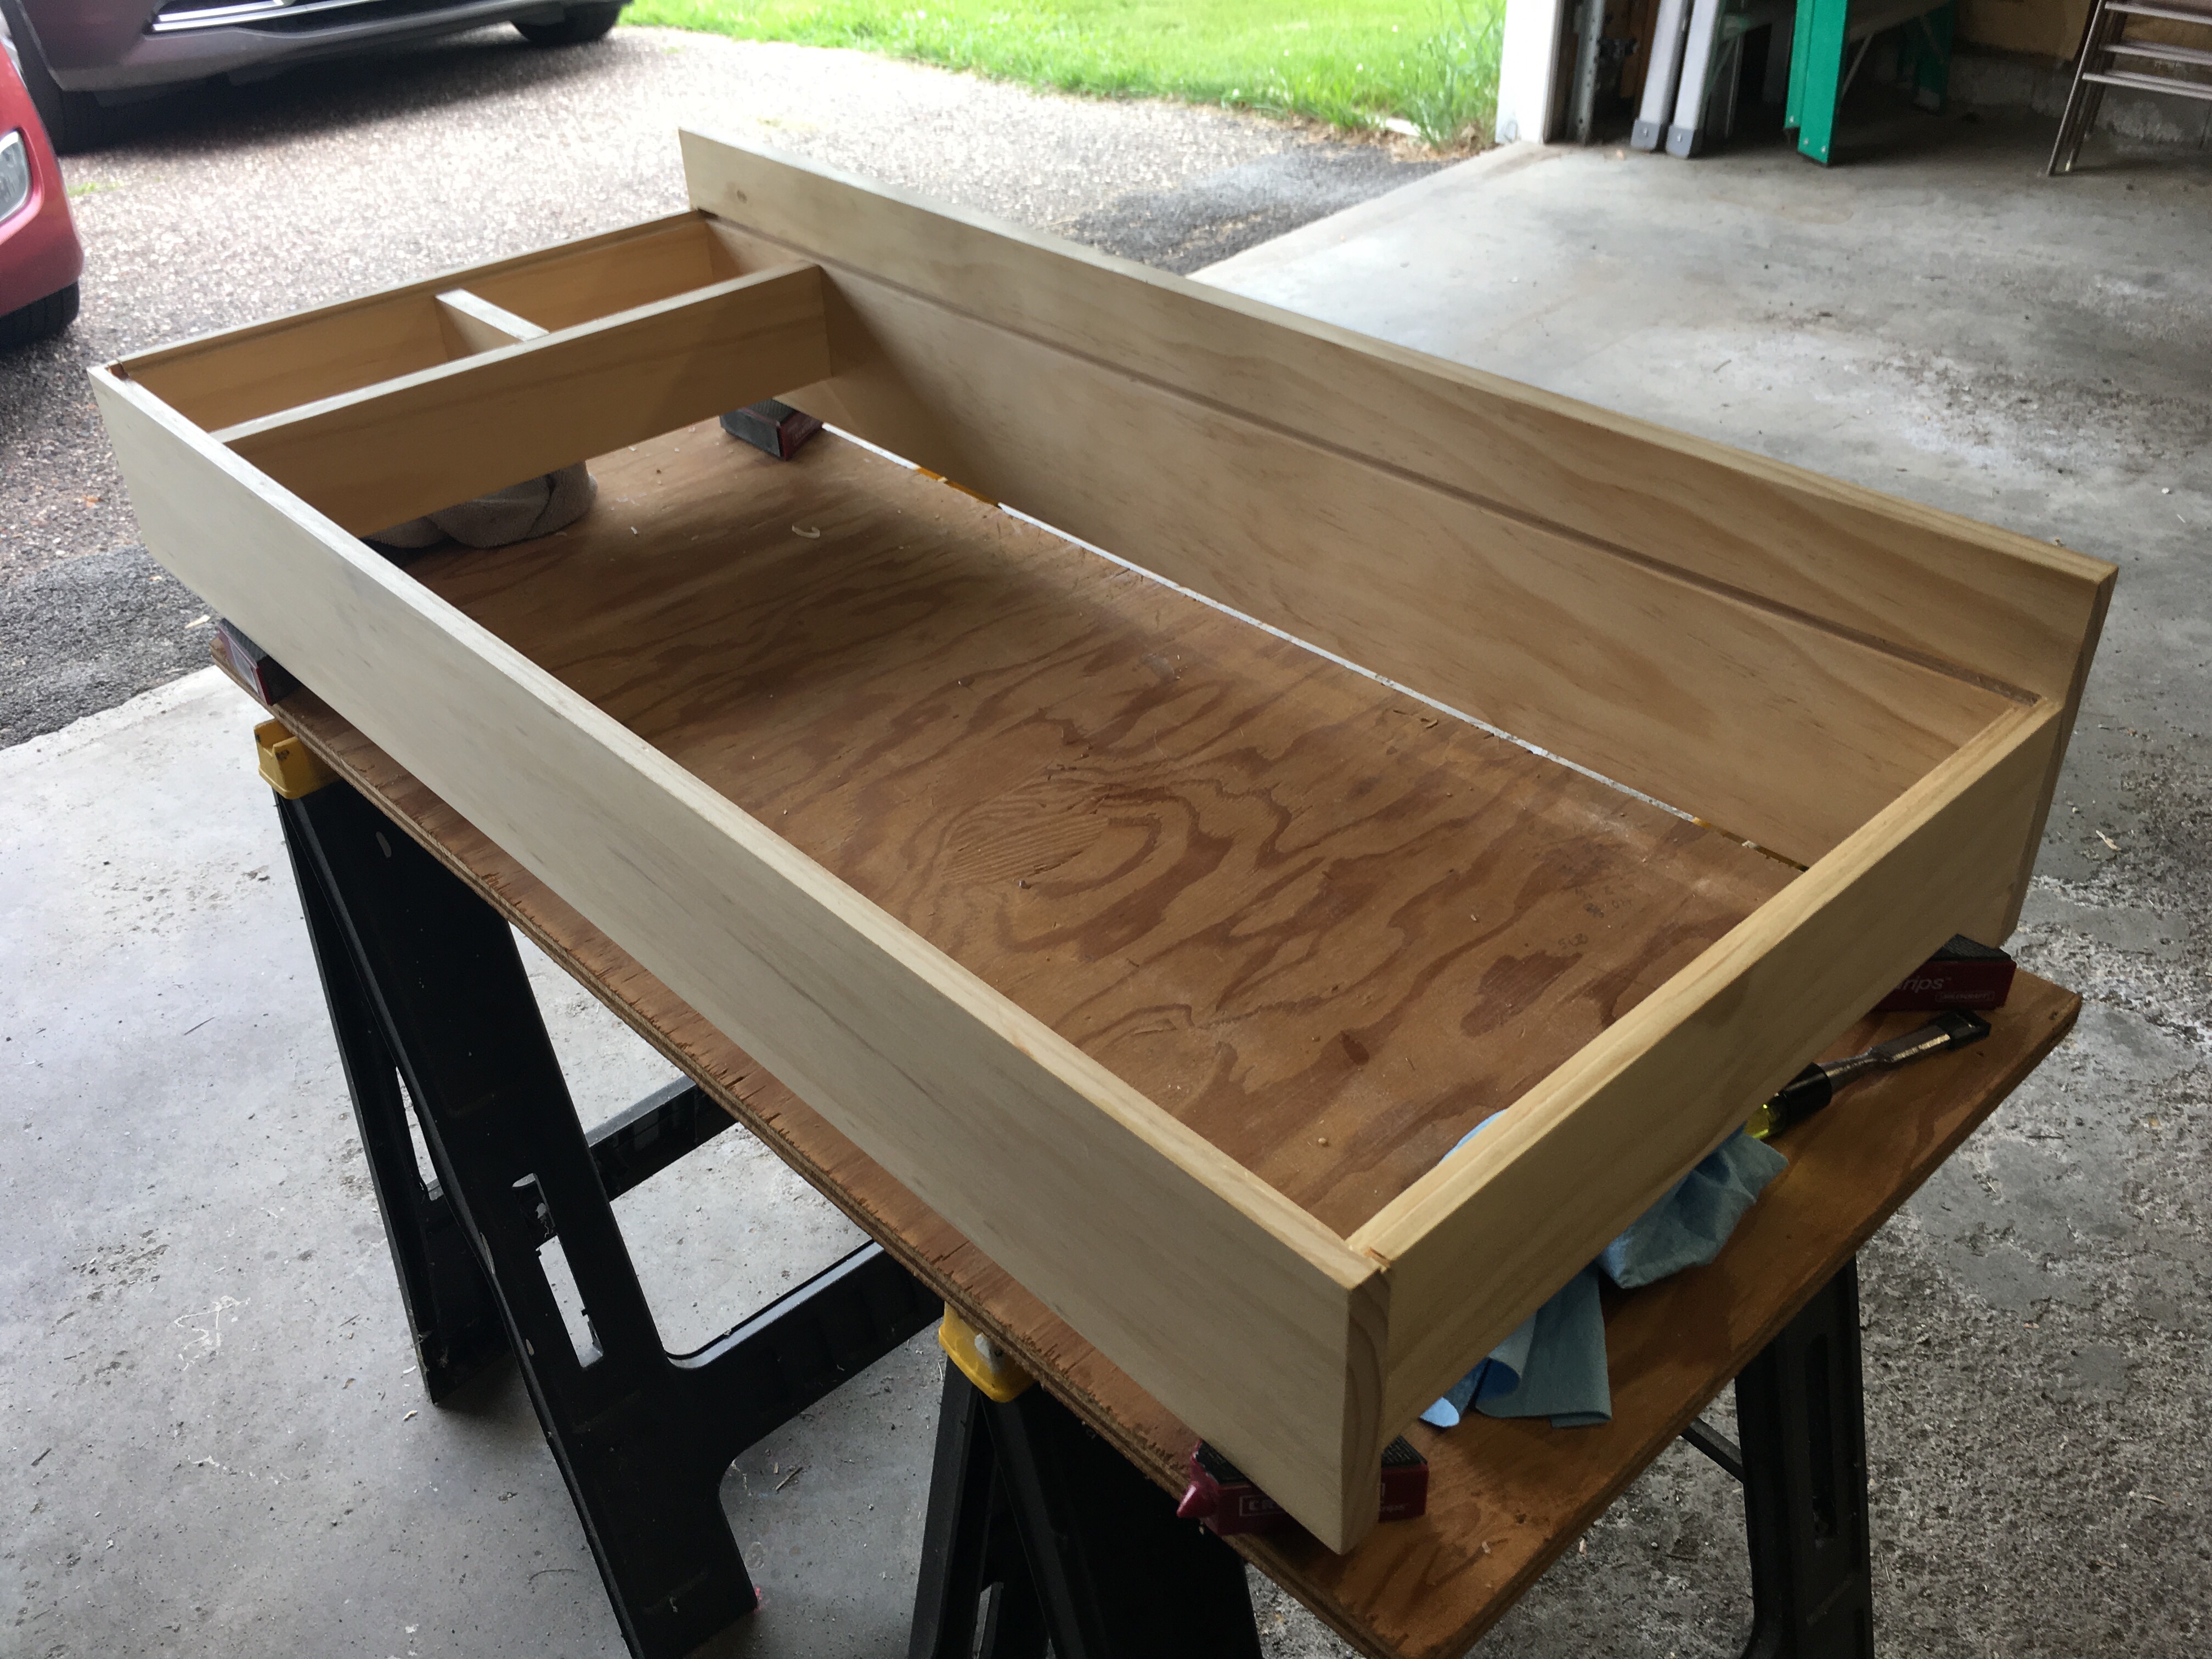
Assemble the Rails
Use wood dowels and wood glue to assemble the changing table. Use two dowels per end of the side rails to connect them to the front and back rails. Use 2 dowels per end of the dividing rail to connect it to the two side rails it sits in.
Then apply wood glue to all edges and glue the entire frame together, using clamps to ensure proper adhesion and that it’s all assembled tightly.
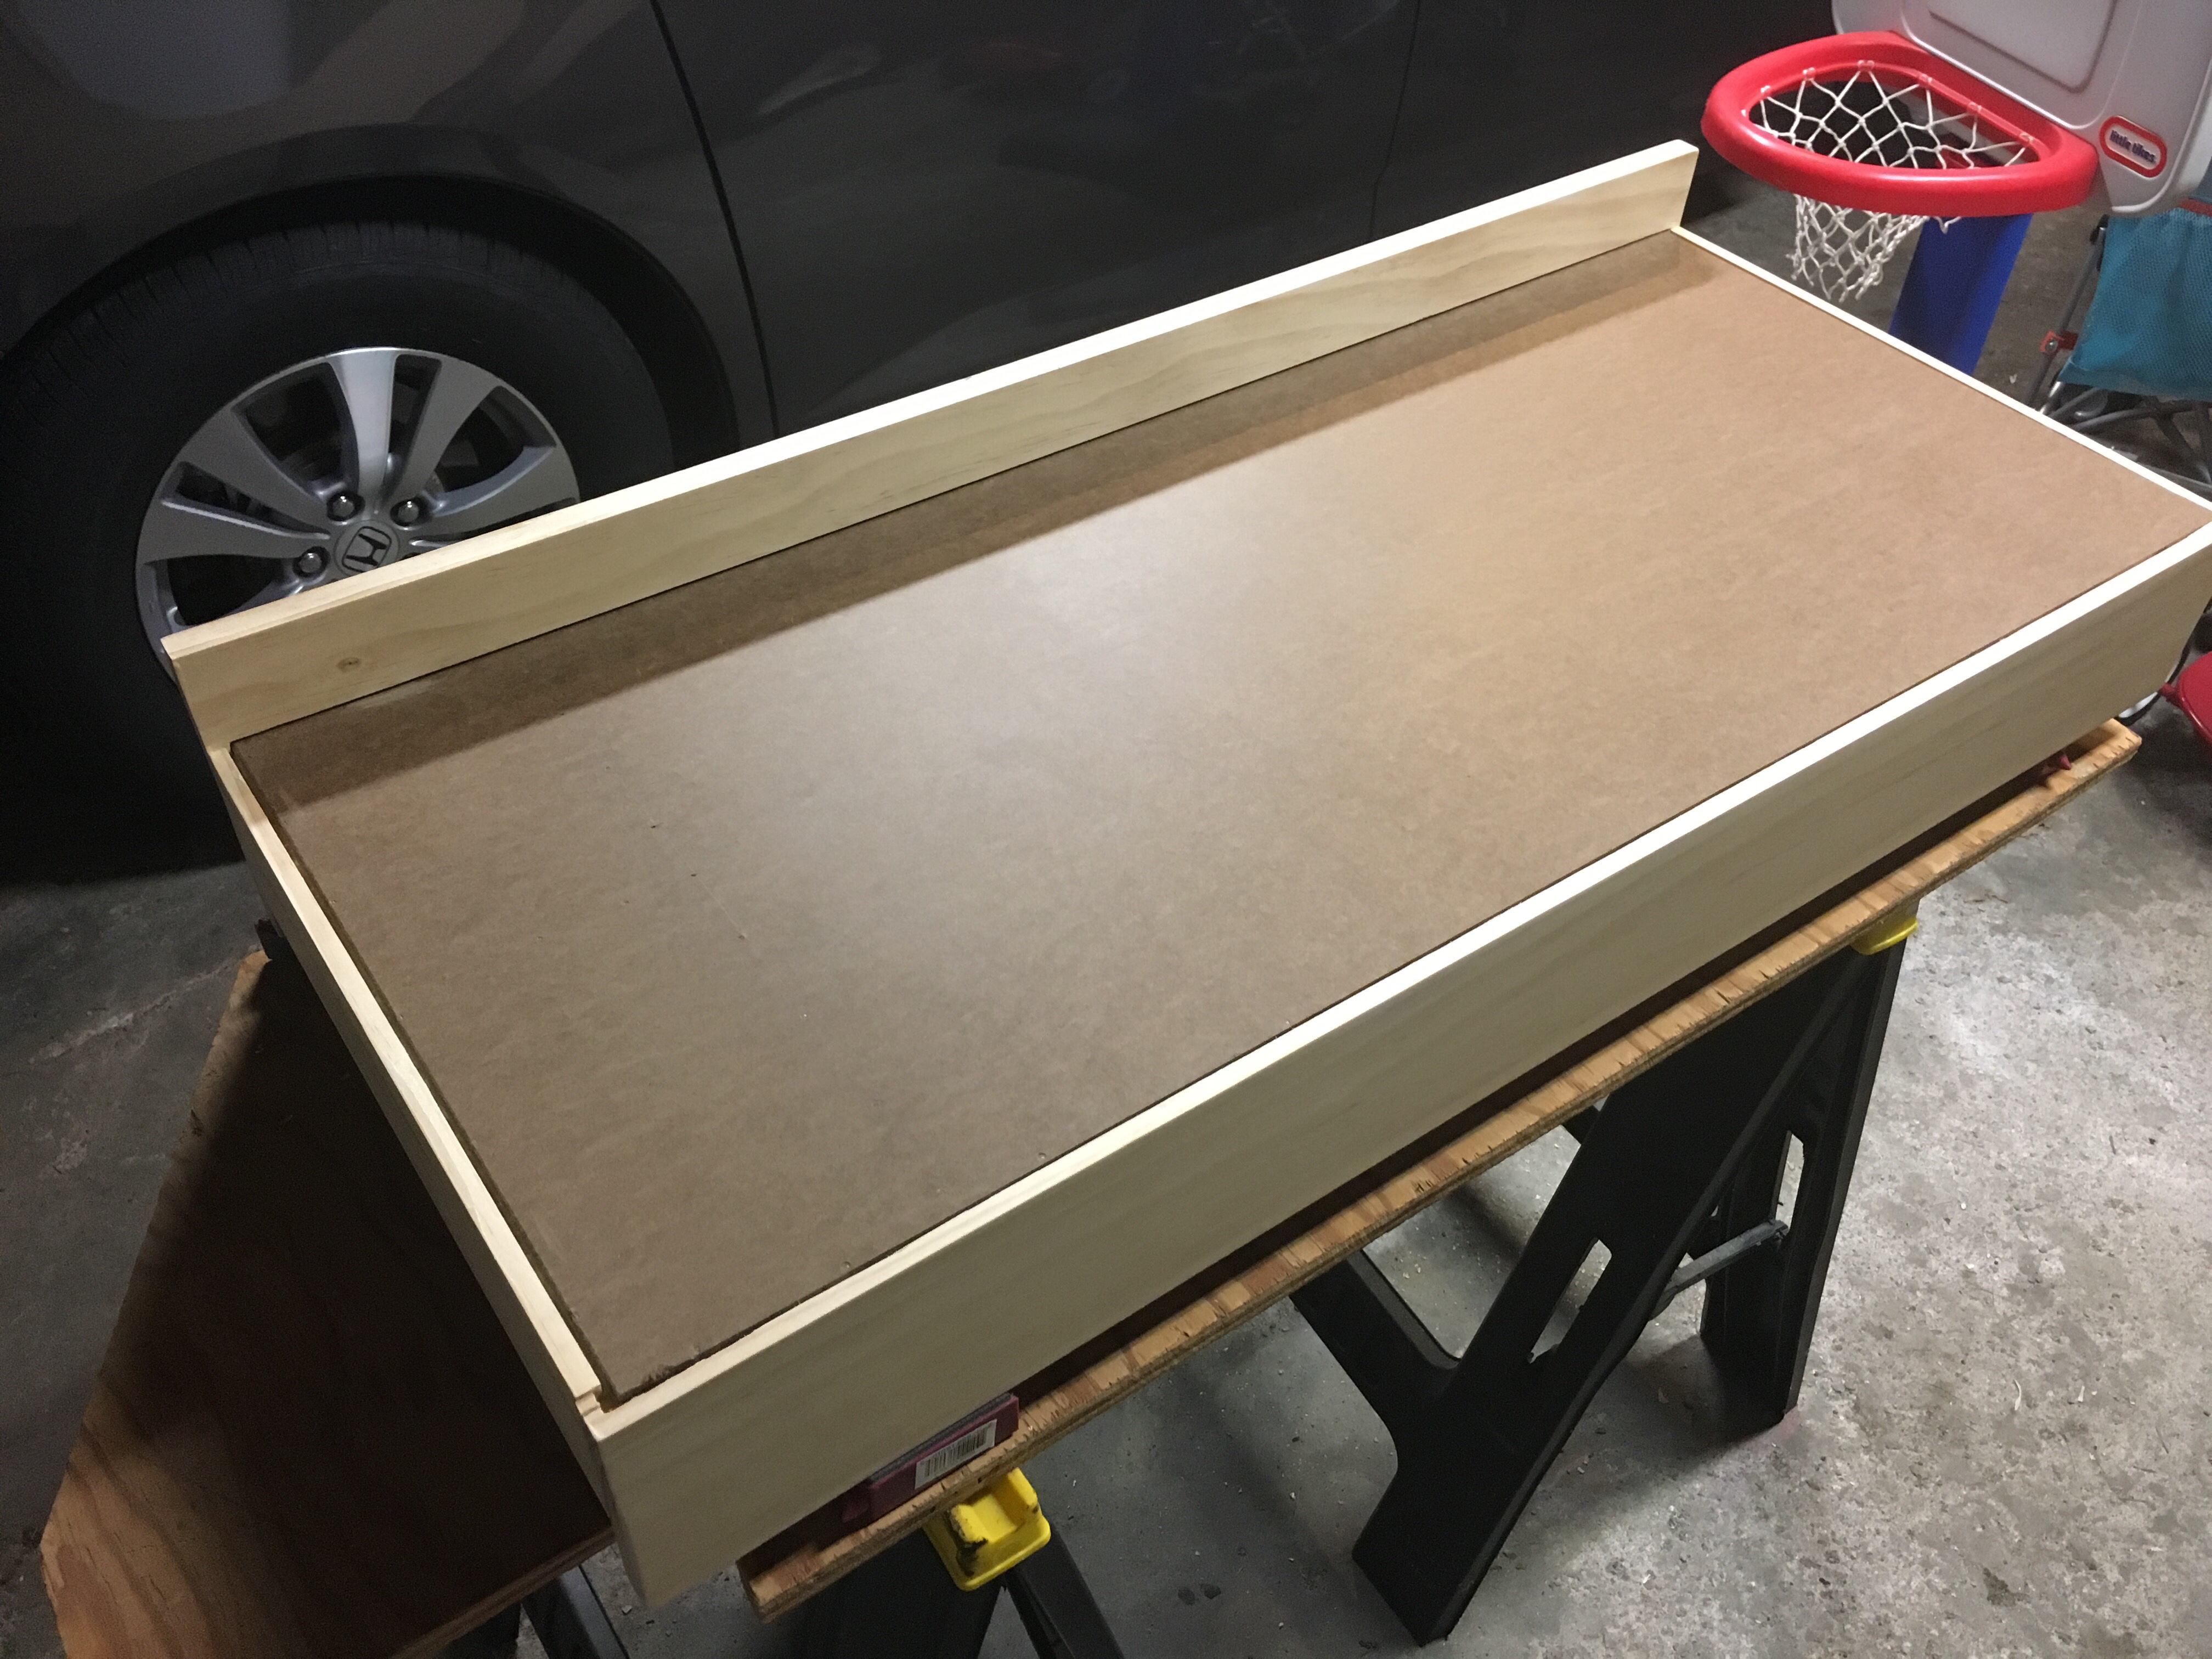
Add the Bottom Panel
Once the glue has dried, turn over the changing table and apply glue to the inset for the bottom panel. Set the bottom panel into the back channel and onto the inset. Use a brad nailer to tack in the bottom panel. Wipe any excess glue.
Finishing
Sand any edges and glue that may need some attention to ensure a flush clean fit. Then wipe any sawdust off with a tack cloth or microfiber cloth.
Apply a clear coat according to the cans directions.
Installing
For safety reasons, this changing table should be secured to your dresser. That is the reason the back rail is lower than the front rail – to add extra strength and stability on the dresser.
Countersink holes into the back rail that line up with a solid support on your dresser (the top, upright rails, etc.) and use 3 or more screws to secure to the back of your dresser.
