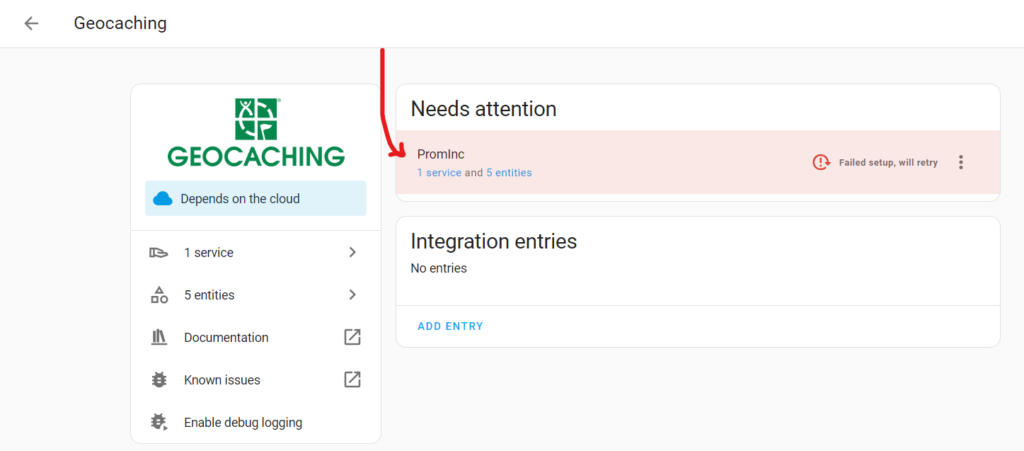
Have you ever seen the Failed setup, will retry message in a Home Assistant integration? This message can show at times on a cloud based integration where Home Assistant is no longer communicating with the remote cloud service. The technical reason is that the token is no longer valid for one reason or another and thus the connection is failing. What causes this? That’s a mystery for another day – this post is focused on just getting past it for now.

To solve this issue you’ll need a method to edit the files of Home Assistant – well just one file really. Typically SSH access or FTP access to the server is needed for this.
In my case, the Geocaching integration was failing. Once upon a time this was working, but then failed for a long time. I got sick of seeing the red box today and wanted to solve.

Contents
How to Repair the Failed Authentication
To fix a failed integration connection, the bad authentication credentials first needs to be removed. Then a restart of Home Assistant and it will be ready to re-configure the connection.
Backup Configuration
It’s a wise idea to first backup the current configuration file in case something unexpected occurs. To do so, simply make a copy of the file by downloading it via FTP to your local machine or making a copy via SSH.
1 2 | ## replace [YYYYMMDD] with the current date cp ./.storage/core.config_entries ./.storage/core.config_entries.bak.[YYYYMMDD] |
Remove the Broken Cloud Service Connection
Open the .storage/core.config_entries file in an editor like Nano or Vim and look for the entry that has the failed connection. In the How to Find the Configuration section below the line number is found. The entry starts with an opening curly brace ({) and ends with a closing curly brace (}) – it may or may not have a trailing comma.
Example:
1 2 3 4 5 6 7 8 9 10 11 12 13 14 15 16 17 18 19 20 21 22 23 | { "entry_id": "456...", "version": 1, "domain": "geocaching", "title": "PromInc", "data": { "auth_implementation": "cloud", "token": { "access_token": "eyJhbGciOi...", "token_type": "bearer", "expires_in": 3599, "refresh_token": "8f7...", "service": "geocaching", "expires_at": 1690974608.435786 } }, "options": {}, "pref_disable_new_entities": false, "pref_disable_polling": false, "source": "user", "unique_id": "prominc", "disabled_by": null }, |
Remove/delete this entire block and save the .storage/core.config_entries file.
Restart Home Assistant
In Home Assistant, go to the Settings page. Then click the three dots menu icon in the top right and choose Restart Home Assistant. Then choose the Restart Home Assistant option and click the Restart button.
Reconfigure Cloud Integration Credentials
Now that the bad cloud integration credentials have been cleared, it’s possible to reconfigure the service. Go to Settings -> Devices & services and find the failed integration. The integration was removed and thus clicking the + Add Integration button is needed. Search for the integration and go through the cloud integration steps. Once complete, the integration should be working as expected once again!

When I saw that the integration was removed I got a bit nervous that my dashboards and other usages of this integration would have required attention to reconfigure them. Thankfully that wasn’t the case – likely because it was still configured in .storage/core.device_registry and thus the device and entity IDs did not change.
Here you can see that a dashboard this integration was added to still works after this authentication update.

How to Find the Configuration
If using a Linux based system, grep is a tool available to search the files of the system. If you’ve never used it, it’s worth learning – a great search tool!
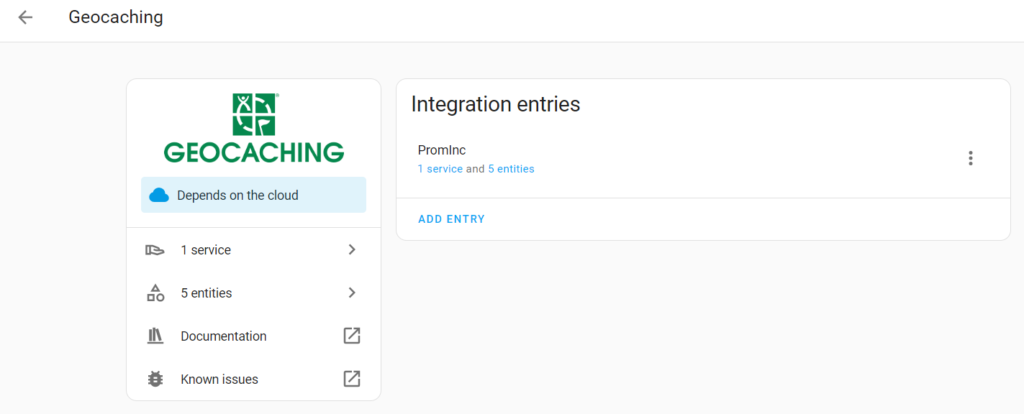
In Home Assistant I clicked into the integration and saw that the account name is set to PromInc. That’s the clue of what I need to search for using grep.

1 | grep -rn PromInc ./ |
This returned many results, but a quick scan indicated 2 possible areas in the configuration that would contain the source of the issue.
1 2 3 | ./.storage/core.config_entries:796: "title": "PromInc", ./.storage/core.device_registry:1527: "name": "Geocaching PromInc", |
The second file core.device_registry is used to define what devices are added to your Home Assistant instance. [reference]
But the first file core.config_entries indicates in the name that we are on the right path – a file that handles the configuration!!! [reference]
With the power of grep paired with a bit of mental deduction we were able to find the file to edit quickly and easily!
