Fully honest and up front – this is slightly out of place for the typical content I post here… It’s more of a craft project than a shop project. But in my defense, this is three dimensional, made with a Cricut which is really a CNC (though marketed to women) and took a level of measurement, precision, and accuracy. So it’s similar – right?

Who is Mr. Chili?
Mr. Chili is the mascot of the ecommerce saltwater aquarium supply retailer Bulk Reef Supply. Though if you’re reading this post – you likely know that already. He’s a cute loveable creature that can often be seen in various outfits and situations depending on the occasion. He was born when Reef Chili was invented. Reef Chili is an additive for aquariums to aid in coral growth.
For those who know Mr. Chili – he’s quite the loveable friend! My kids might be his biggest fan. They go crazy every time they see him and want any Mr. Chili they can get their hands on.
Materials
- 4″ x 6″ Card Stock: Black (HEX #000000)
- 8.25″ x 10″ Card Stock: White (HEX #FFFFFF)
- 4″ x 6″ Card Stock: Orange (HEX #EF7624)
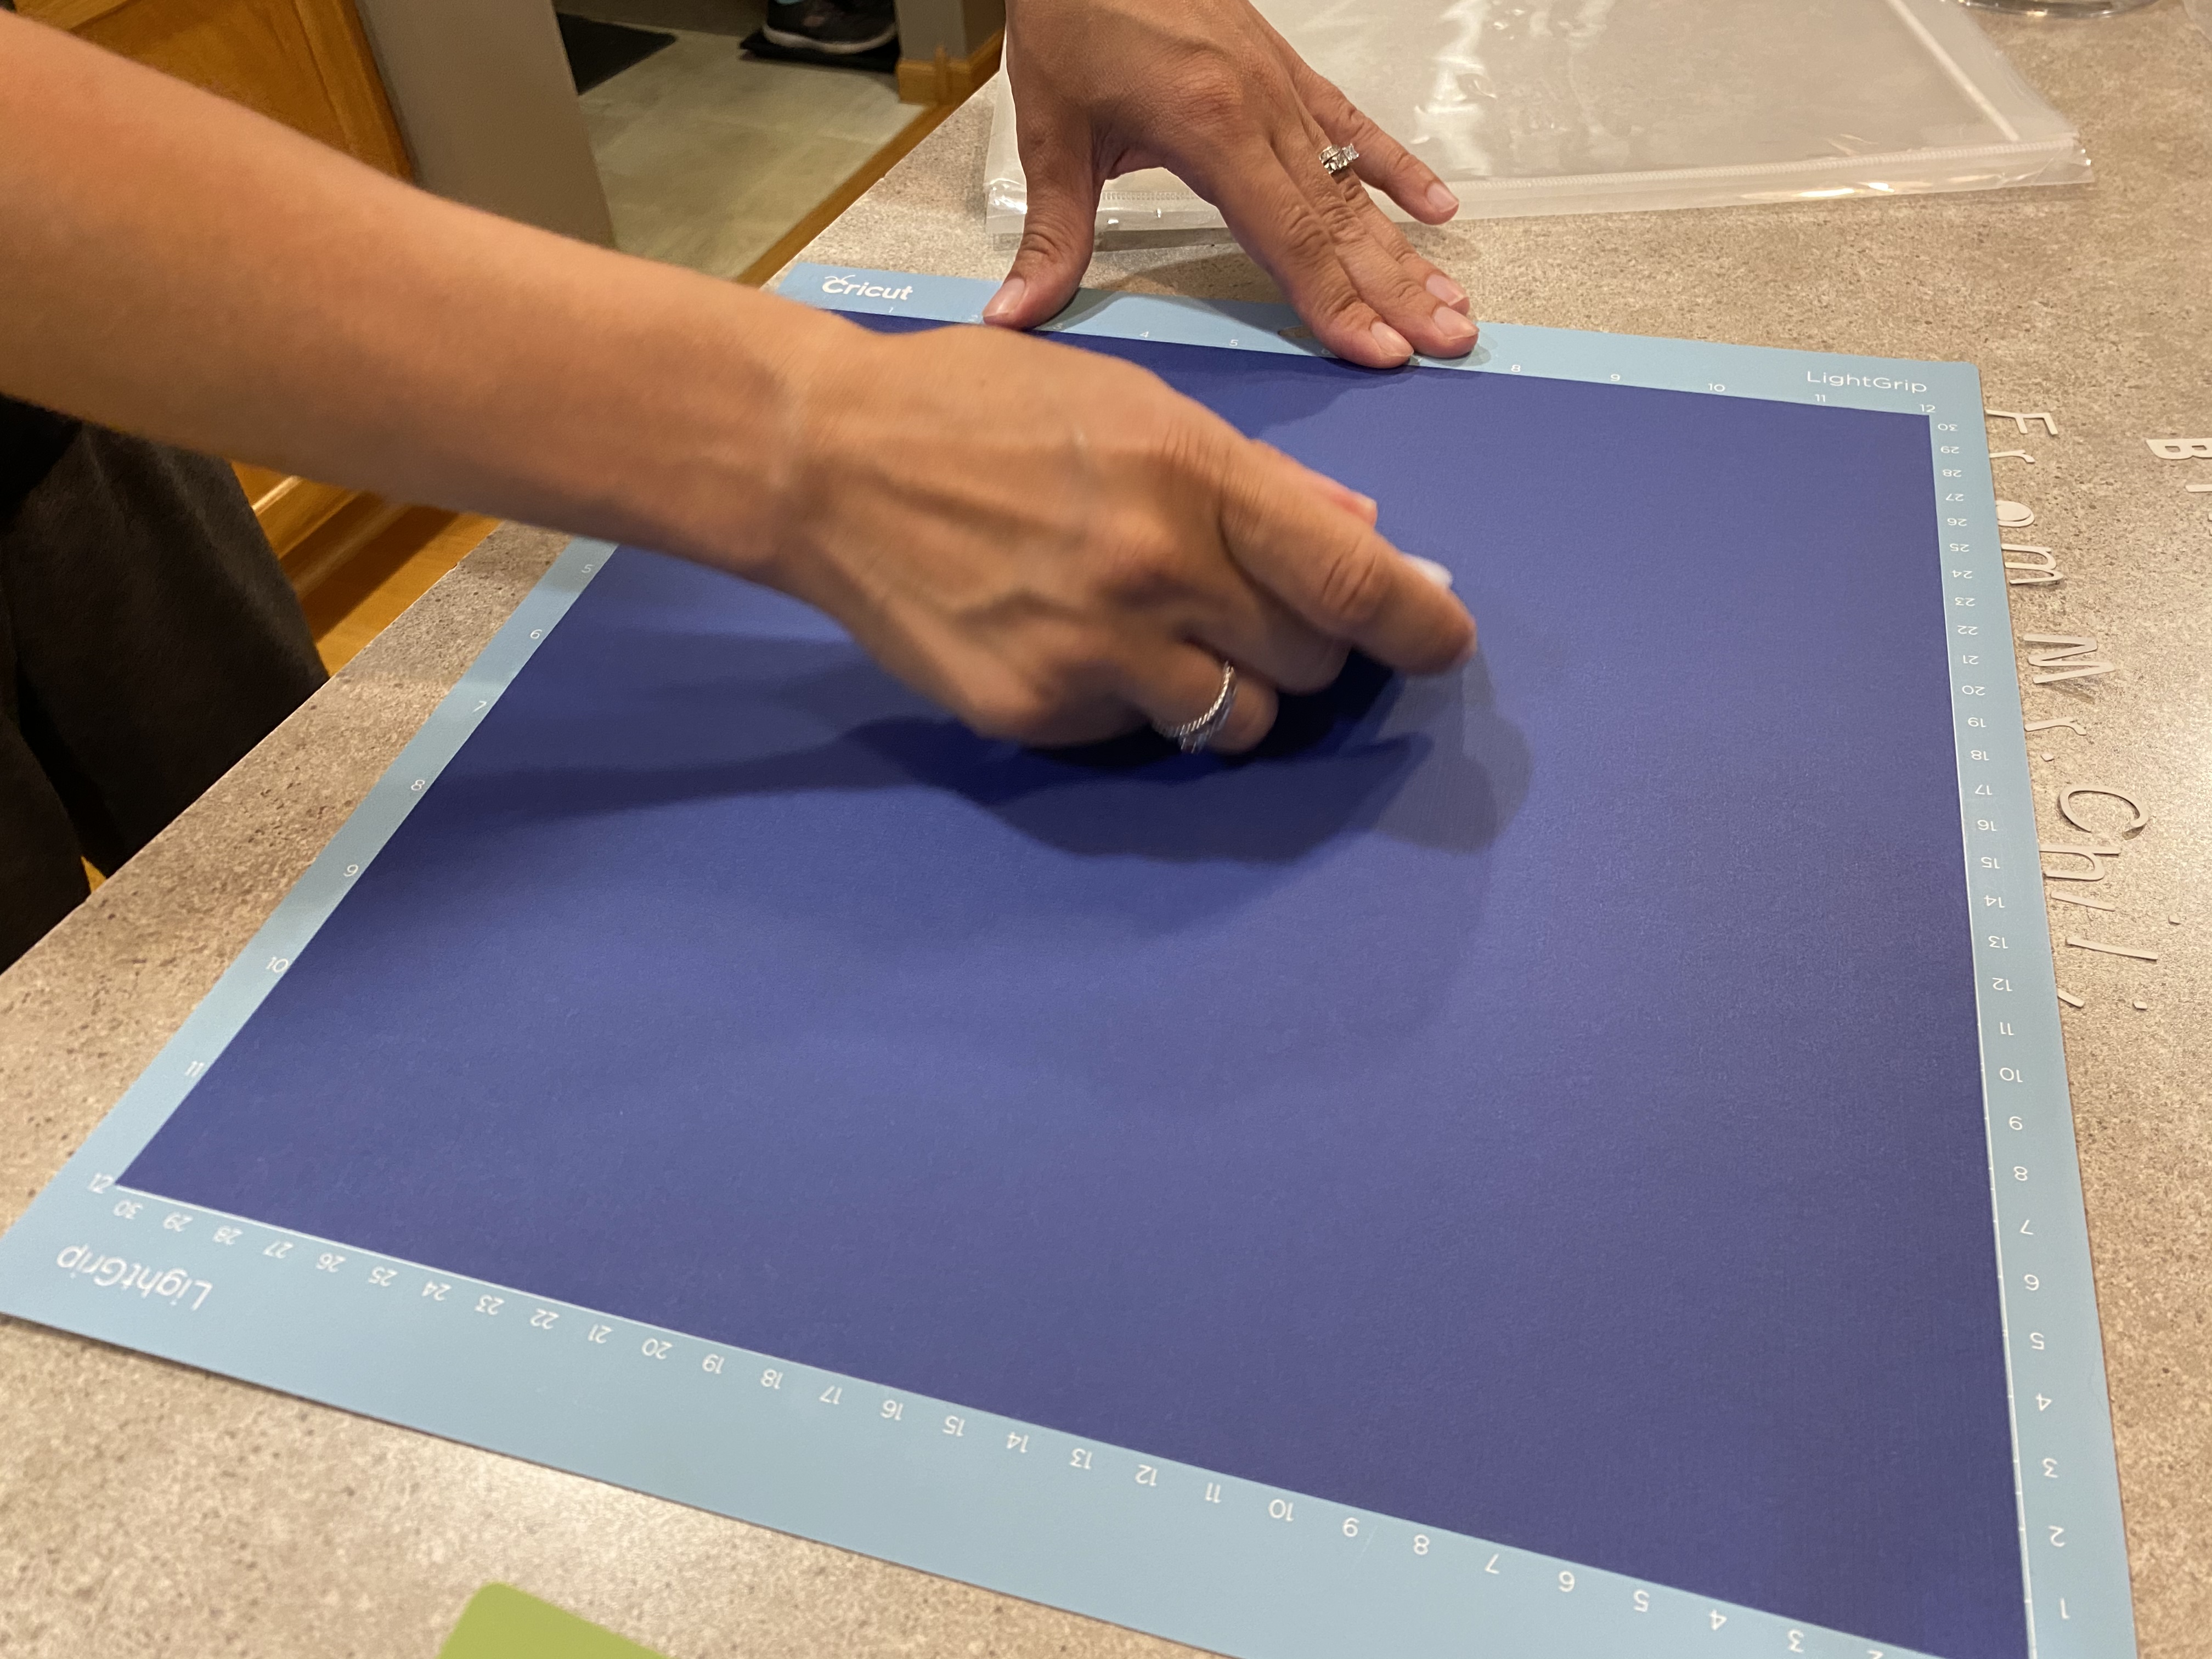
- 8.25″ x 10″ Card Stock: Blue (HEX #003967)
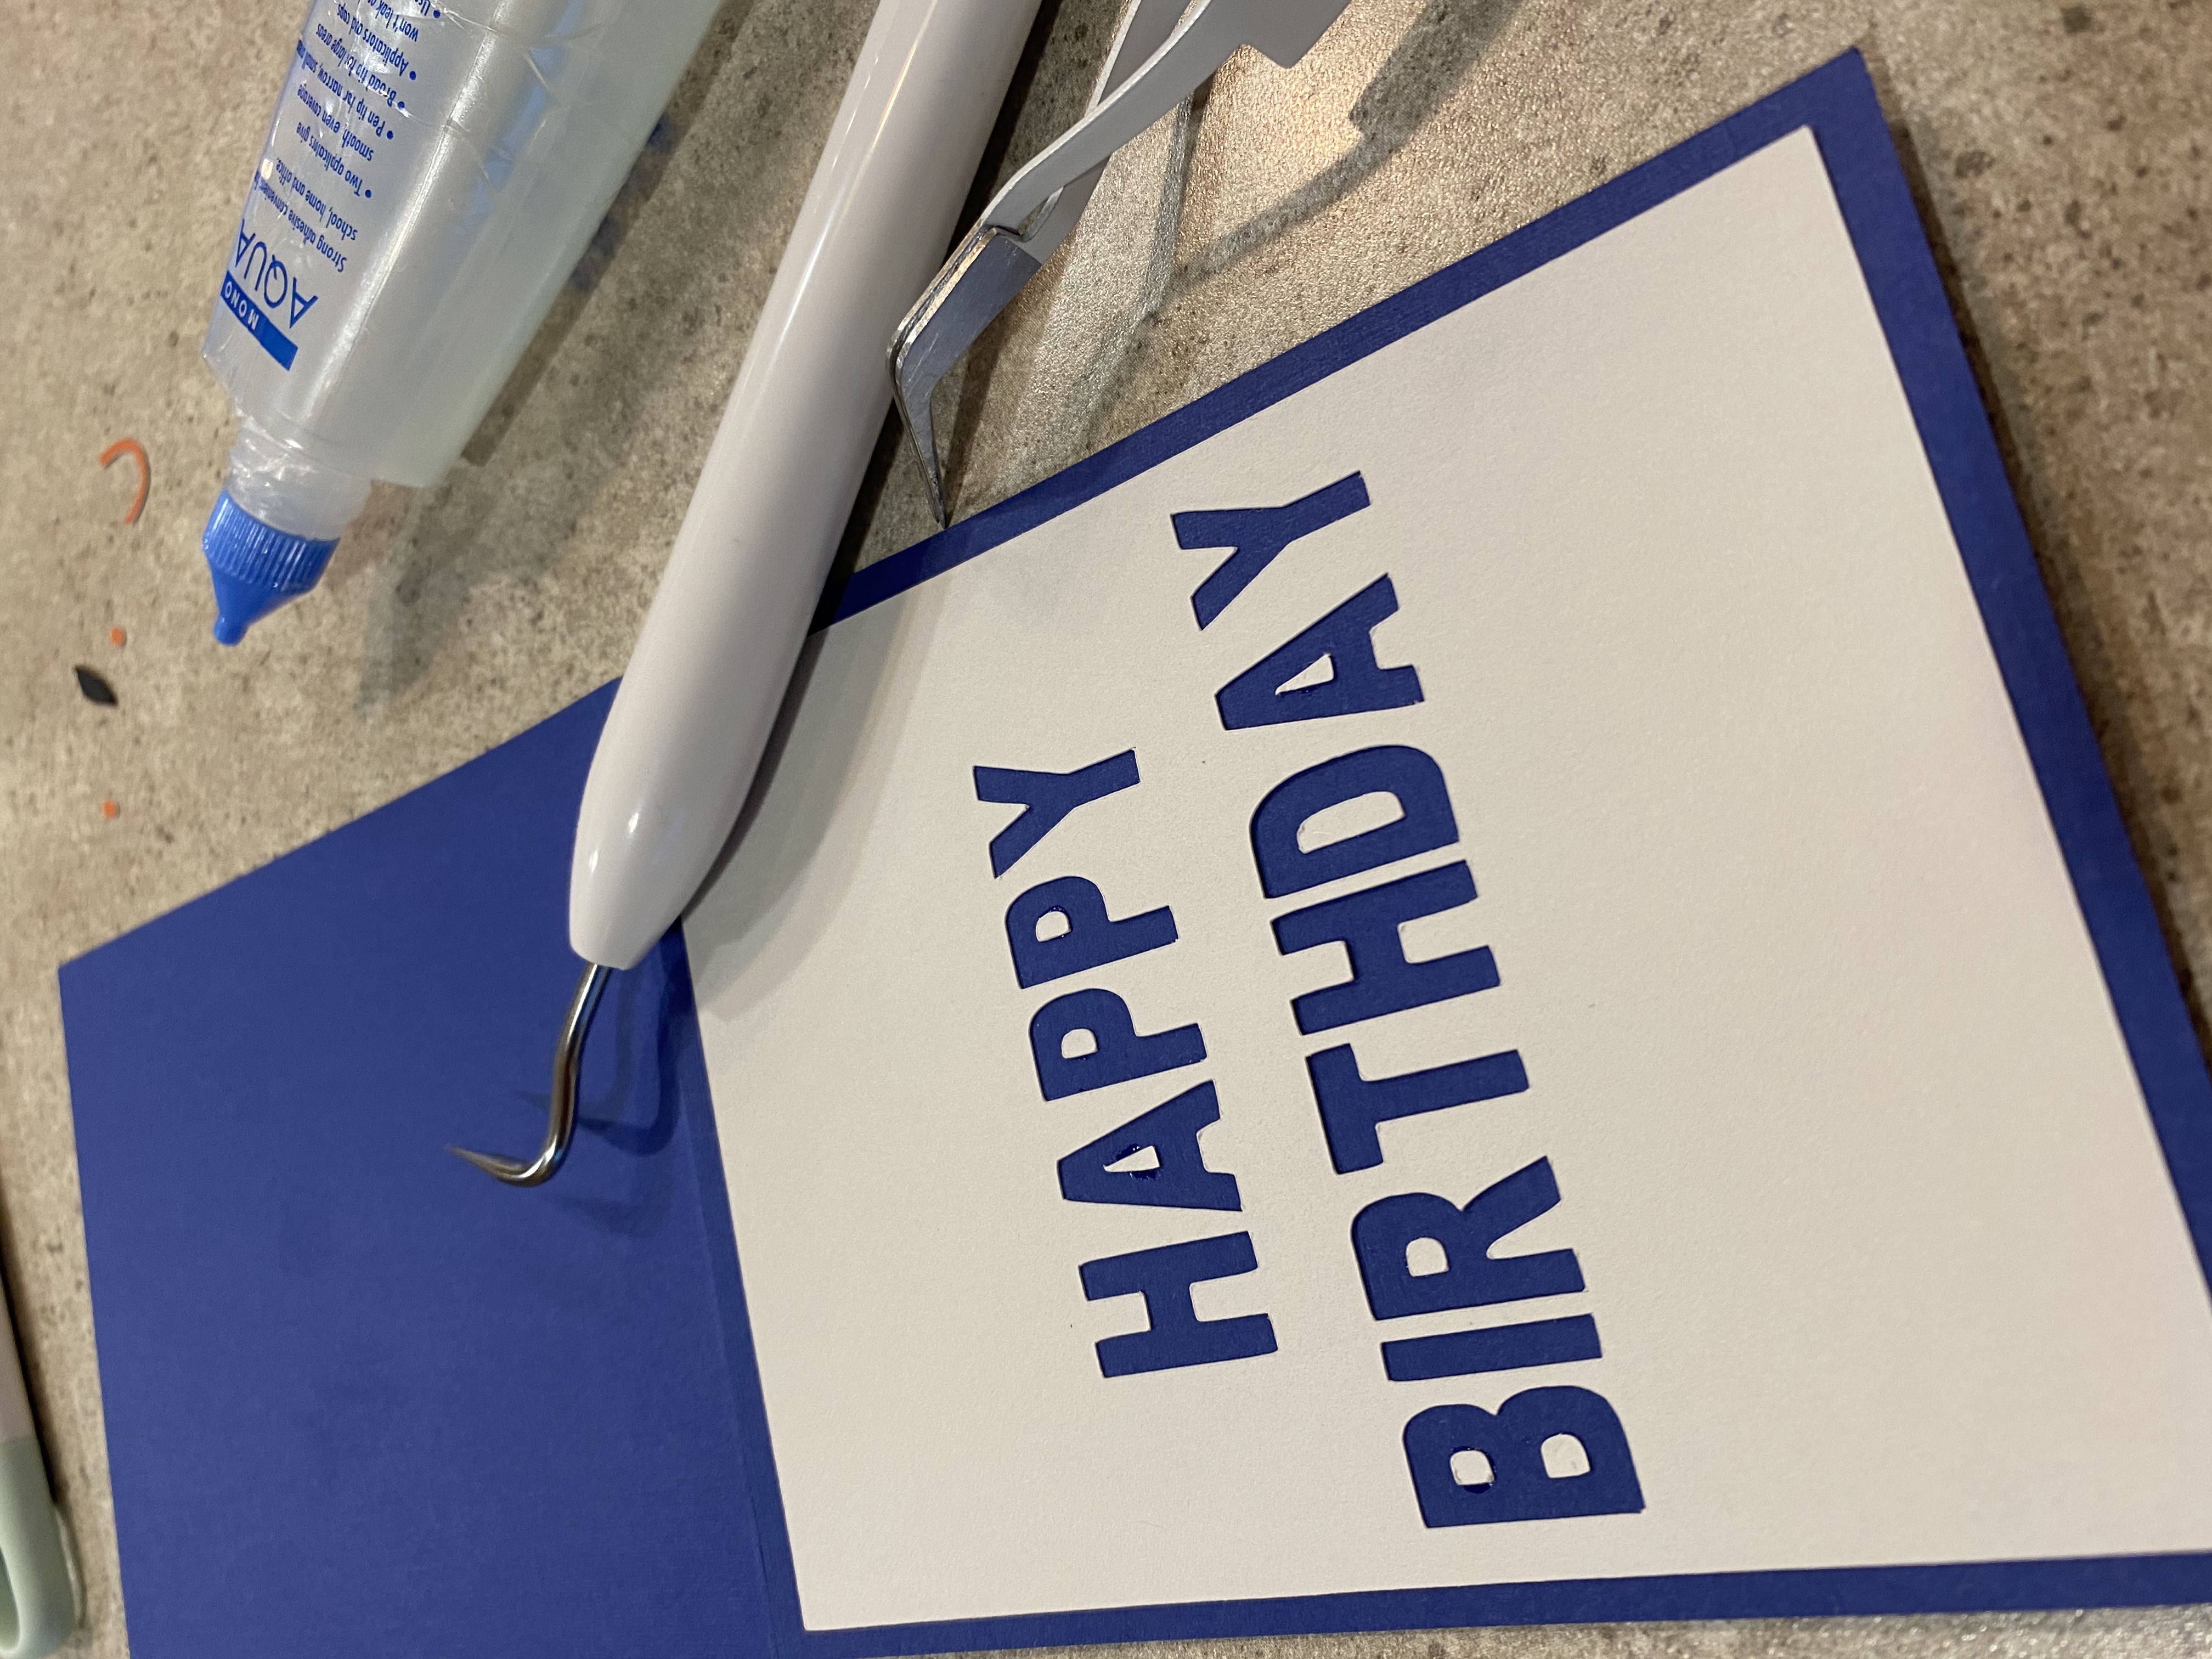
- Glue (I suggest Tombow MONO AQUA Liquid Glue)
- Laminator and laminating sheets (optional)
This pack of Astrobrights cardstock at Amazon is a great price and has color choices that are spot on for this project.
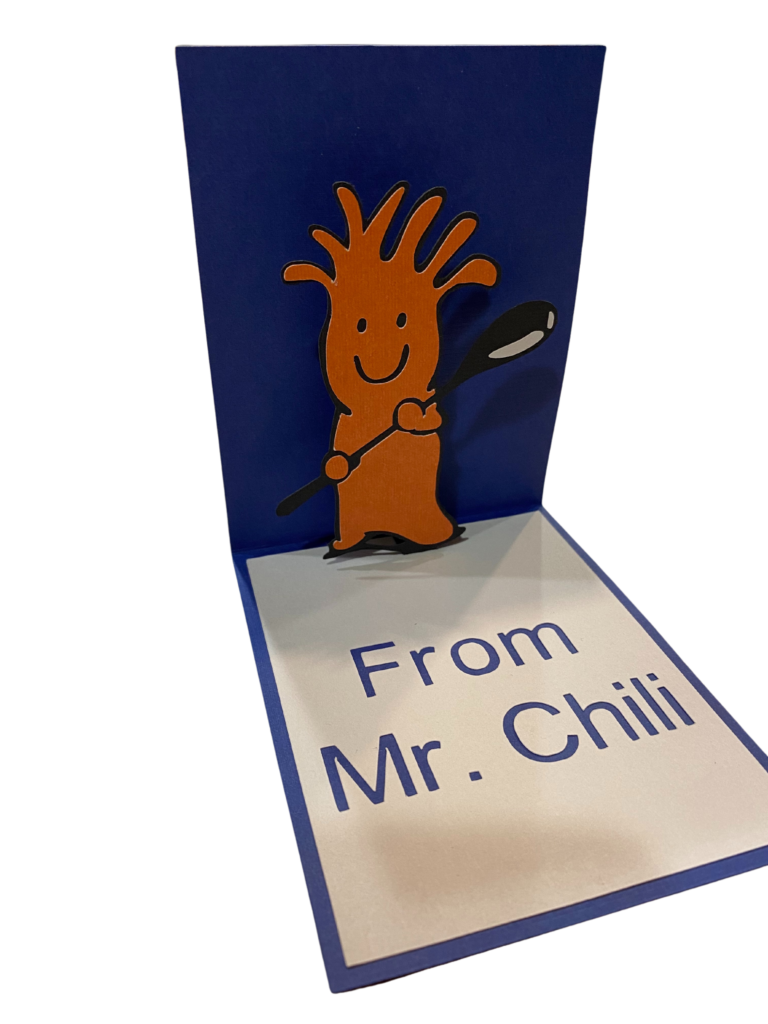
Mr. Chili Birthday Card Cutout with a Cricut
I used 65lb card stock for this card. It’s sturdy thus holds up to being a card just right. It also holds up to the pop-up action this card is designed for.
With a Cricut this is a super simple job. It does all the hard work, and you just need to glue it together.
If you don’t have a Cricut, you could cut this all with a sharp craft knife and/or paper cutter. It’ll take some skillful cutting, but it could be done.
Download the Design
Download the project here and load it into Cricut Design Space to get started.
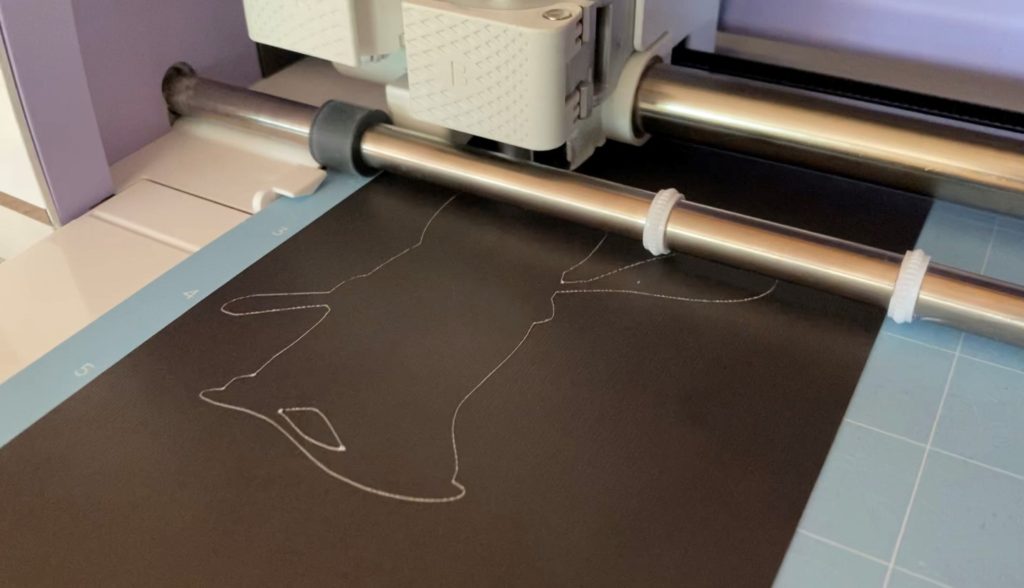
Cut the design
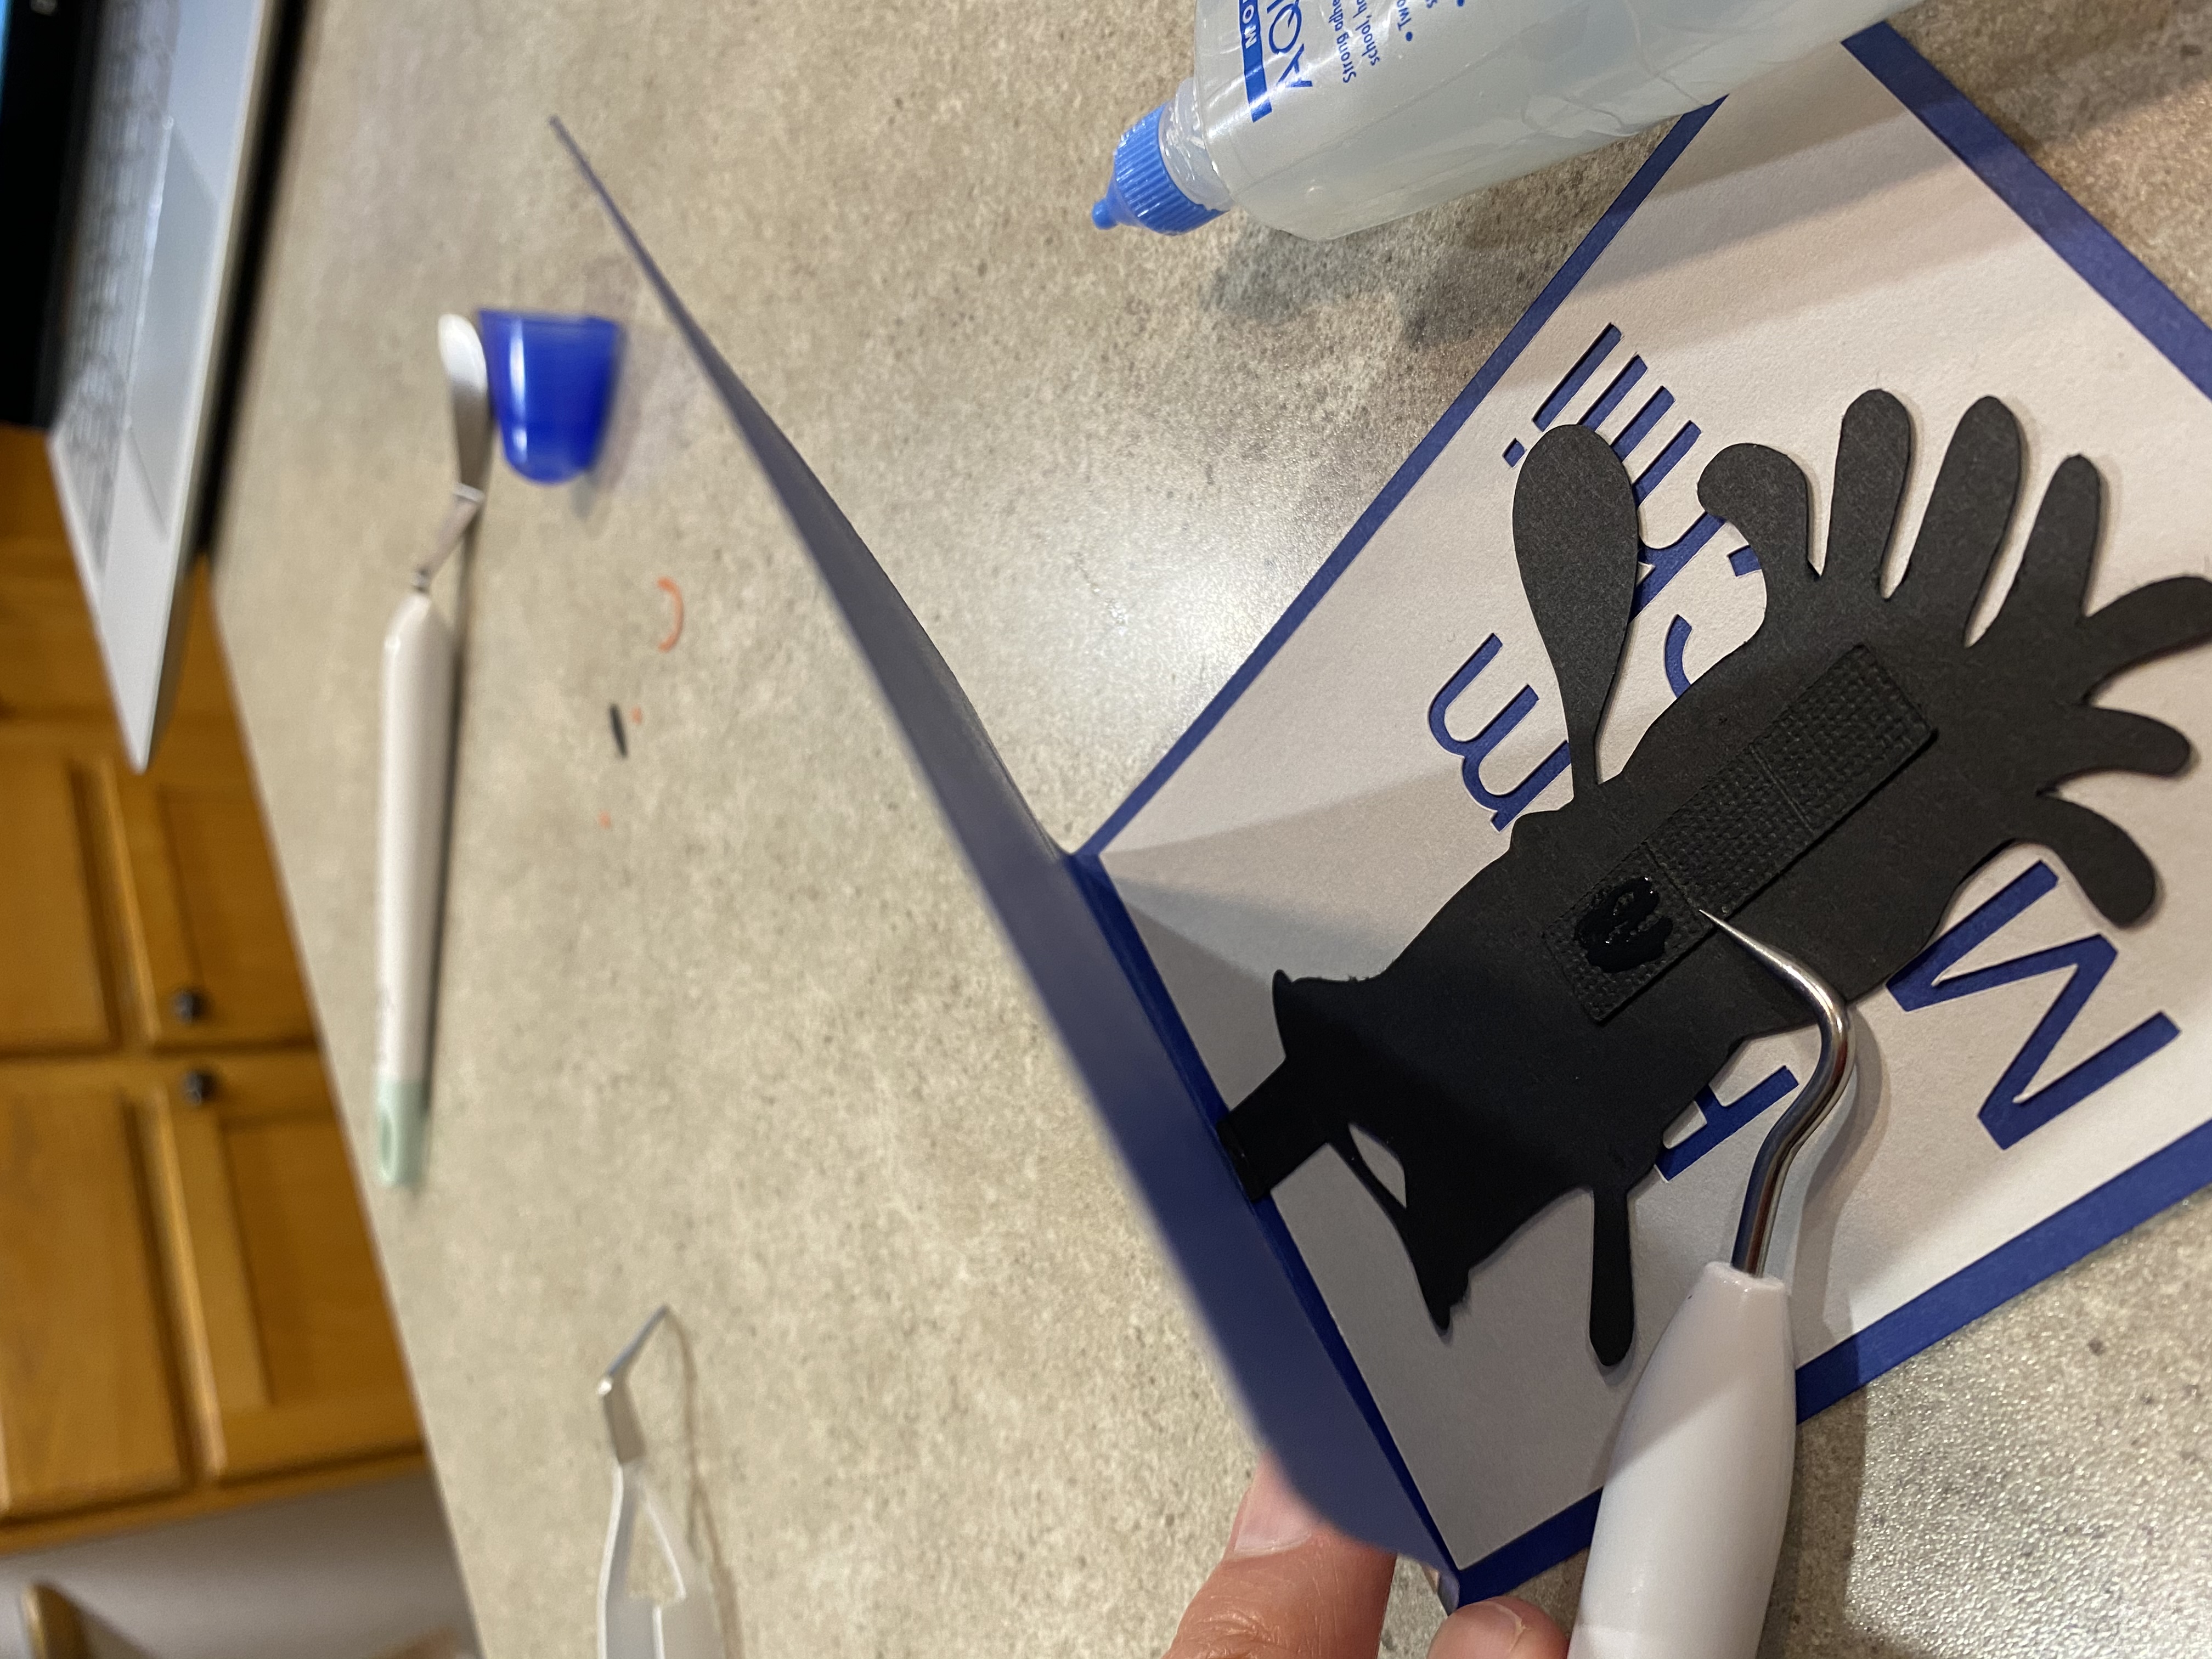
Use the Cricut to cut out the design.
TIP: Use a scraper to ensure that the cardstock is adhered to the mat before cutting.
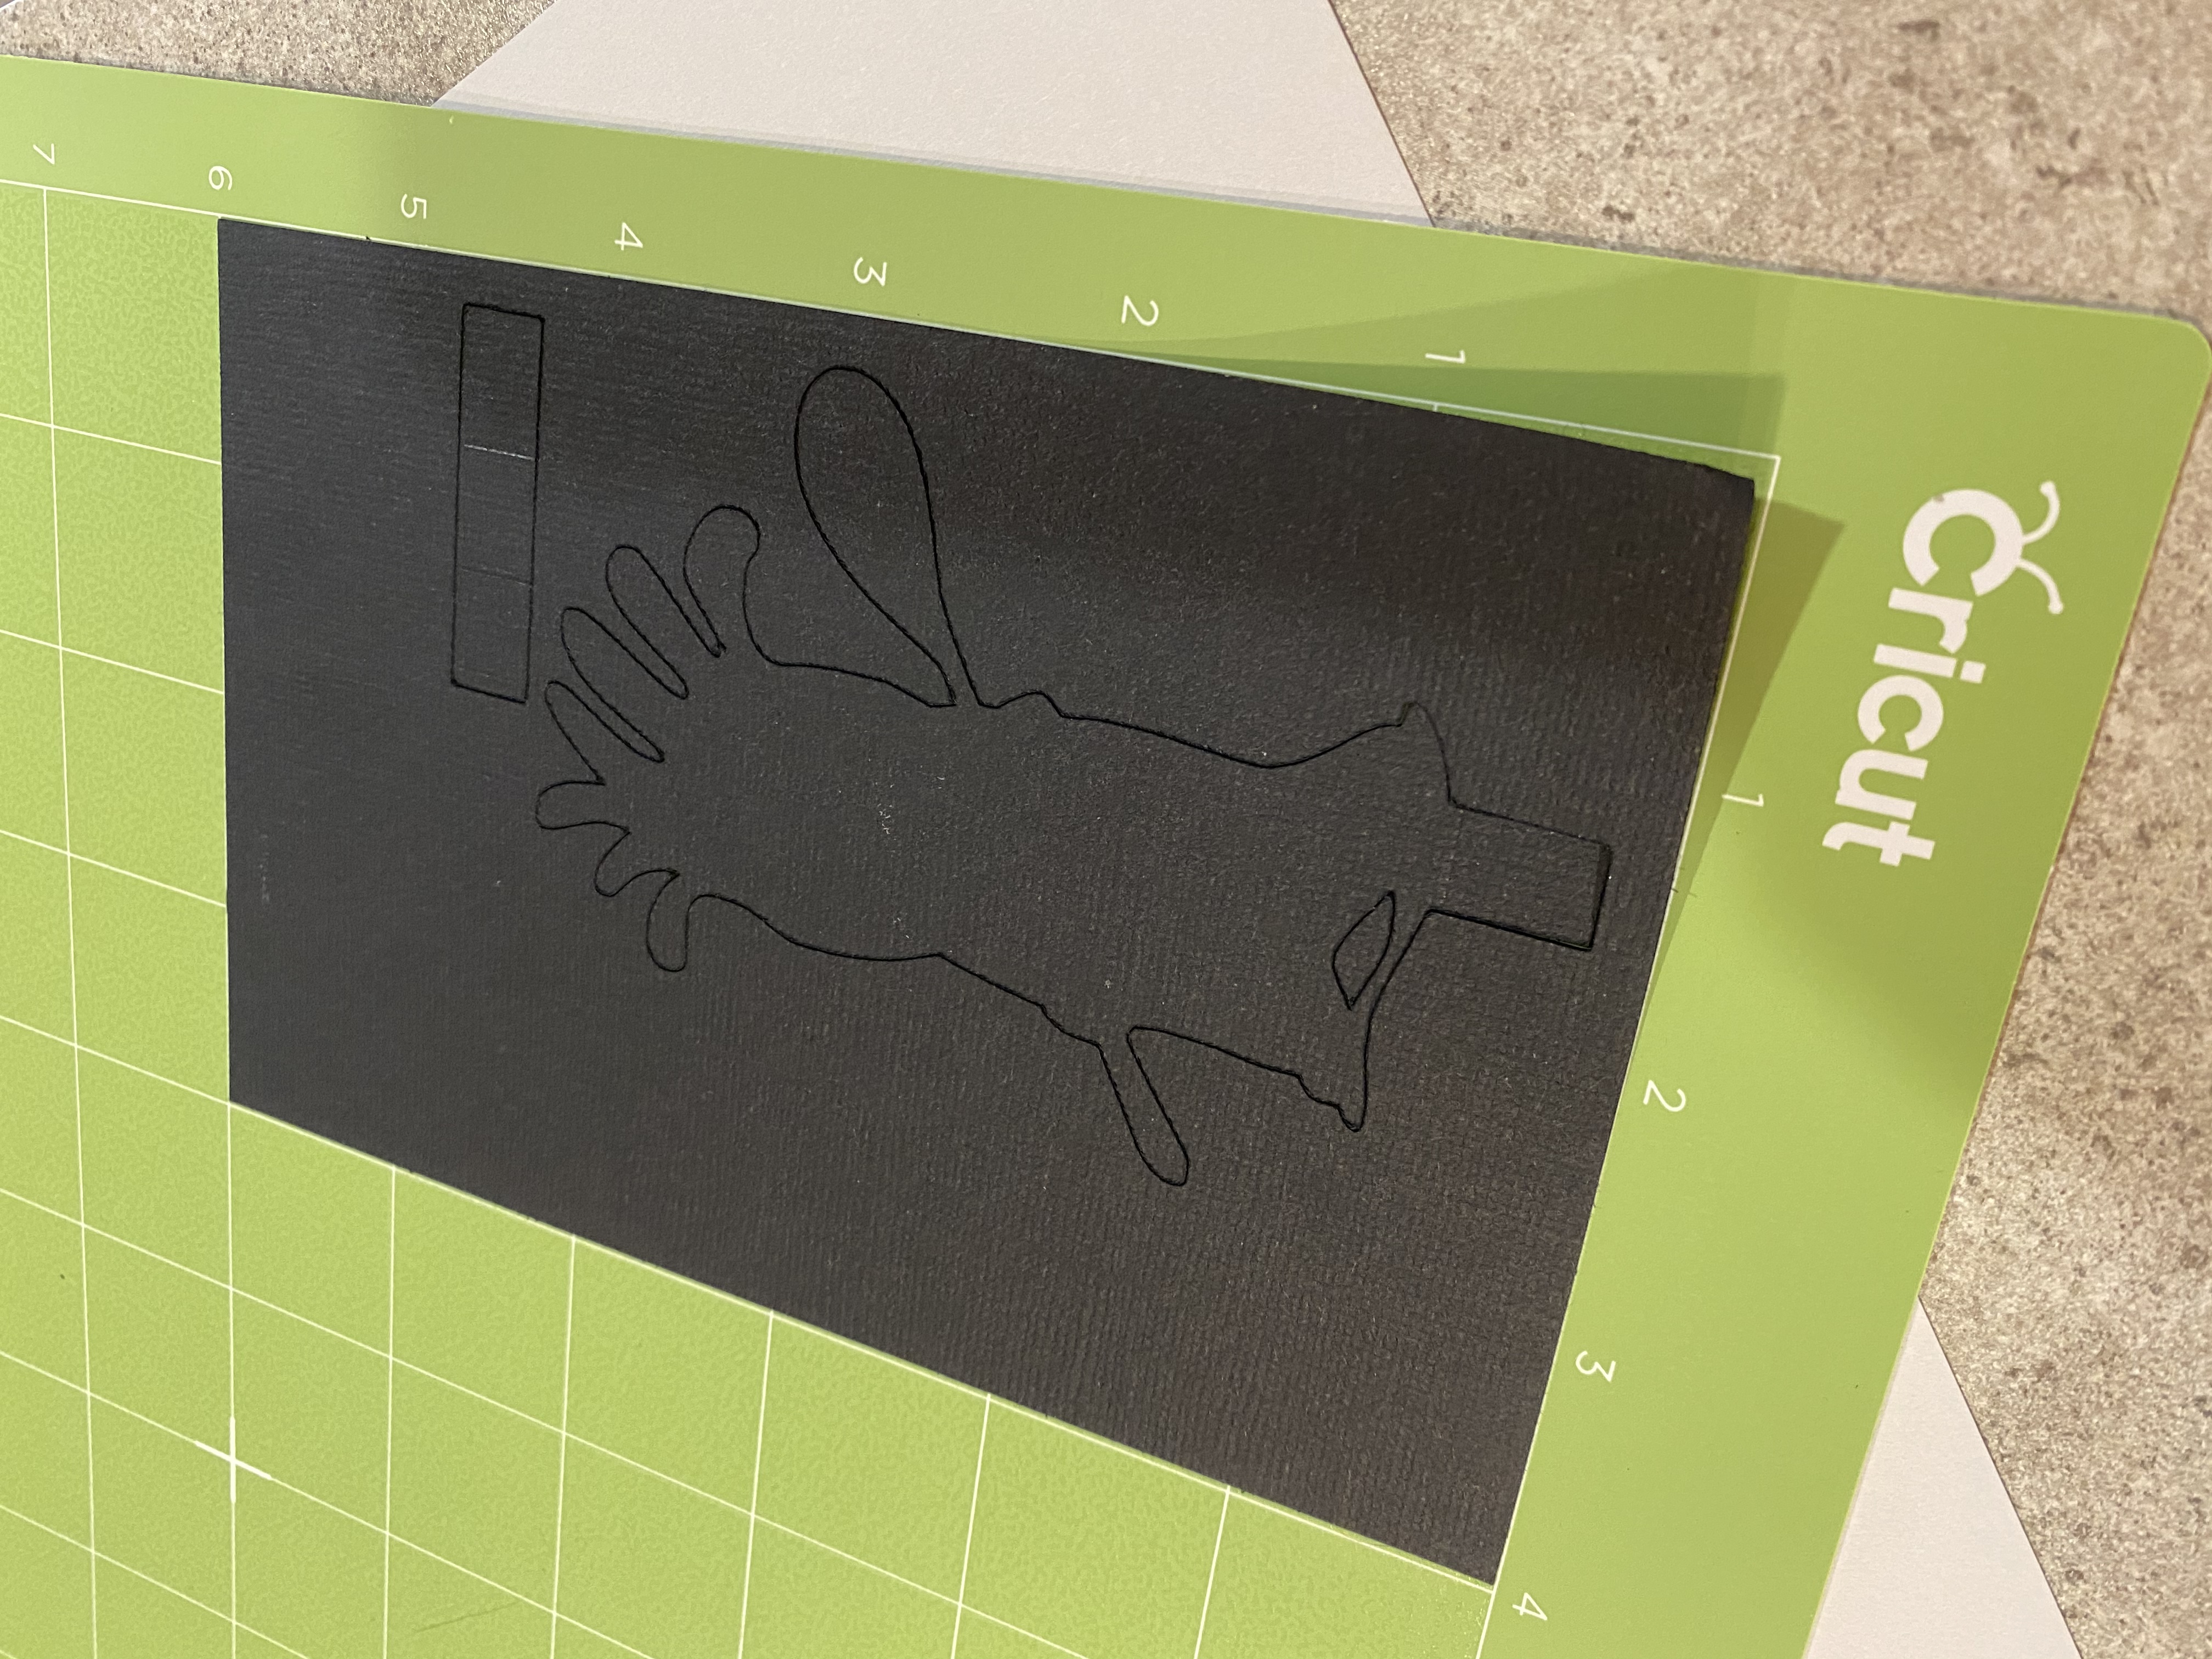
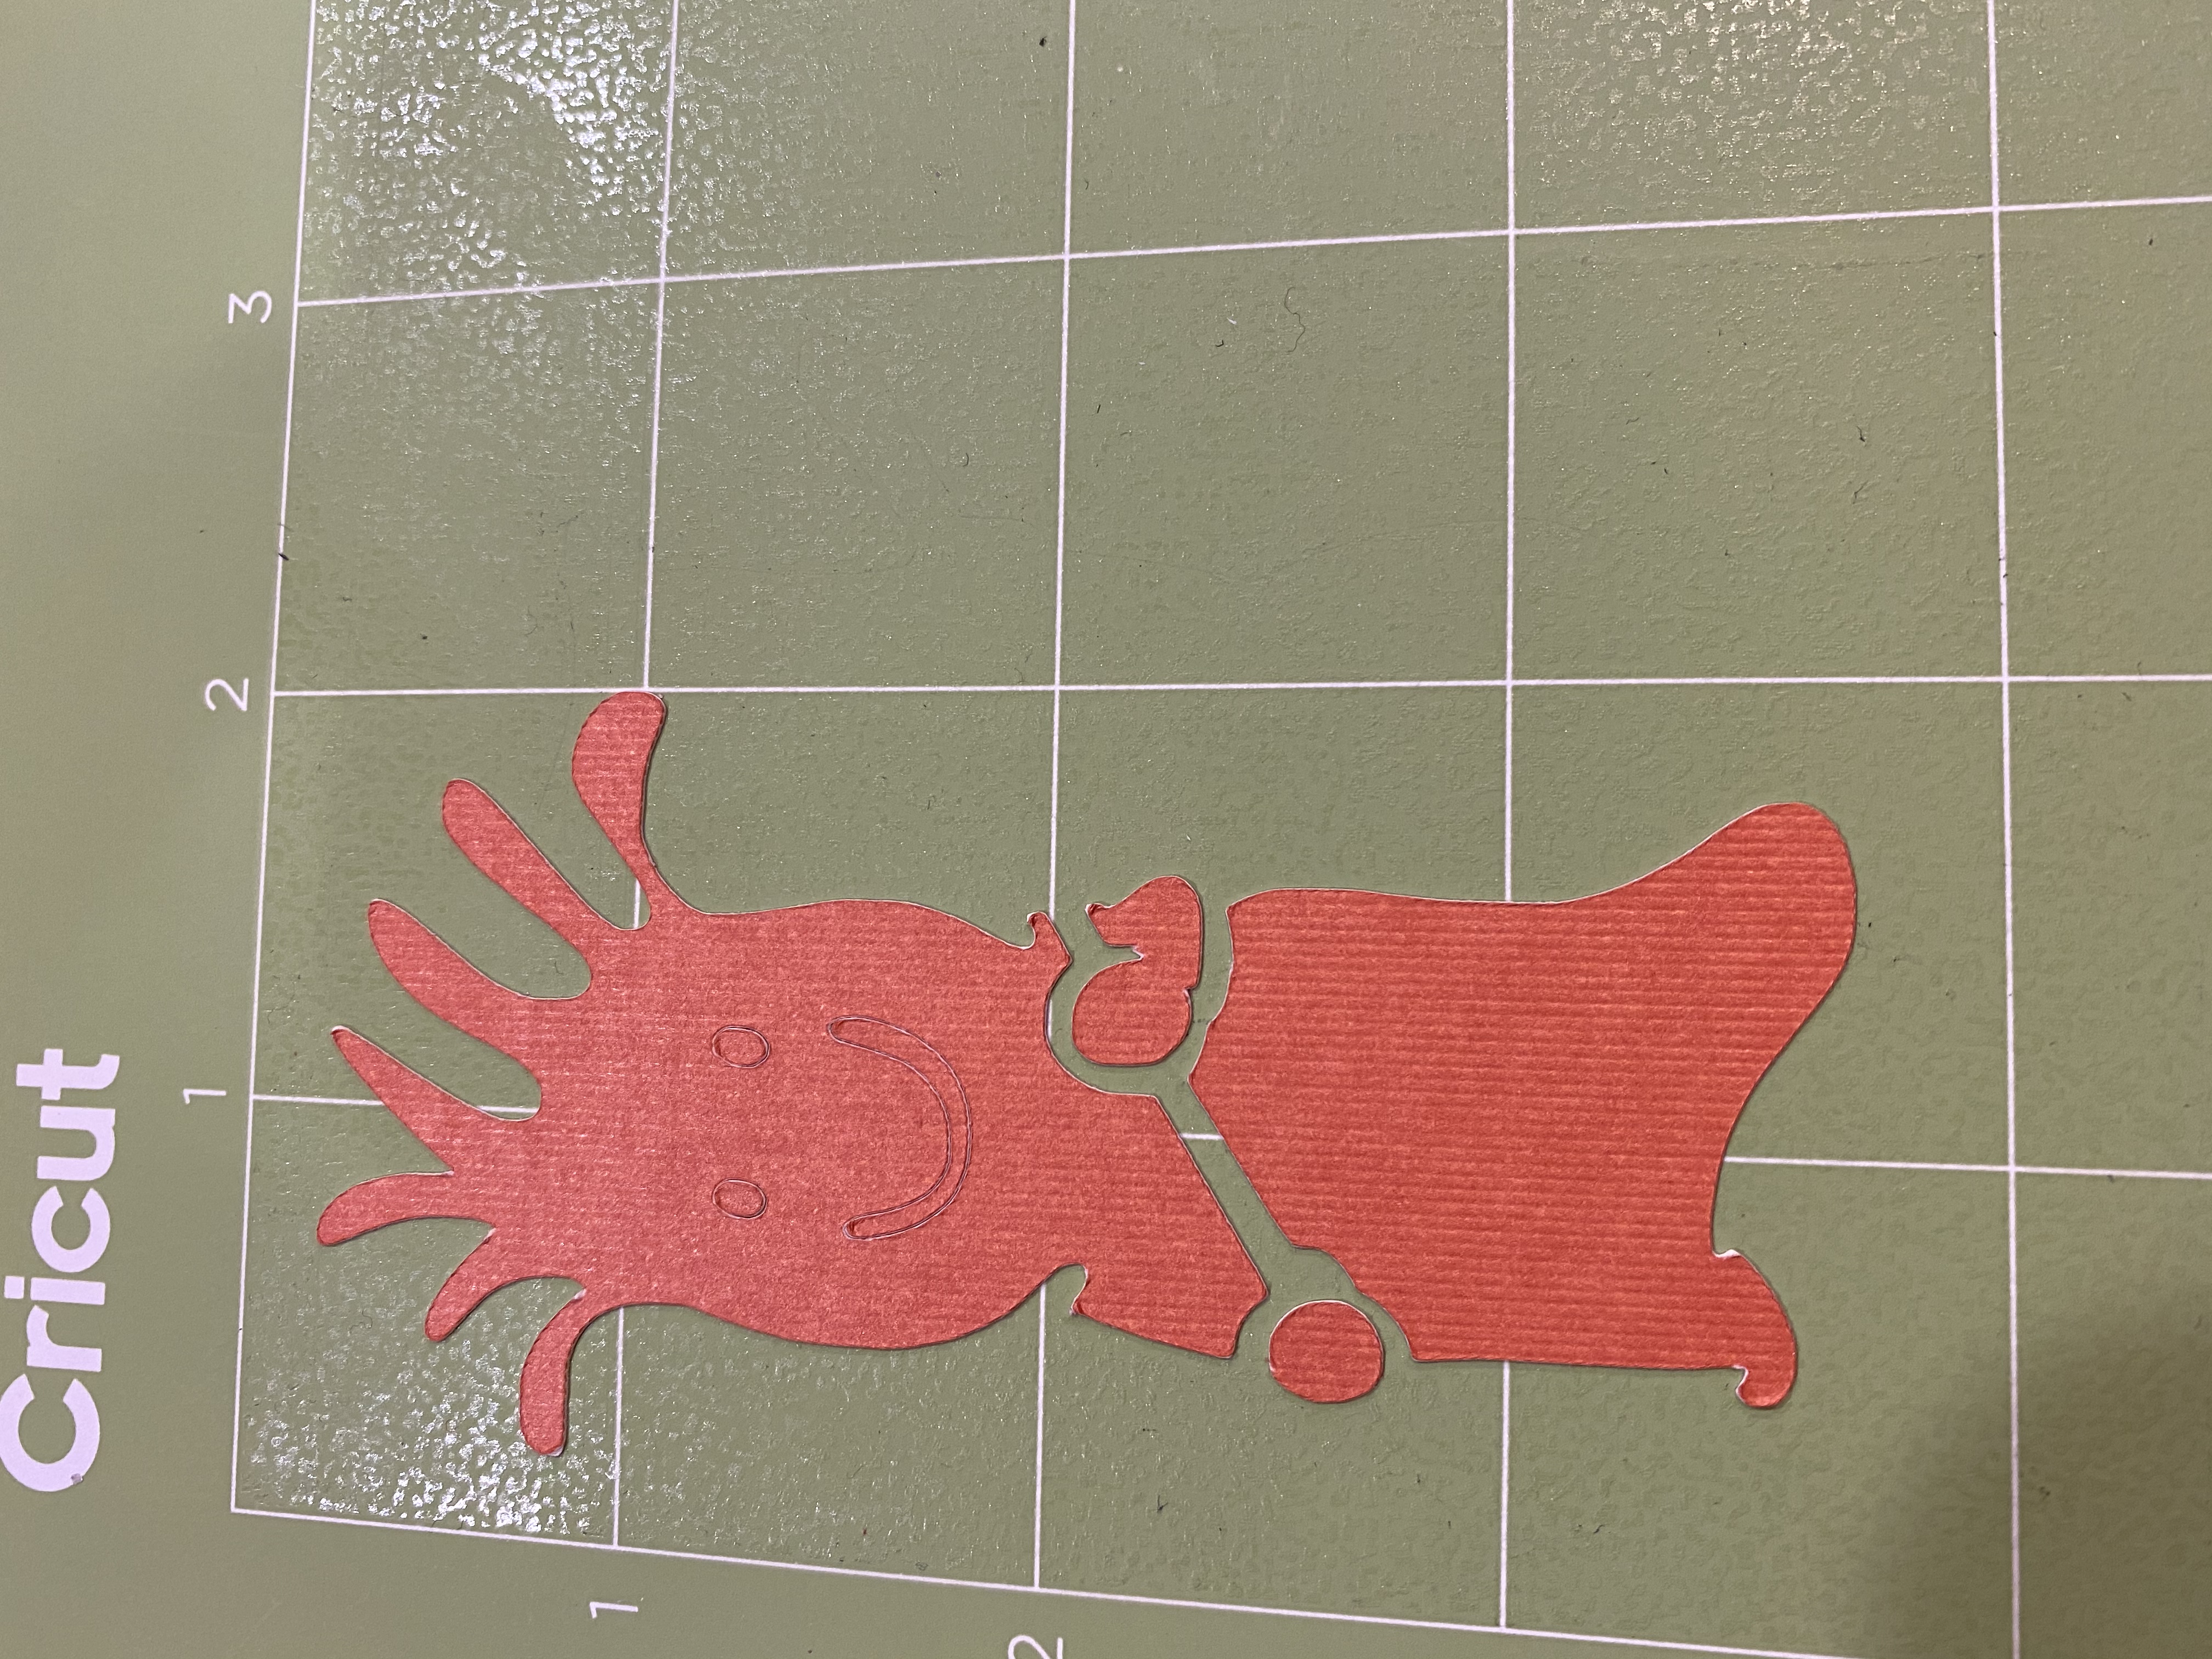
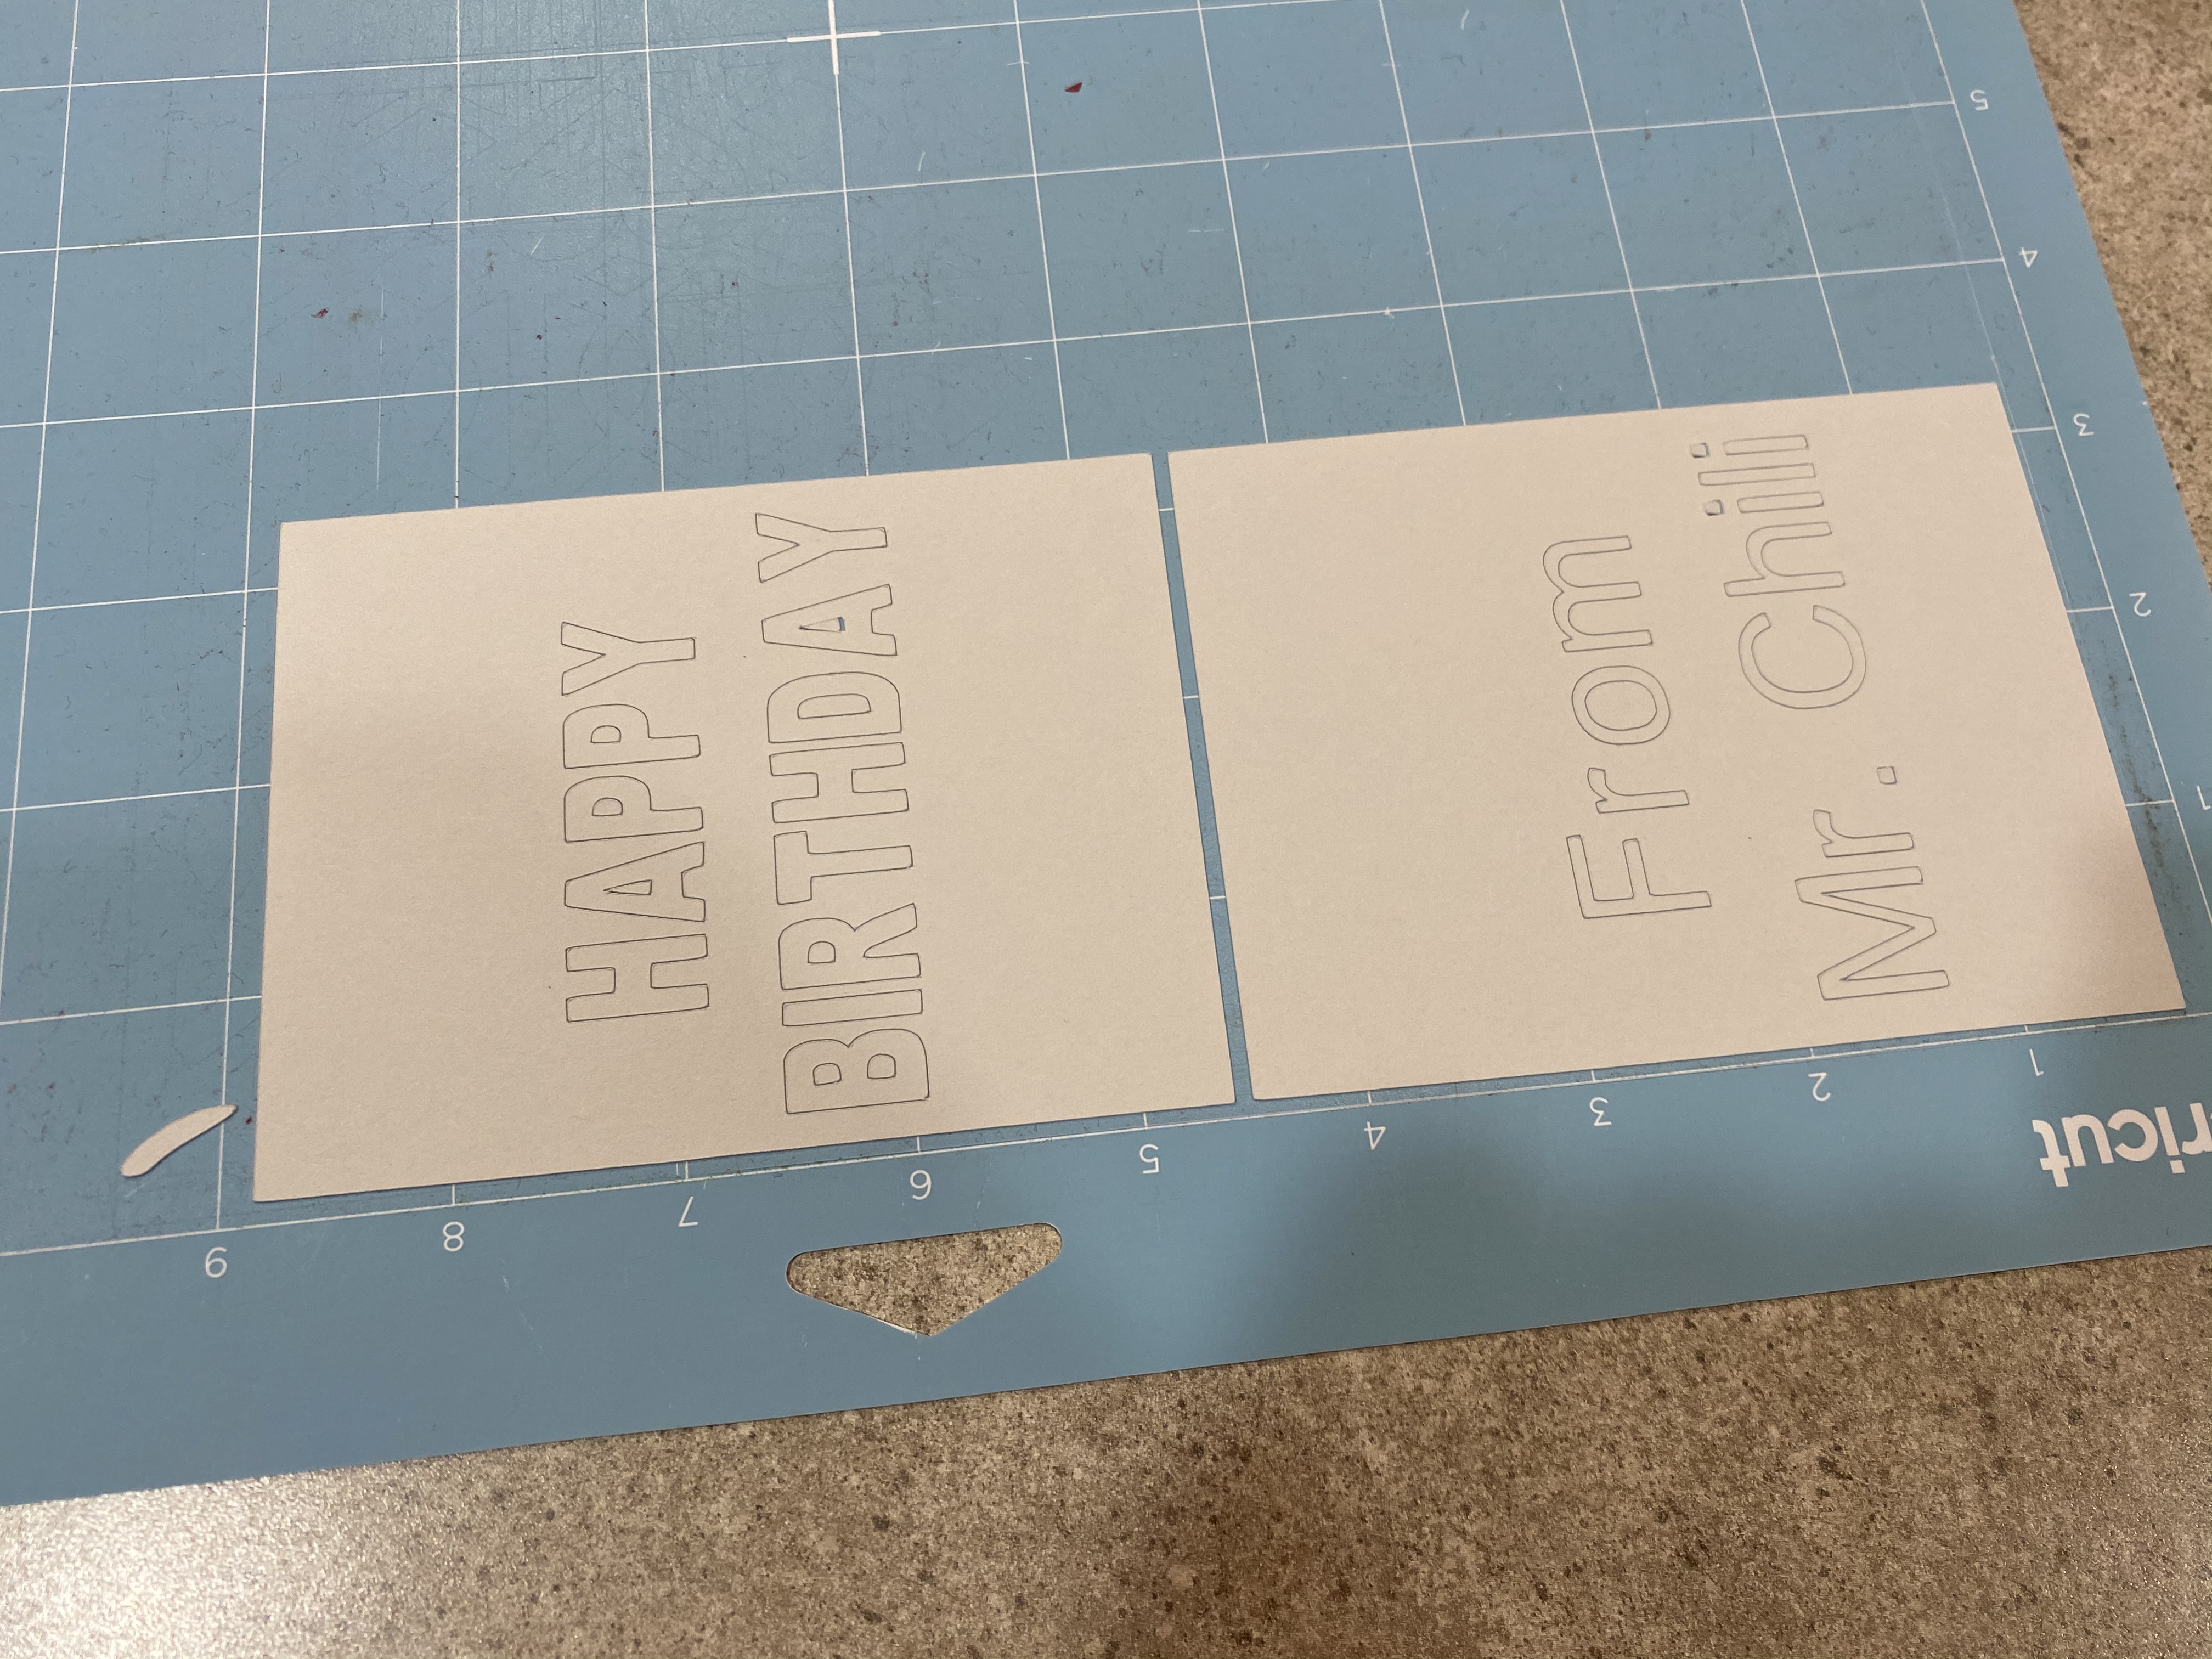
When removing the cardstock from your Cricut mat, be careful when pulling (or weeding) the paper off to not tear it and to not loose the pieces. For some of the letters you need to keep the inside part (the A, B, D, O, P, and R) and some of the body parts of Mr. Chili are small.
Pre-Bend the Cardstock
The blue cardstock should have a scoring line through the middle. Give it a small fold along that middle line to make it fold like a card and define which sides are the inside and outside.
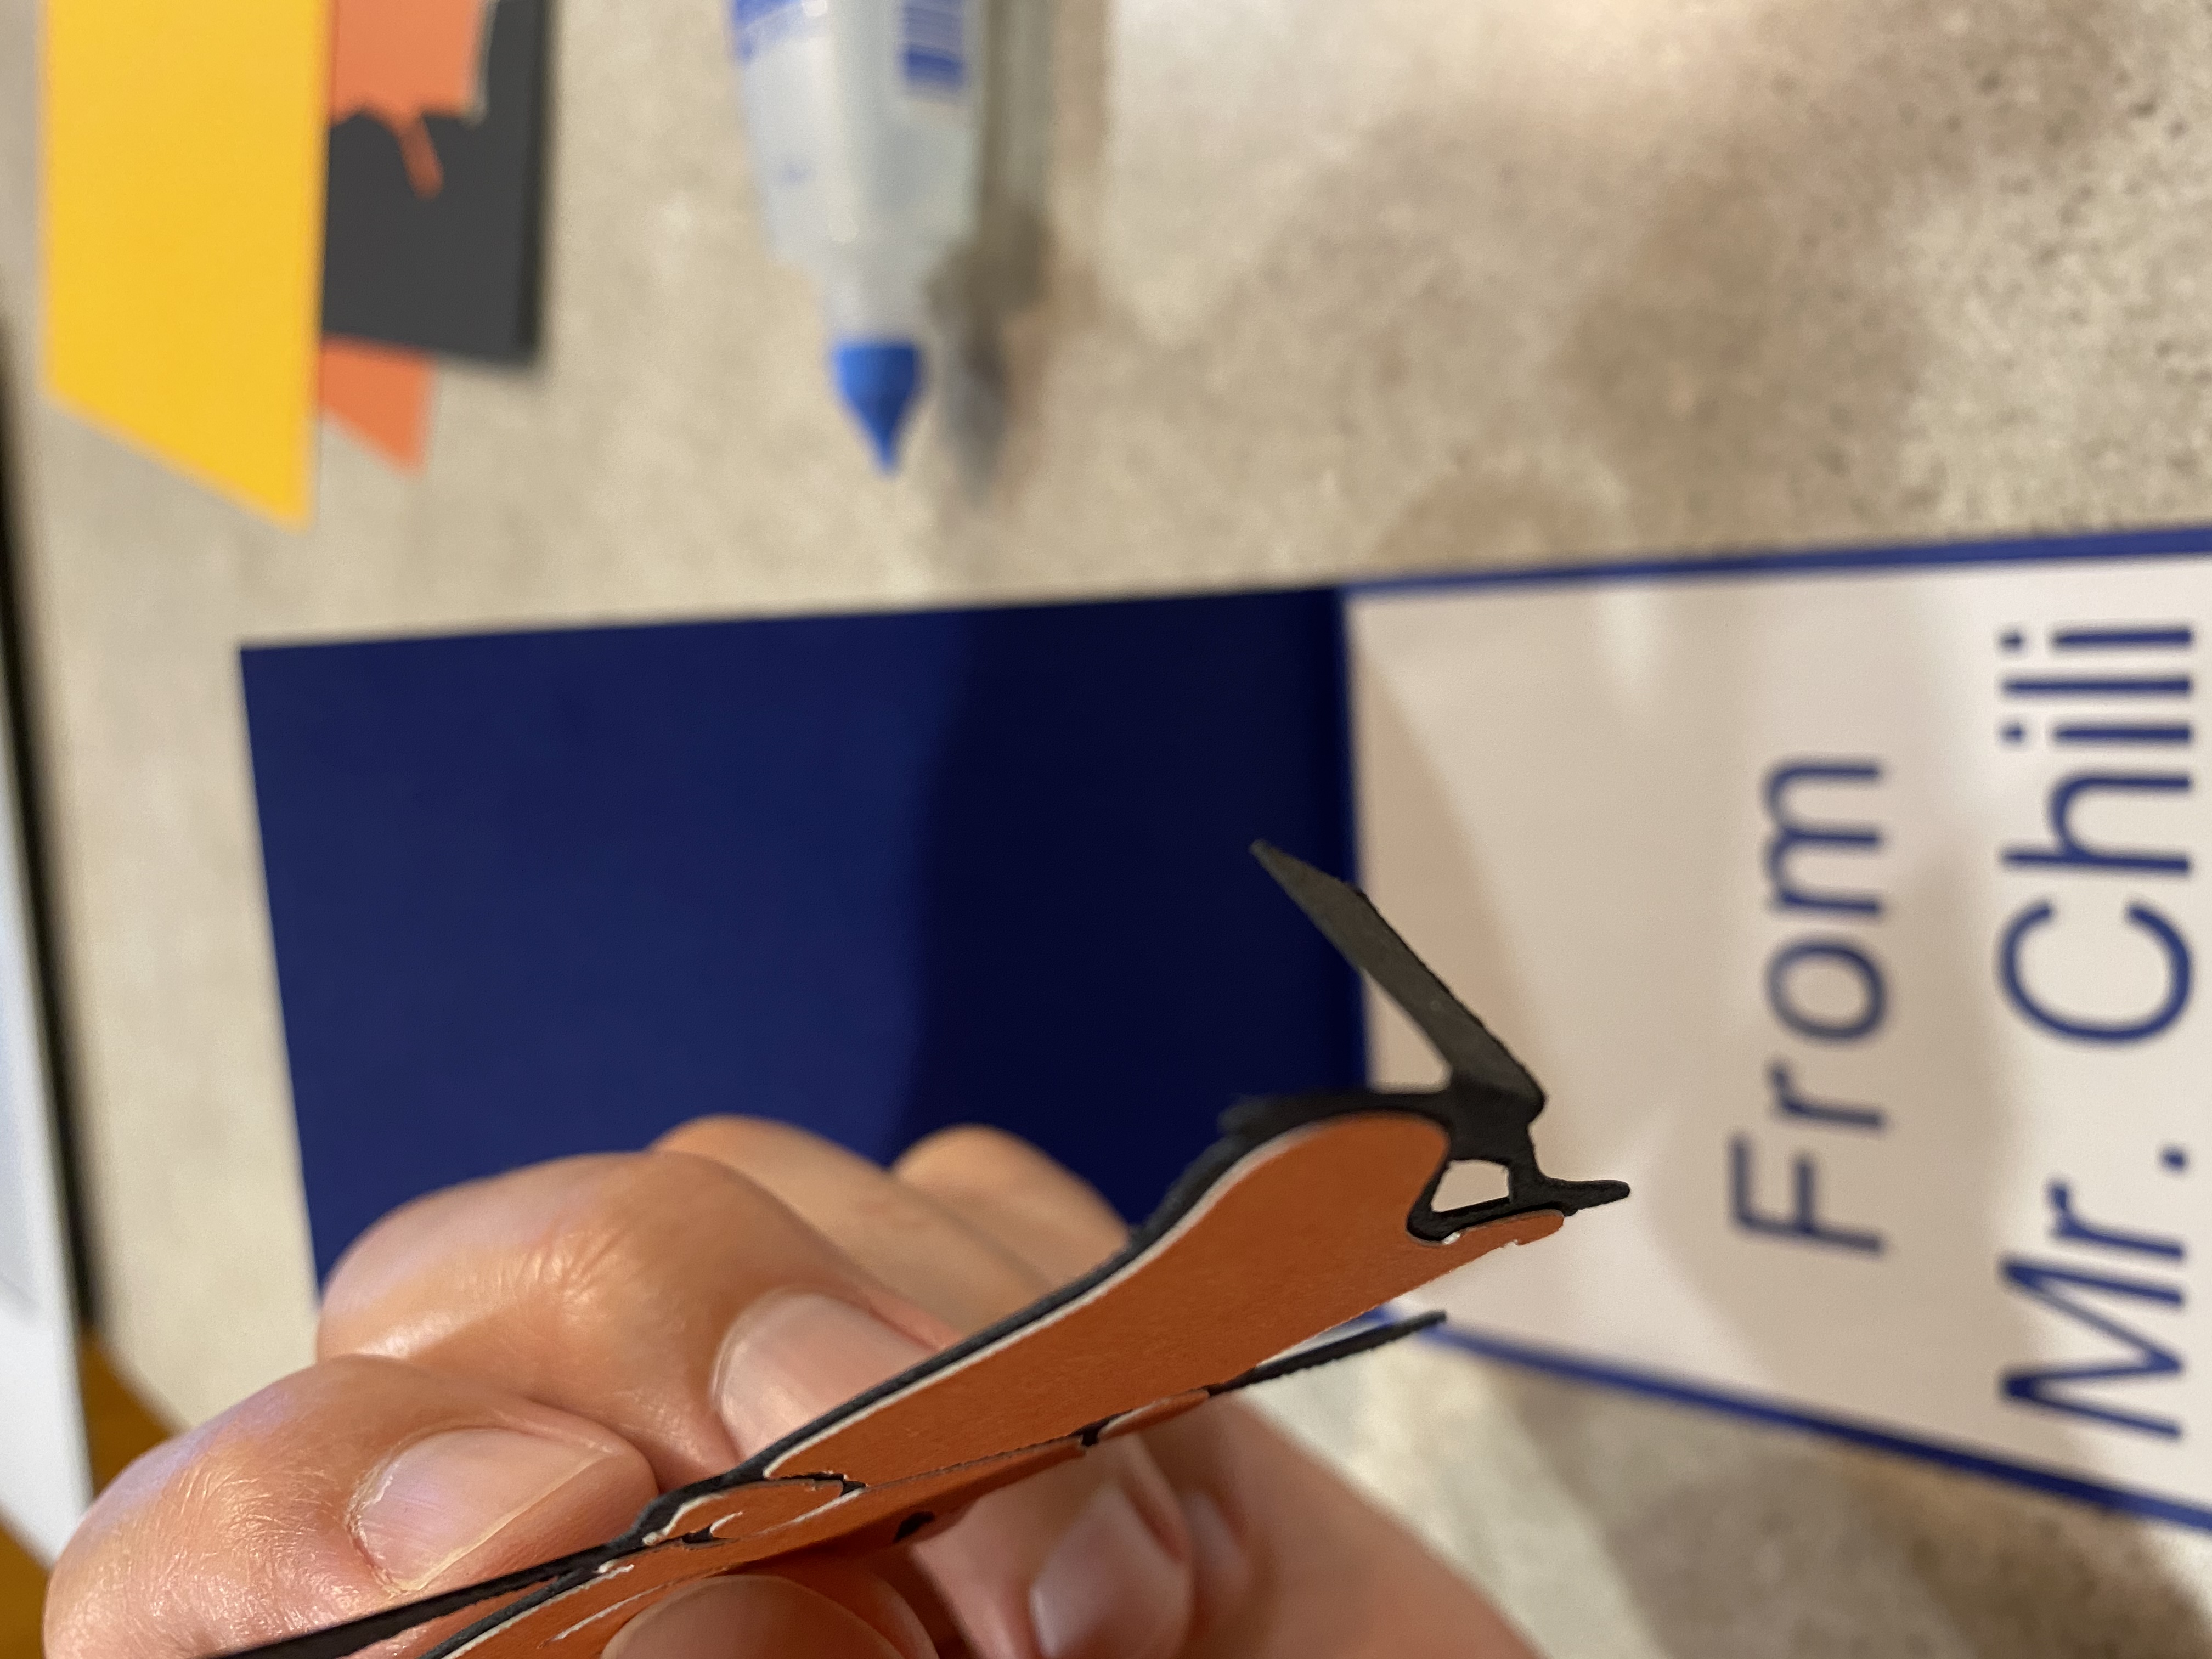
The black straight piece is a riser to hold Mr. Chili up on the inside of the card. Fold that carefully into a “Z” shape.

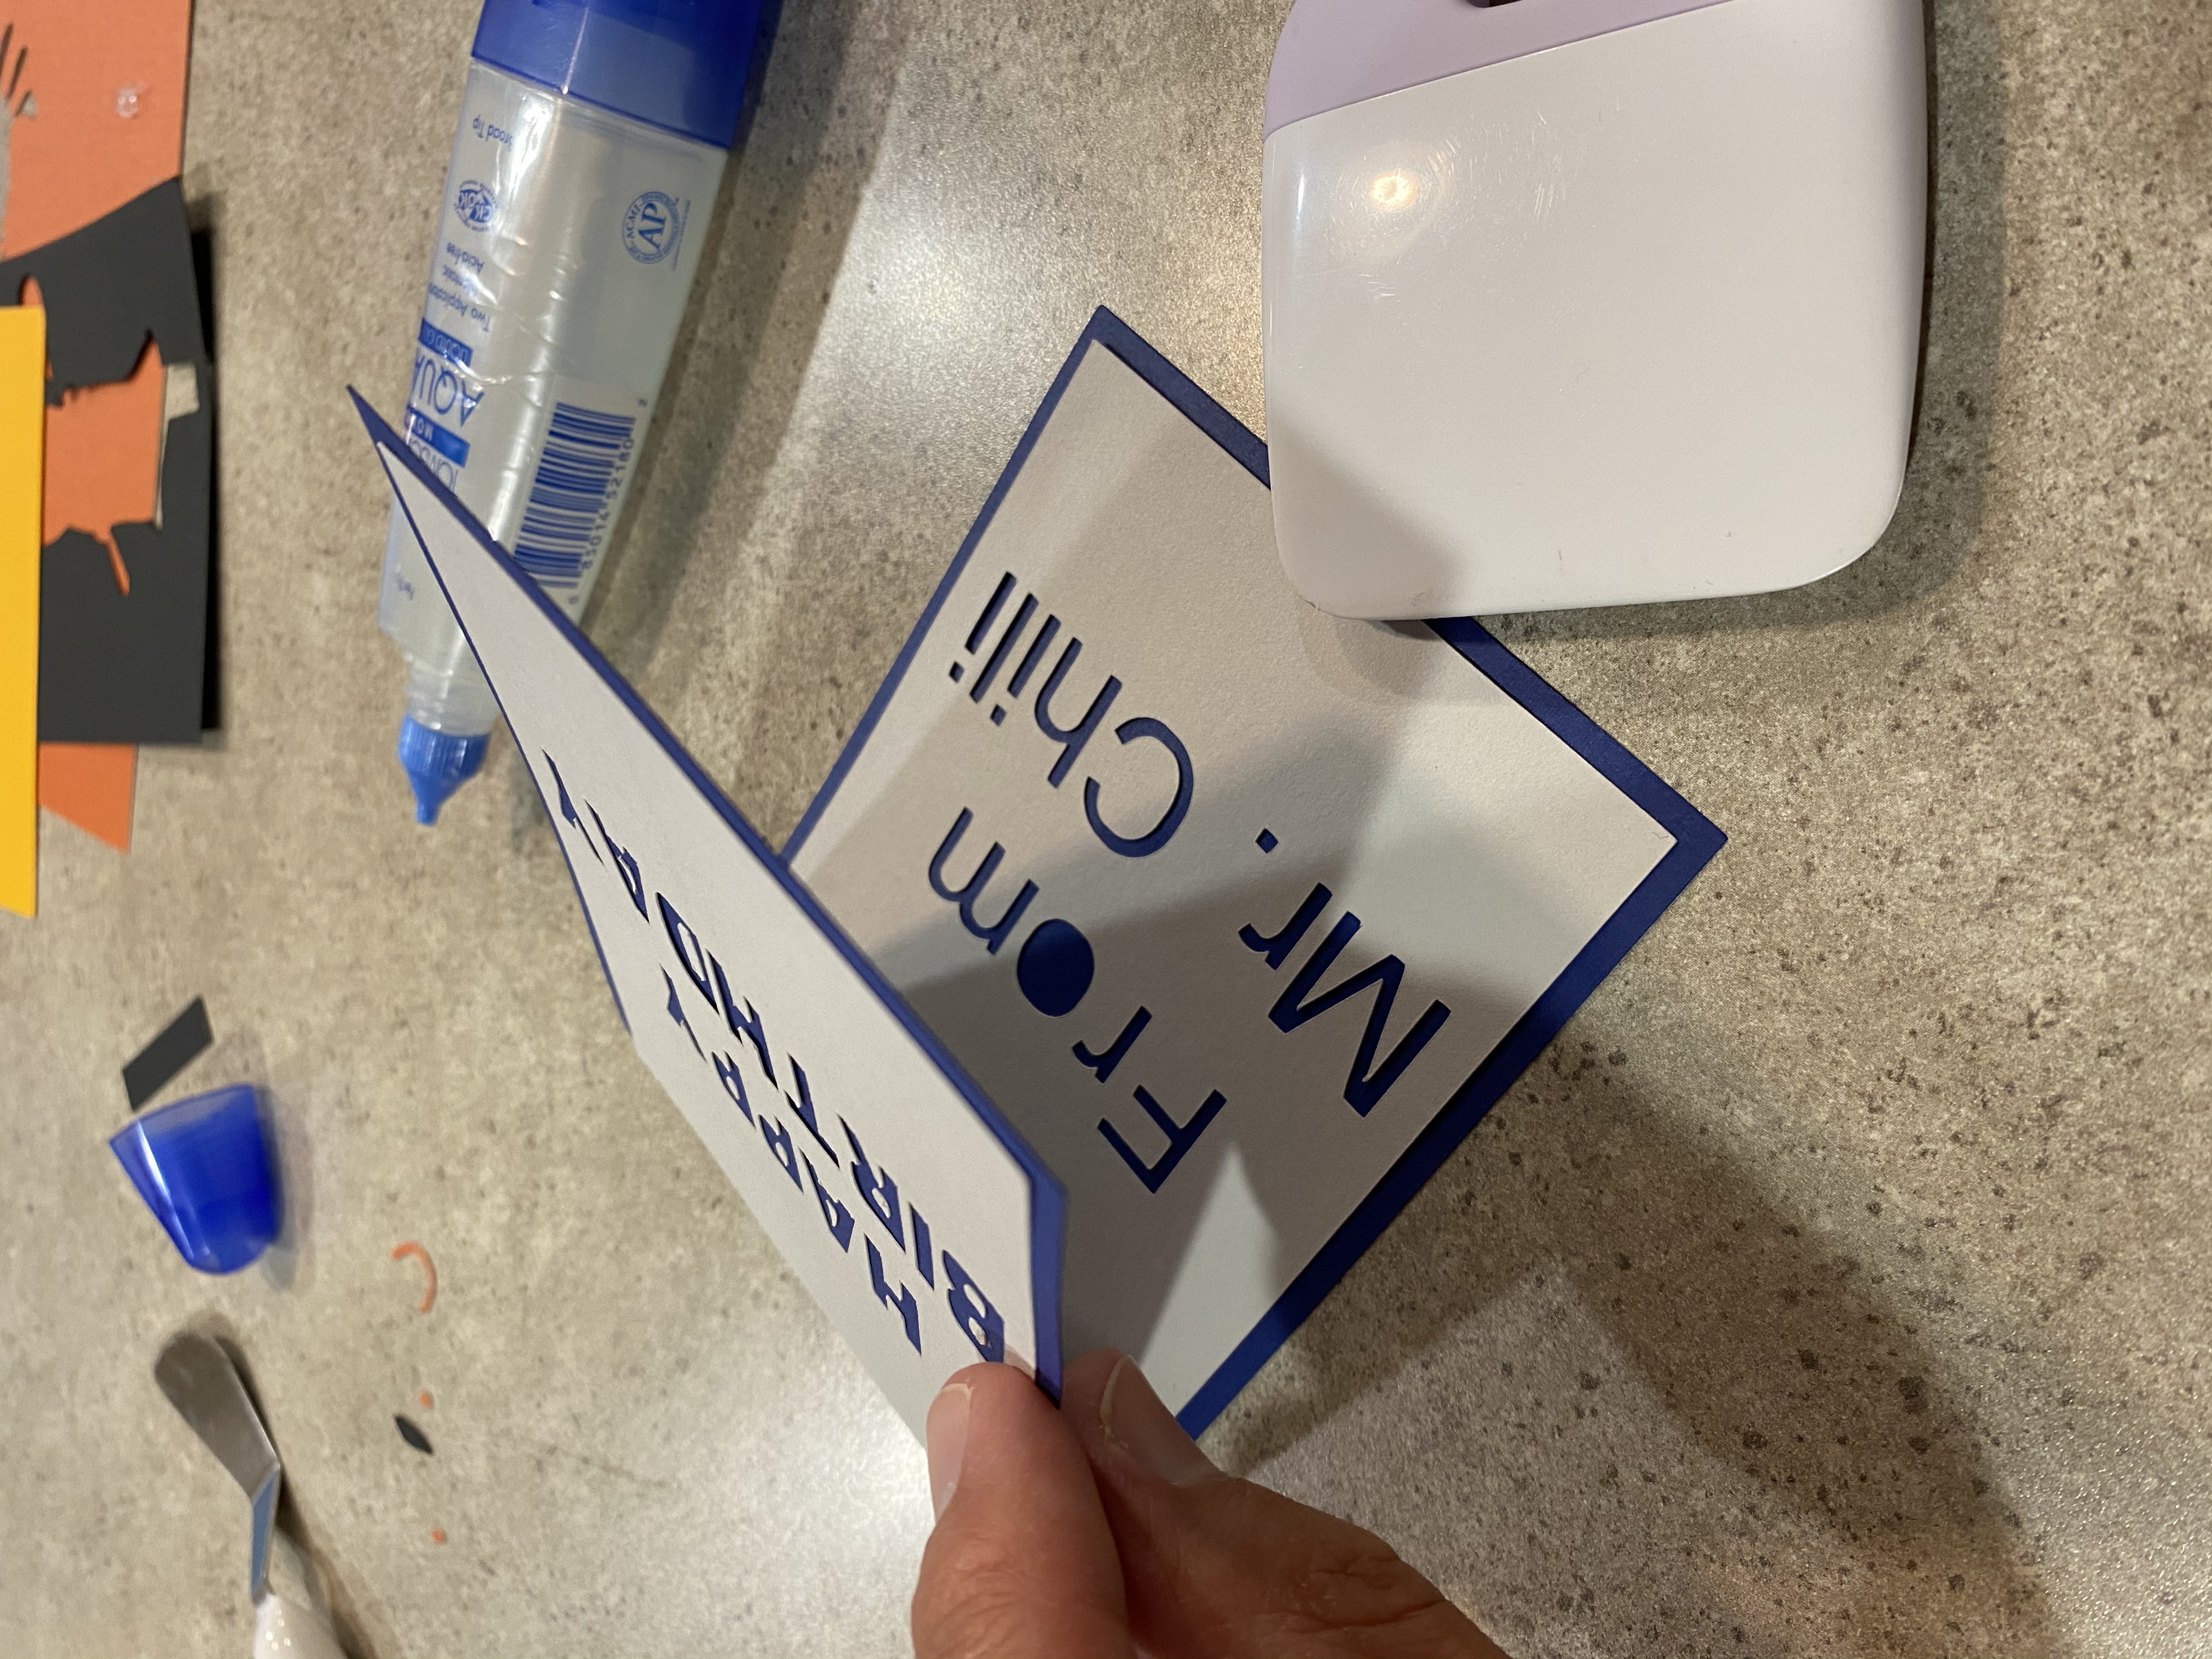
Assemble the Outside
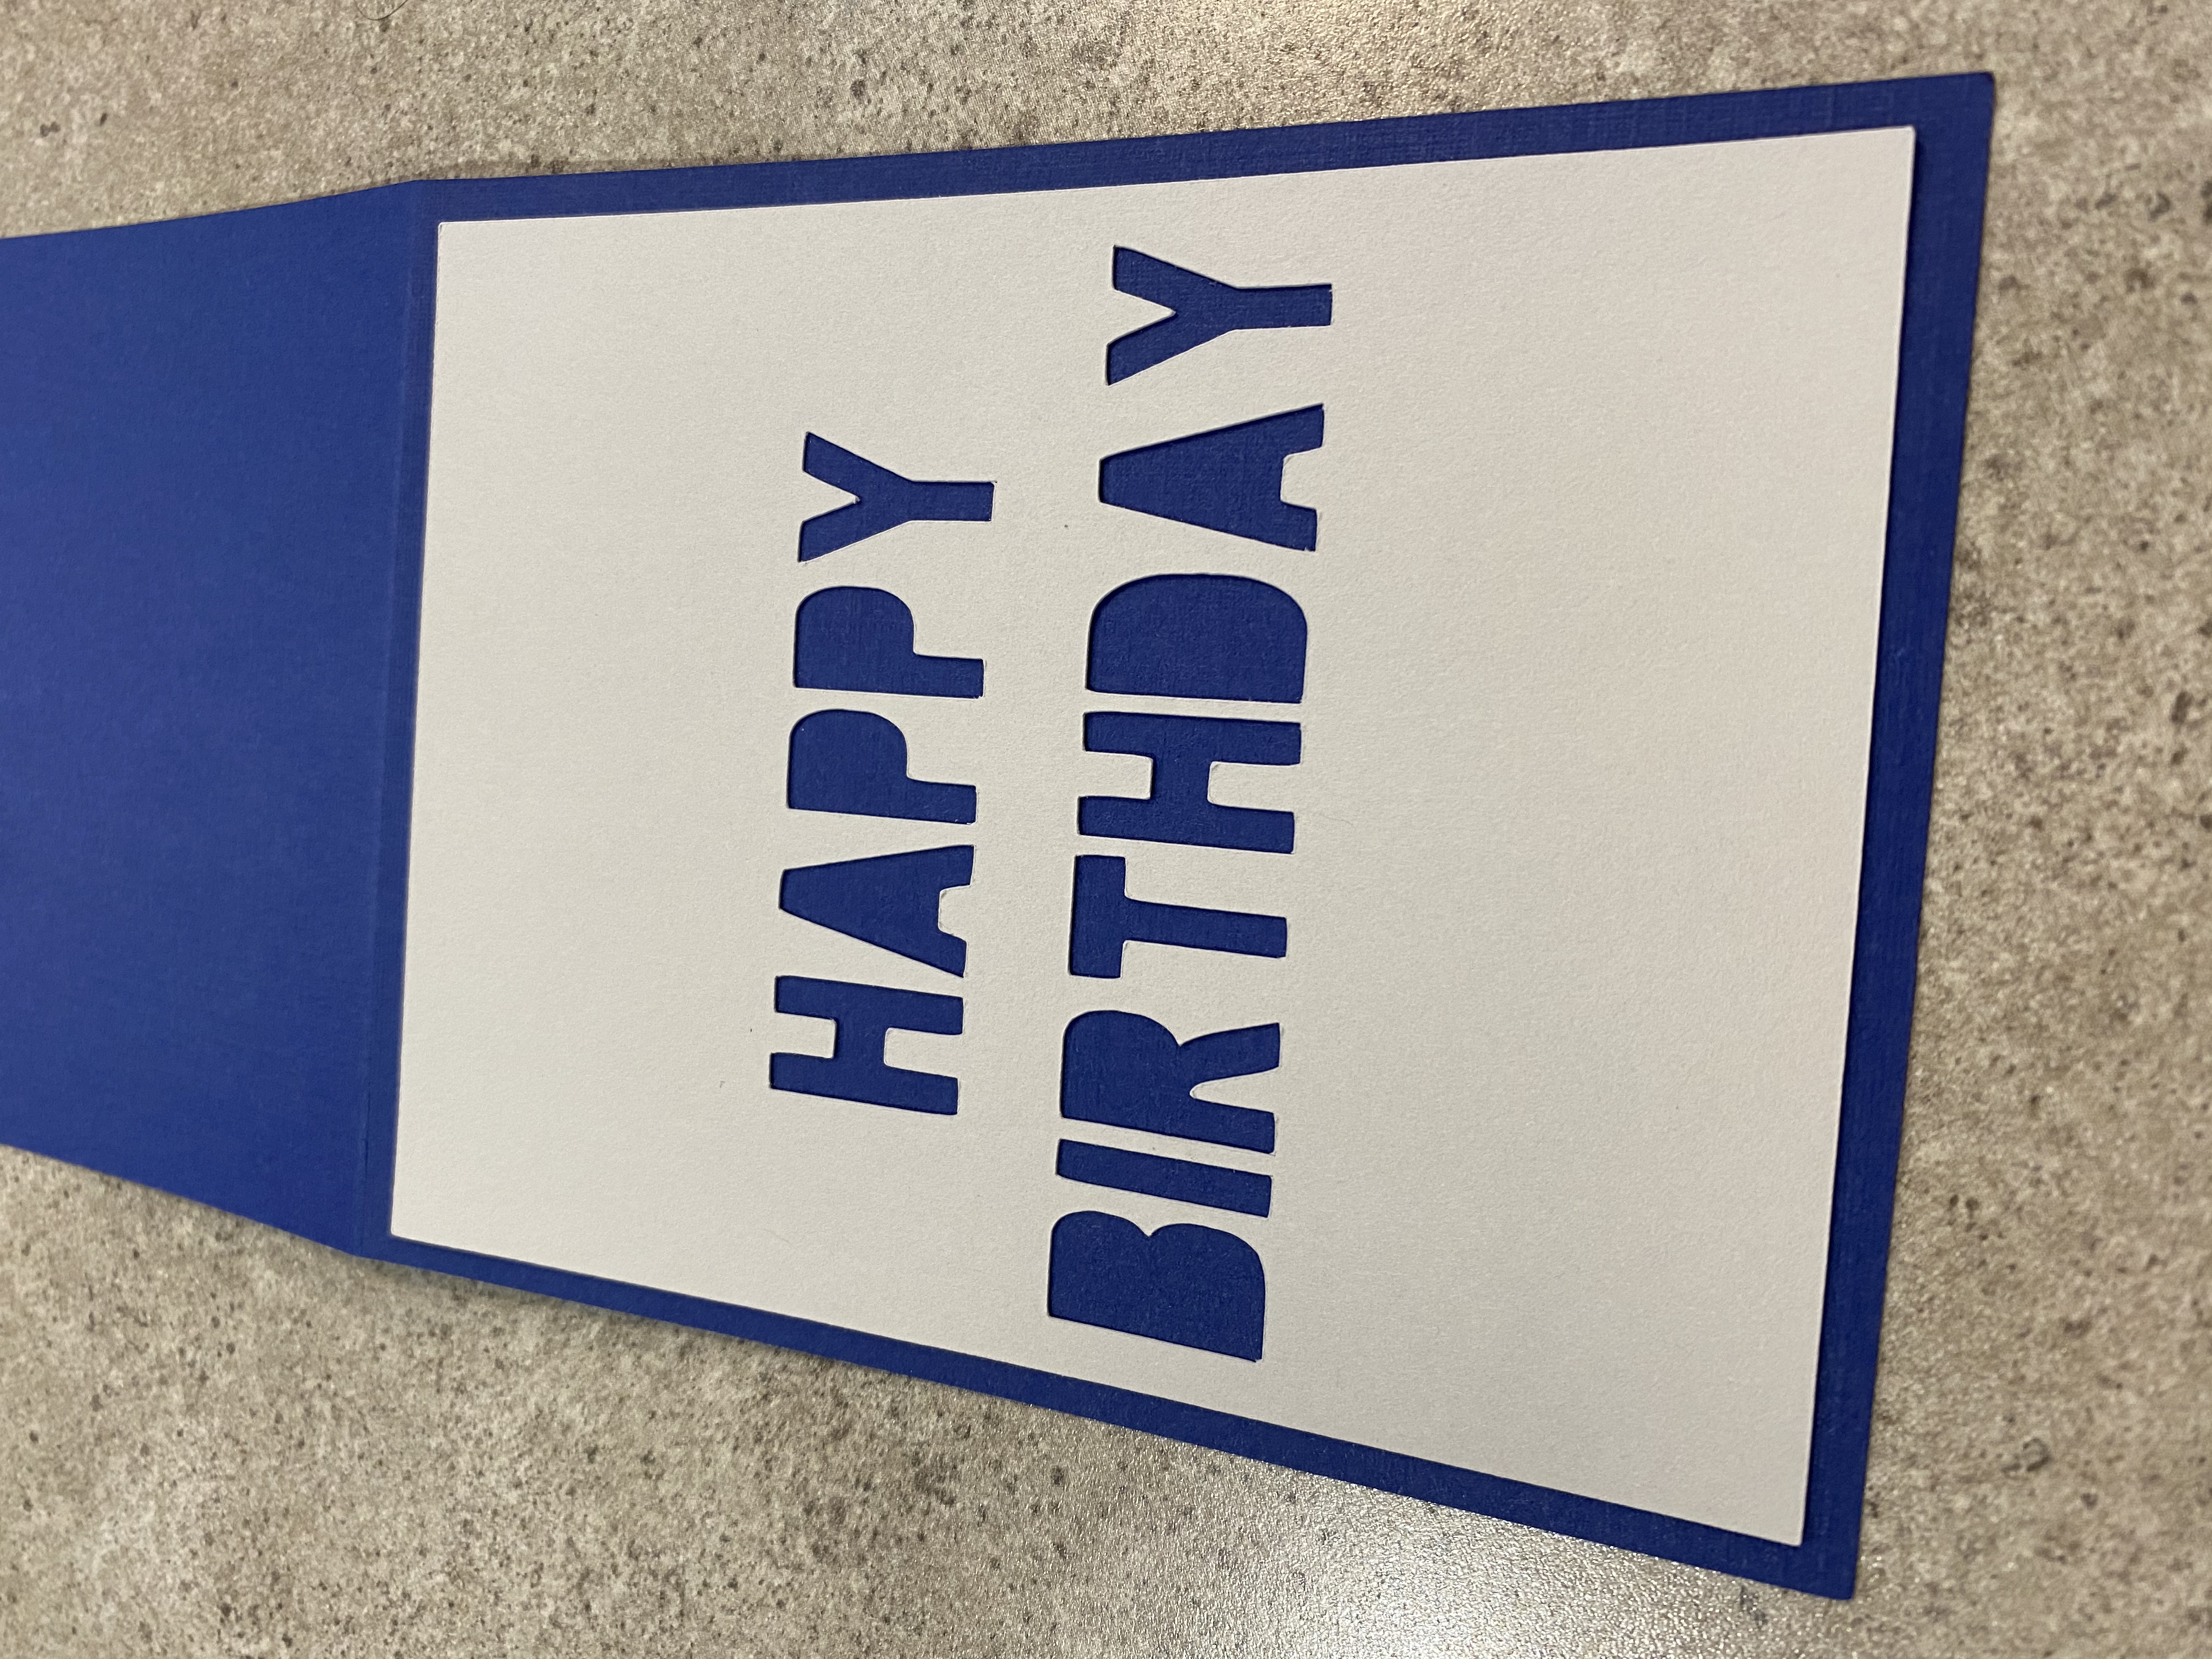
The outside front needs the white “Happy Birthday” card. Apply glue to the backside of the white lettering layer (see gluing tips below). Then place on the outside front of the blue cardstock. Ensure to center it so that there is an even amount of blue edged around all the sides.
Glue the letter inside pieces into place with a small dot of glue on the backside of each piece. Carefully center the pieces (A, B, D, P, R) inside of the letter cutout. I found the Cricut weeder tool to work really well to help move it into position on the wet glue.
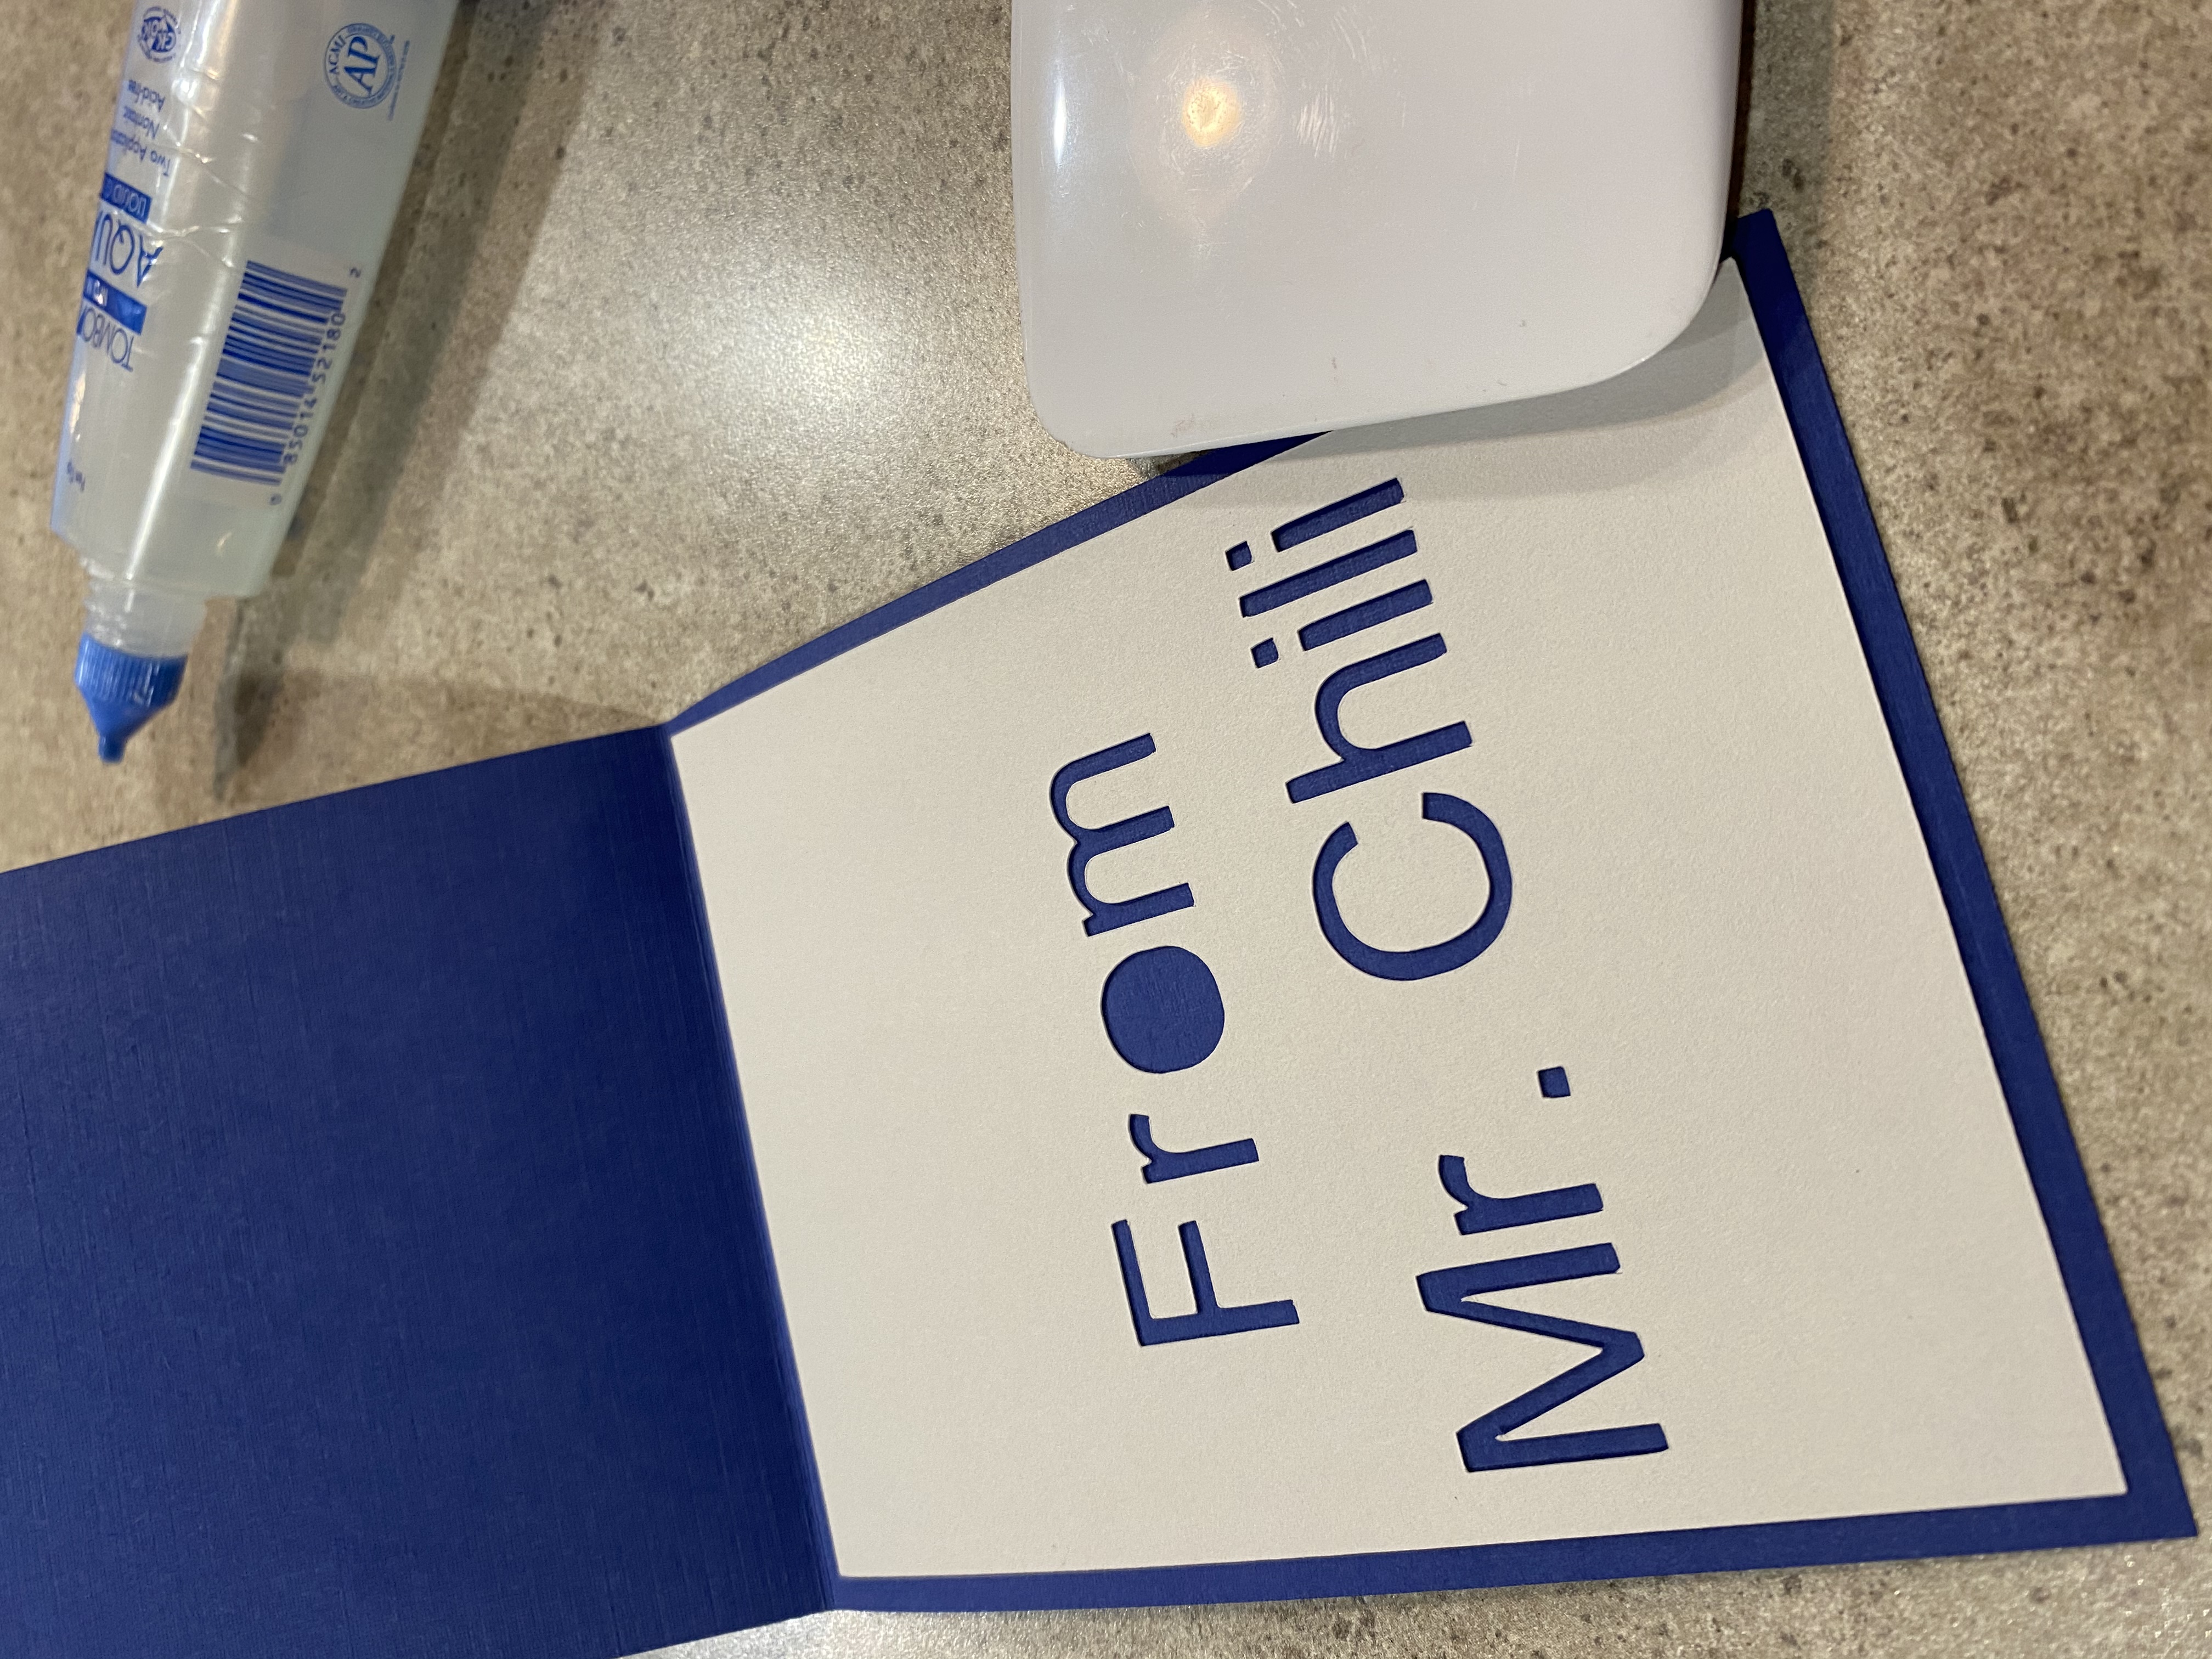
Assemble the inside – Word Layer
Put a small amount of glue on the back side of the white piece that says “From Mr. Chili”. See the gluing tips below.
Place the white piece with the glue on the bottom inside of the blue cardstock – leaving an equal amount of space all around the edges so it’s centered nicely.
Glue the letter inside piece for the letter O in place. Make sure you center it well before the glue dries.
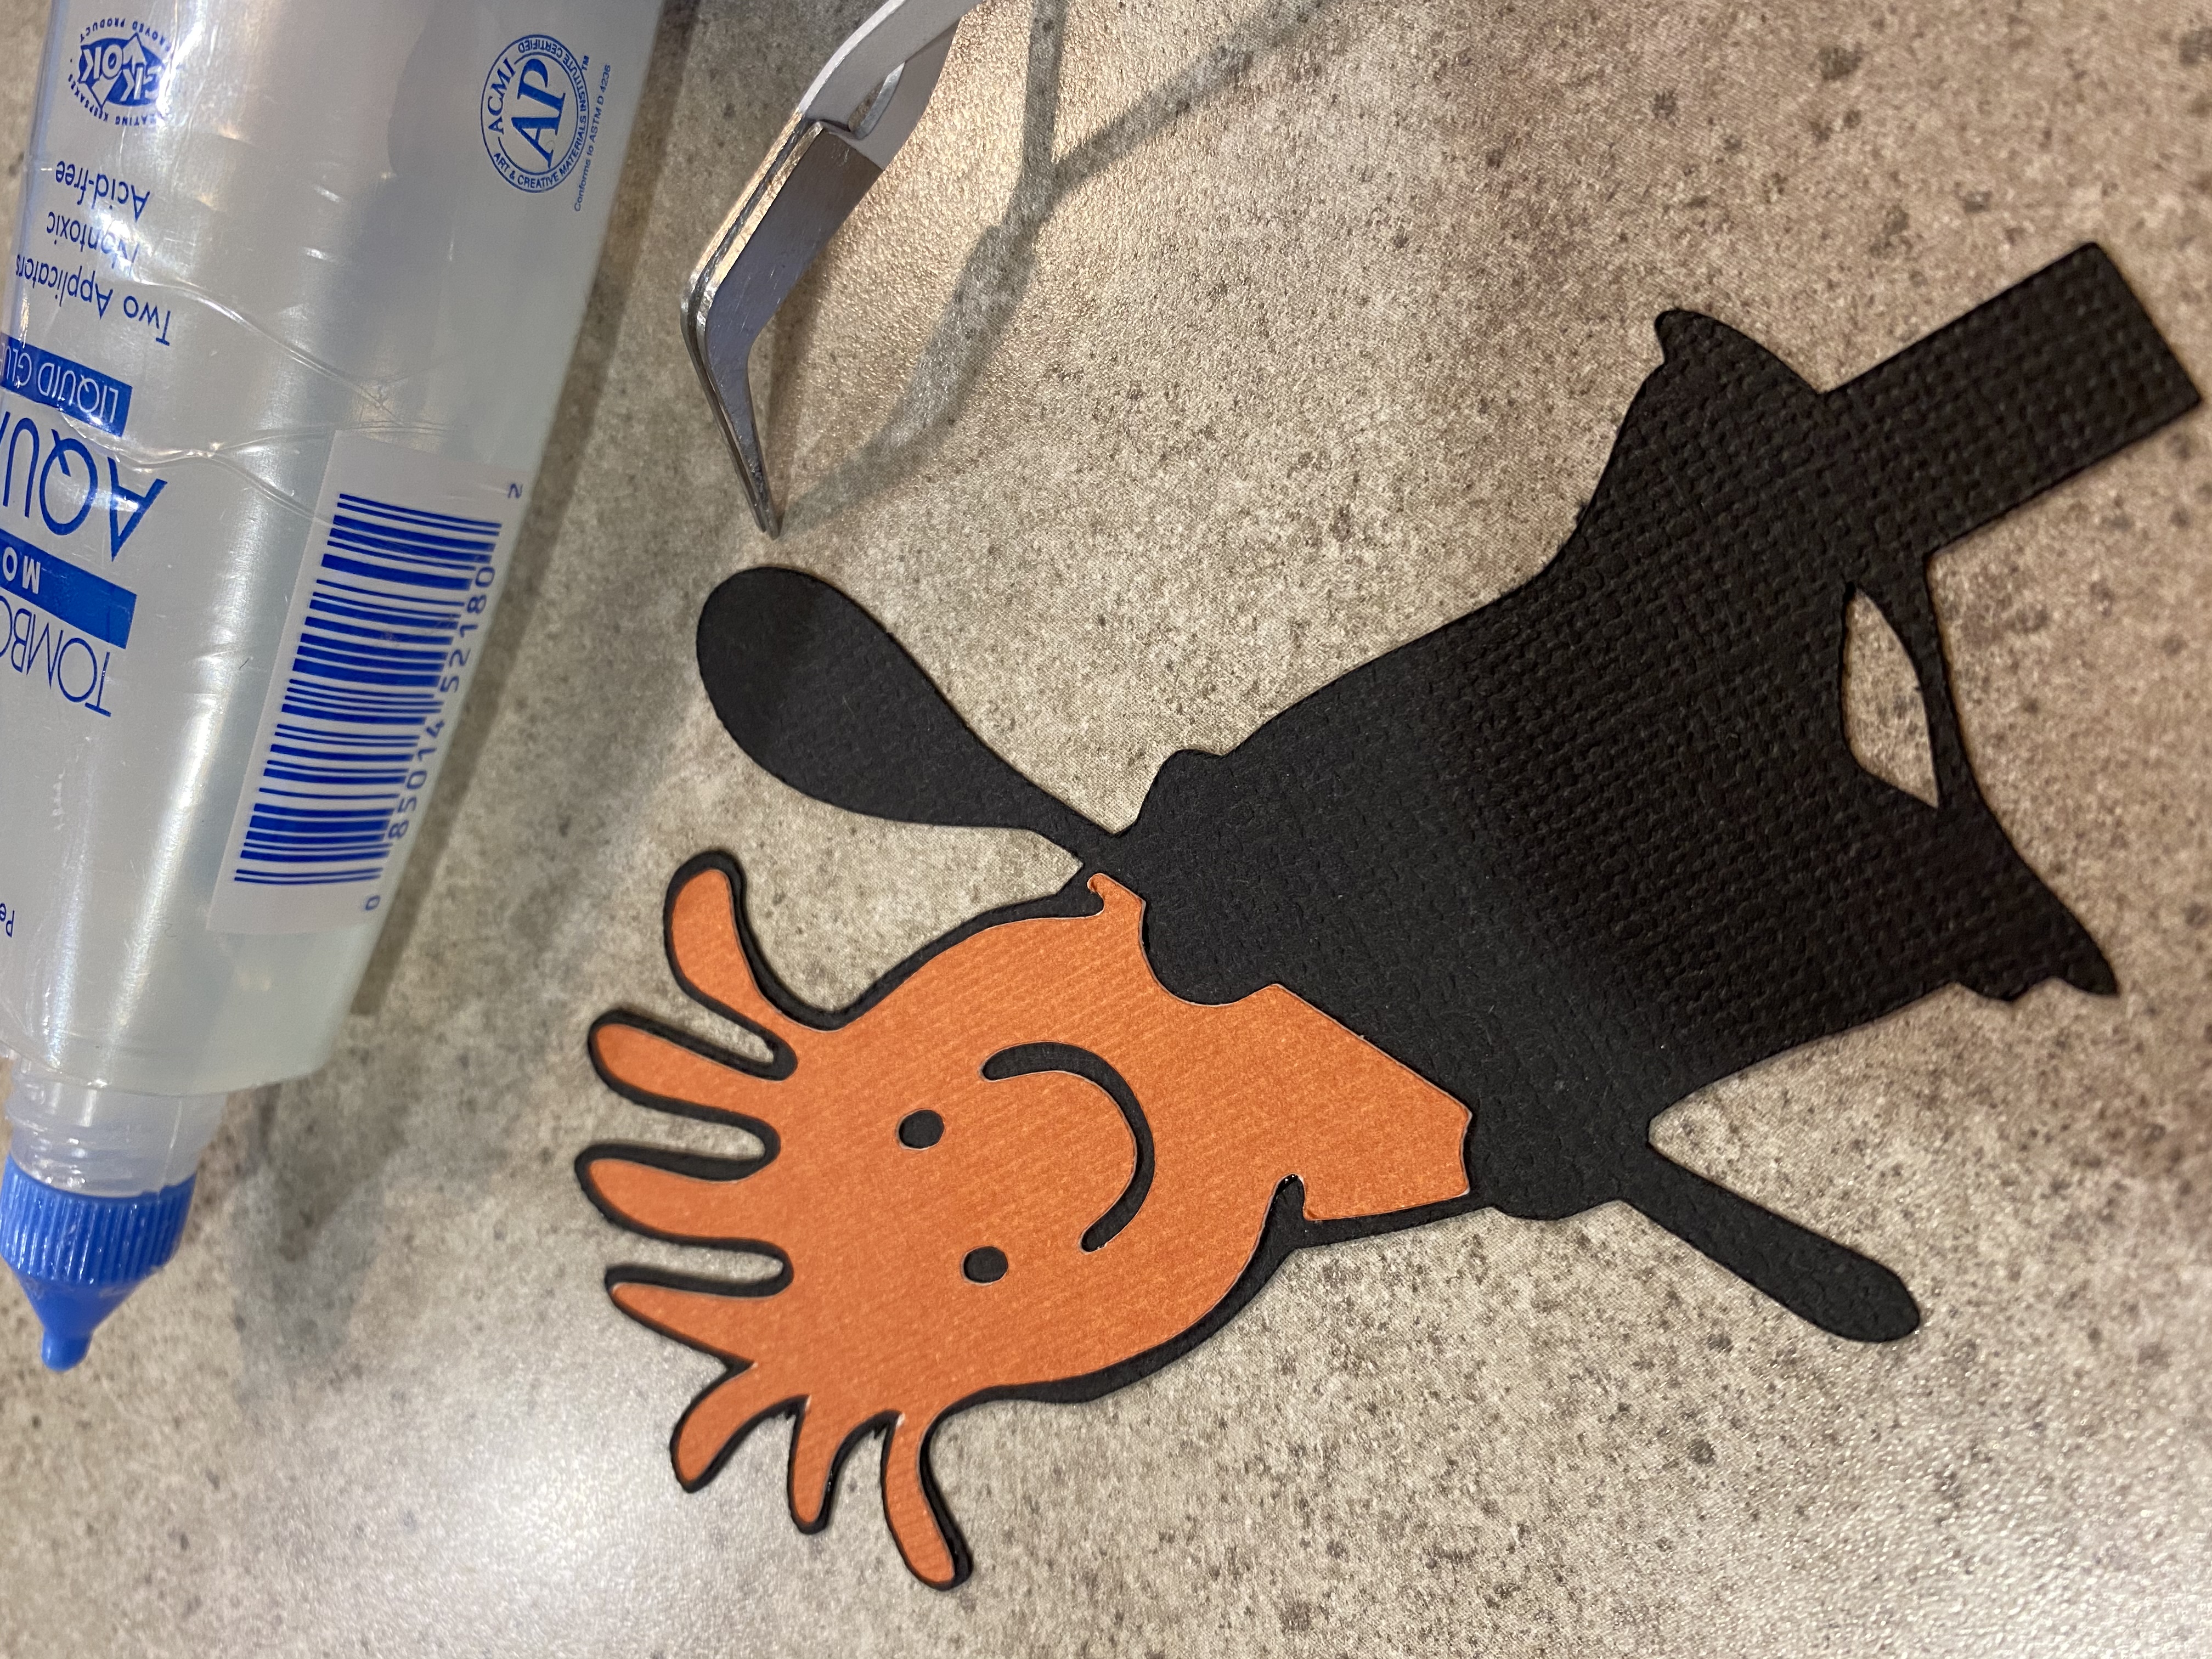
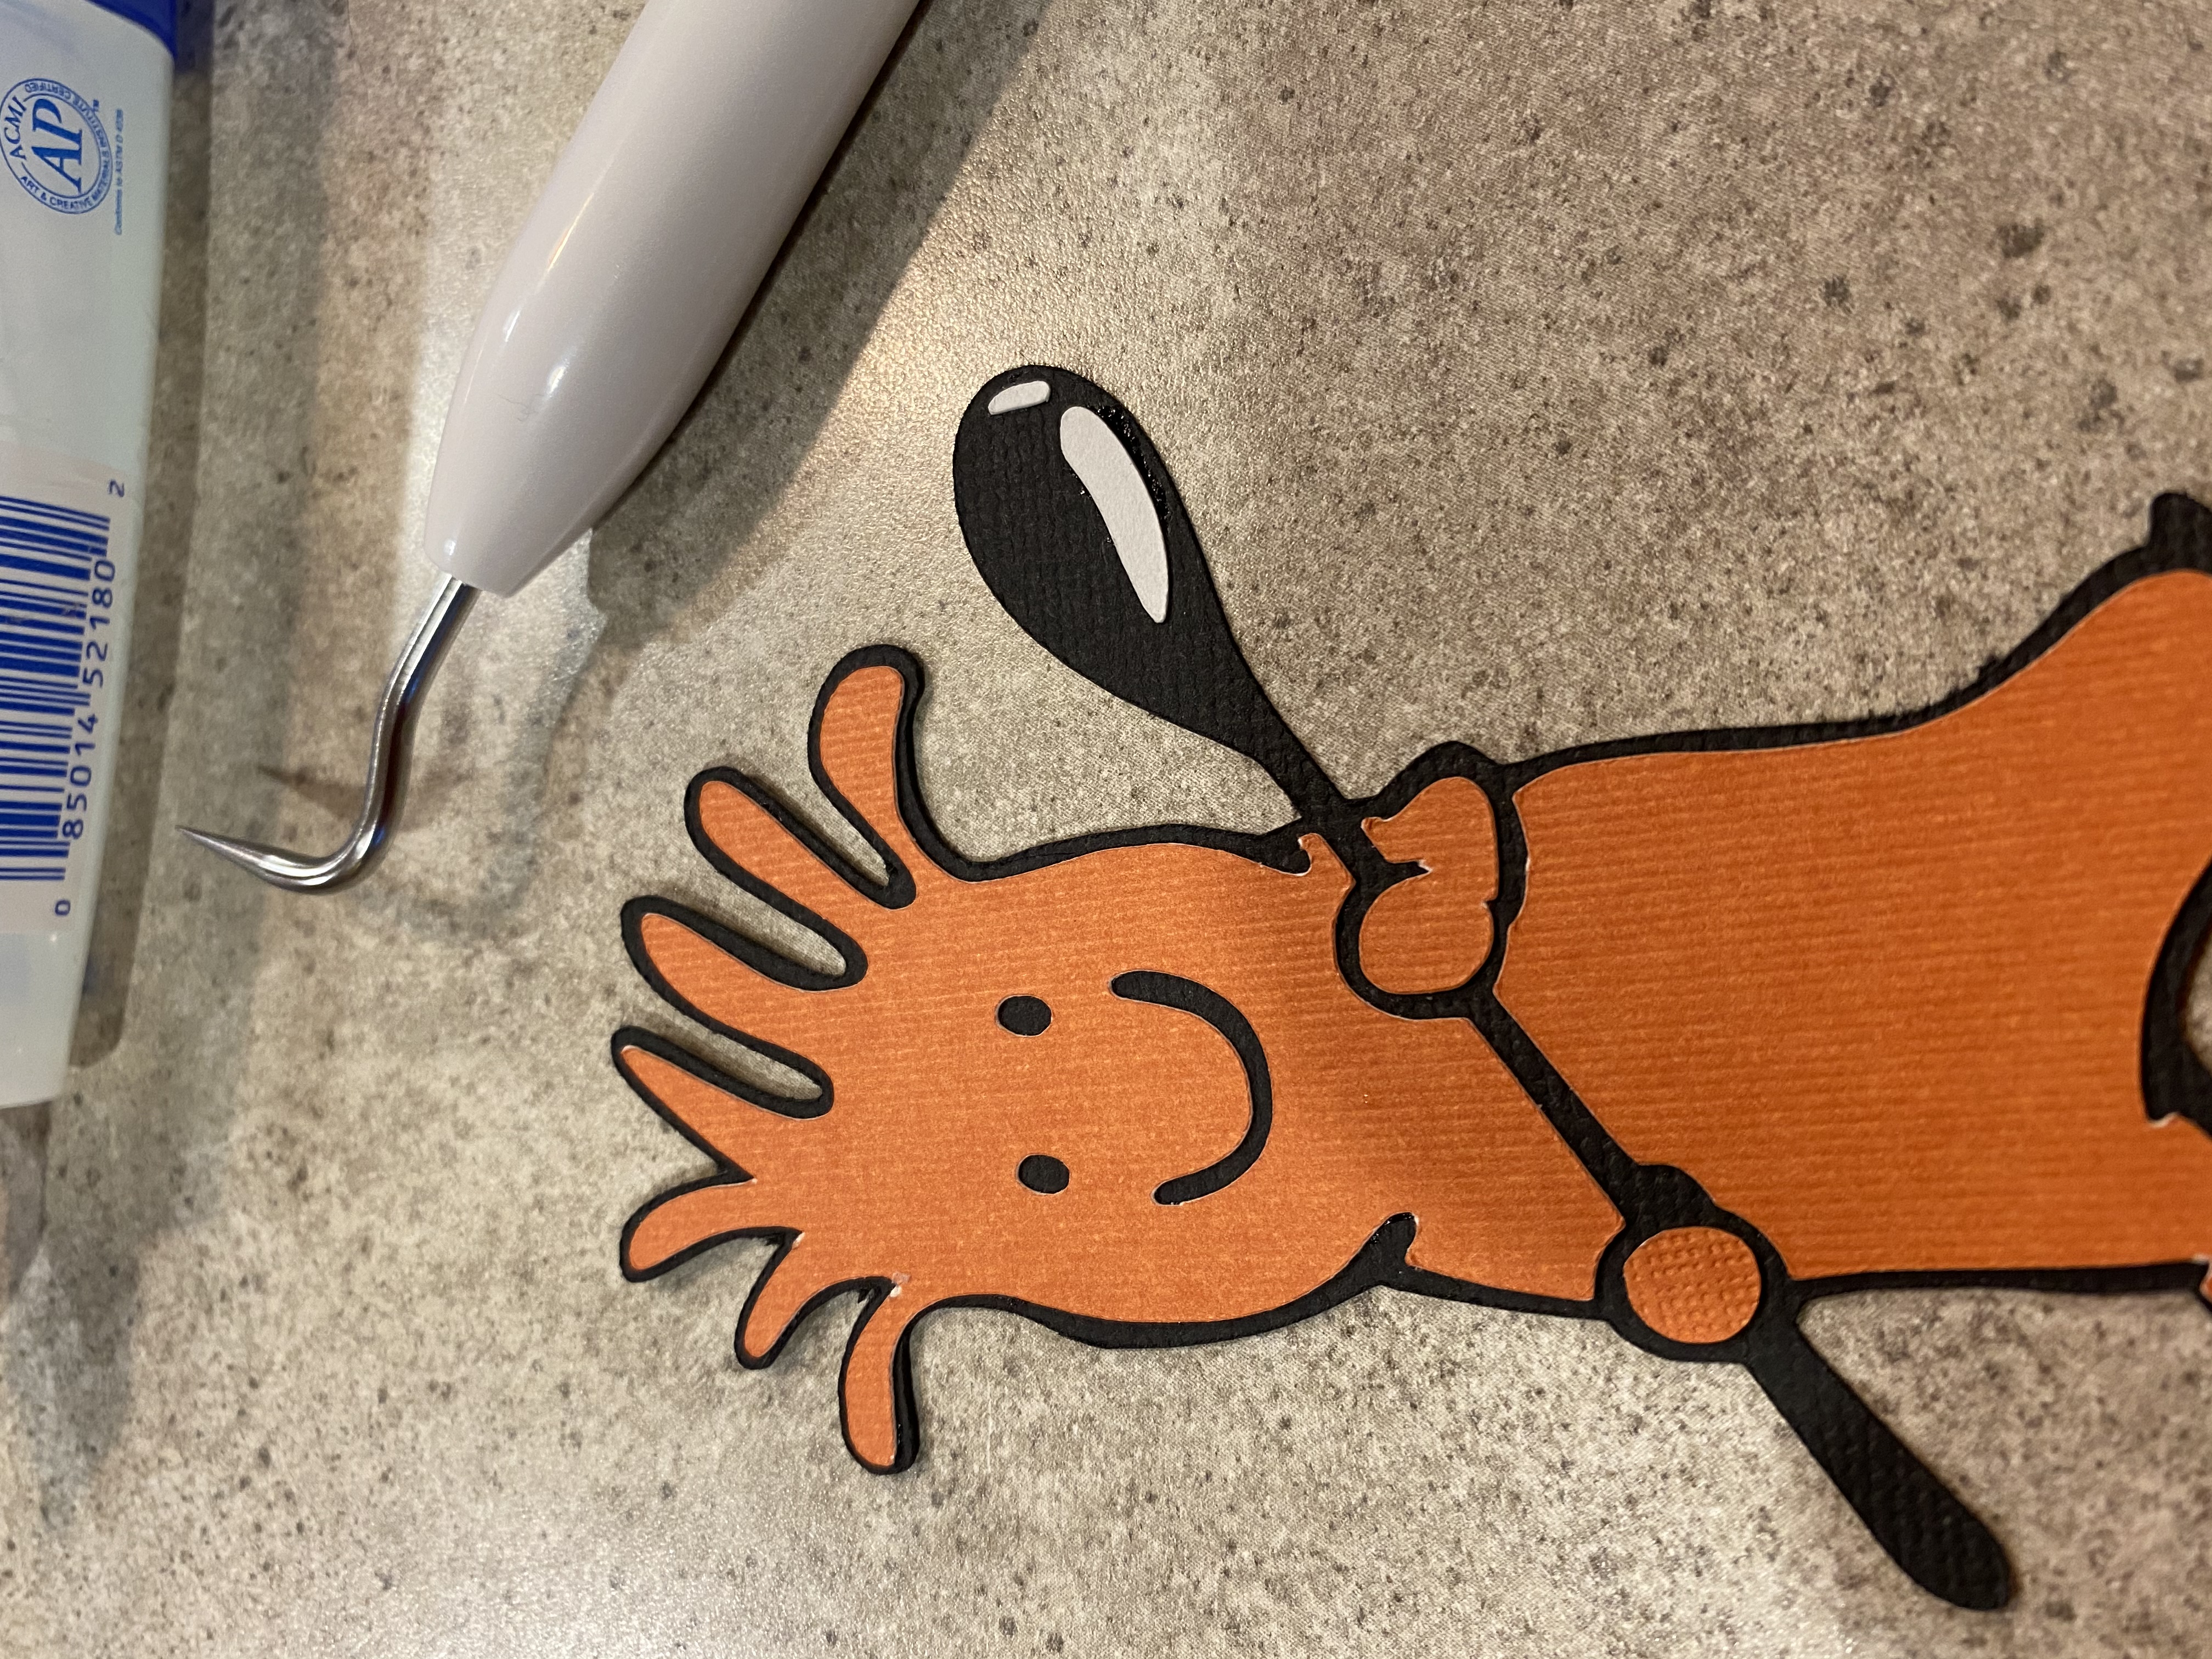
Assemble Mr. Chili
I like to try to dry fit once before applying glue to make sure I know where each piece will line up.
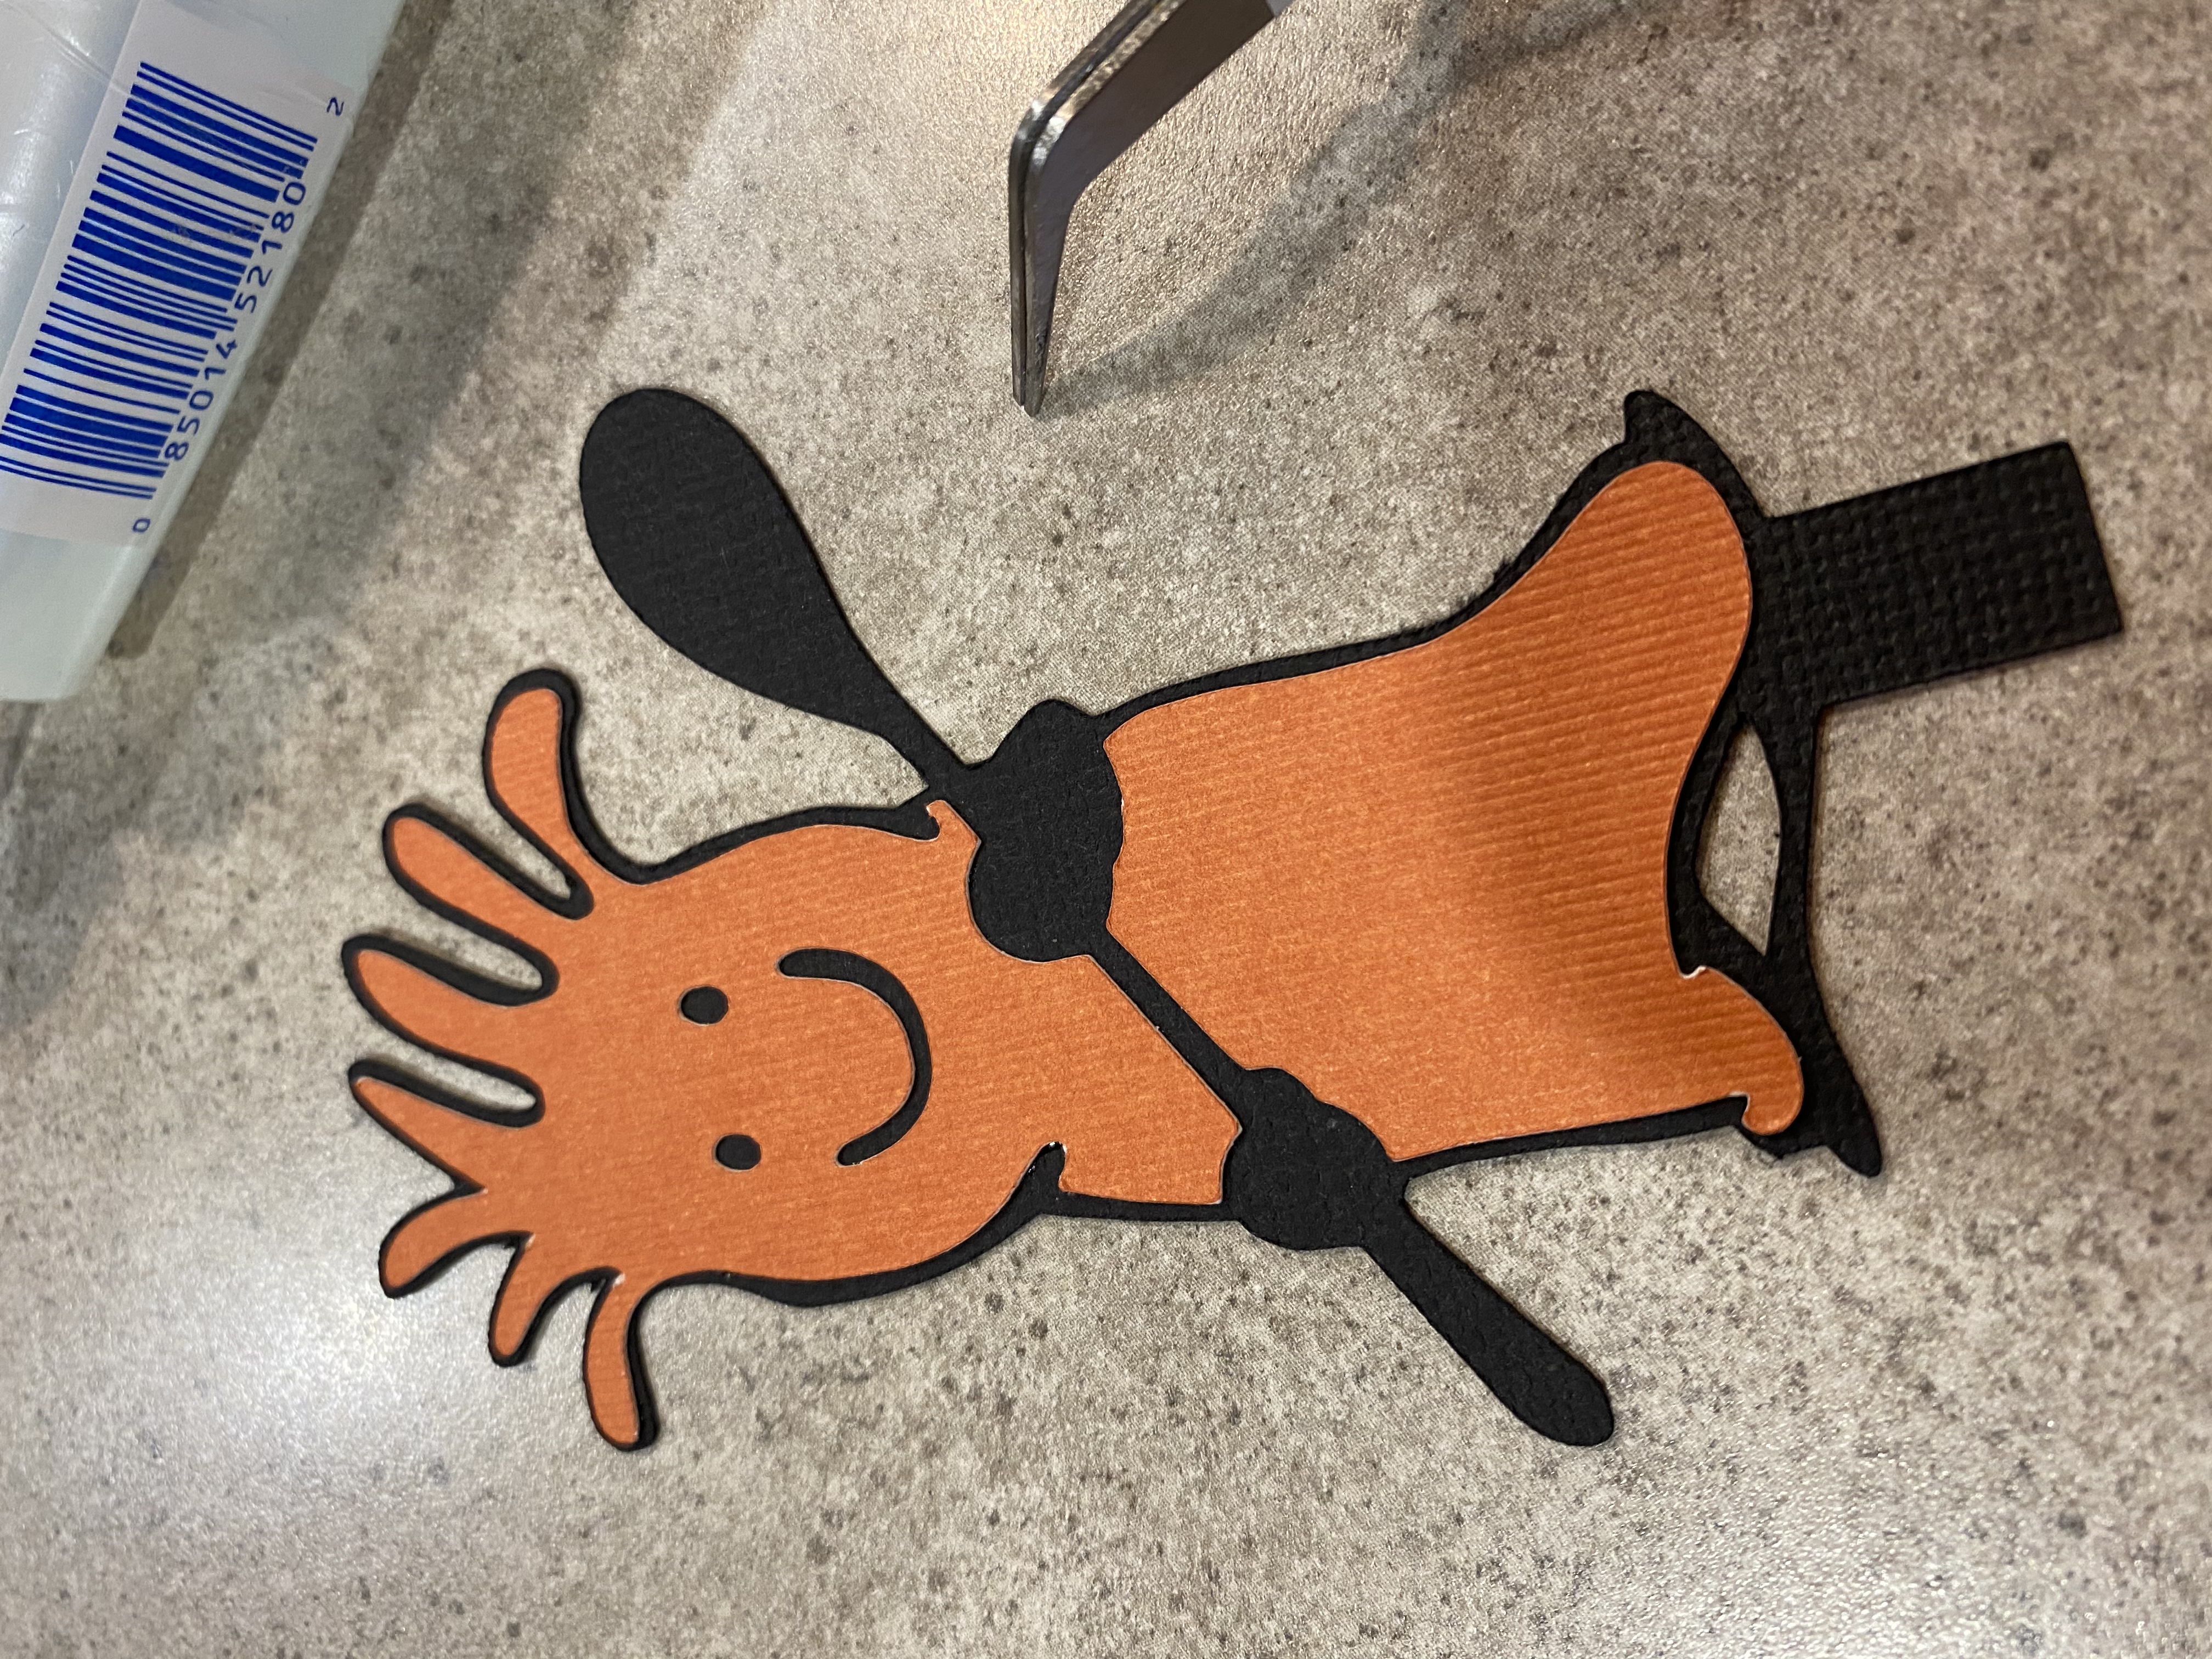
Glue the orange Mr. Chili layers over the top of the black background by applying a small amount of glue to the back side of each piece and center them on the black to have an even edge all around. Glue the top/head portion, followed by the bottom/leg portion. This will allow you to center the hands correctly.
The white accent pieces can then be glued to the spoon. The larger piece goes across the bottom with the narrow point to the bottom left. The little “dot” goes on the far right side of the spoon.
Lastly, fold the black tab back at 90 degrees so that he can “stand” on this tab.
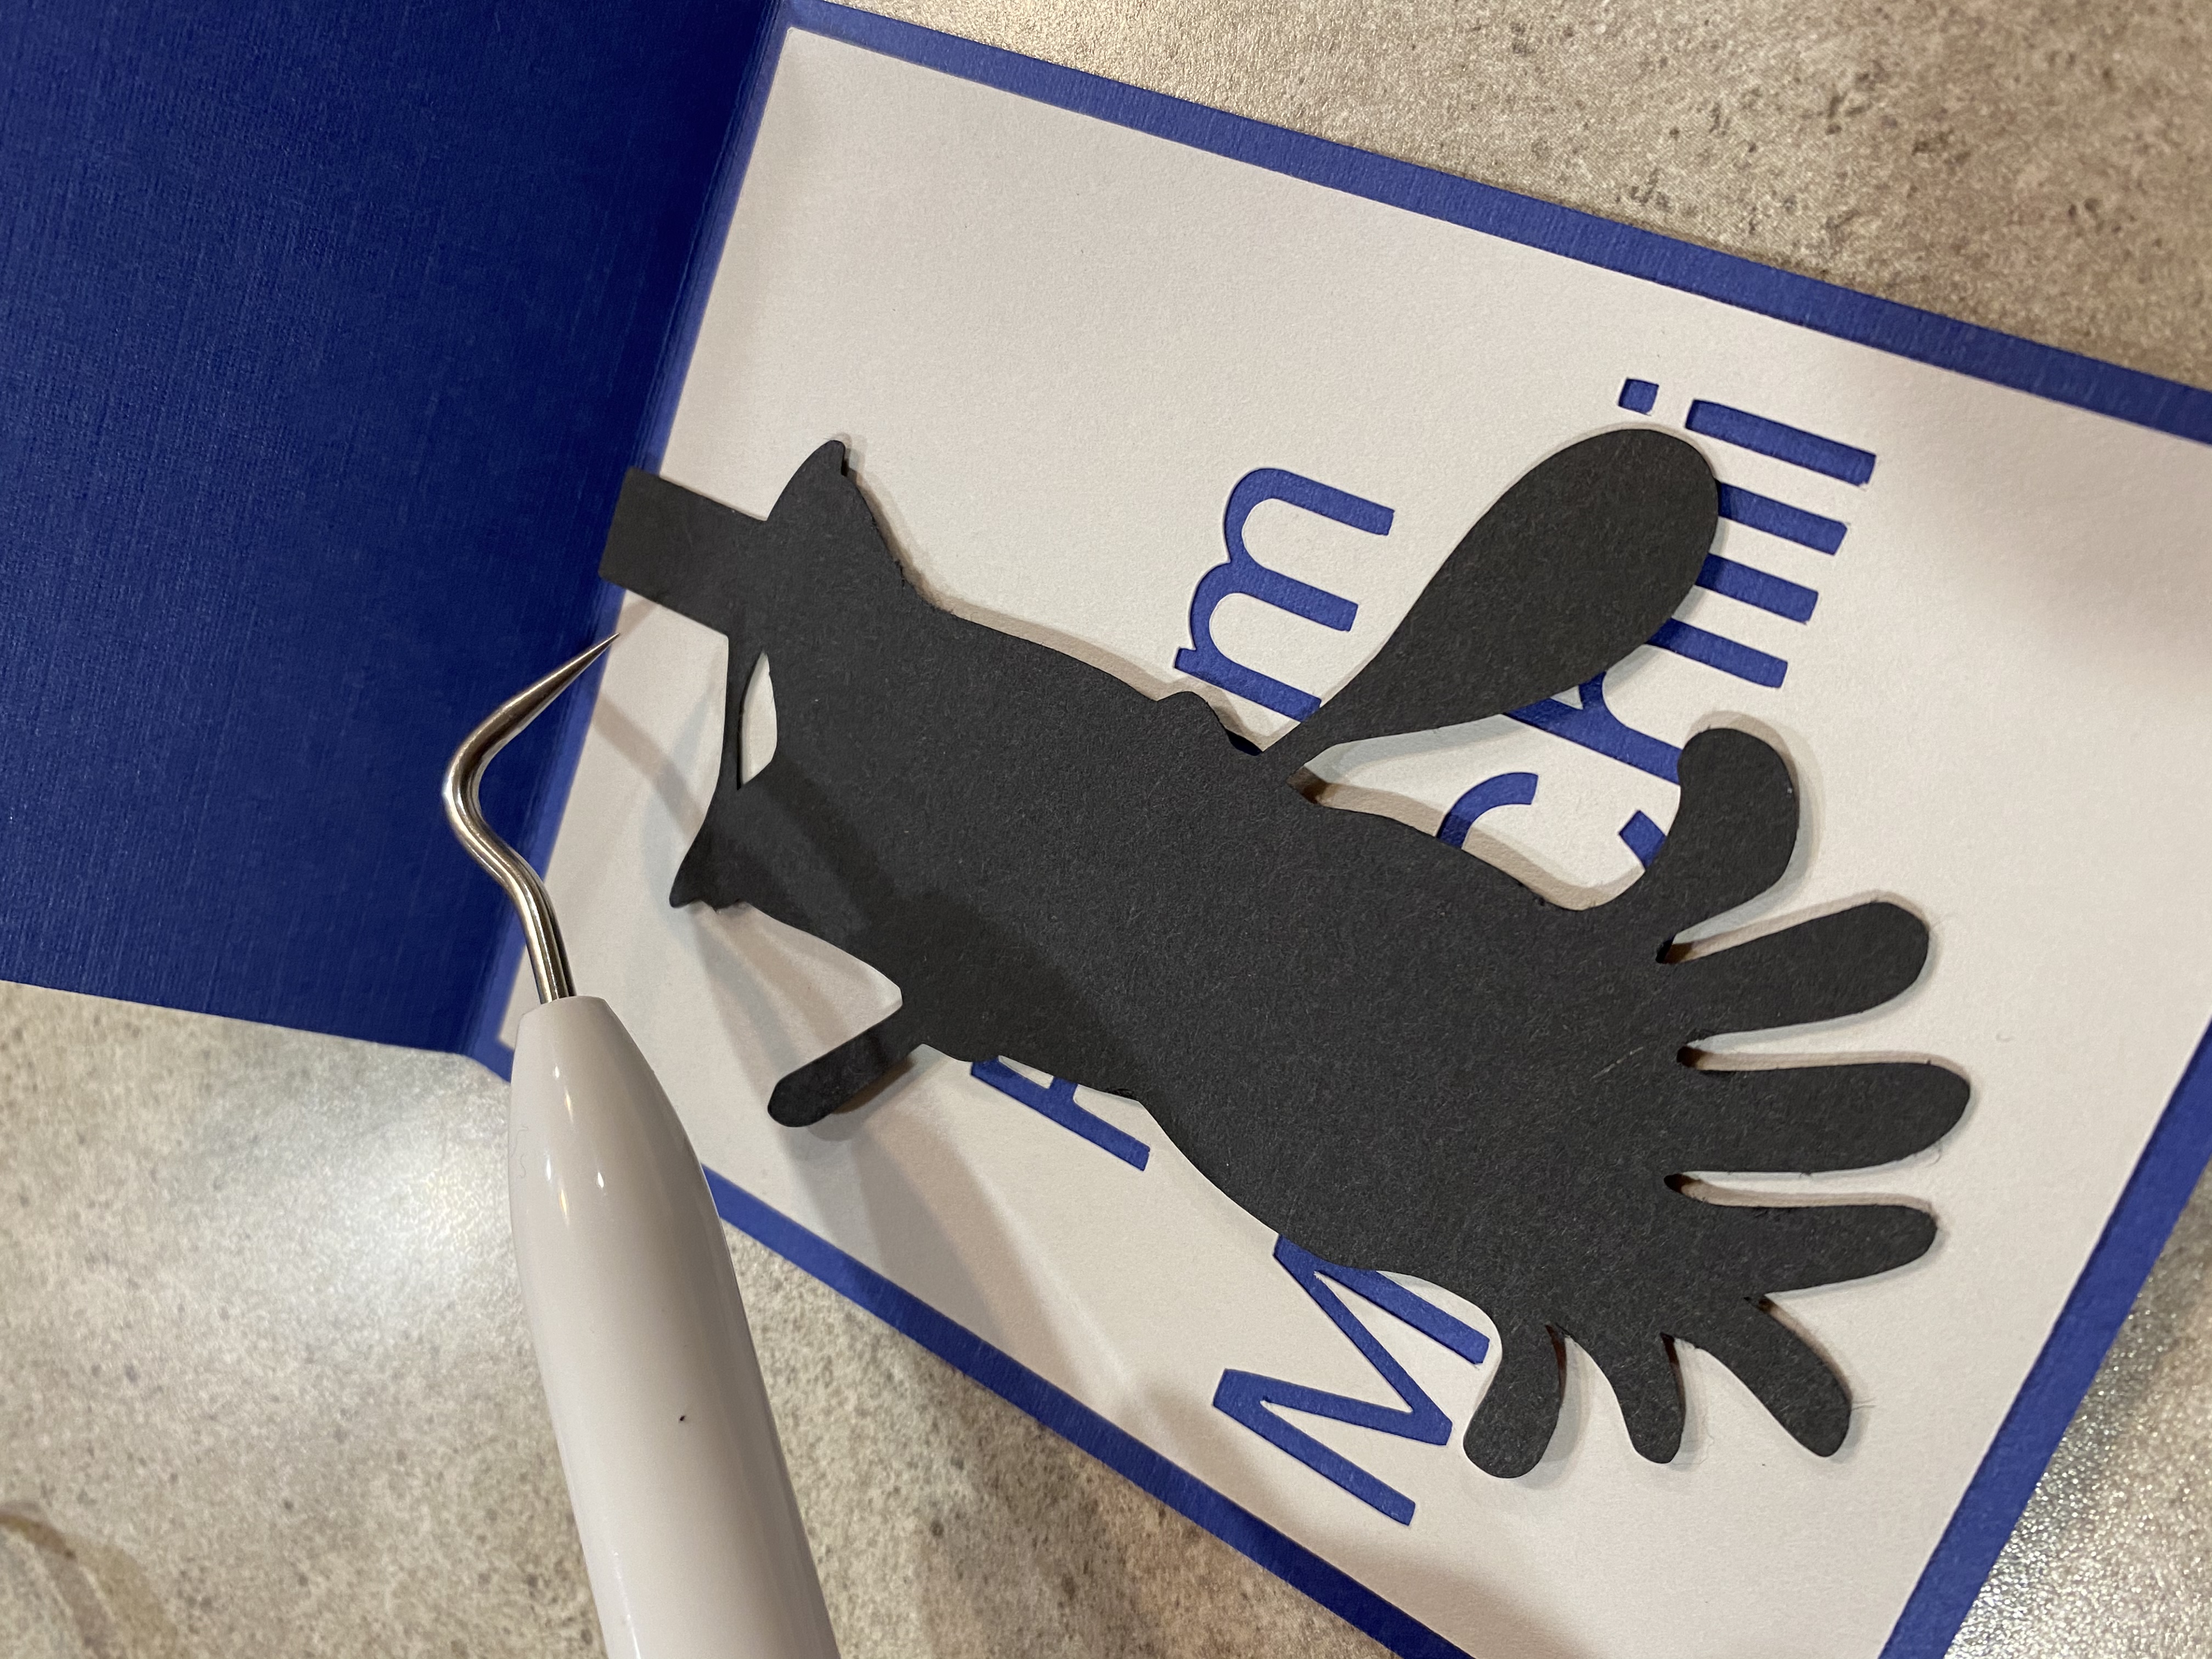
Attach Mr. Chili to the card inside
Glue the bottom of the black tab onto the white wording layer on the inside of the card. Line the back of the black tab up with the folded edge of the blue card. Press and hold this in place for a bit of time to ensure that the glue holds and has dried.
Put glue on the black riser and stick it to the back of Mr. Chili behind the head. Make sure the “Z” shape is popping up on the bottom side. Again – wait until the glue dries a fair bit here to ensure this stays in place.
Lastly put some glue on the bottom portion of the “Z” shaped riser. Hold the riser completely flat while closing the card to glue it to the blue top layer on the inside. Press down (or put a heavy weight on the card) to let the glue all dry and adhere.
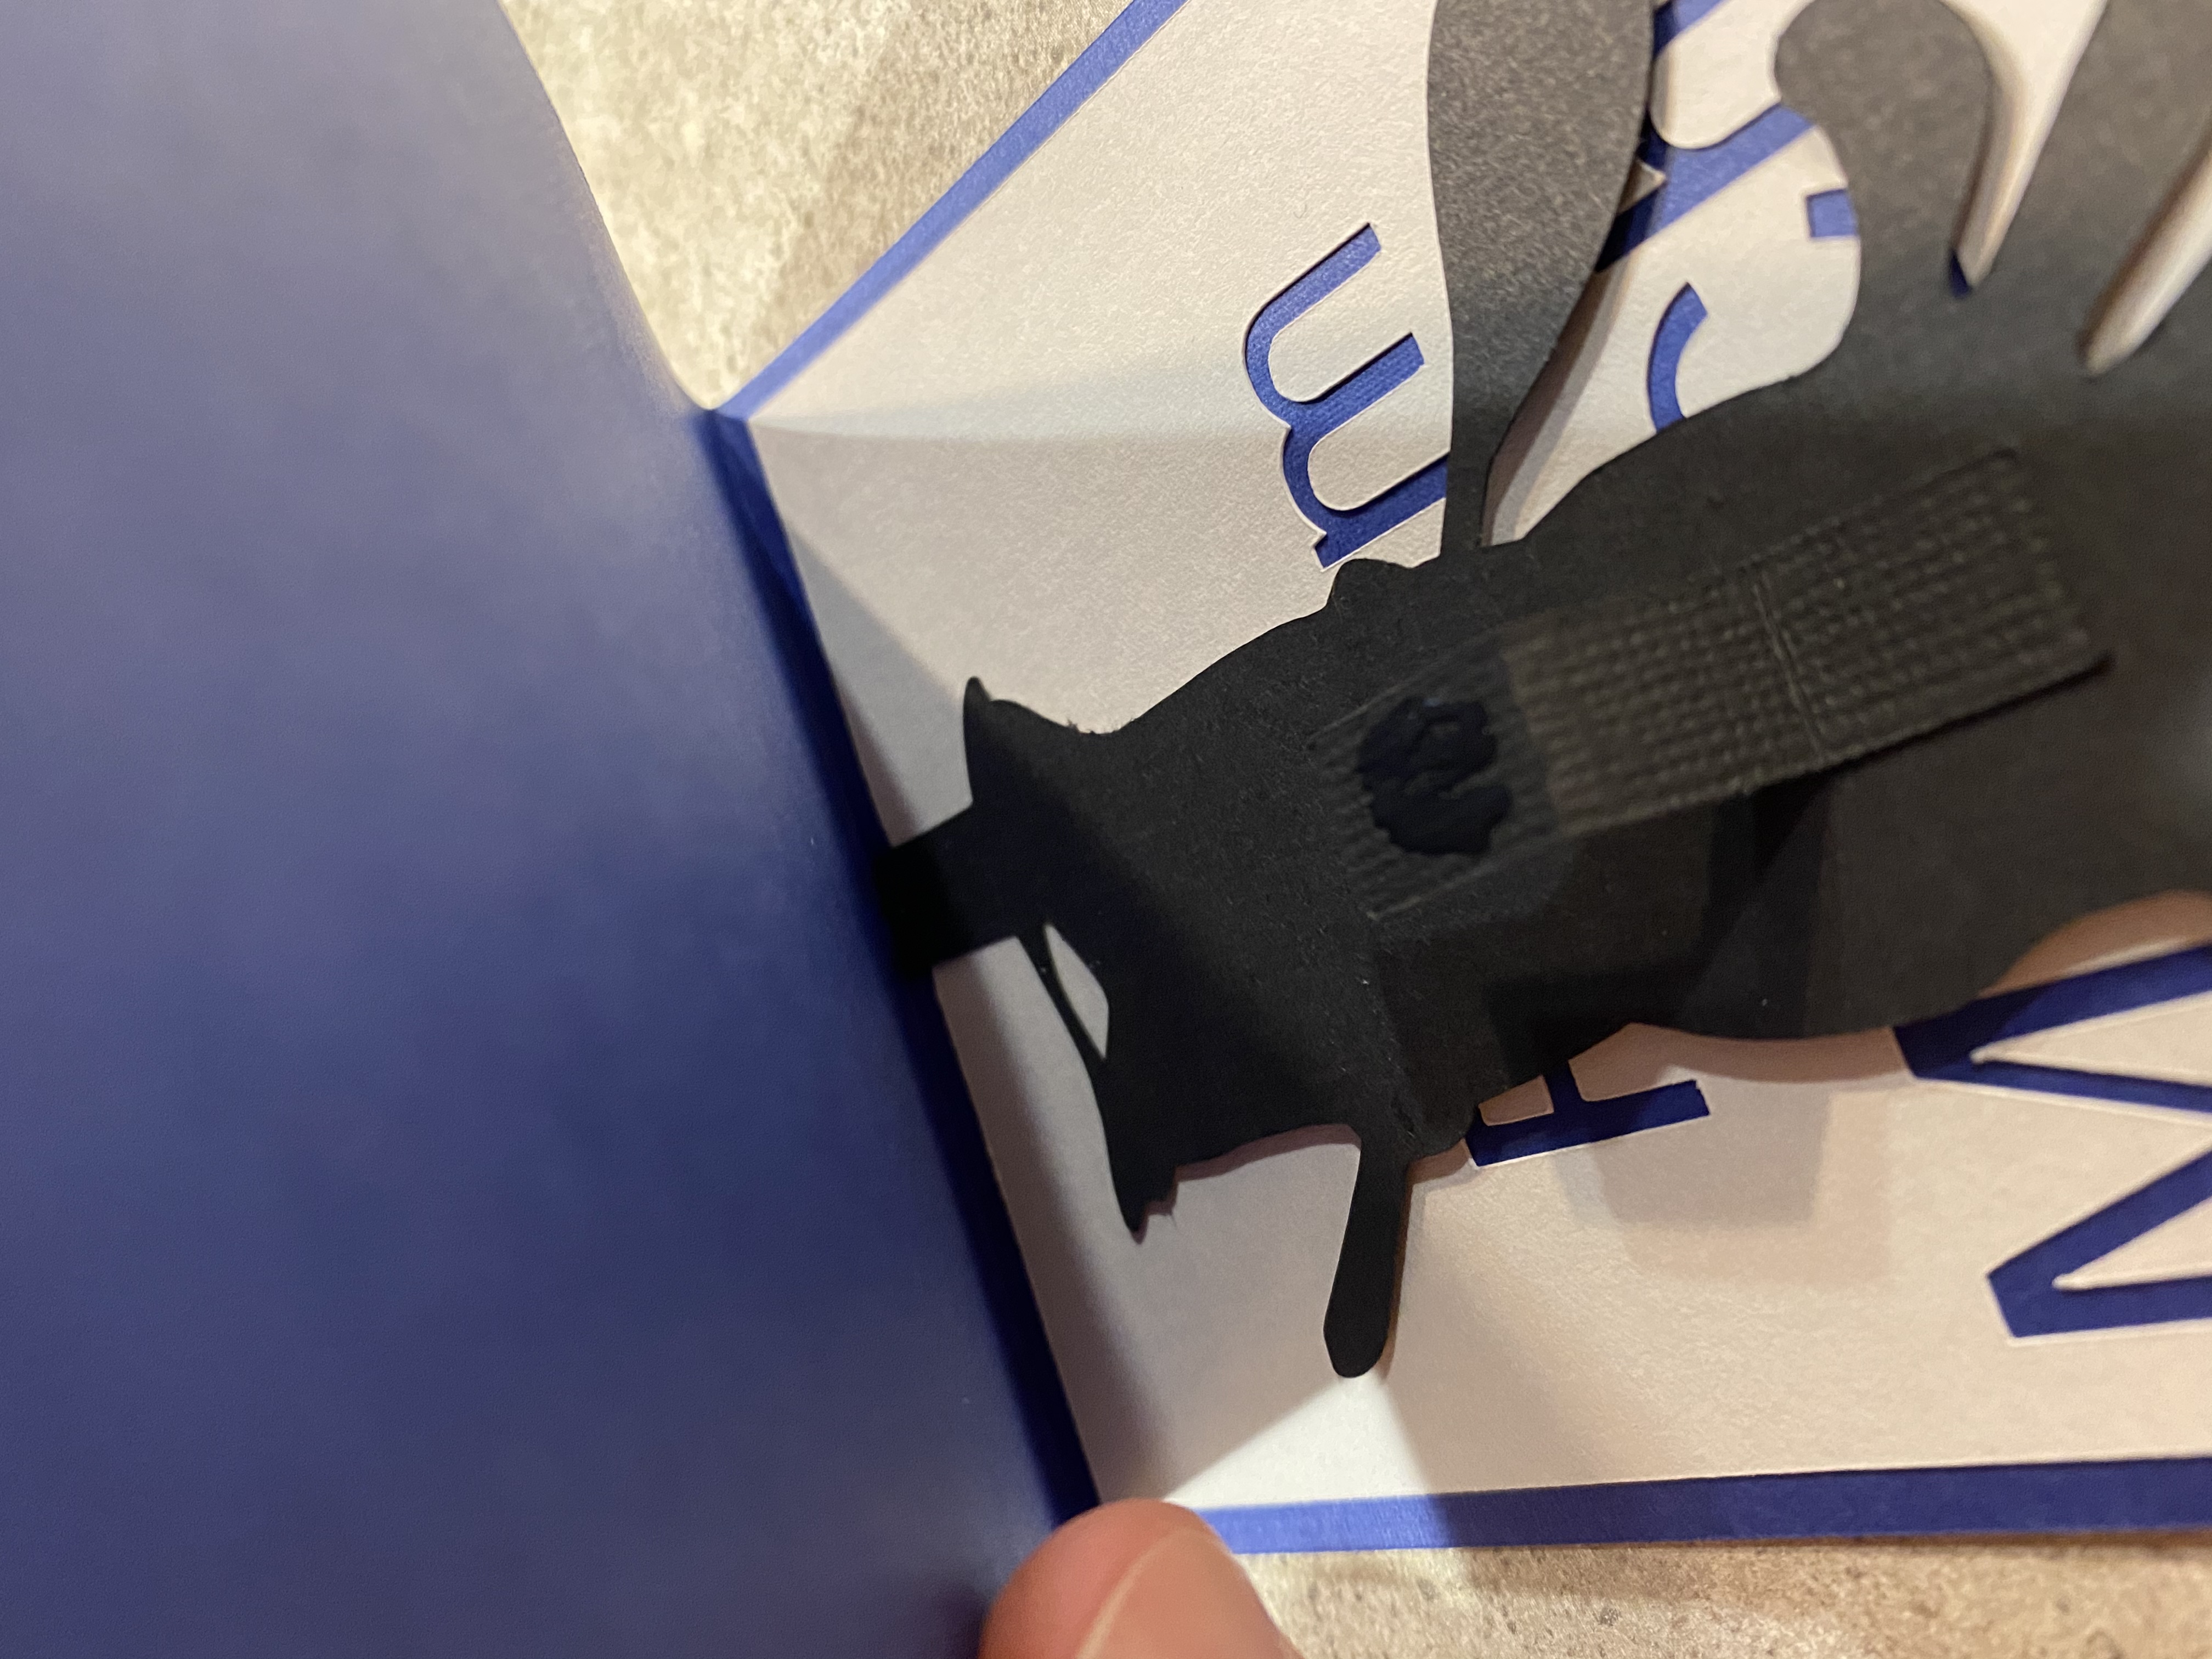
Test the popup Action
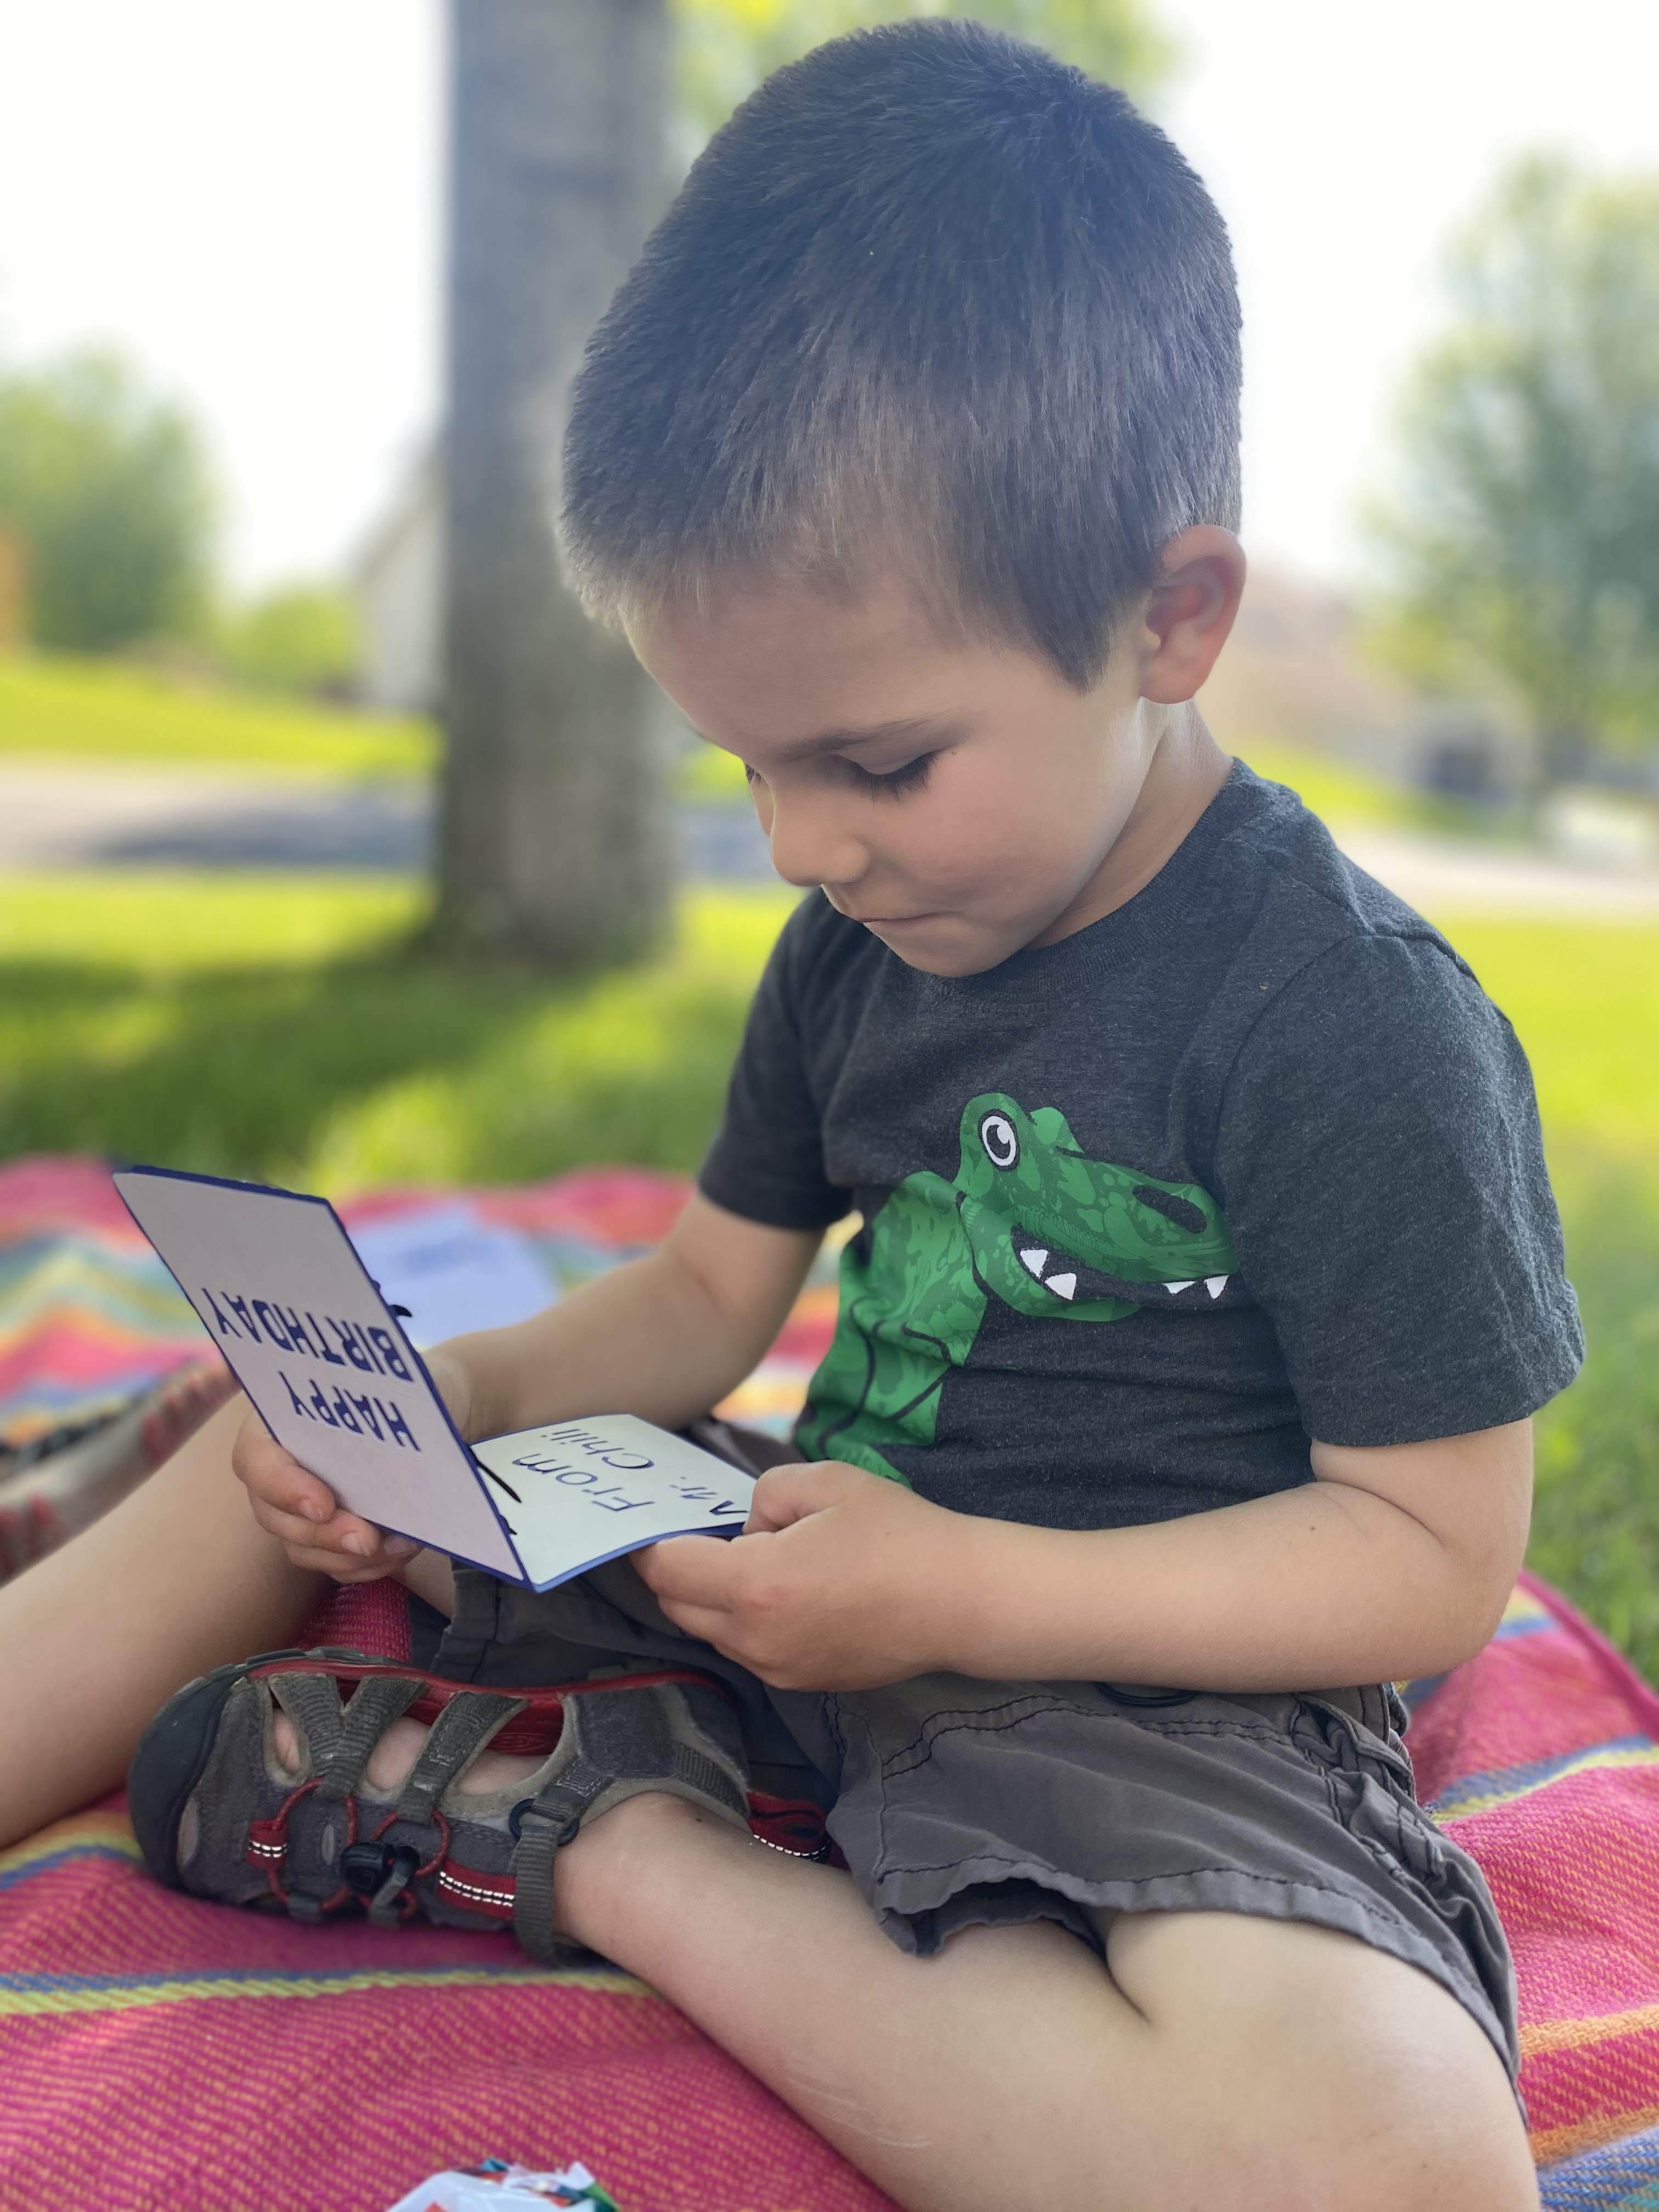
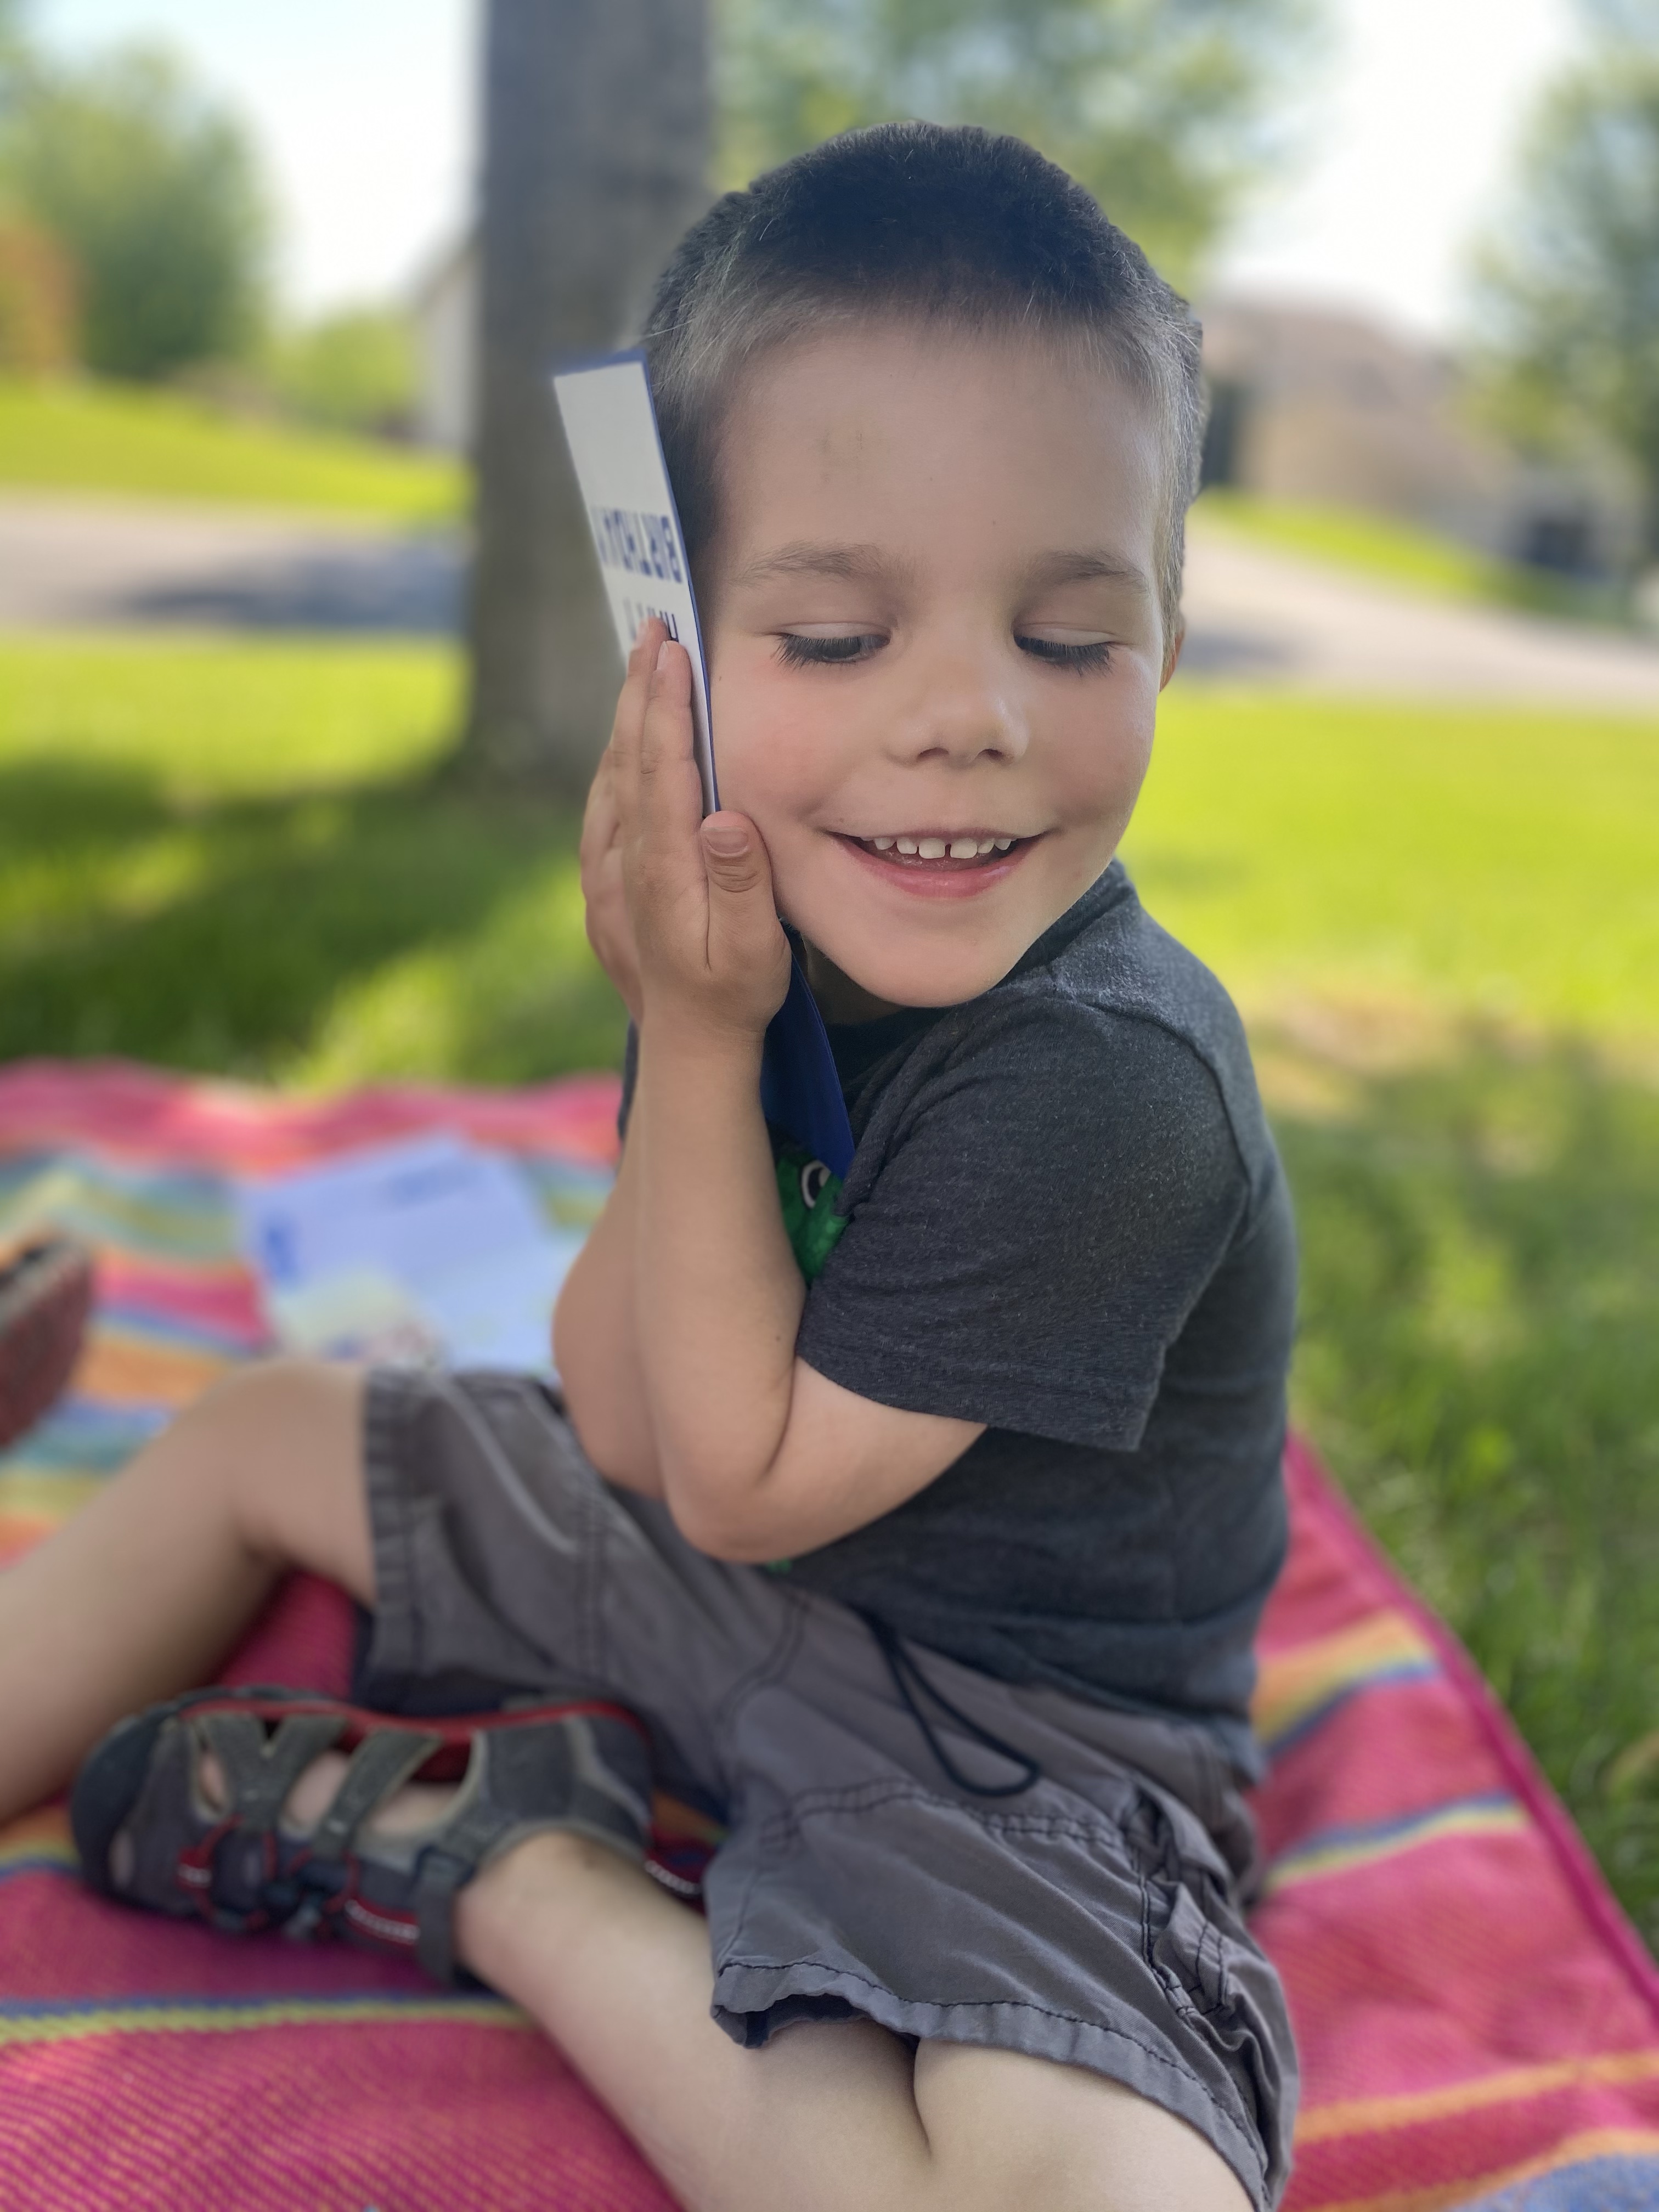
After the glue is dry, you should be all set to test opening and closing the card to see Mr. Chili popup for the amusement of your loved one!
Gluing Tips
When gluing, you want to put the glue near the edge but not right up to it. When you push the two layers together, the glue will squeeze and spread out – thus it will go past where you put it. So you need to account for this when putting the glue on as you don’t want glue to squeeze out past the edge.
The thinner your paper/card stock, the more the glue will “affect” it. If you use printer paper, the wetness of the glue may leave some waviness in the paper as it was wet while drying. For that reason, thinner layers of glue will help to prevent this issue. Also thicker cardstock is less affected by this.
It’s also good to spread the glue over more surface area. So using a “S” pattern or squiggling the glue around is helpful as more areas will get adheared.
