My wife bought a Cricut a while back. It’s quite the amazing tool. But if you have one – you know that. If you don’t – they are spendy but you sure can do a lot with these! I’m quite surprised with all the cool stuff my wife comes up with. It’s a crafting tool… but it’s also technology and a “makers” tool… So I couldn’t resist giving it a try!

Contents
Who is Mr. Chili?
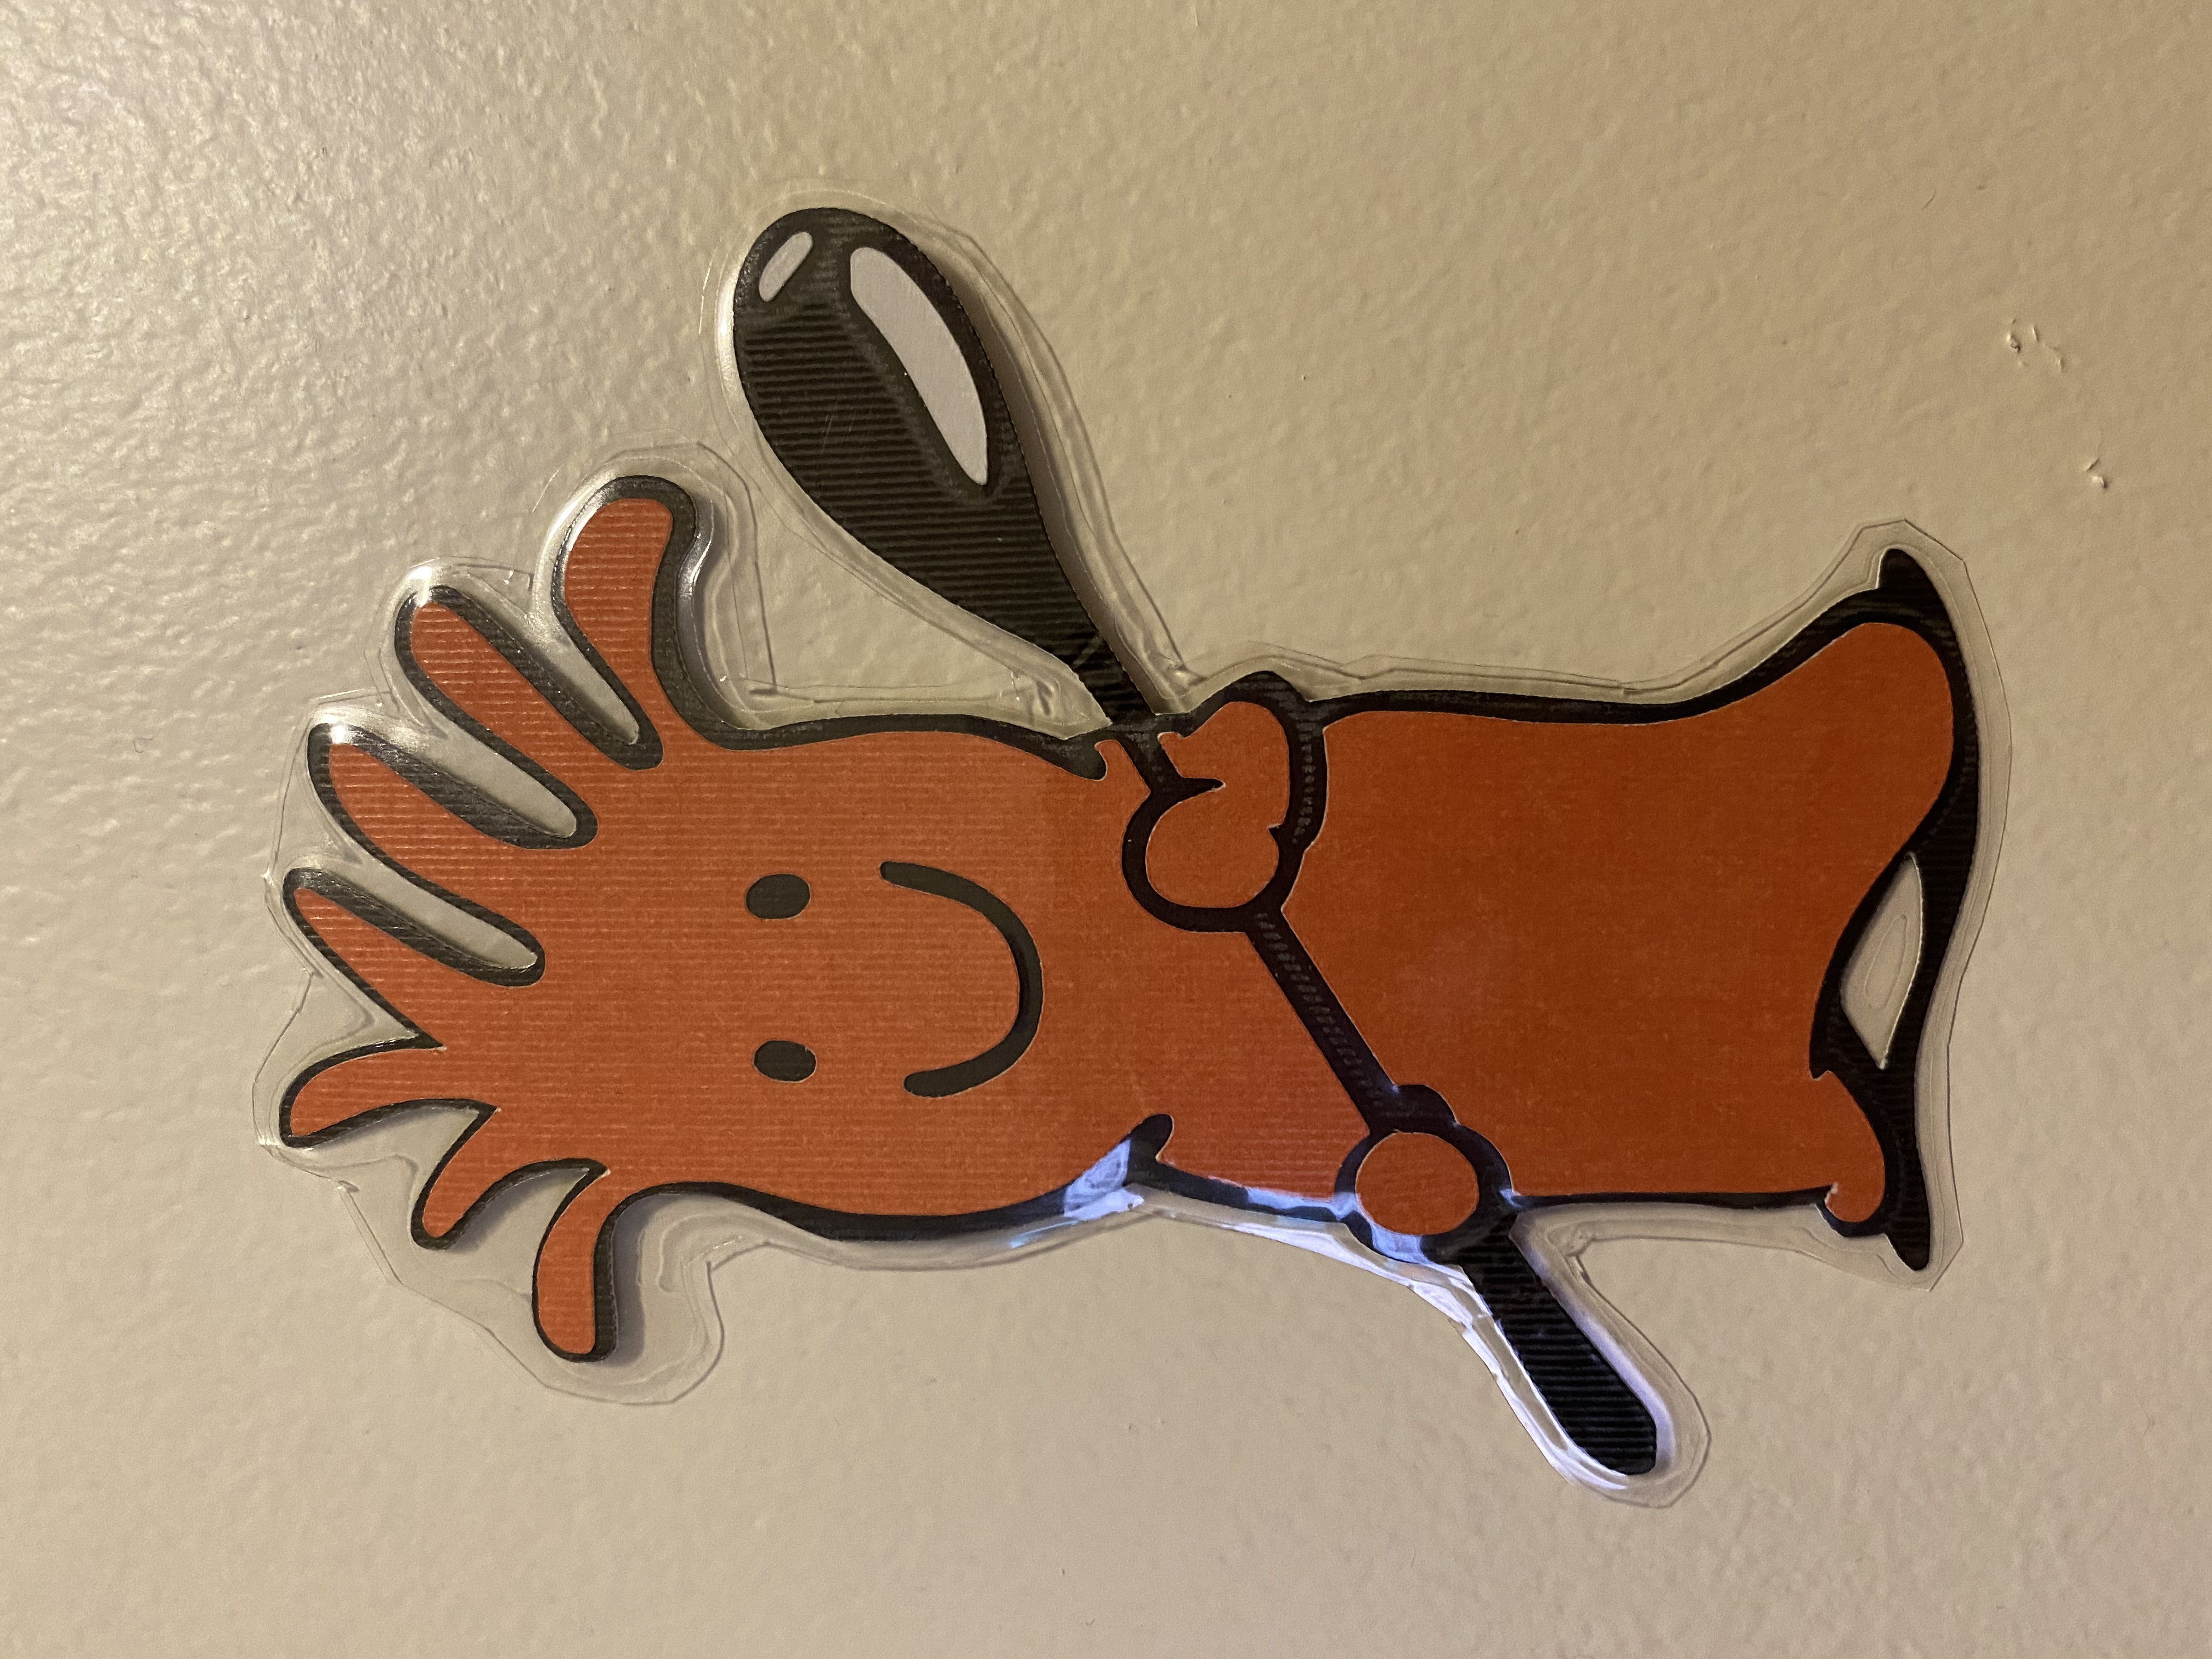
If you already know who Mr. Chili is – the mascot of Bulk Reef Supply – then you’re in the right place! If you have no clue what I’m talking about, hold on and take a look – this lovable little sea creature will become a fun addition to your craft project list.
To ensure no one is left in the dark, Mr. Chili is the mascot and logo of the ecommerce saltwater aquarium supply company Bulk Reef Supply. He was “born” with the invention of Reef Chili – an additive to a saltwater coral aquarium to accelerate the growth of corals.
Mr. Chili has made a name for himself. I know in my household, he’s a favorite of all of my kids. Anytime they see him on they scream out loud “Mr. Chili!”. So why not make him more prominent in the house? Make one, ten, fifty – hang him all over your house! Is a birthday coming up? Mr. Chill LOVES to celebrate birthdays!
Materials
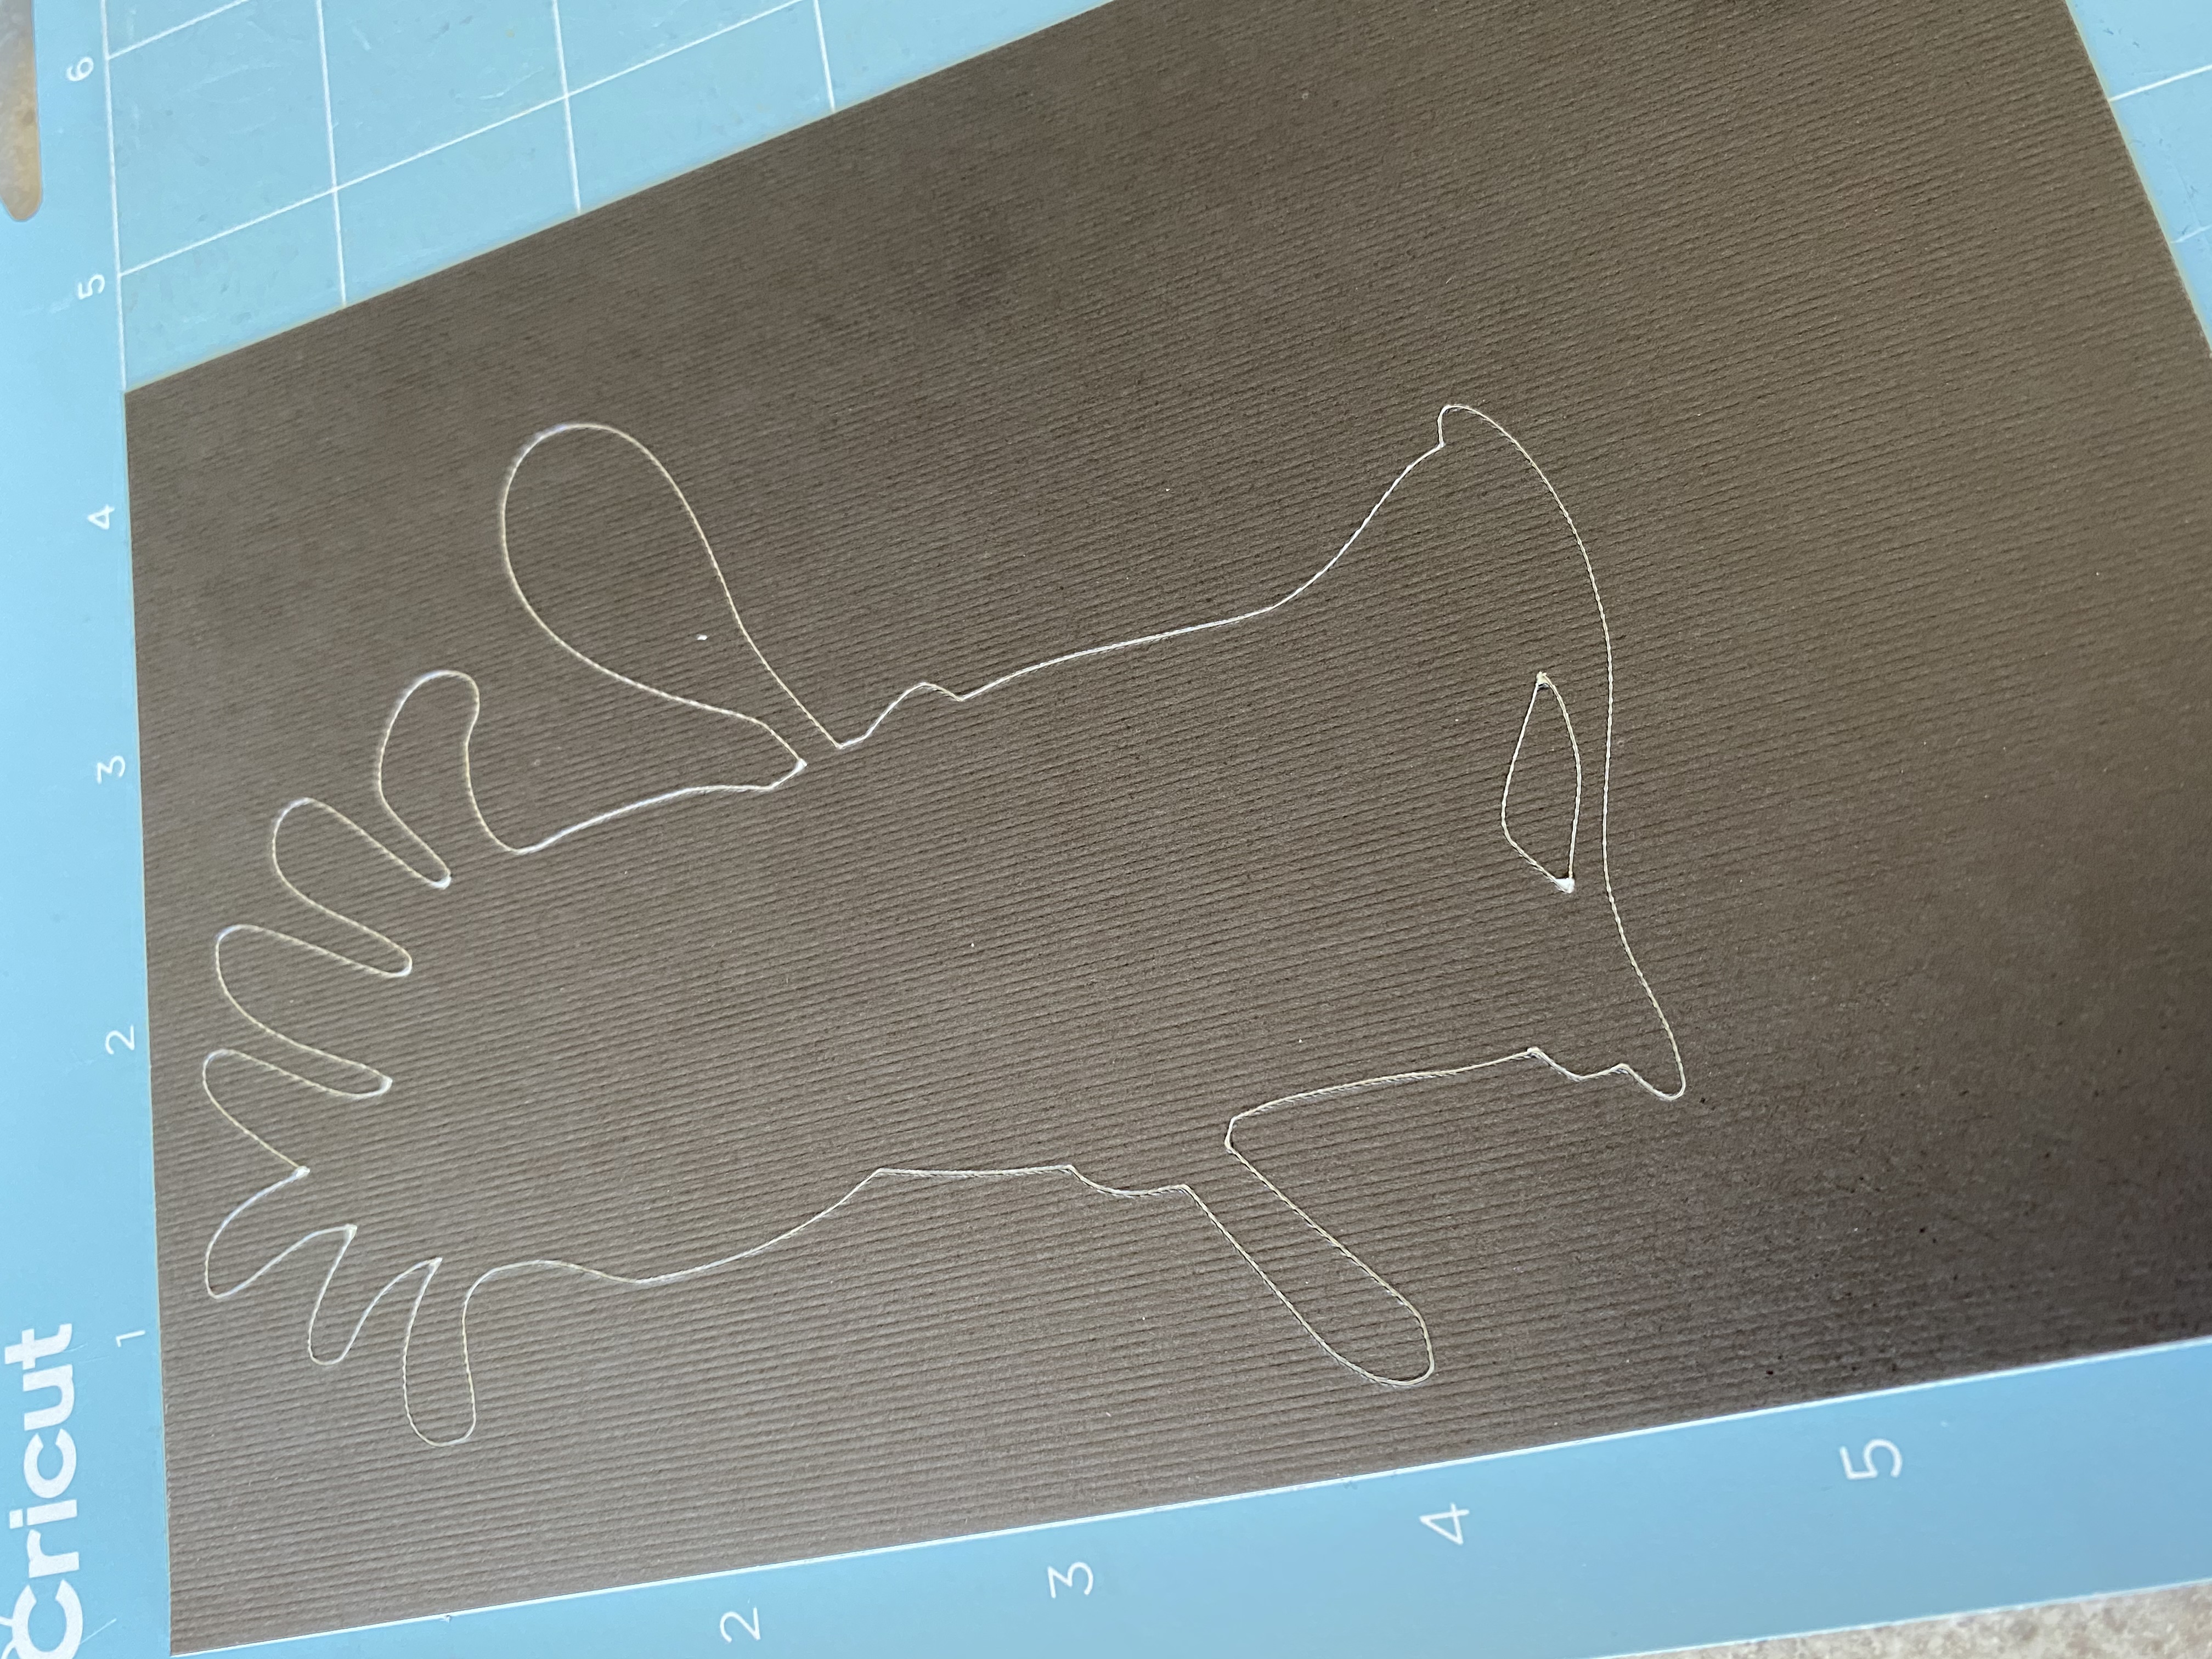
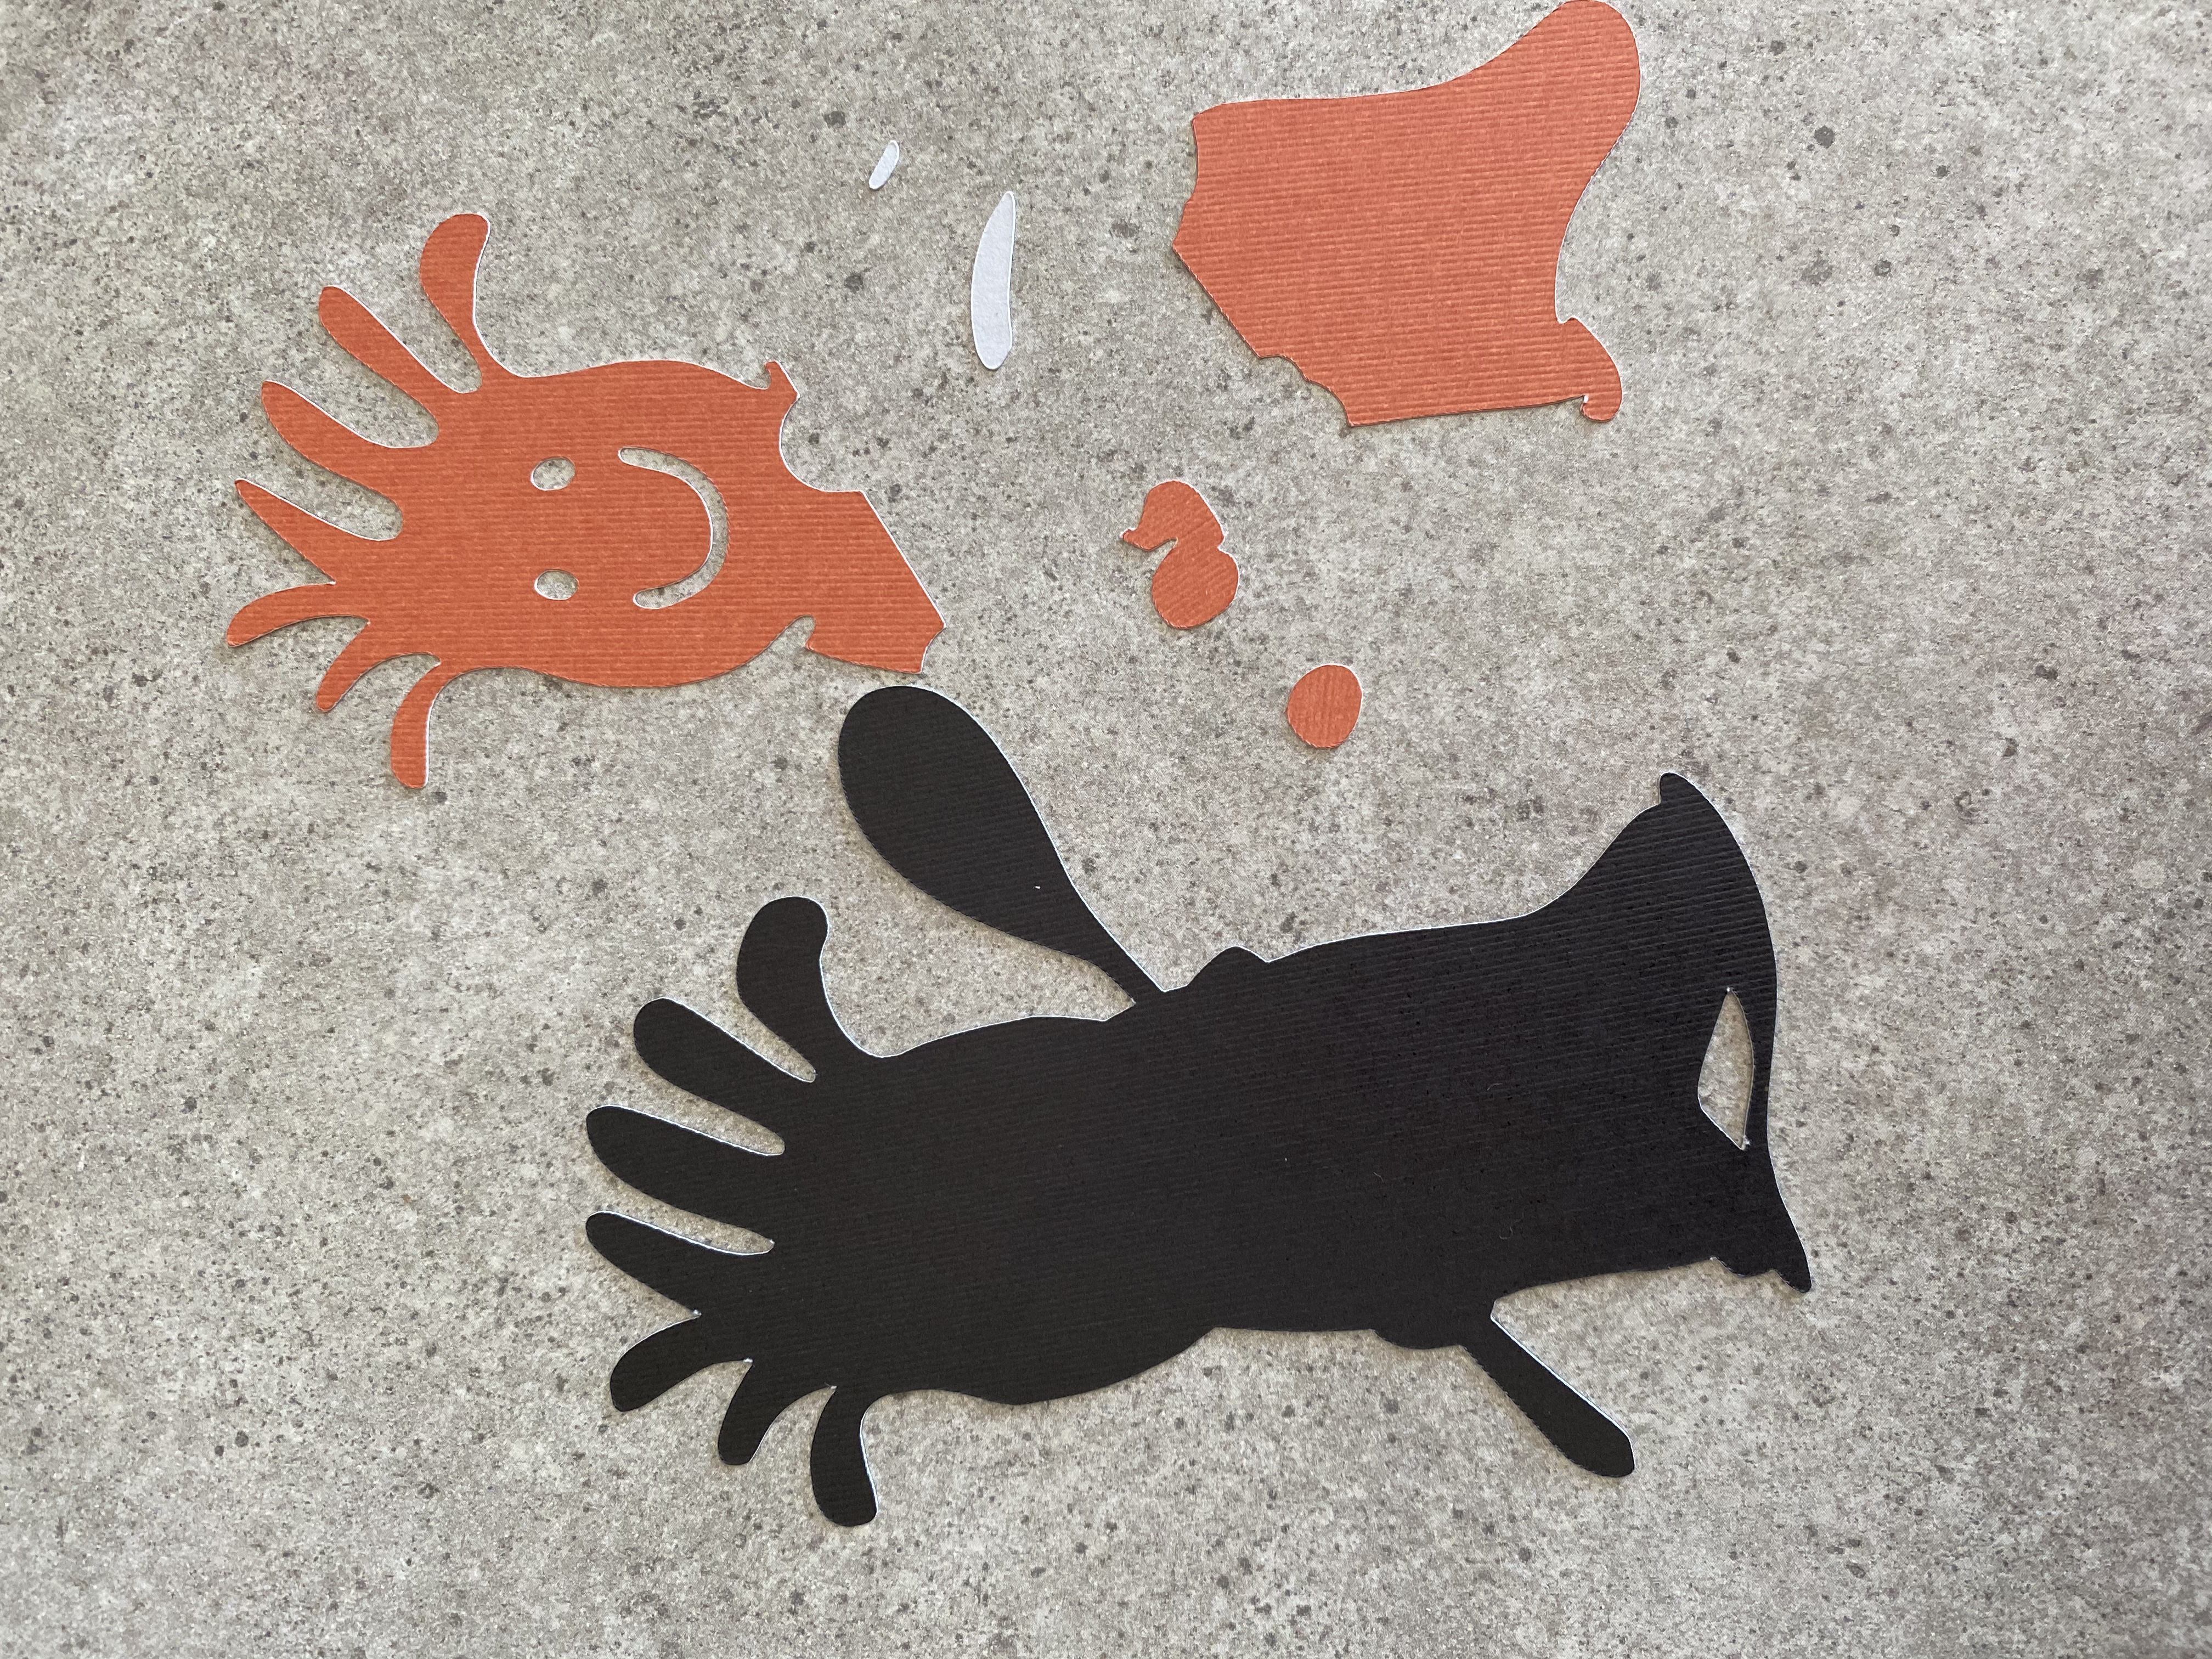
- 4 x 6 Card Stock: Black (HEX #000000)
- 4 x 6 Card Stock: White (HEX #FFFFFF)
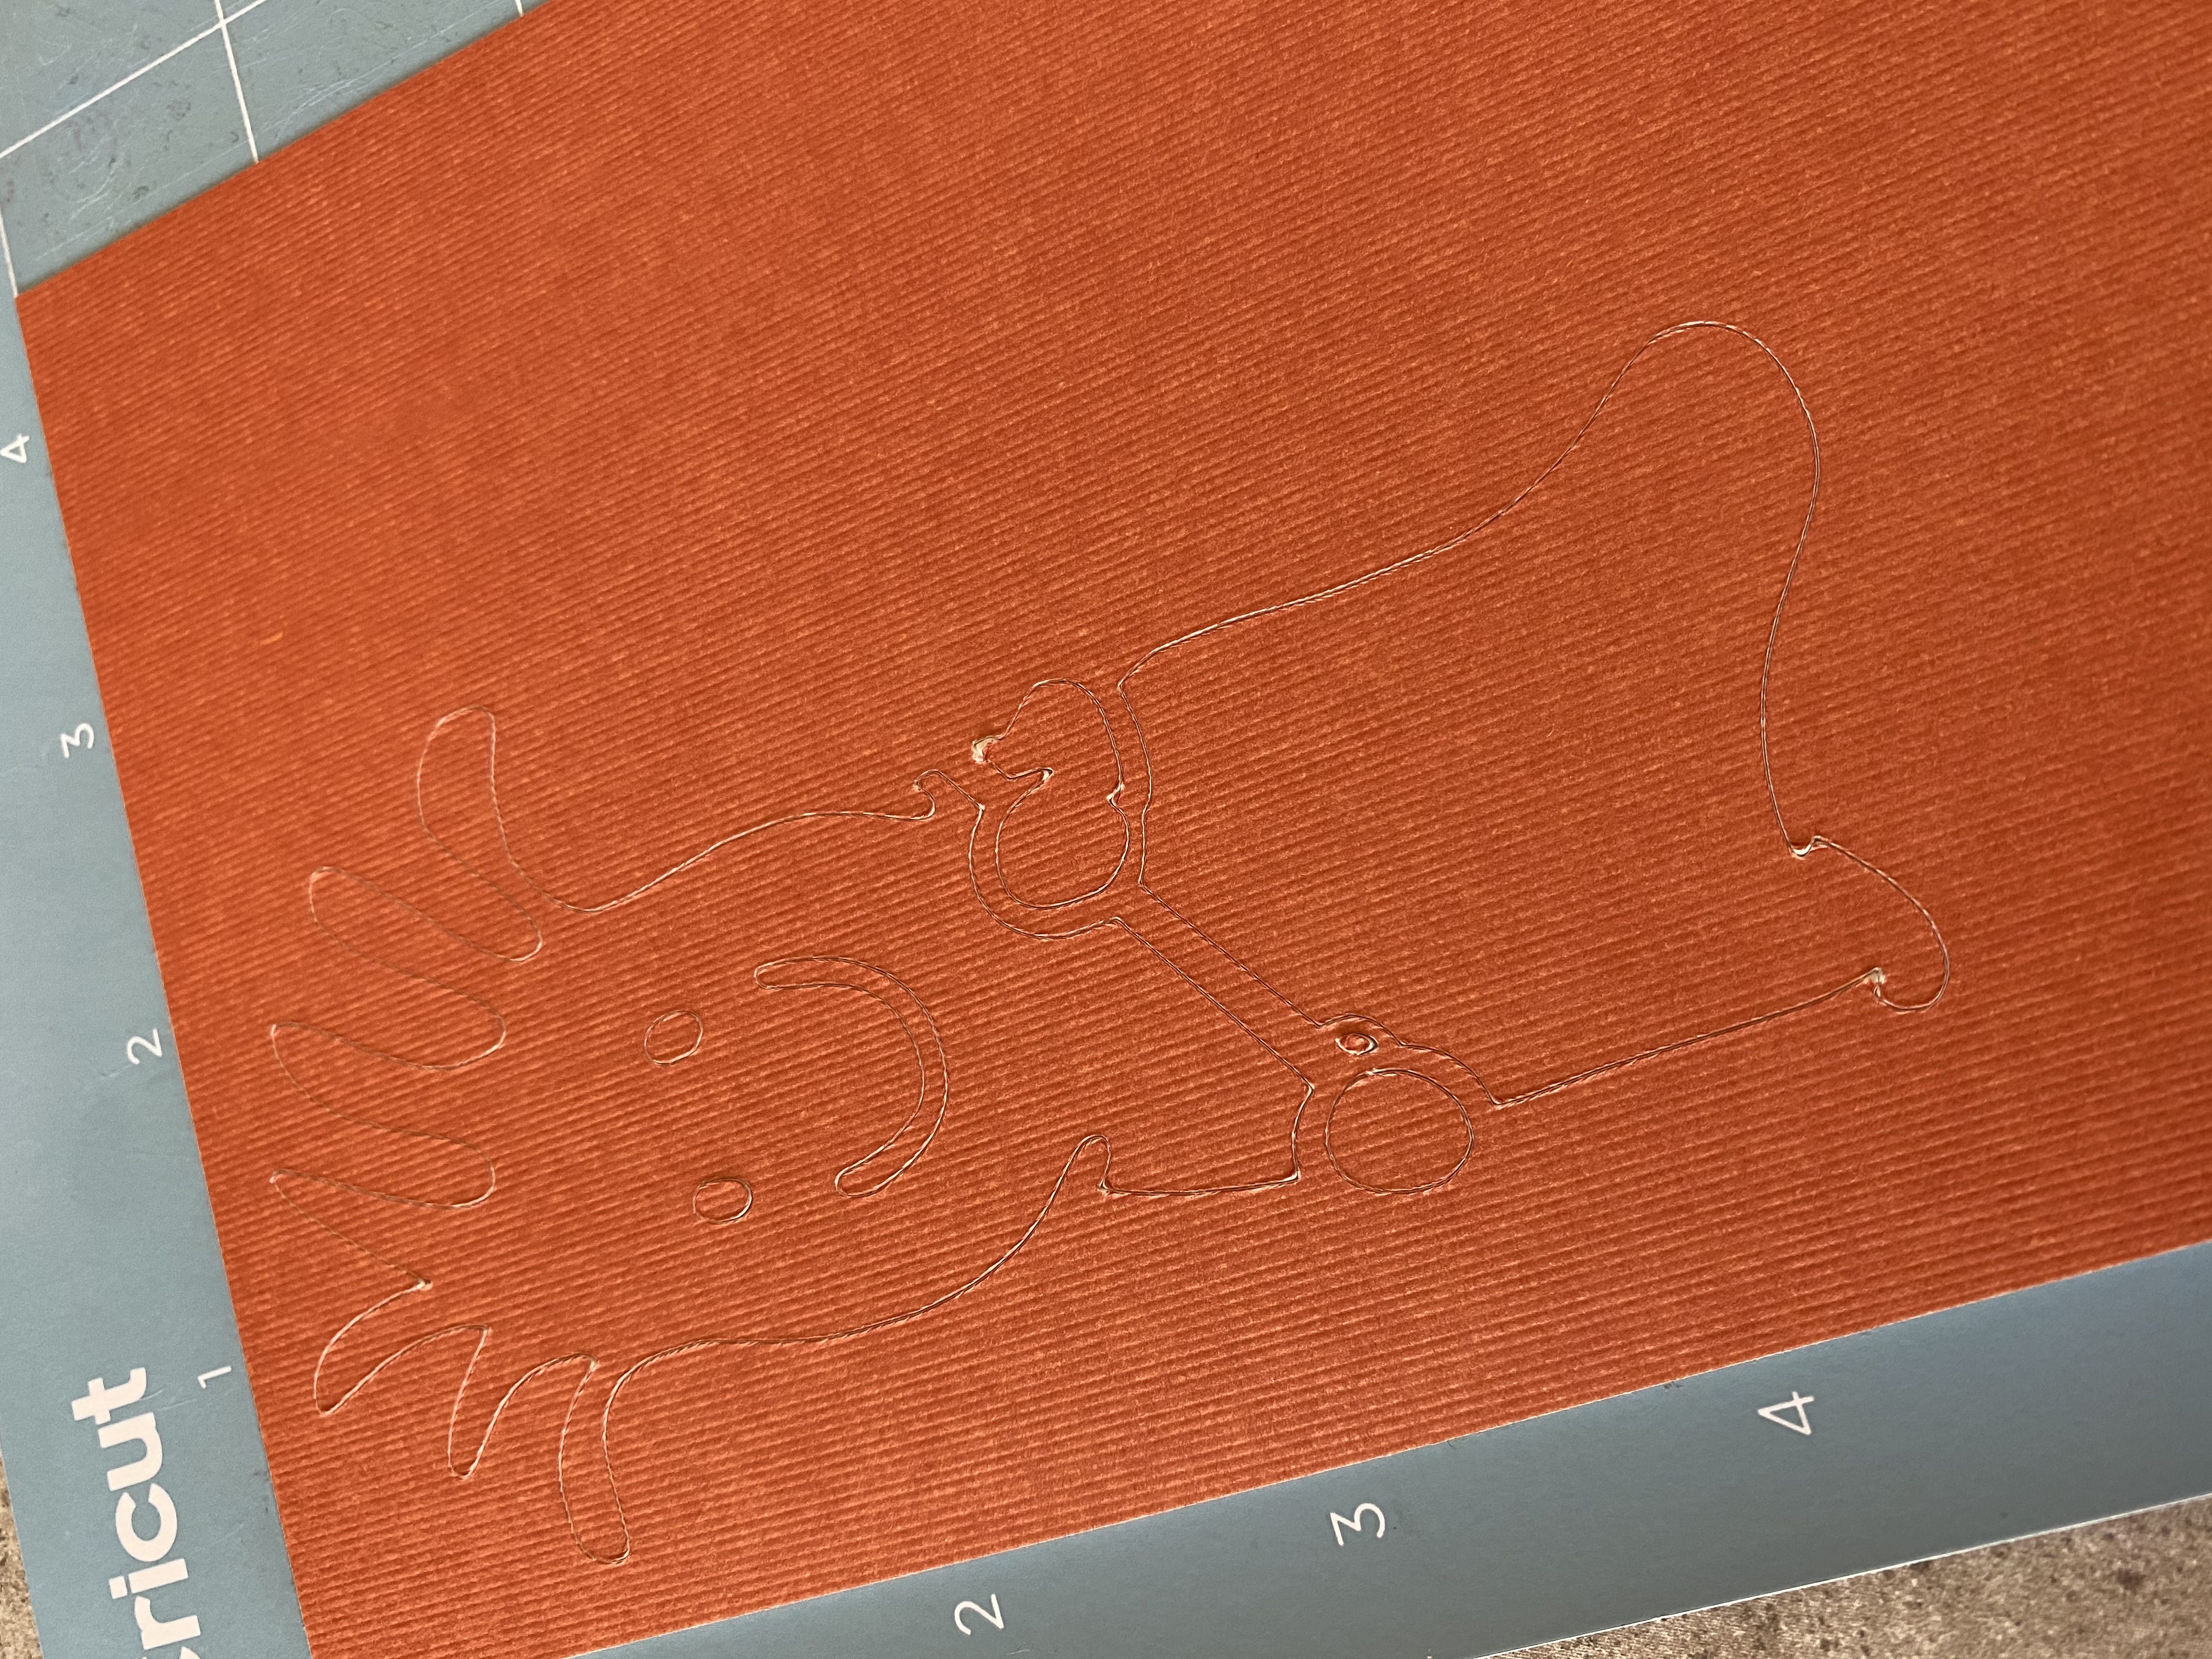
- 4 x 6 Card Stock: Orange (HEX #EF7624)
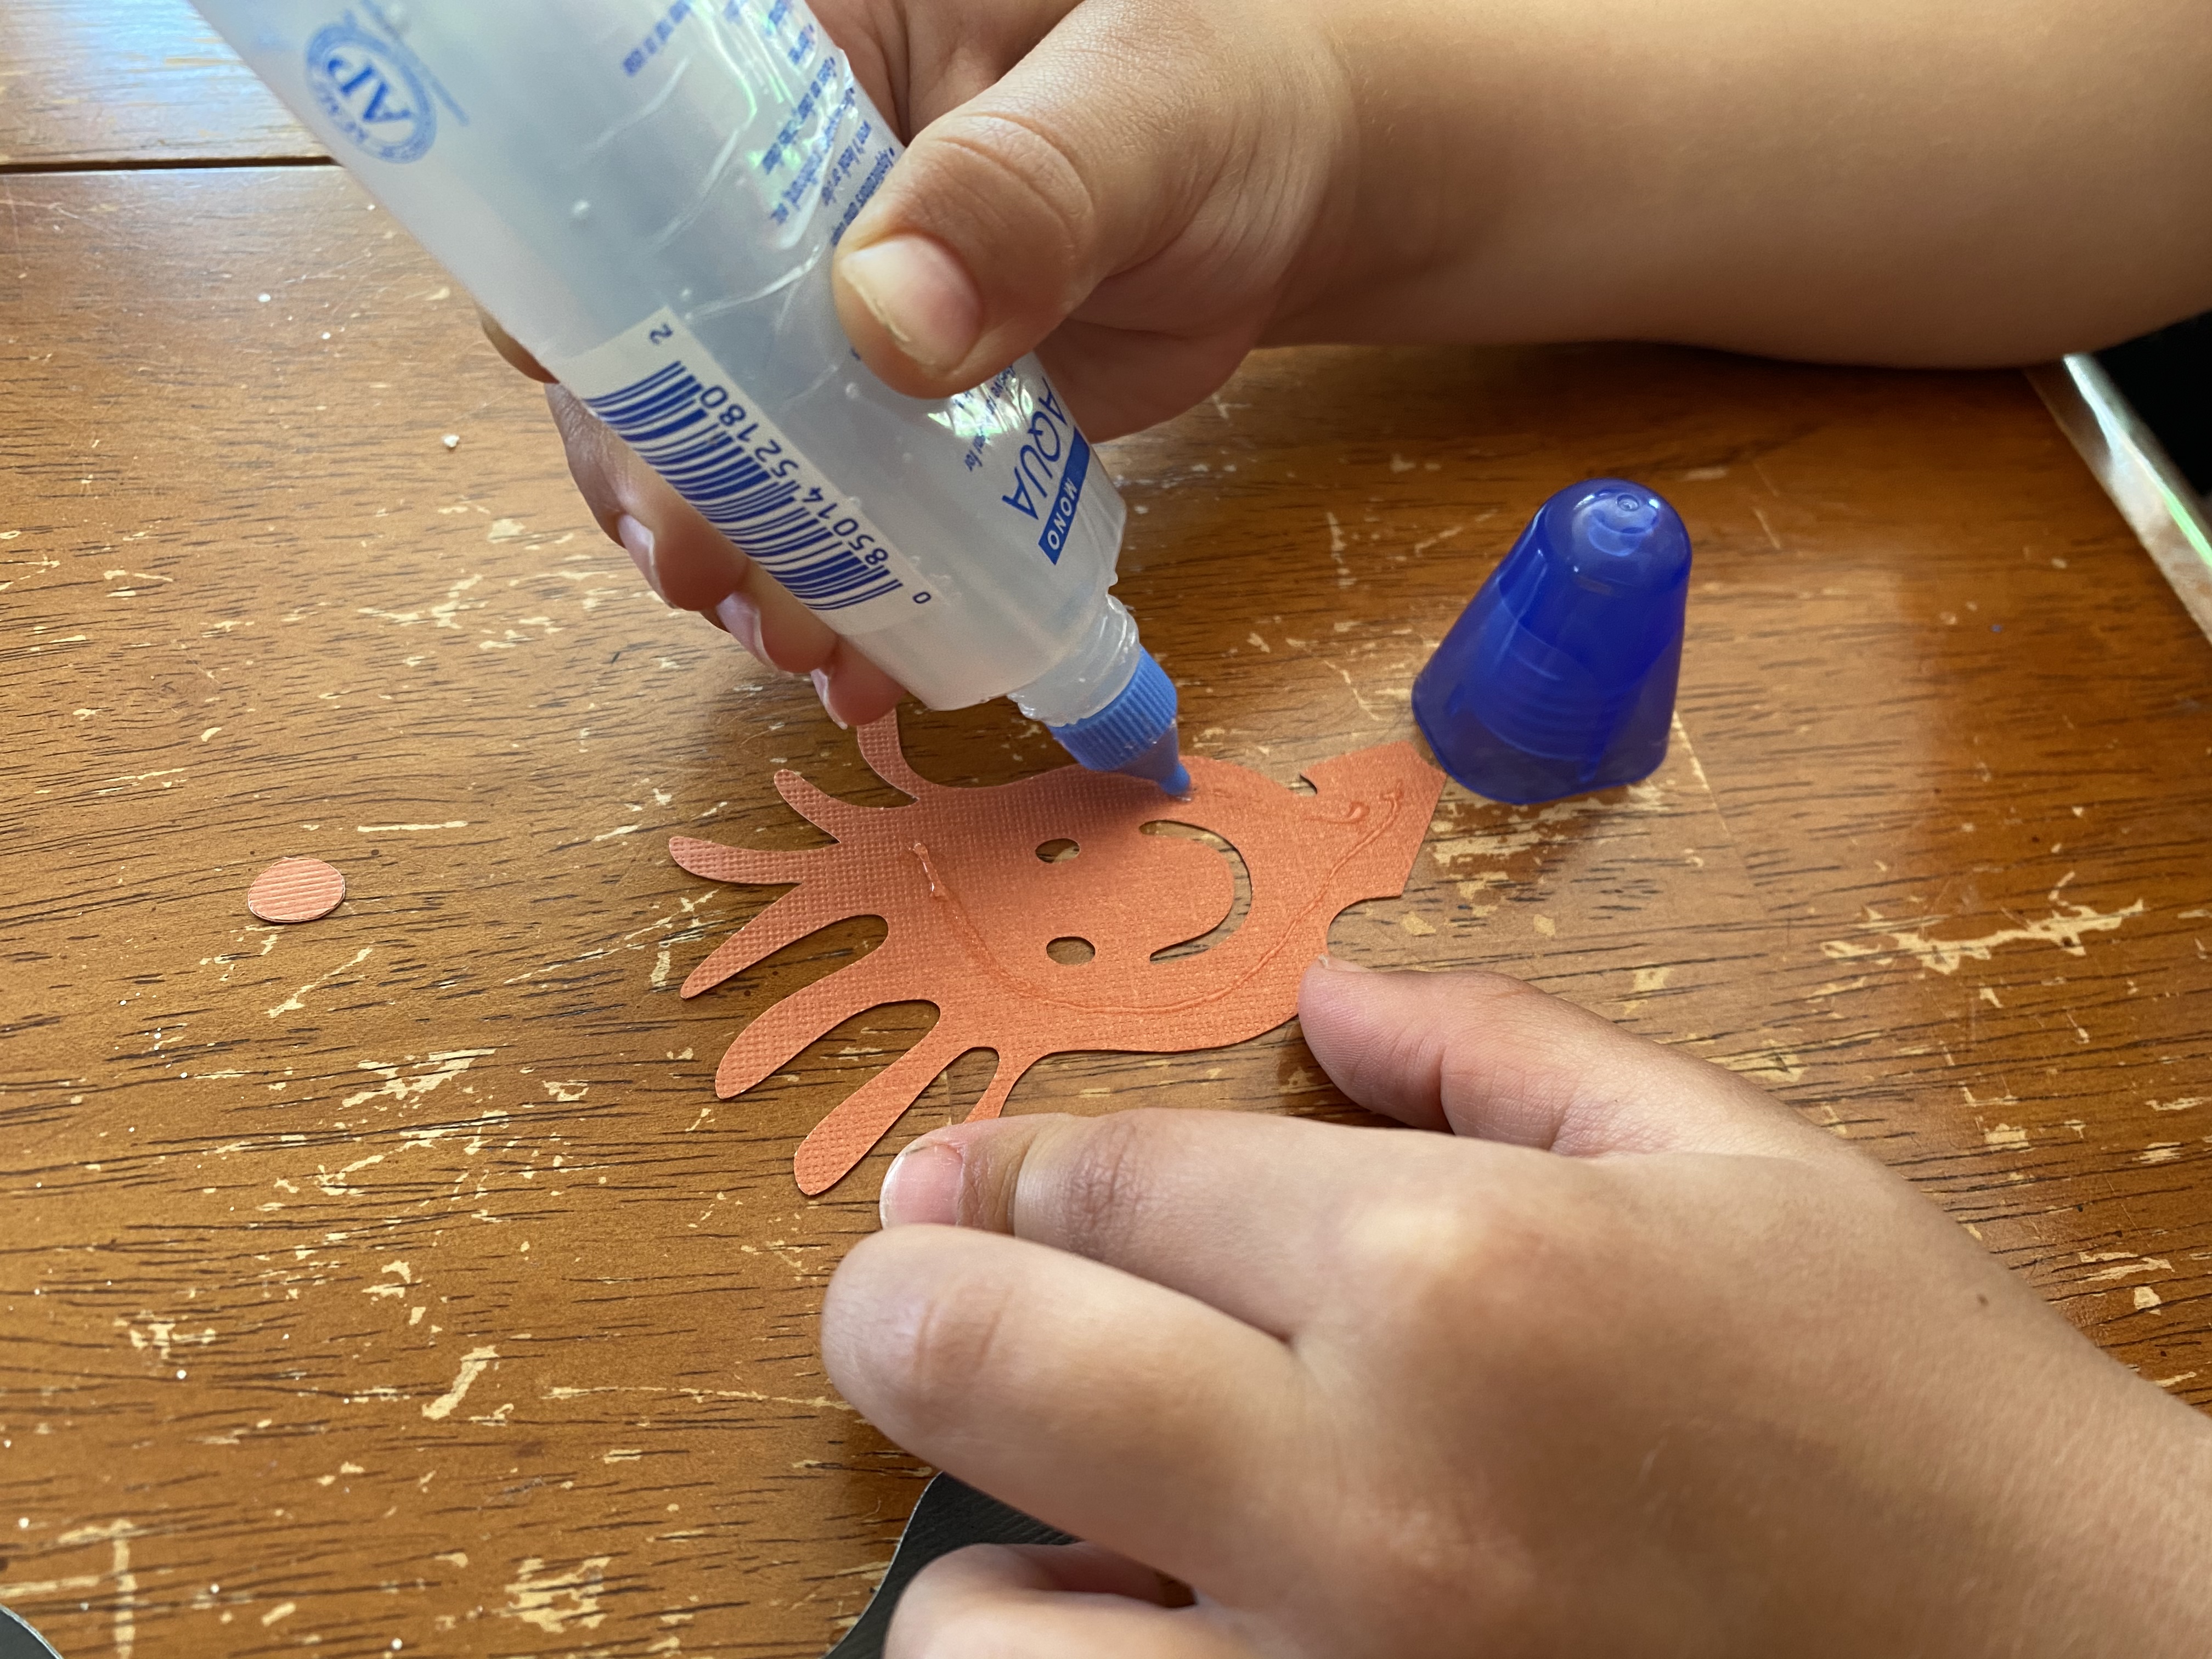
- Glue (I suggest Tombow MONO AQUA Liquid Glue)
- Laminator and laminating sheets (optional)
This pack of Astrobrights cardstock at Amazon is a great price and has color choices that are spot on for this project.
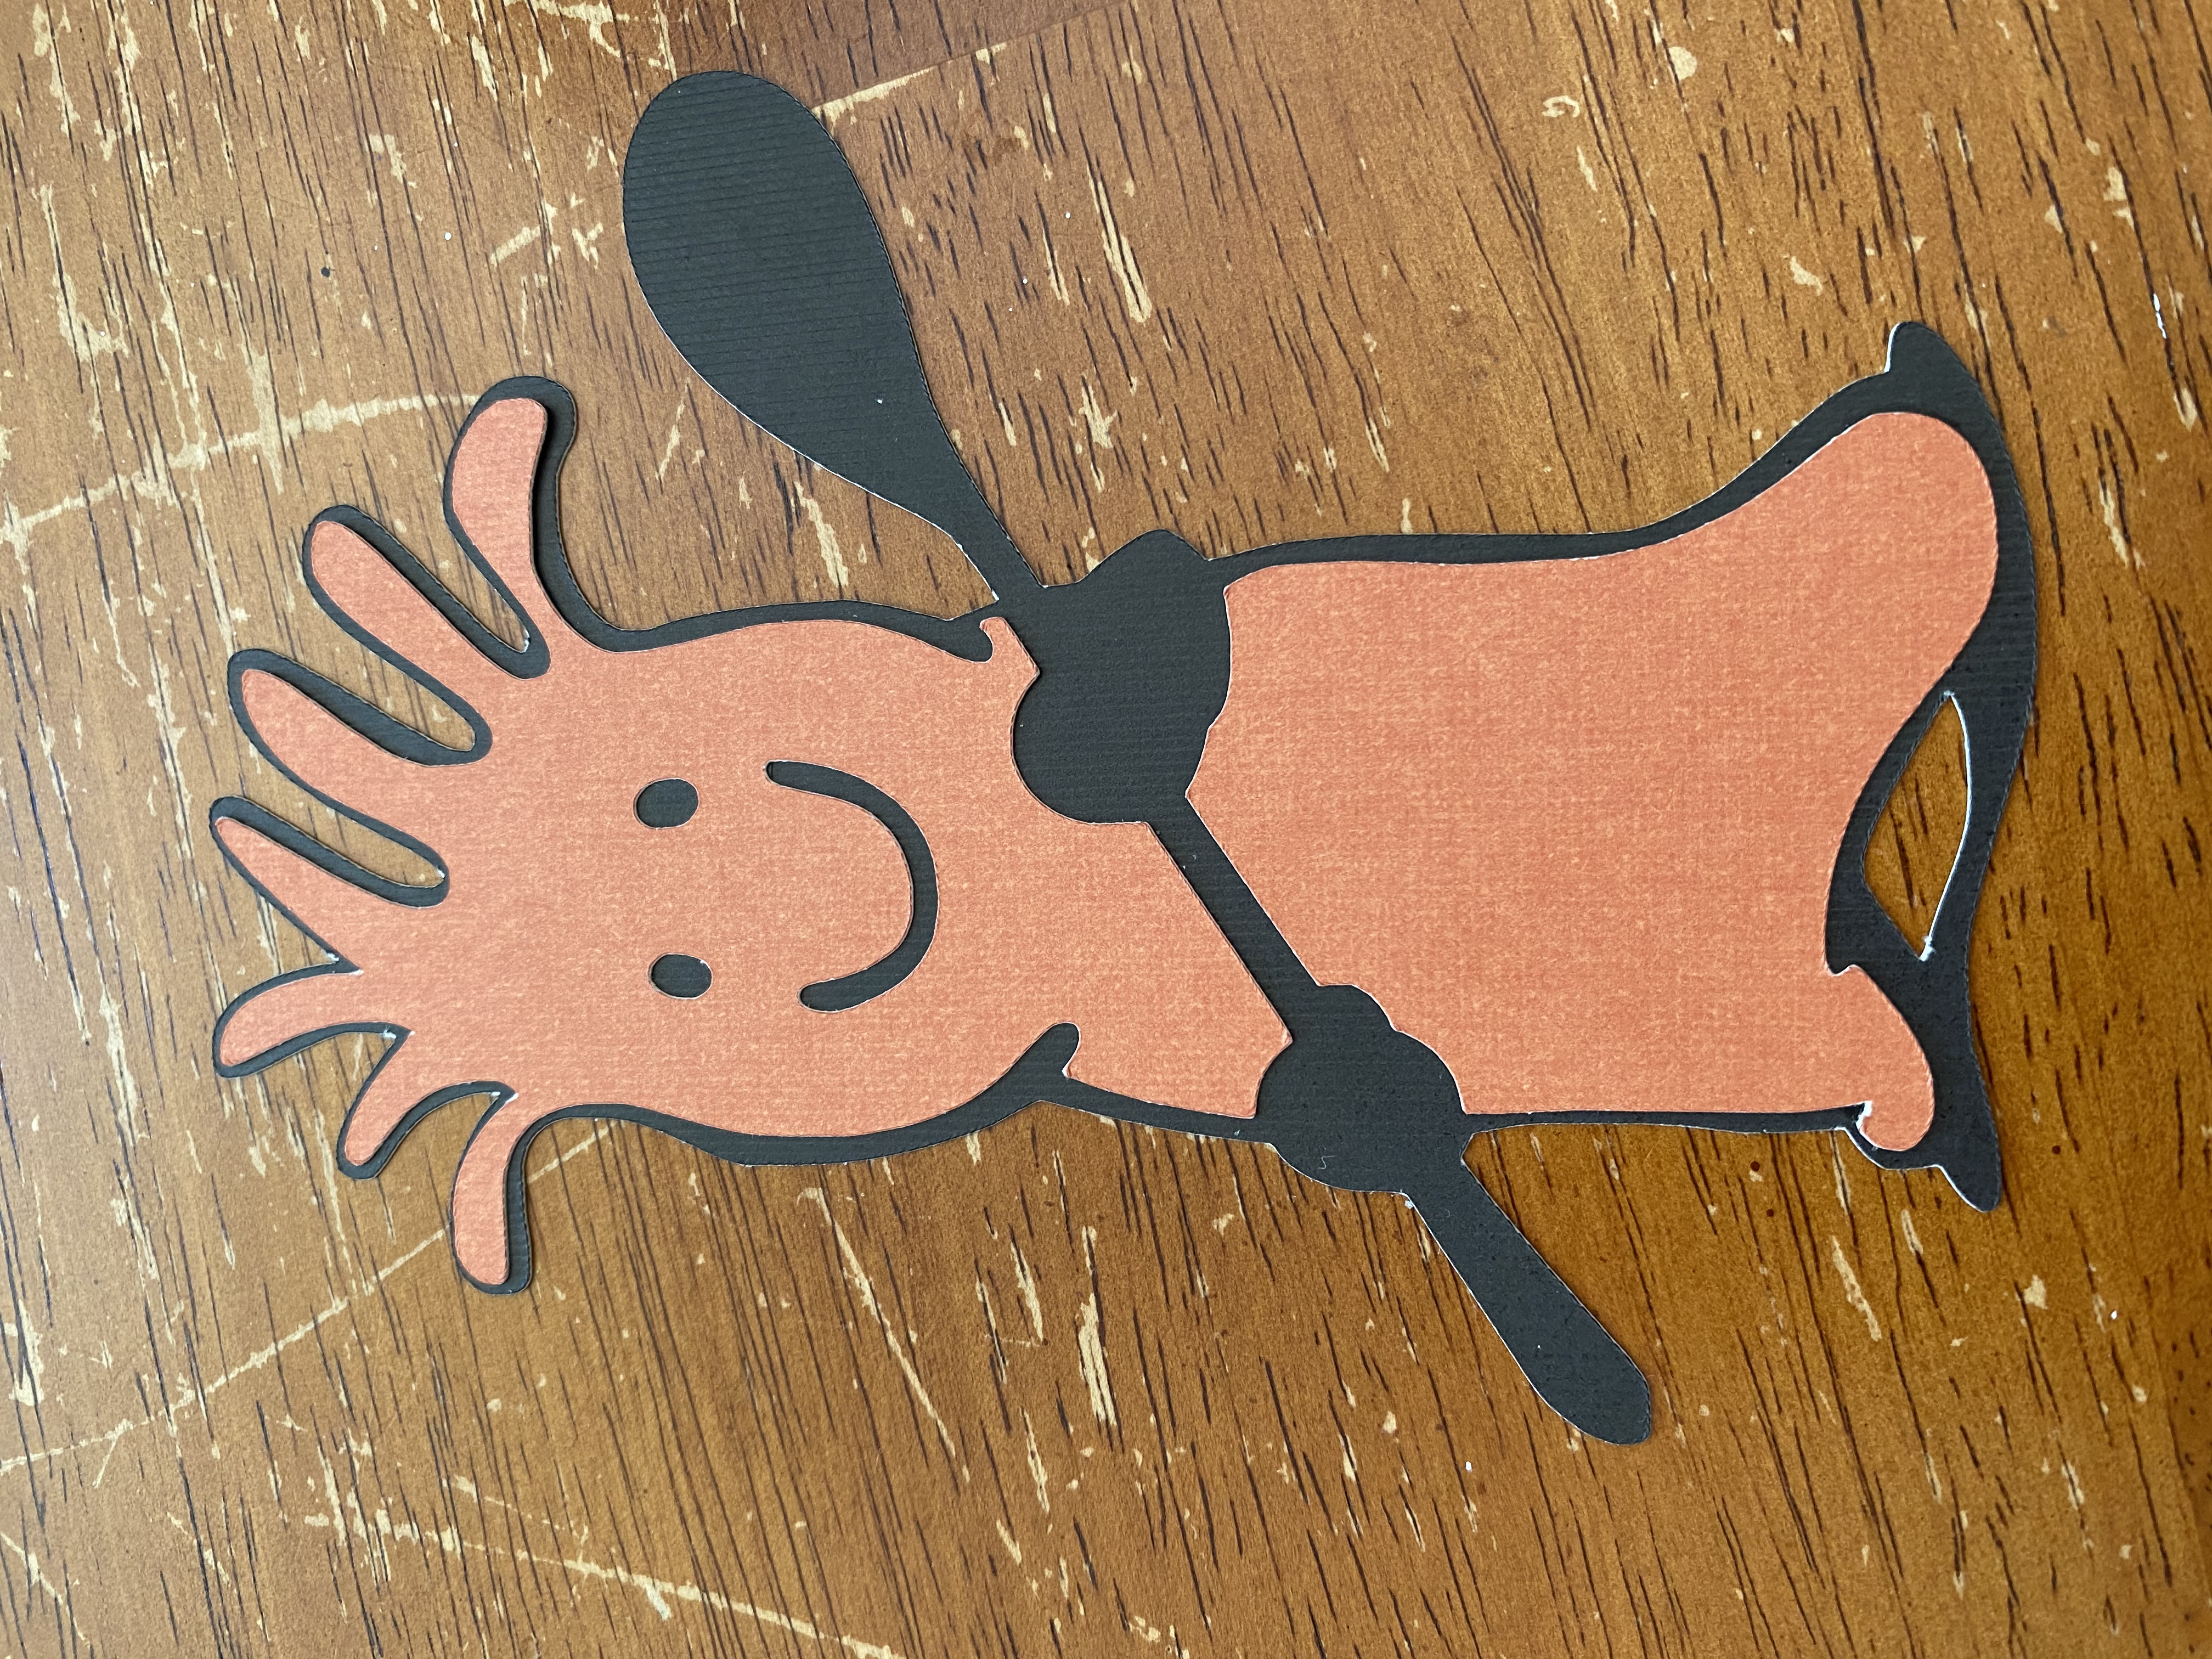
DIY Mr. Chili Cutout with a Cricut
Use some card stock to make this Mr. Chili cutout. It’s sturdy and rigid and has such great color options. This makes it a good finished product for kids to handle, hanging on the wall, use as a bookmark, put on your tank stand, etc. Honestly – I’d recommend laminating it as well. Since this is made of paper, laminating it will certainly make it a longer lasting craft project (especially around your tank).
With a Cricut this is a super simple job. It does all the hard work, and you just need to glue it together.
Download the Design
Simply download the project and load it into Cricut Design Space.
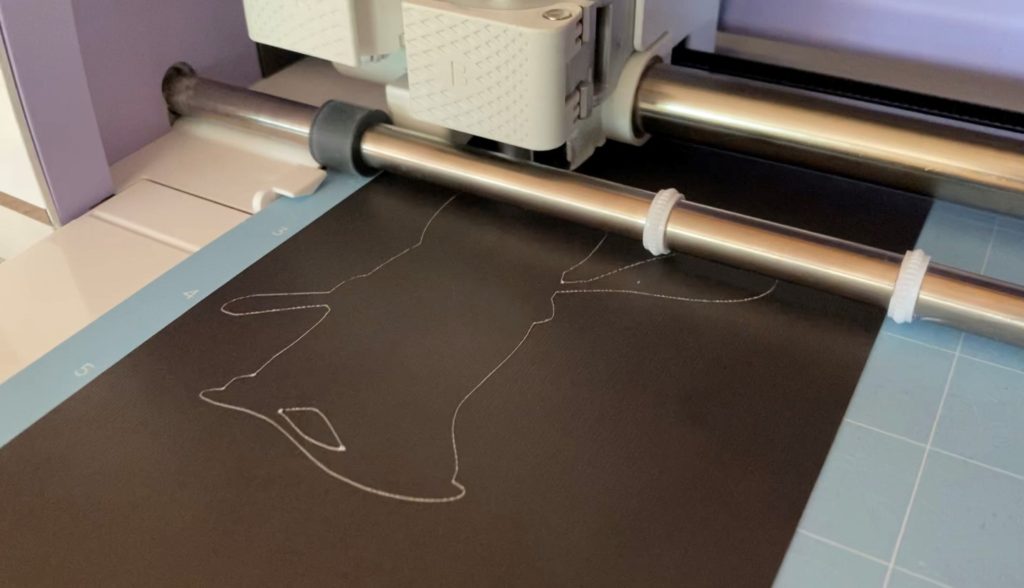
Cut the design
Use the Cricut to cut out the design.
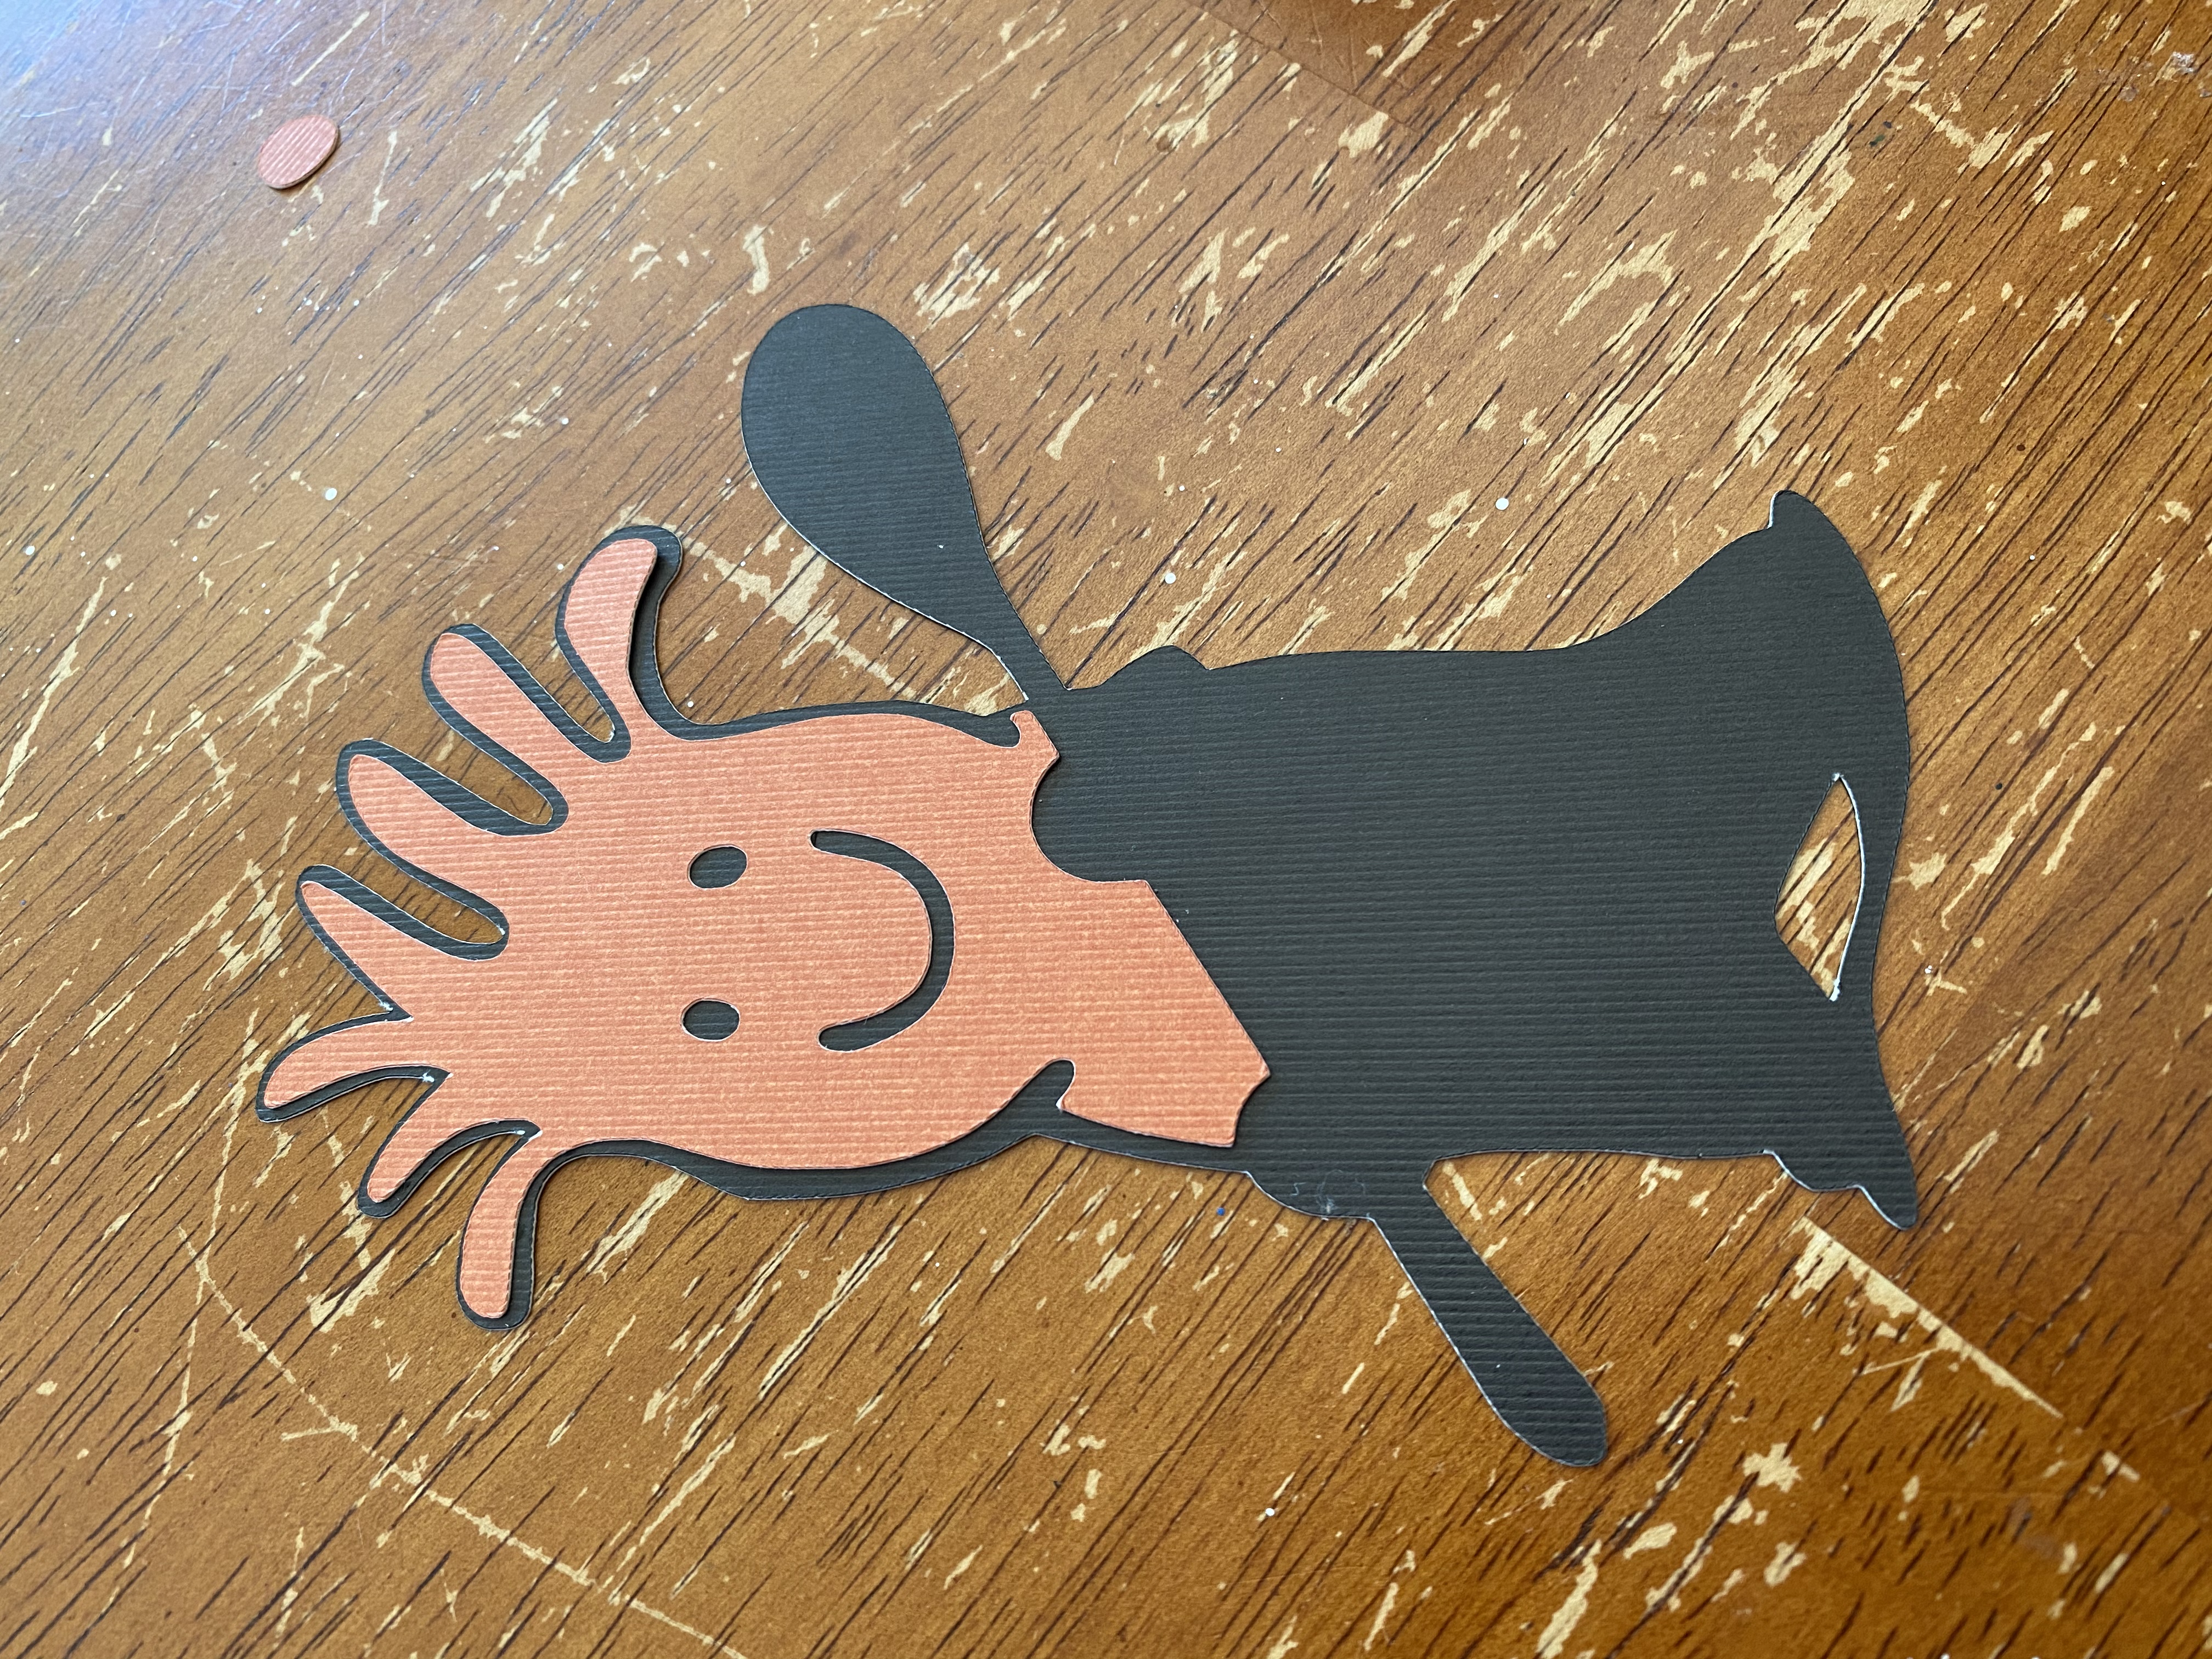
Assemble Mr. Chili
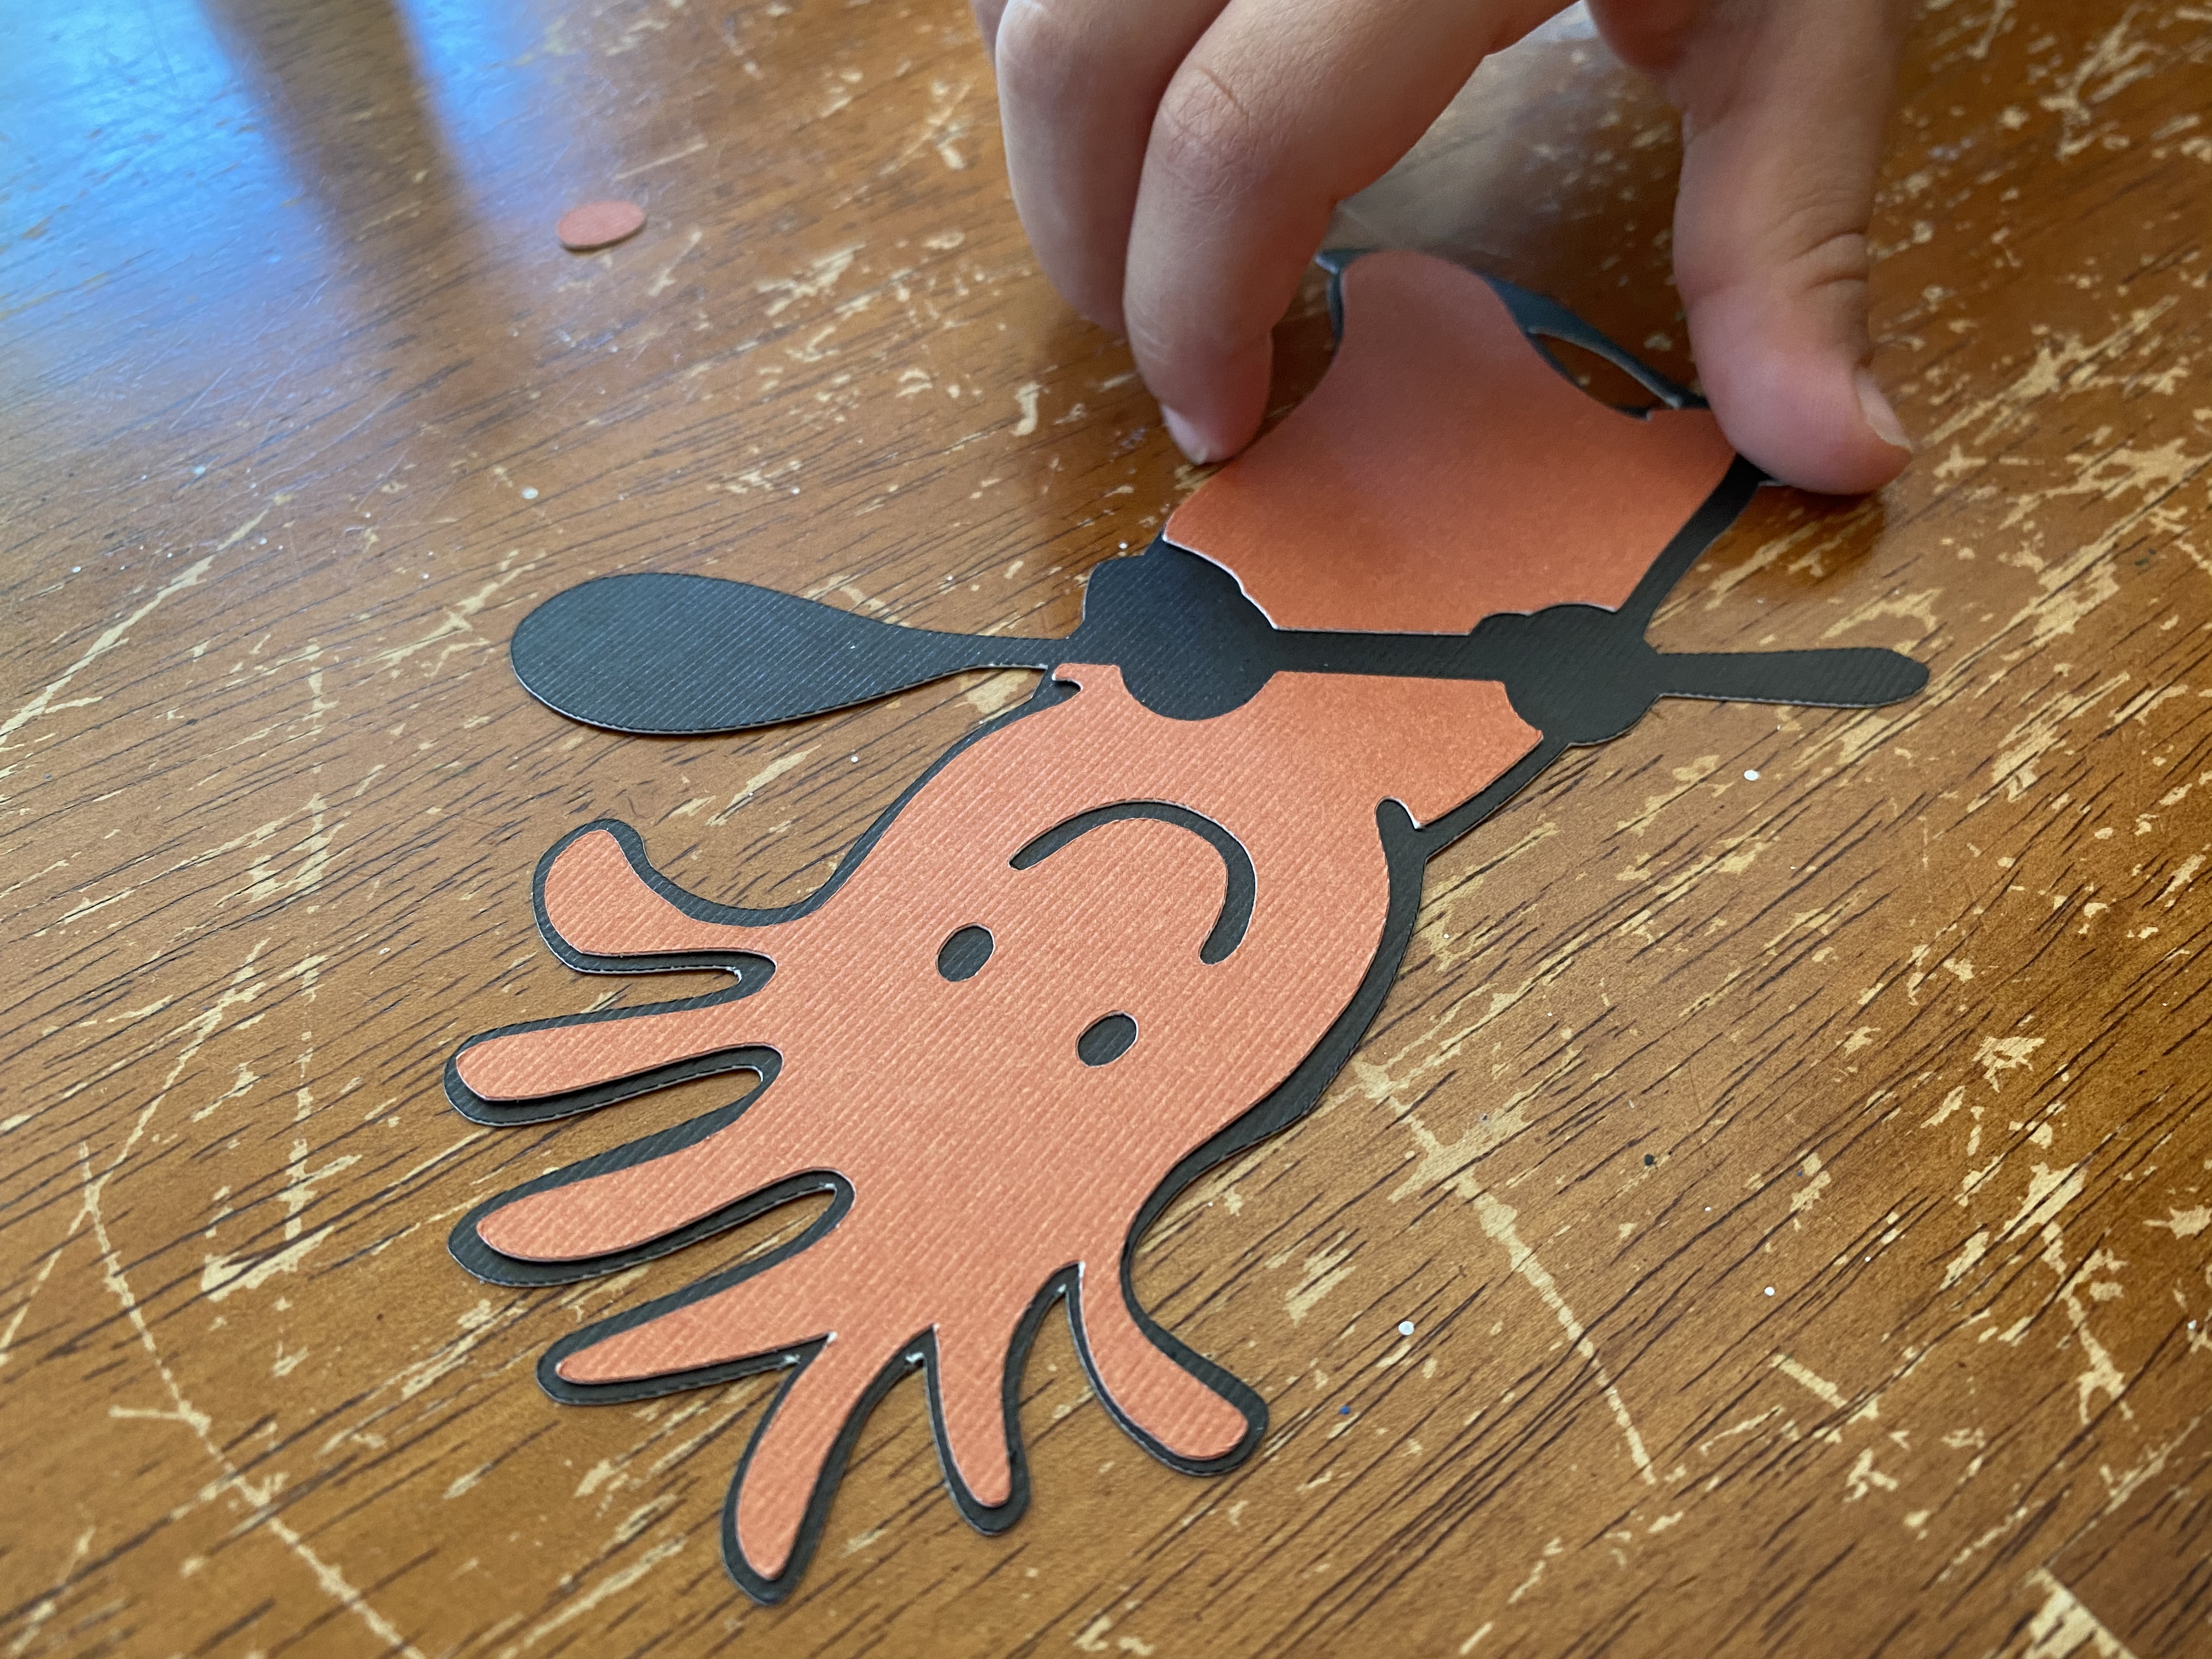
Using the glue, make a small “trail” of glue on the back of the orange and white parts and lay over the black background. Line the parts up just right and you have given birth to your very own Mr. Chili!
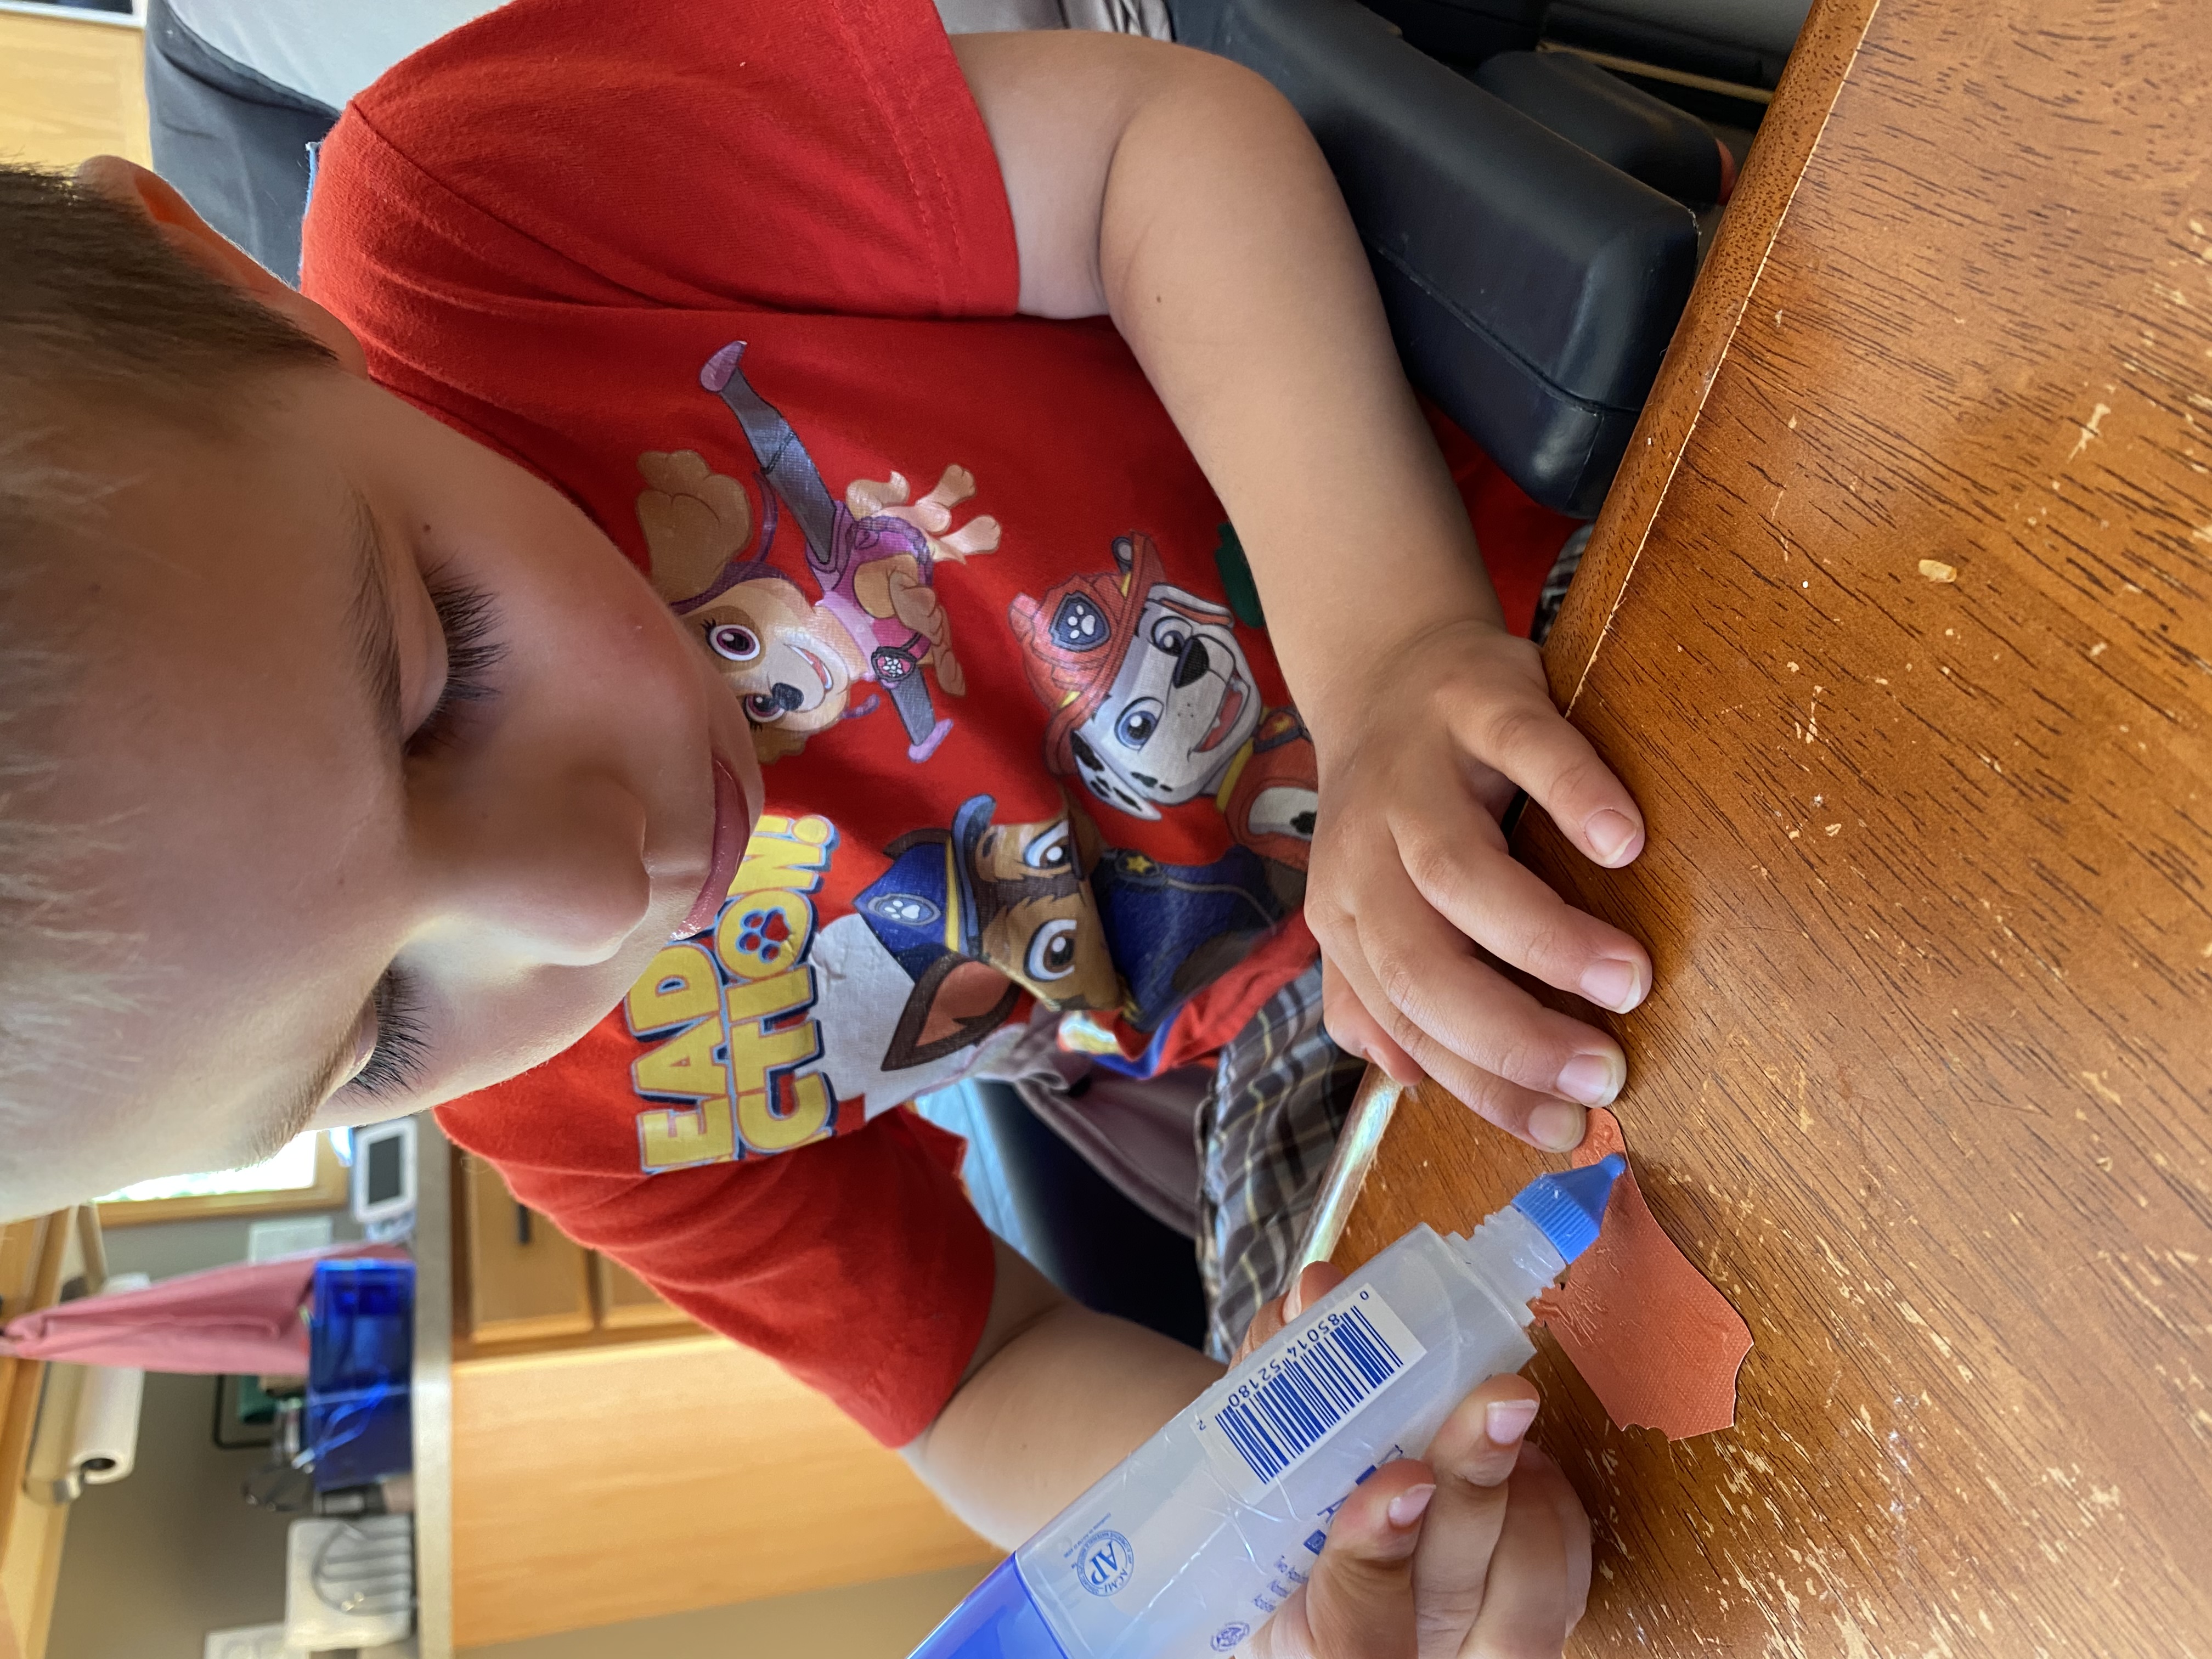
As you can see, one of my boys was so excited to have a Mr. Chili in the house, so he insisted on doing the assembly!
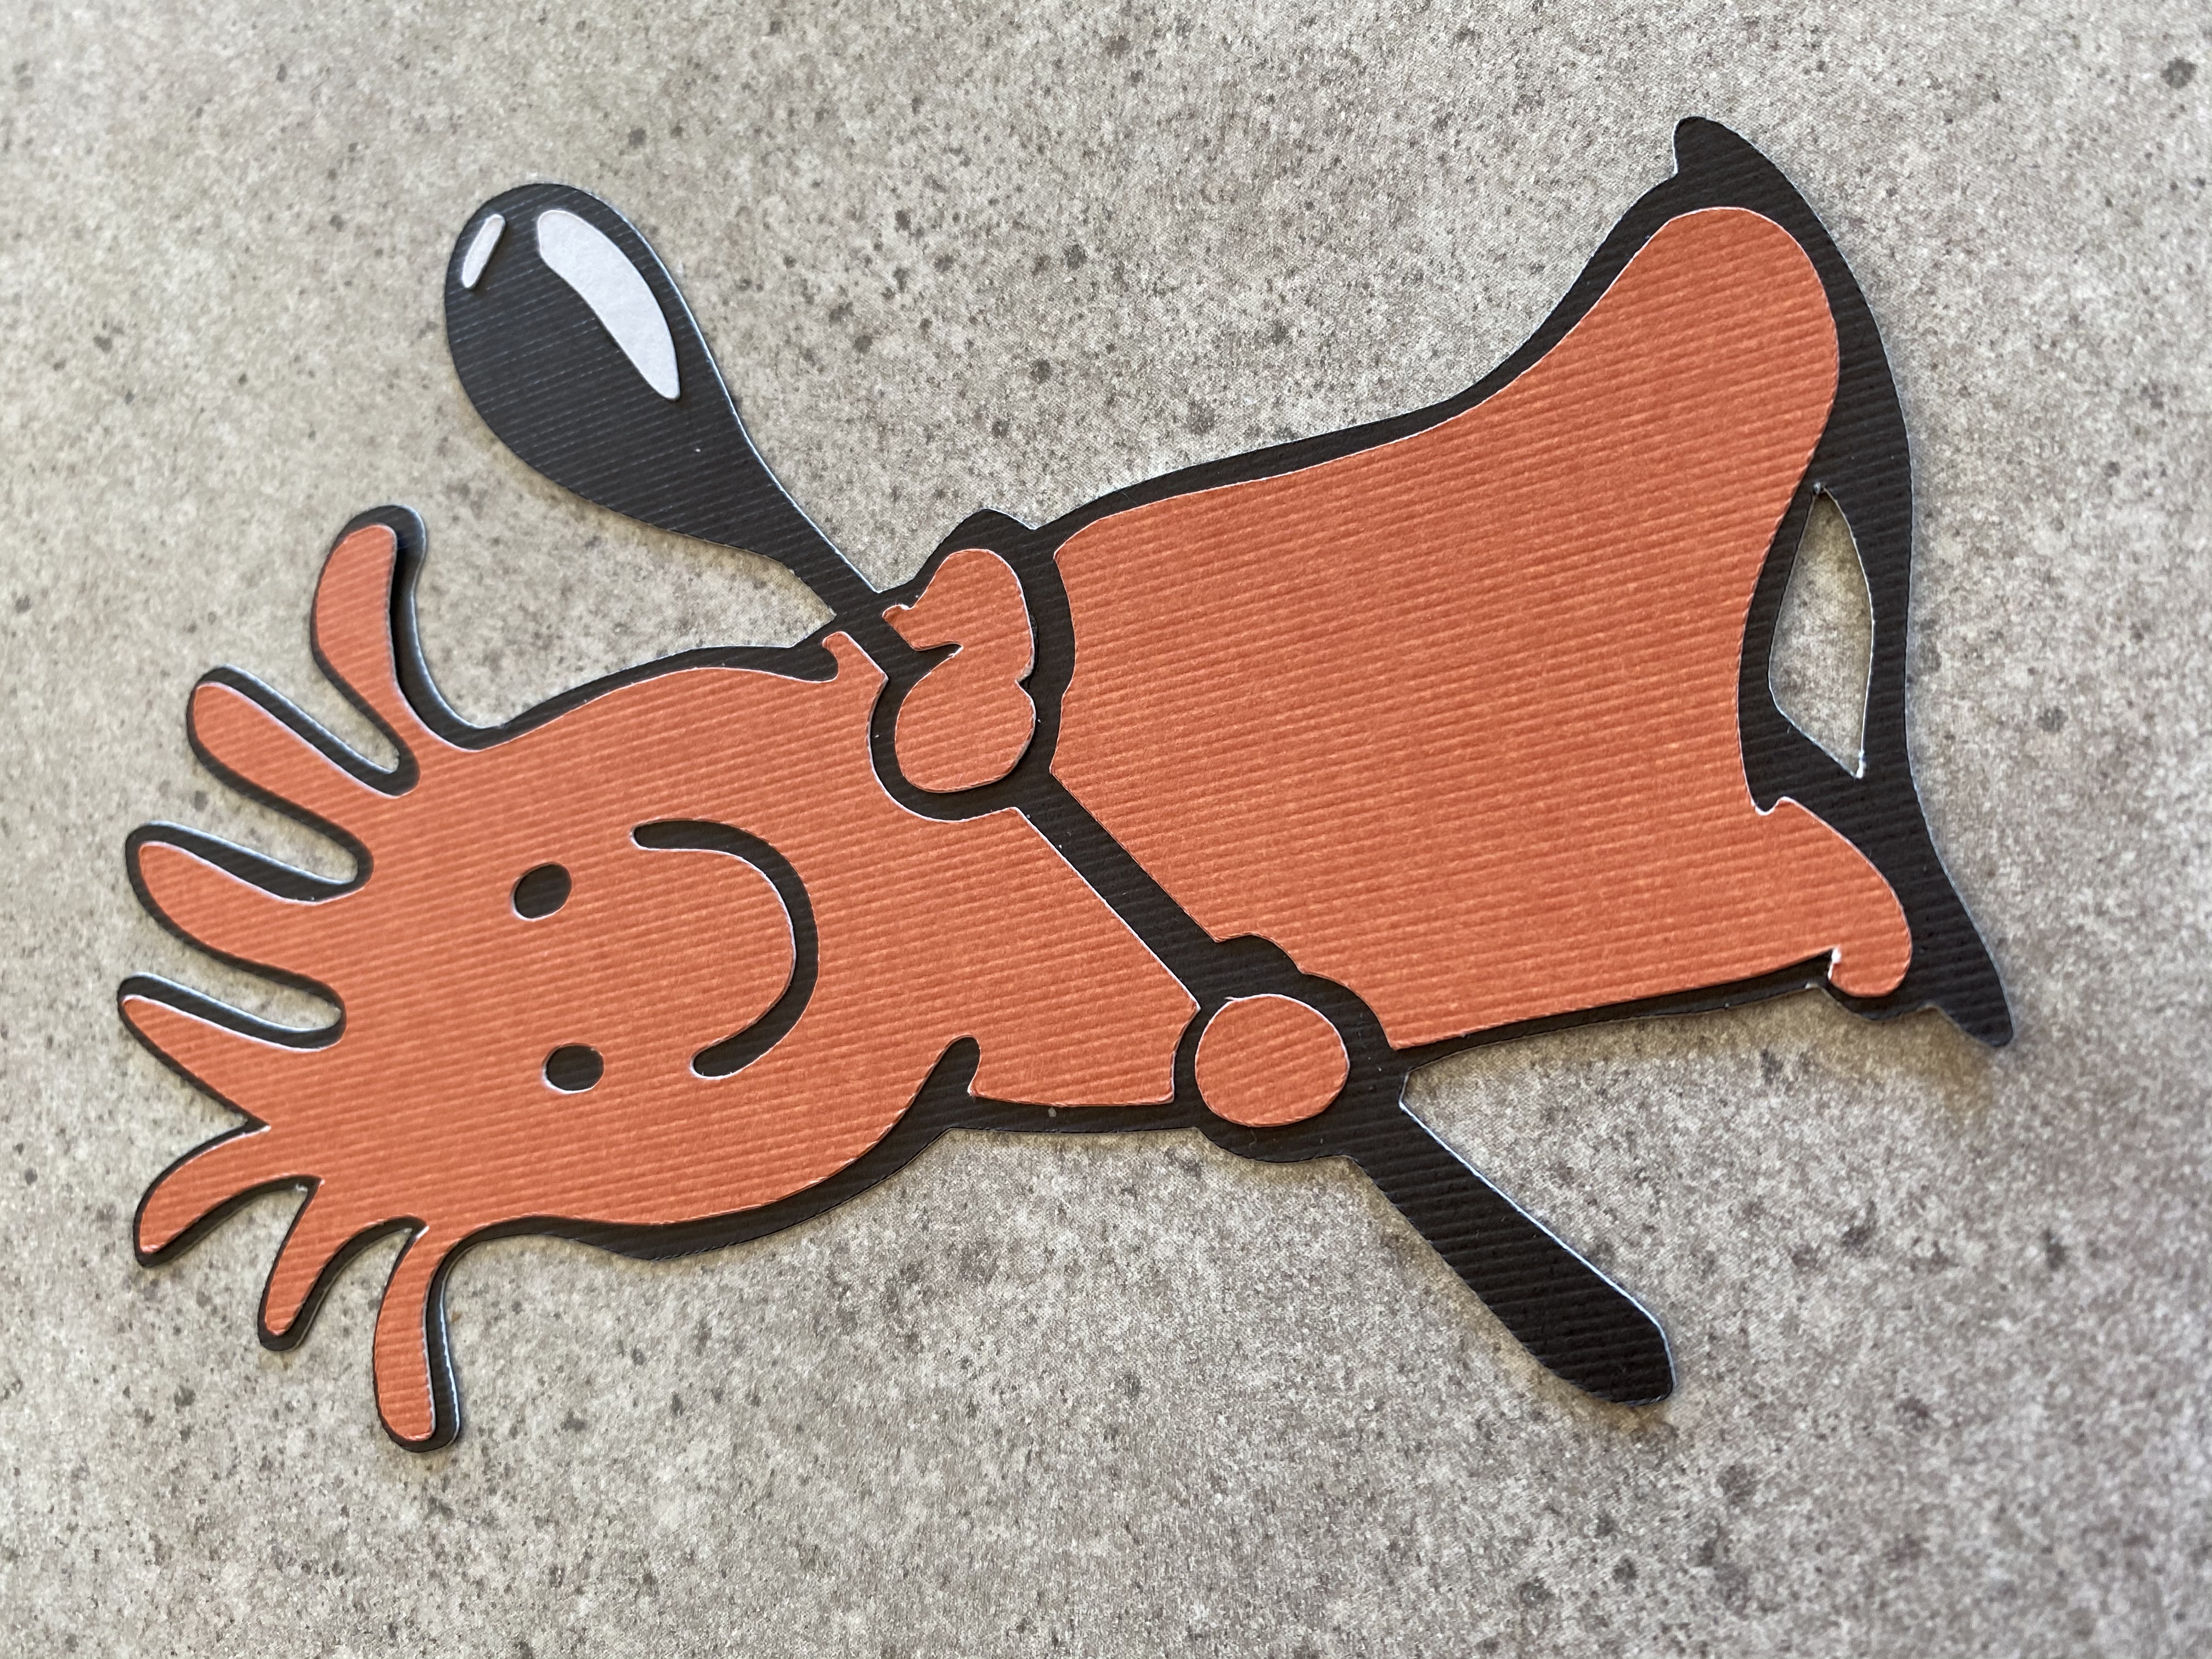
Laminate Mr. Chili
This is optional, but the cutout is paper, so why not seal it in a plastic coat to ensure he will hold up to your saltwater heaven! Adding a nice lamination layer over the top is quick and simple.
I personally used this Amazon Basics laminator – it’s quick and works like a charm and really not that expensive. You could also use a self sealing laminating sheet/pouch. I’ve used these for other projects and they work really well but take a bit more effort on your part to ensure it’s sealing on the textures just right.