If any of you use Wistia for your video distribution – congratulations! Wistia is one of the best solutions for professional video hosting. I’m not going to sell you on their service – but wanted to get that out there first.
The purpose of this post rather is to talk about how to best add closed captions to the videos on Wistia. Wistia allows you to add closed captions either by uploading a .srt caption file or through their paid service. I’m cheap and so I didn’t like the paid service idea – investing my time wasn’t a big deal to me. So that leaves me with the .srt file option – whats that?
Well for those that love all the info they can get, Wikepida is great at explaining what a .srt file is. But those are just bonus points – we just need to know how to create one. And we can write one by hand, and you can find more info about that on this Wikipedia article or this from MakeUseOf. But lets make this even easier.
The Solution
- To start, download and install a free subtitle software. This is where the bulk of the magic is going to happen.
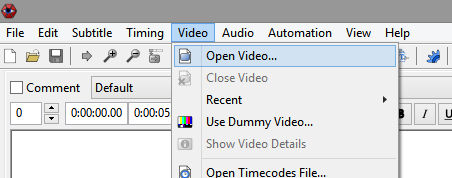
- Open the video file you’d like to caption.
- Video -> Open Video

- Video -> Open Video
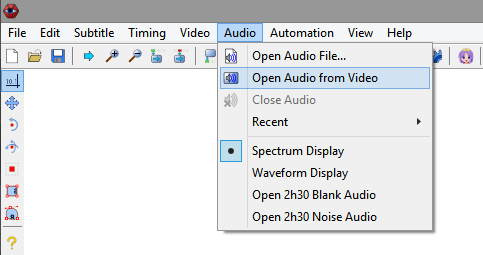
- Next, you need to create the audio file if you want to listen to it for playback and editing sake. You just need to tell the program to use the audio from your video clip.
- Audio -> Open Audio from Video

- Audio -> Open Audio from Video
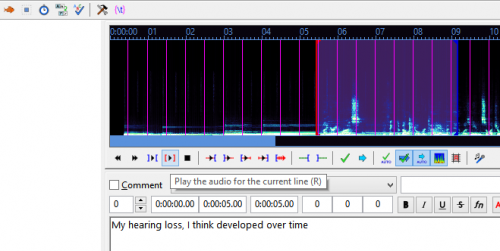
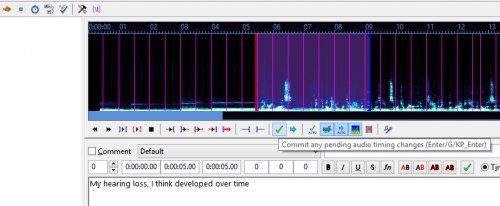
- Now we are all setup to begin captioning. The audio waveform is on the right and side, and a shaded portion is where the caption start and end is set to. Placing your mouse over either edge will allow you to drag the in and out points for that caption.

- Type your caption for that time range in the box below the audio waveform. You’ll have multiple entries before you are done – each entry should be a short sentence or even a portion of a sentence. Whatever is easy to read but won’t take up too much of the screen. I’d suggest only 1 or two lines per caption.

- Play your in / out point range to check that you have it clipped correctly with the play button wrapped in red brackets (the R key for those who love keyboard shortcuts – but only when your cursor isn’t focused on the text entry box).
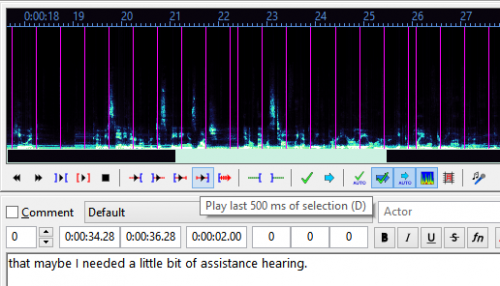
- Helpful Hint: There is a Play last 500 ms button that will allow you to hear the audio leading up just to the outpoint. This makes tweaking the out point a bit quicker. Likewise there is a similar button for the in point as well.

- Helpful Hint: There is a Play last 500 ms button that will allow you to hear the audio leading up just to the outpoint. This makes tweaking the out point a bit quicker. Likewise there is a similar button for the in point as well.
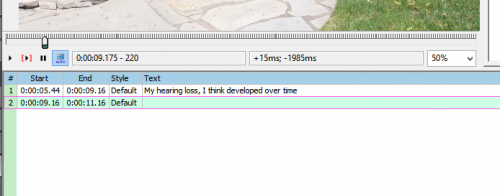
- When you are happy with your in and out points and the text typed in, commit this caption by clicking the green checkmark (or Enter on the keyboard). This will save the entry to your caption list below and create the next in / out range for you to create the next caption. Repeat steps 5-7 until you have captioned the entire video. Yes, this can be a time consuming process… But this is the hard part – the rest is easy at least!


- I’d recommending saving your work of course – Ctrl + S or File -> Save Subtitles. This will save a .ass file. This is the file you can go back into and edit later if you need if you have changes to make.
- This software, Aegisub, has MANY more features including allowing you to change color, look, etc. of your captions. To be honest I haven’t tried those features with Wistia so I’m not sure if they work or not. So for me this is where my editing stopped.
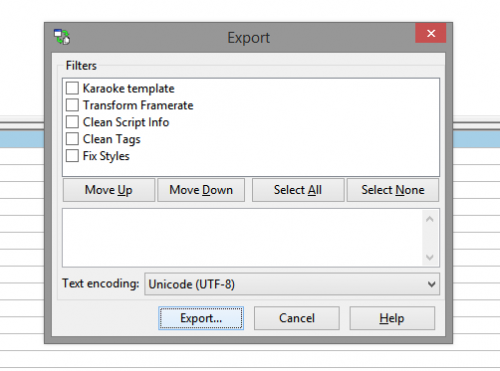
- Once you are all done making your files we need to export out the .srt file that Wistia is expecting.
- File -> Export Subtitles
- Ignore all of the options and simply click the Export button

- Name your file, adding .srt to the end of the file name. Click the Save button.
- Using your web browser, log into your Wistia Video Manager account and open the video you’d like to add the closed captions to.
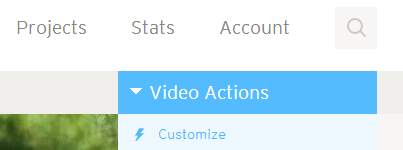
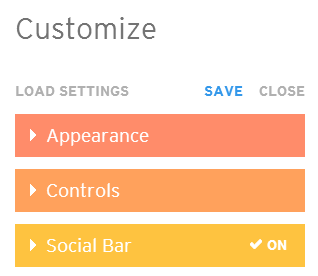
- Choose Video Actions -> Customize

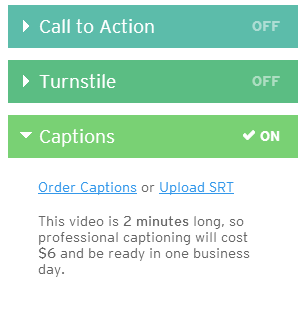
- Expand the Captions tab and click the Upload SRT link. Choose your .srt file you exported from Aegisub in step 9.
- You can choose to have closed captions turned on by default if you’d like.

- You can choose to have closed captions turned on by default if you’d like.
- Click the Save link and you are all set!


If you didn’t turn closed captions on by default, the users will now click the CC button in the top left of the video to turn captions on or off.

The captions will automatically push out to all of your embeds of this video so there is no extra work required!
