By definition, a whirligig is intended to catch wind and spin some part of the device. For that simple reason, it seems like anyone that builds whirligigs will have to have an airplane in their repertoire, right? And not only that, but my father-in-law is a private pilot who has lived a lifetime based around airplanes. And let’s just say he knows a thing or two about the floats that allow an airplane to land on water as well…
So you take that background, and you end up with my next project – a whirligig replica of a Cessna 182 (though I think I missed the mark and made it look more like a 206) on a set of Wipline amphibious 3000 floats.
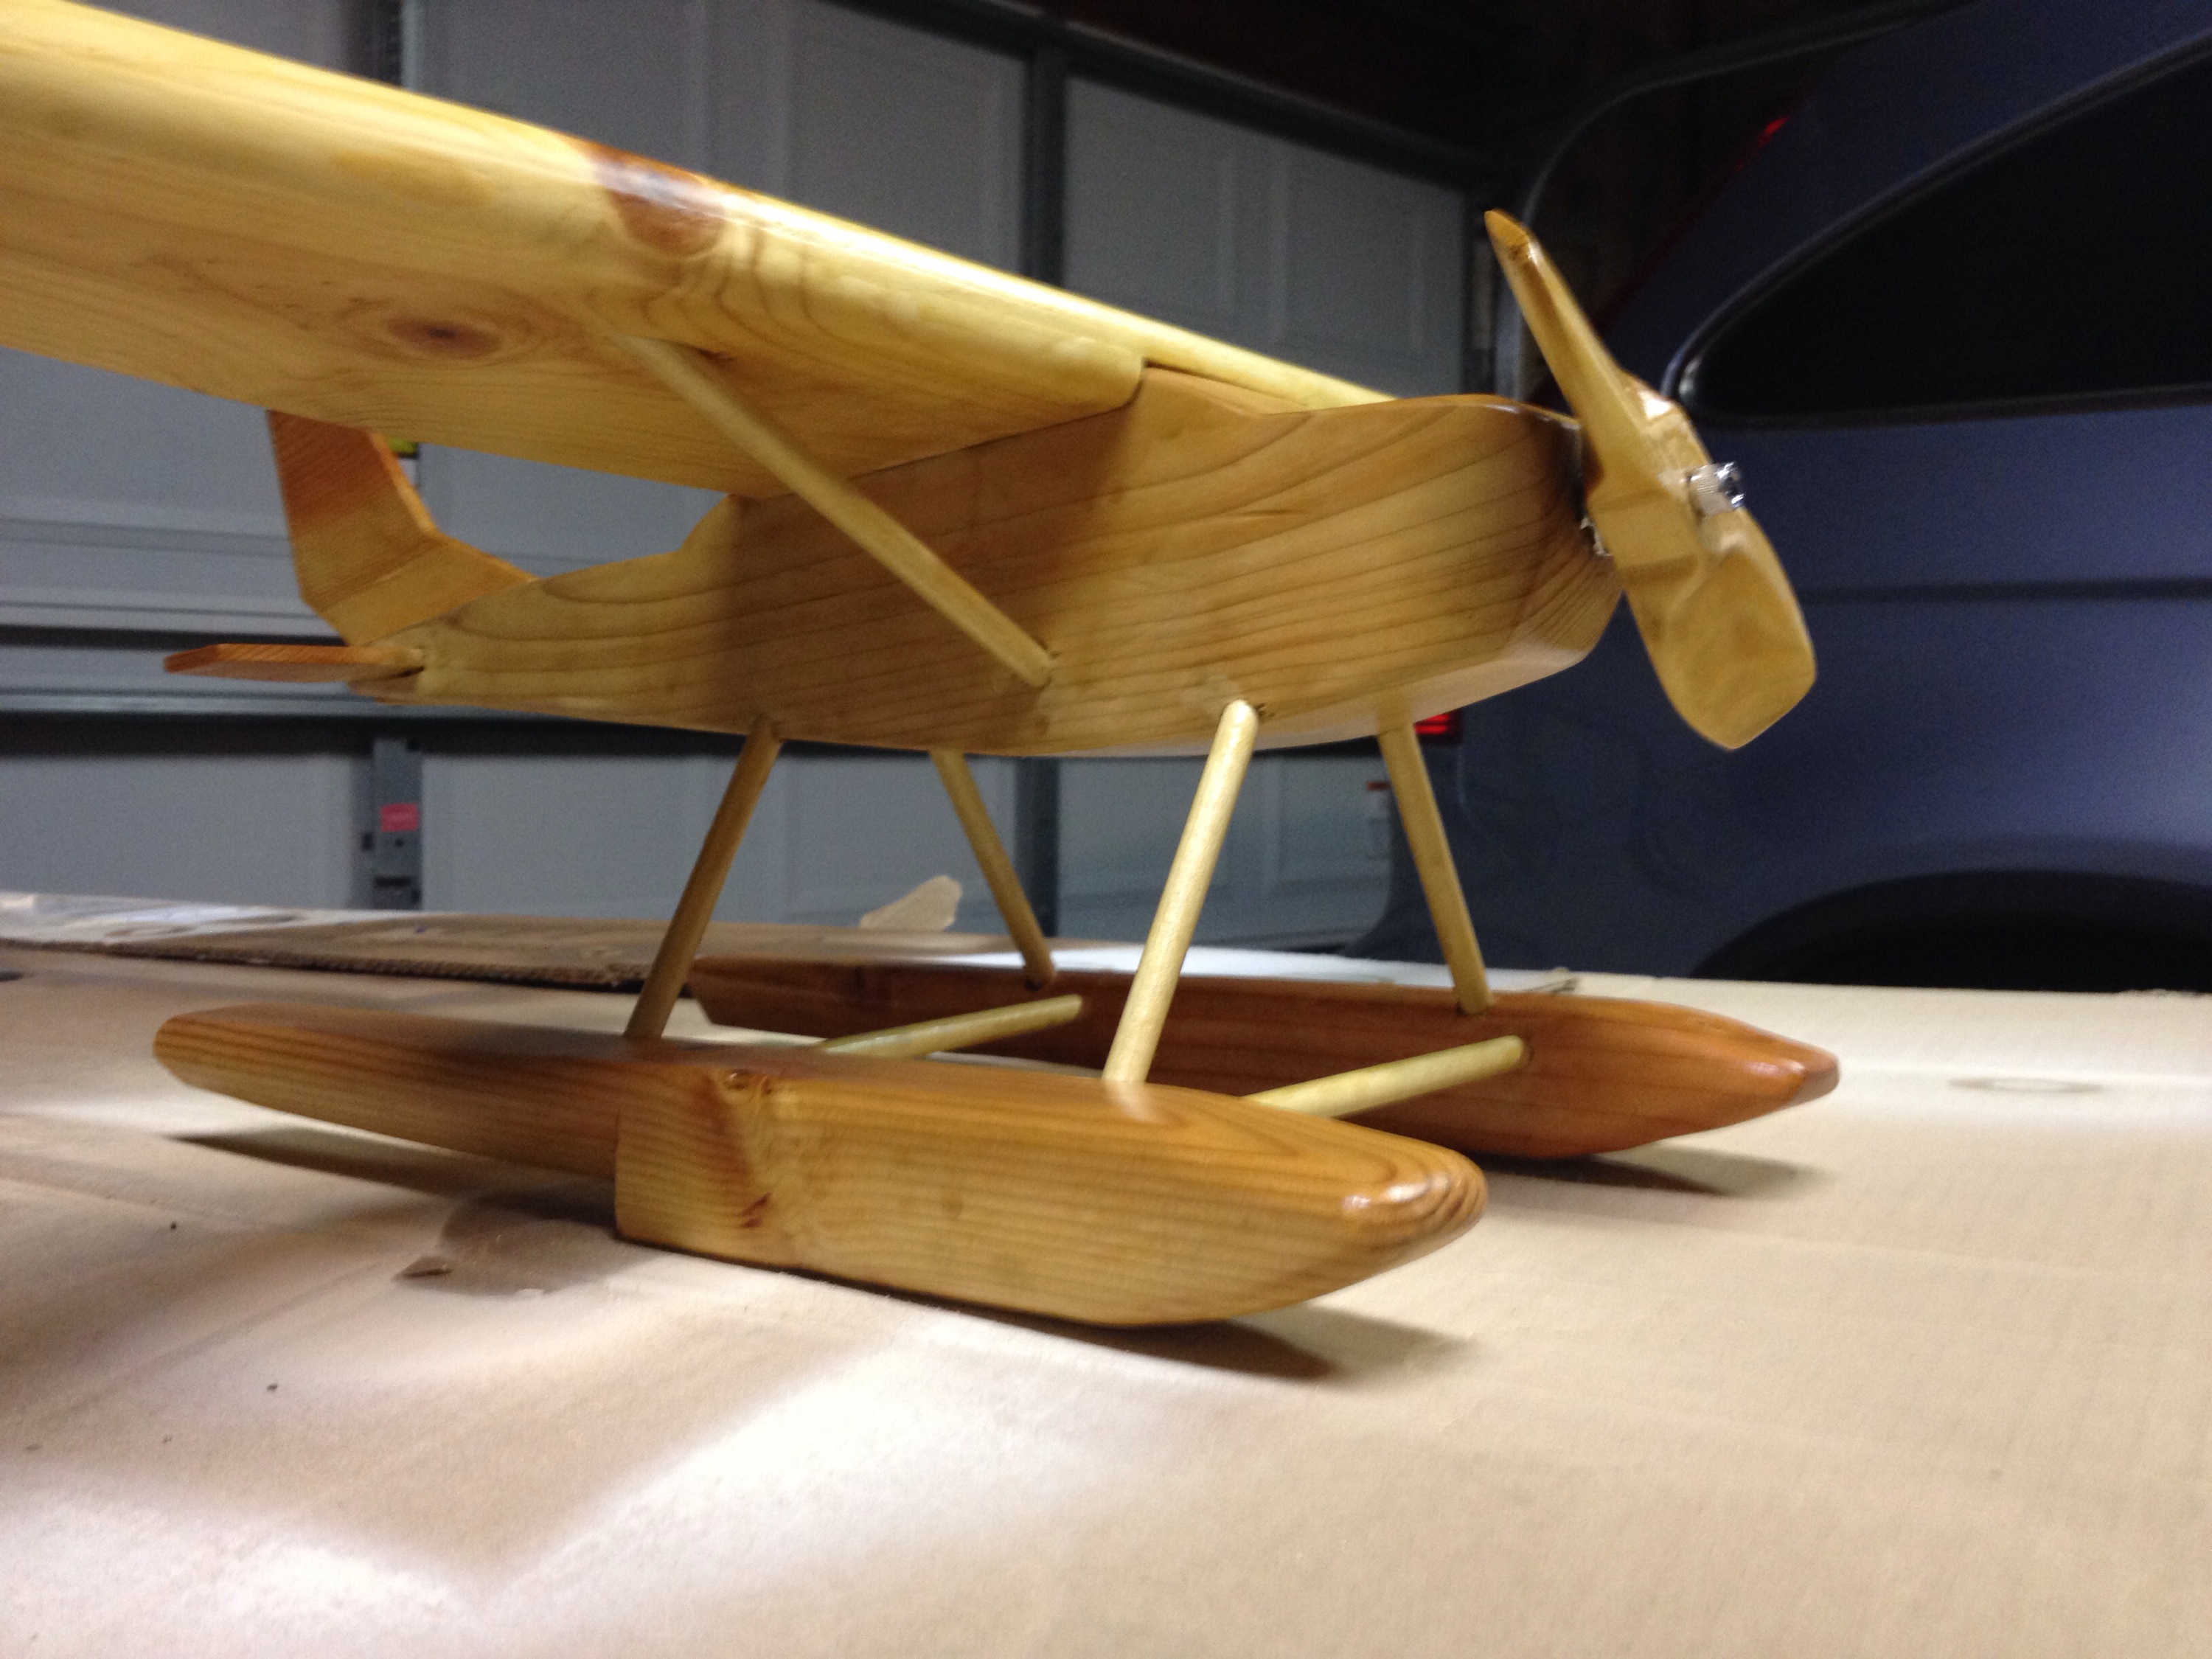
I did this project slightly different in that I made it a bit more 3D than most whirligigs. For that reason, it’s also quite a bit heavier and bulkier than most whirligigs.
Because of the 3D design and the angles and such of the body of the Cessna and Wipline floats, this project proved to be a bit challenging. There’s a lot more thinking and math that needs to go into something like this than some of the other projects I’ve done. The more angles and such the more complex things get and the more you need to think about how it all comes together. Despite that, the firewood pile out of this project only grew a small amount (but yes, there were some pieces added to that pile…) and I enjoyed the ‘challenge’ to think in angles for a while.
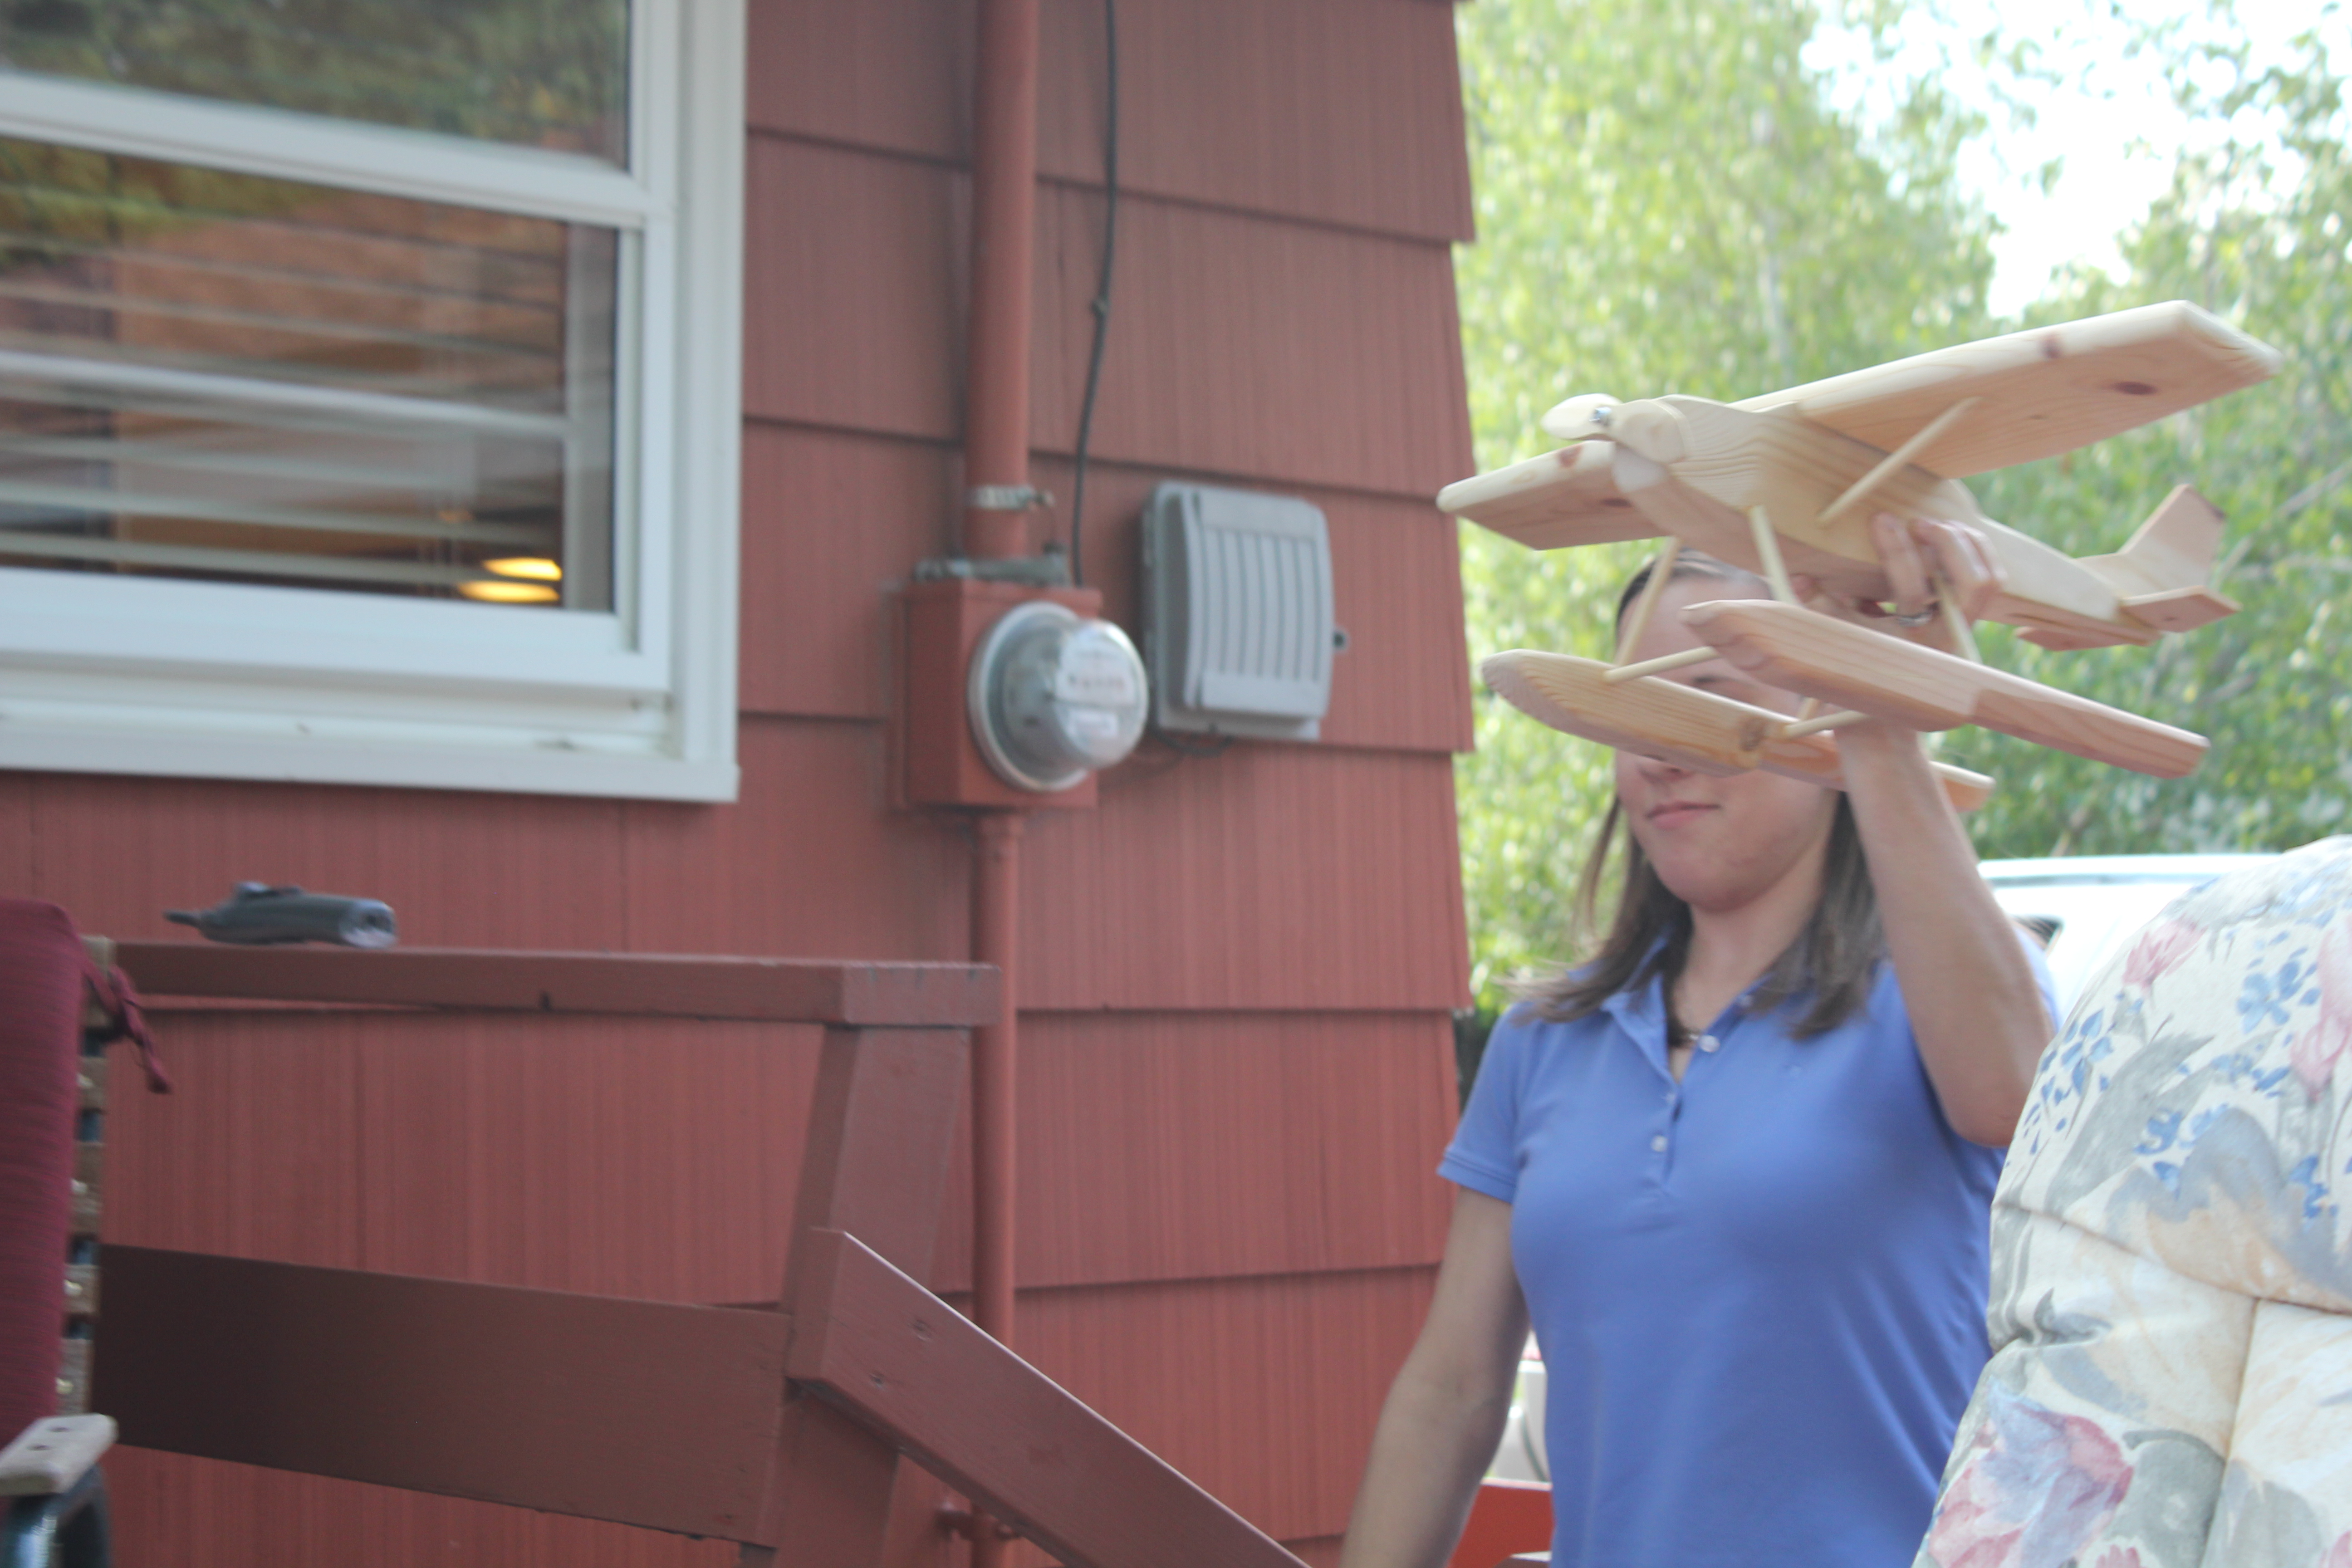
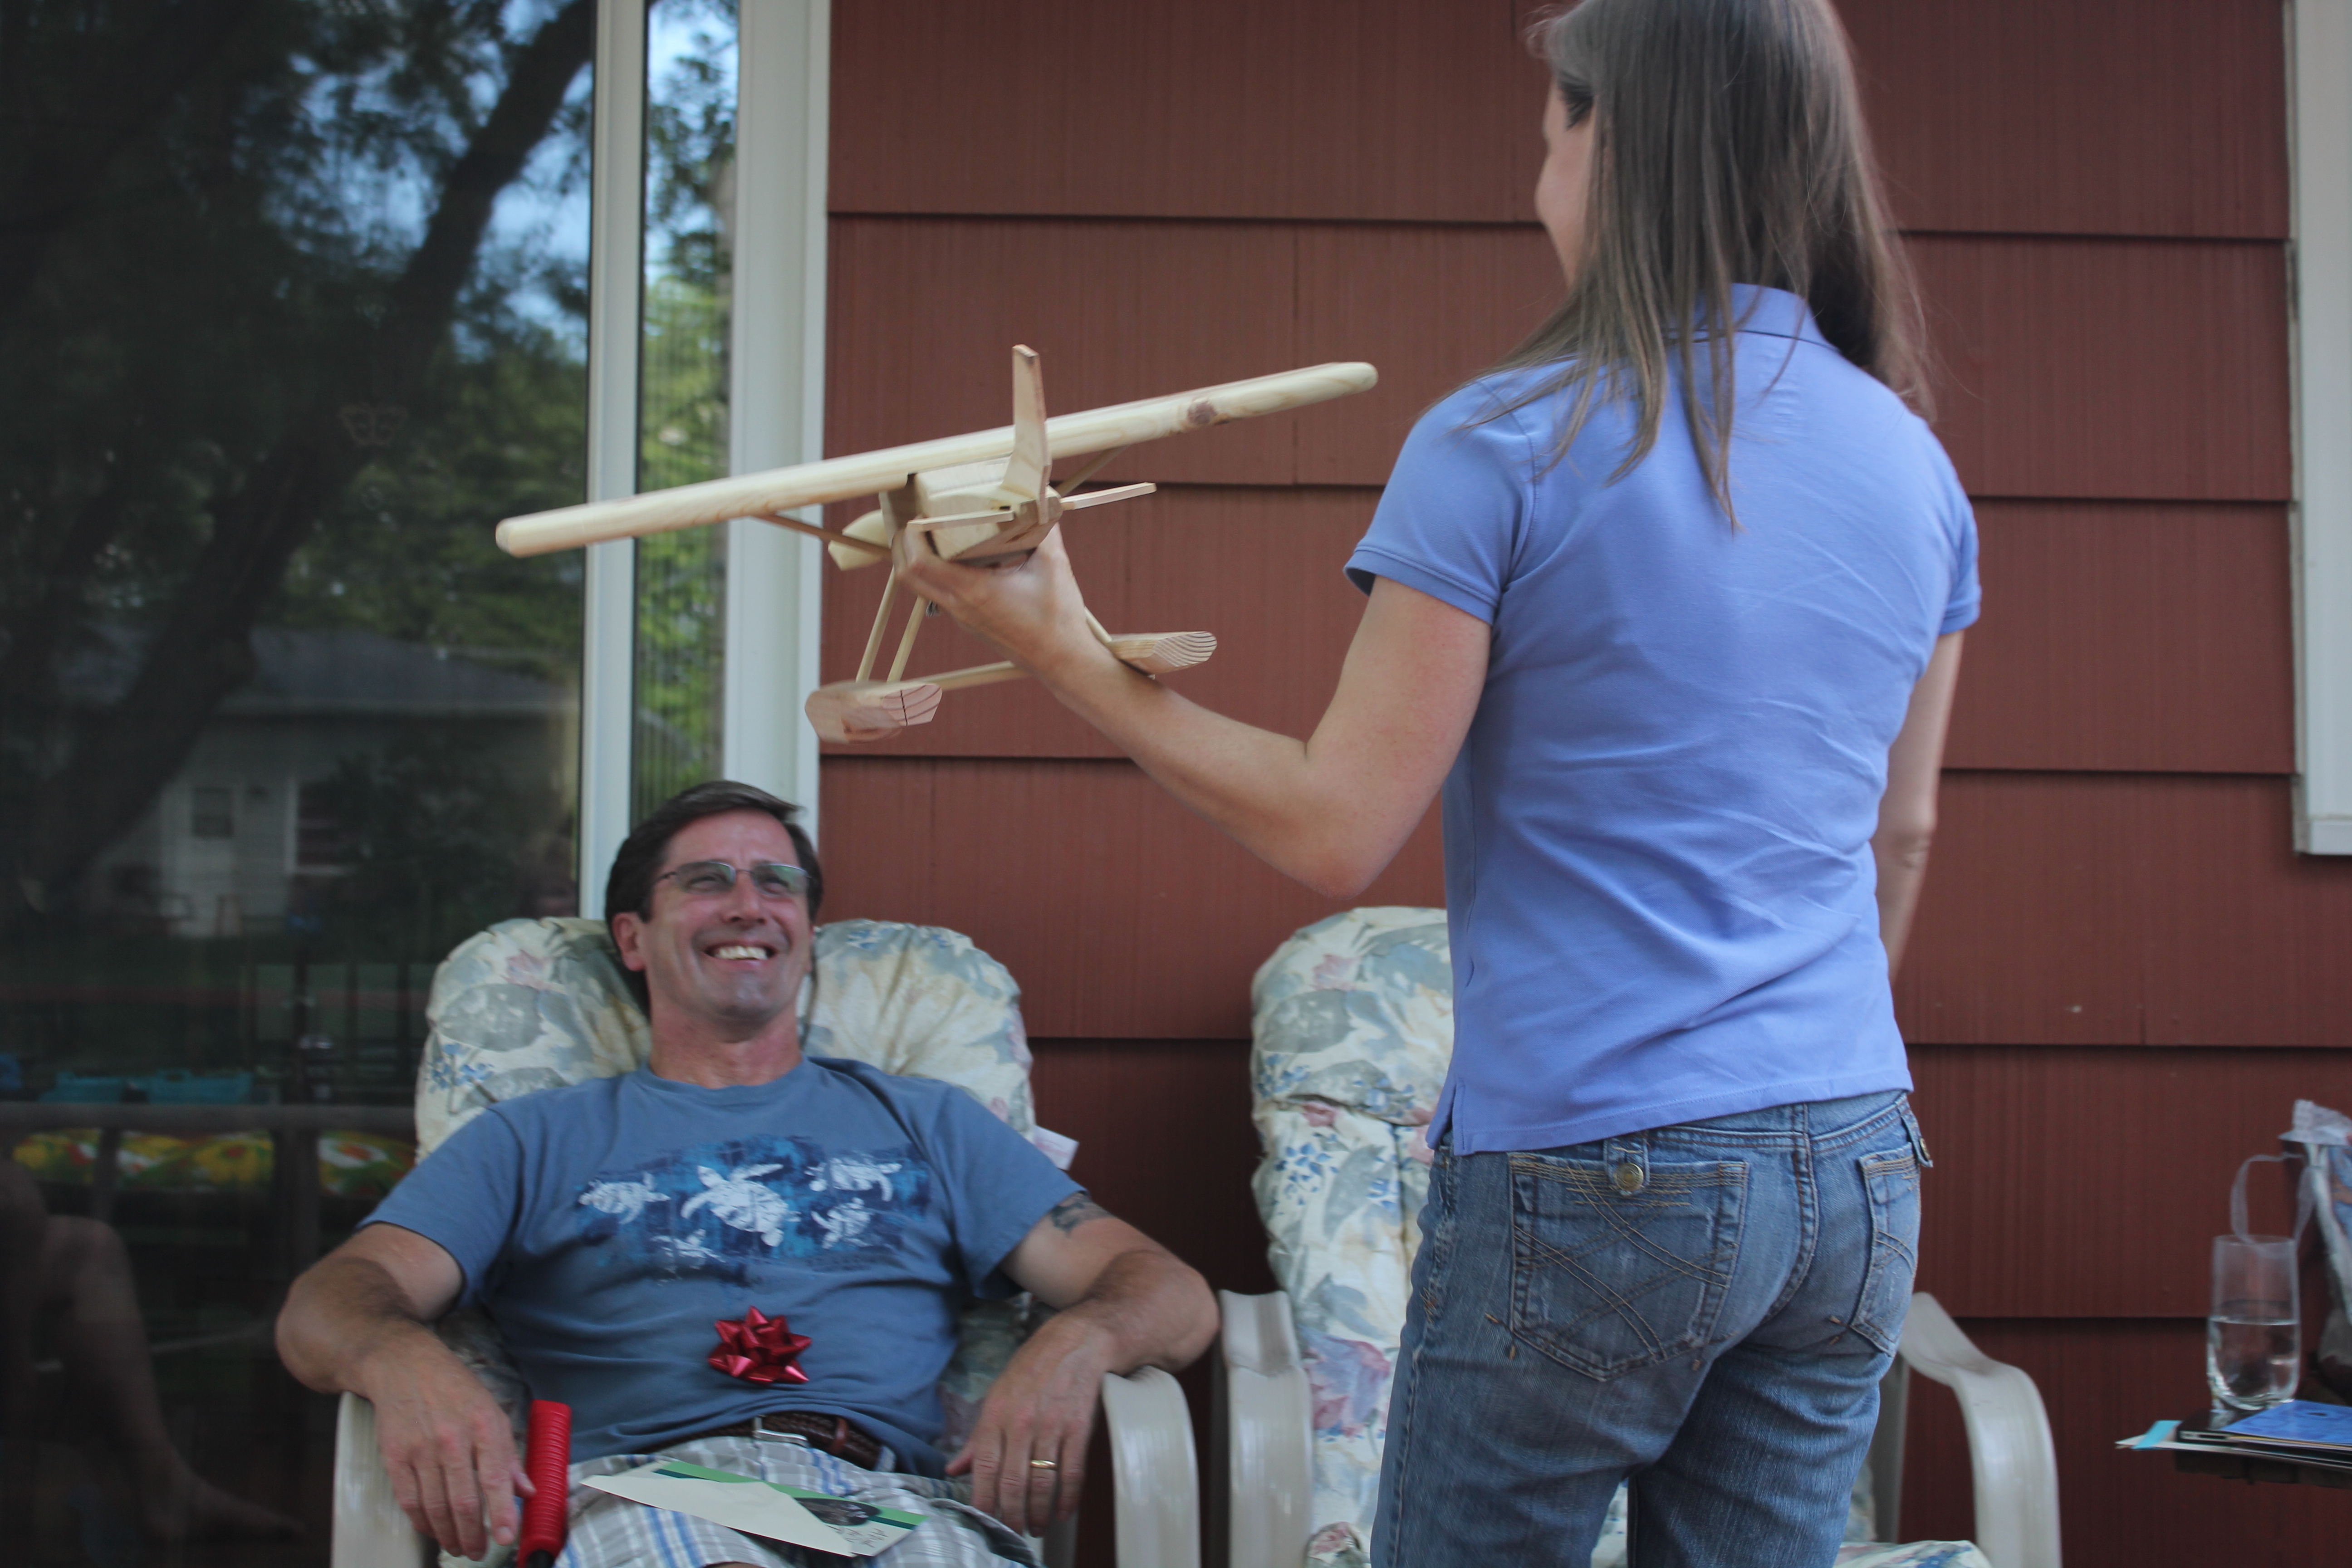
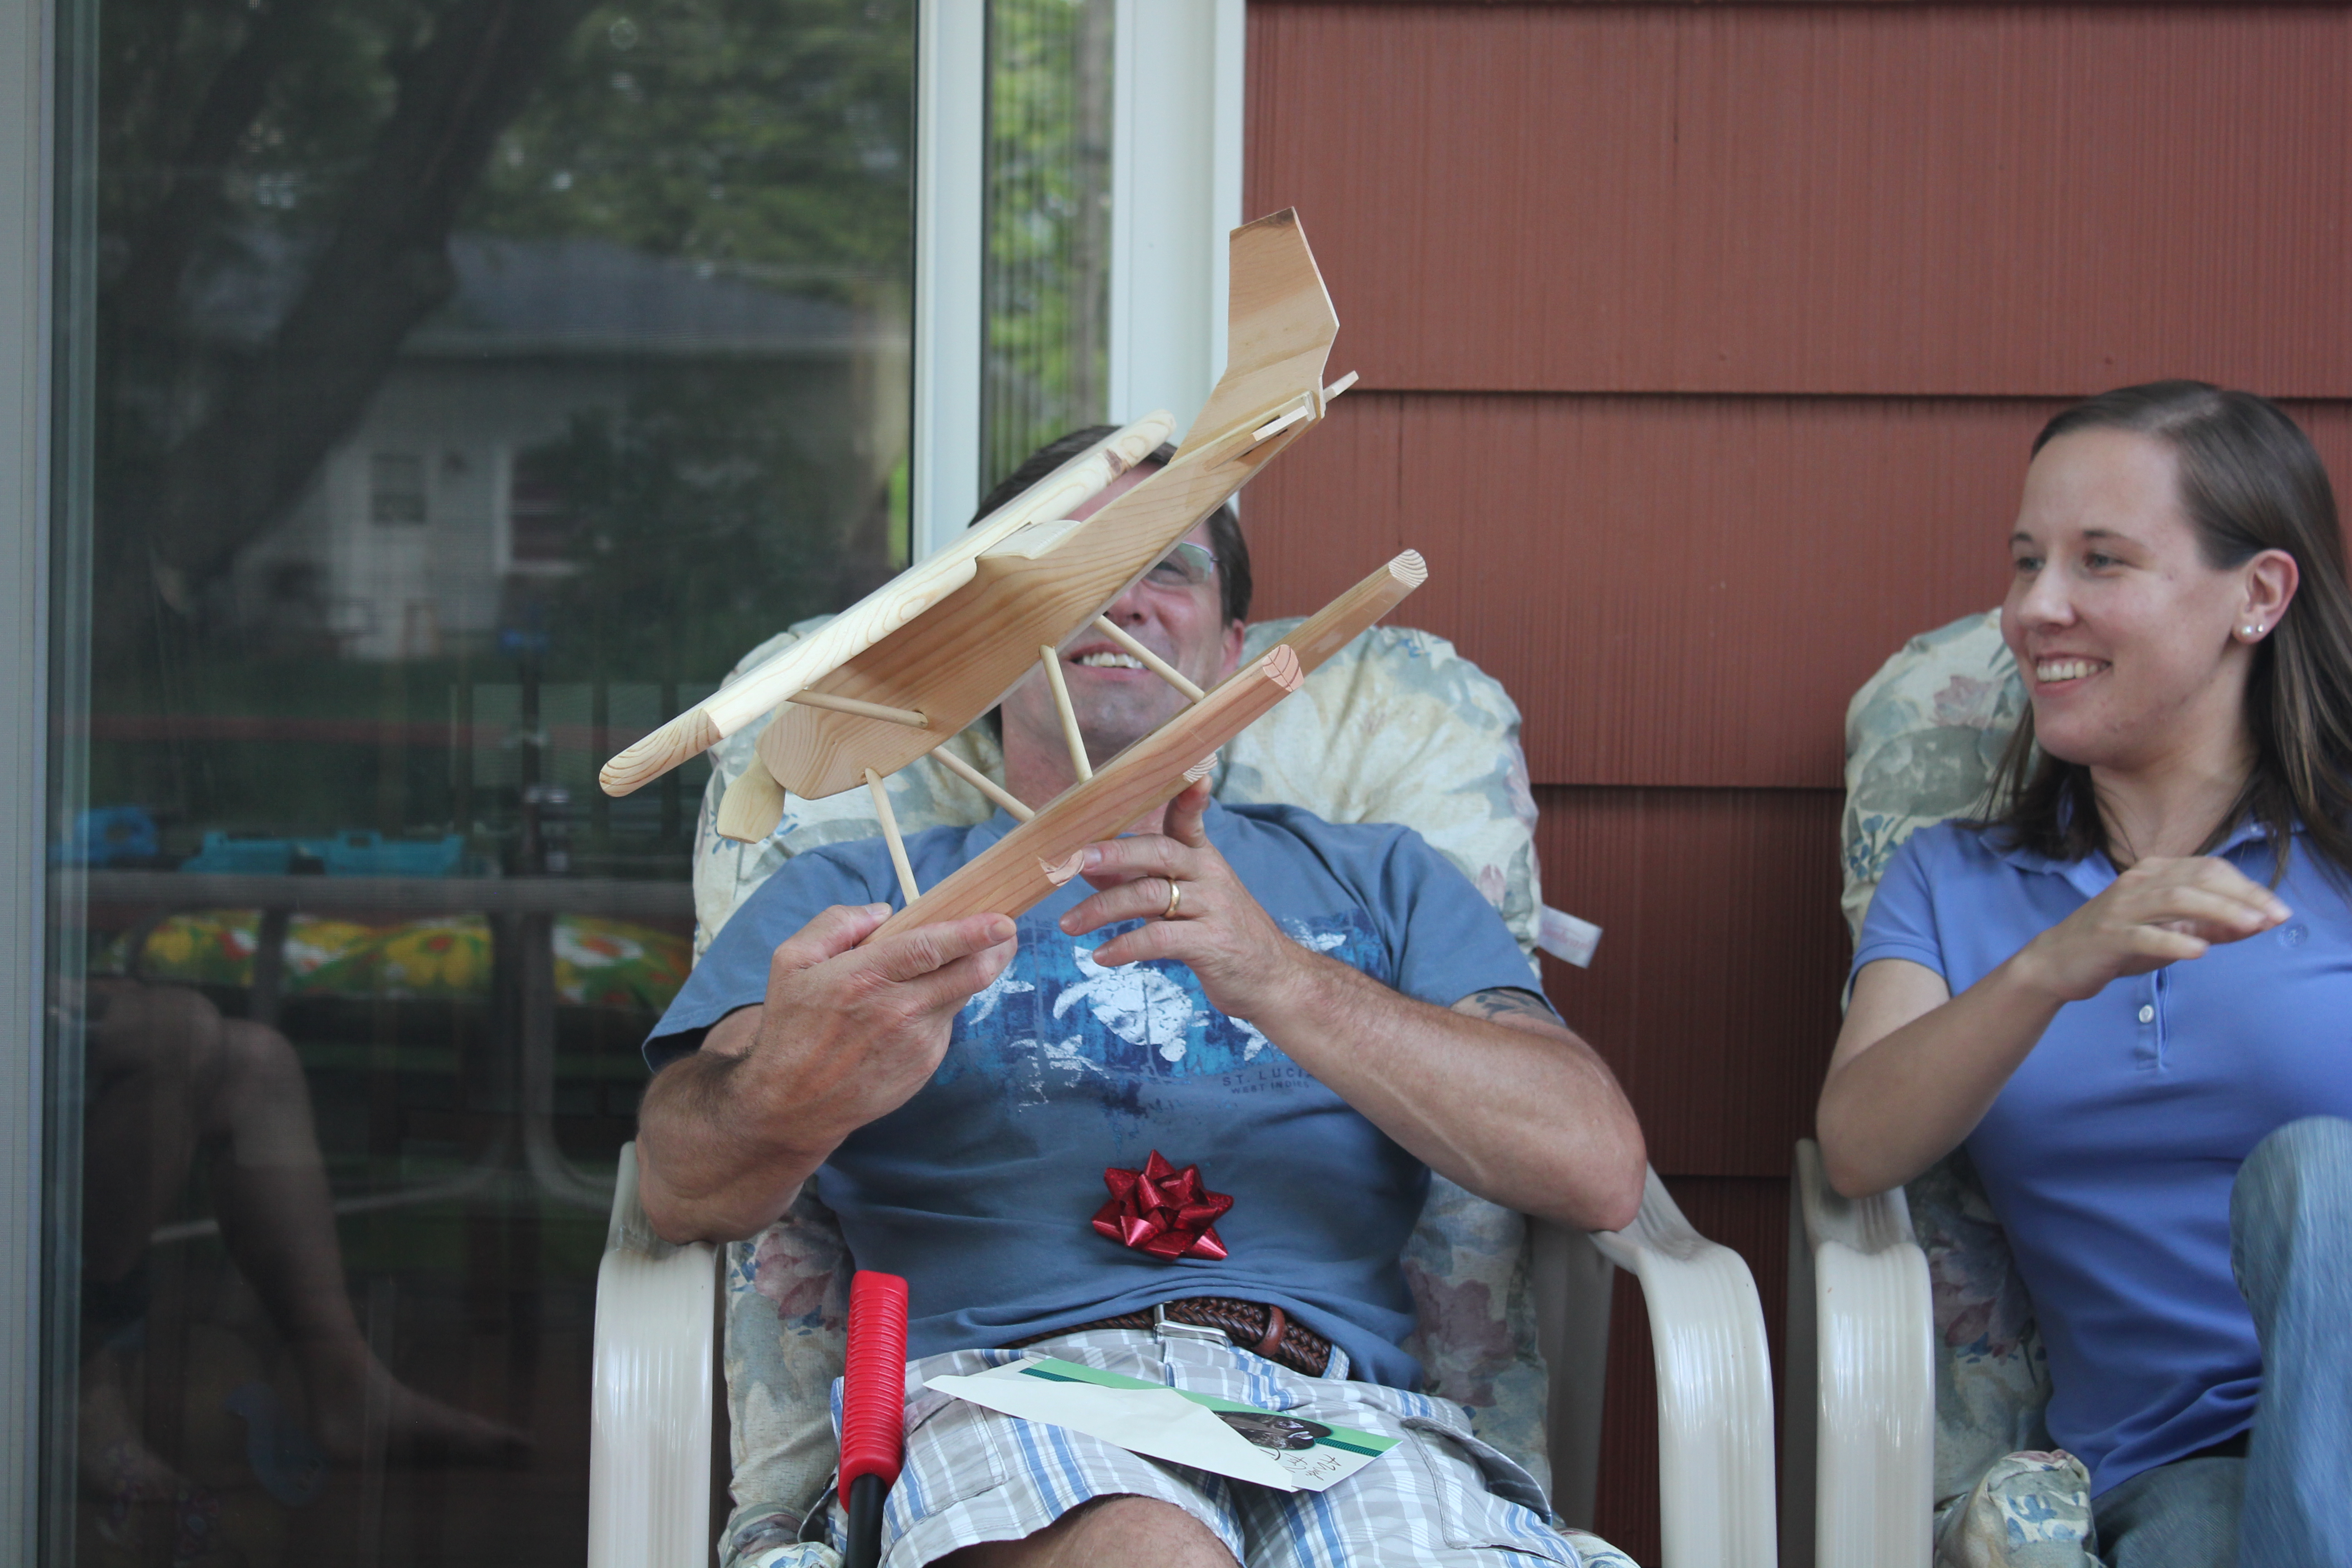
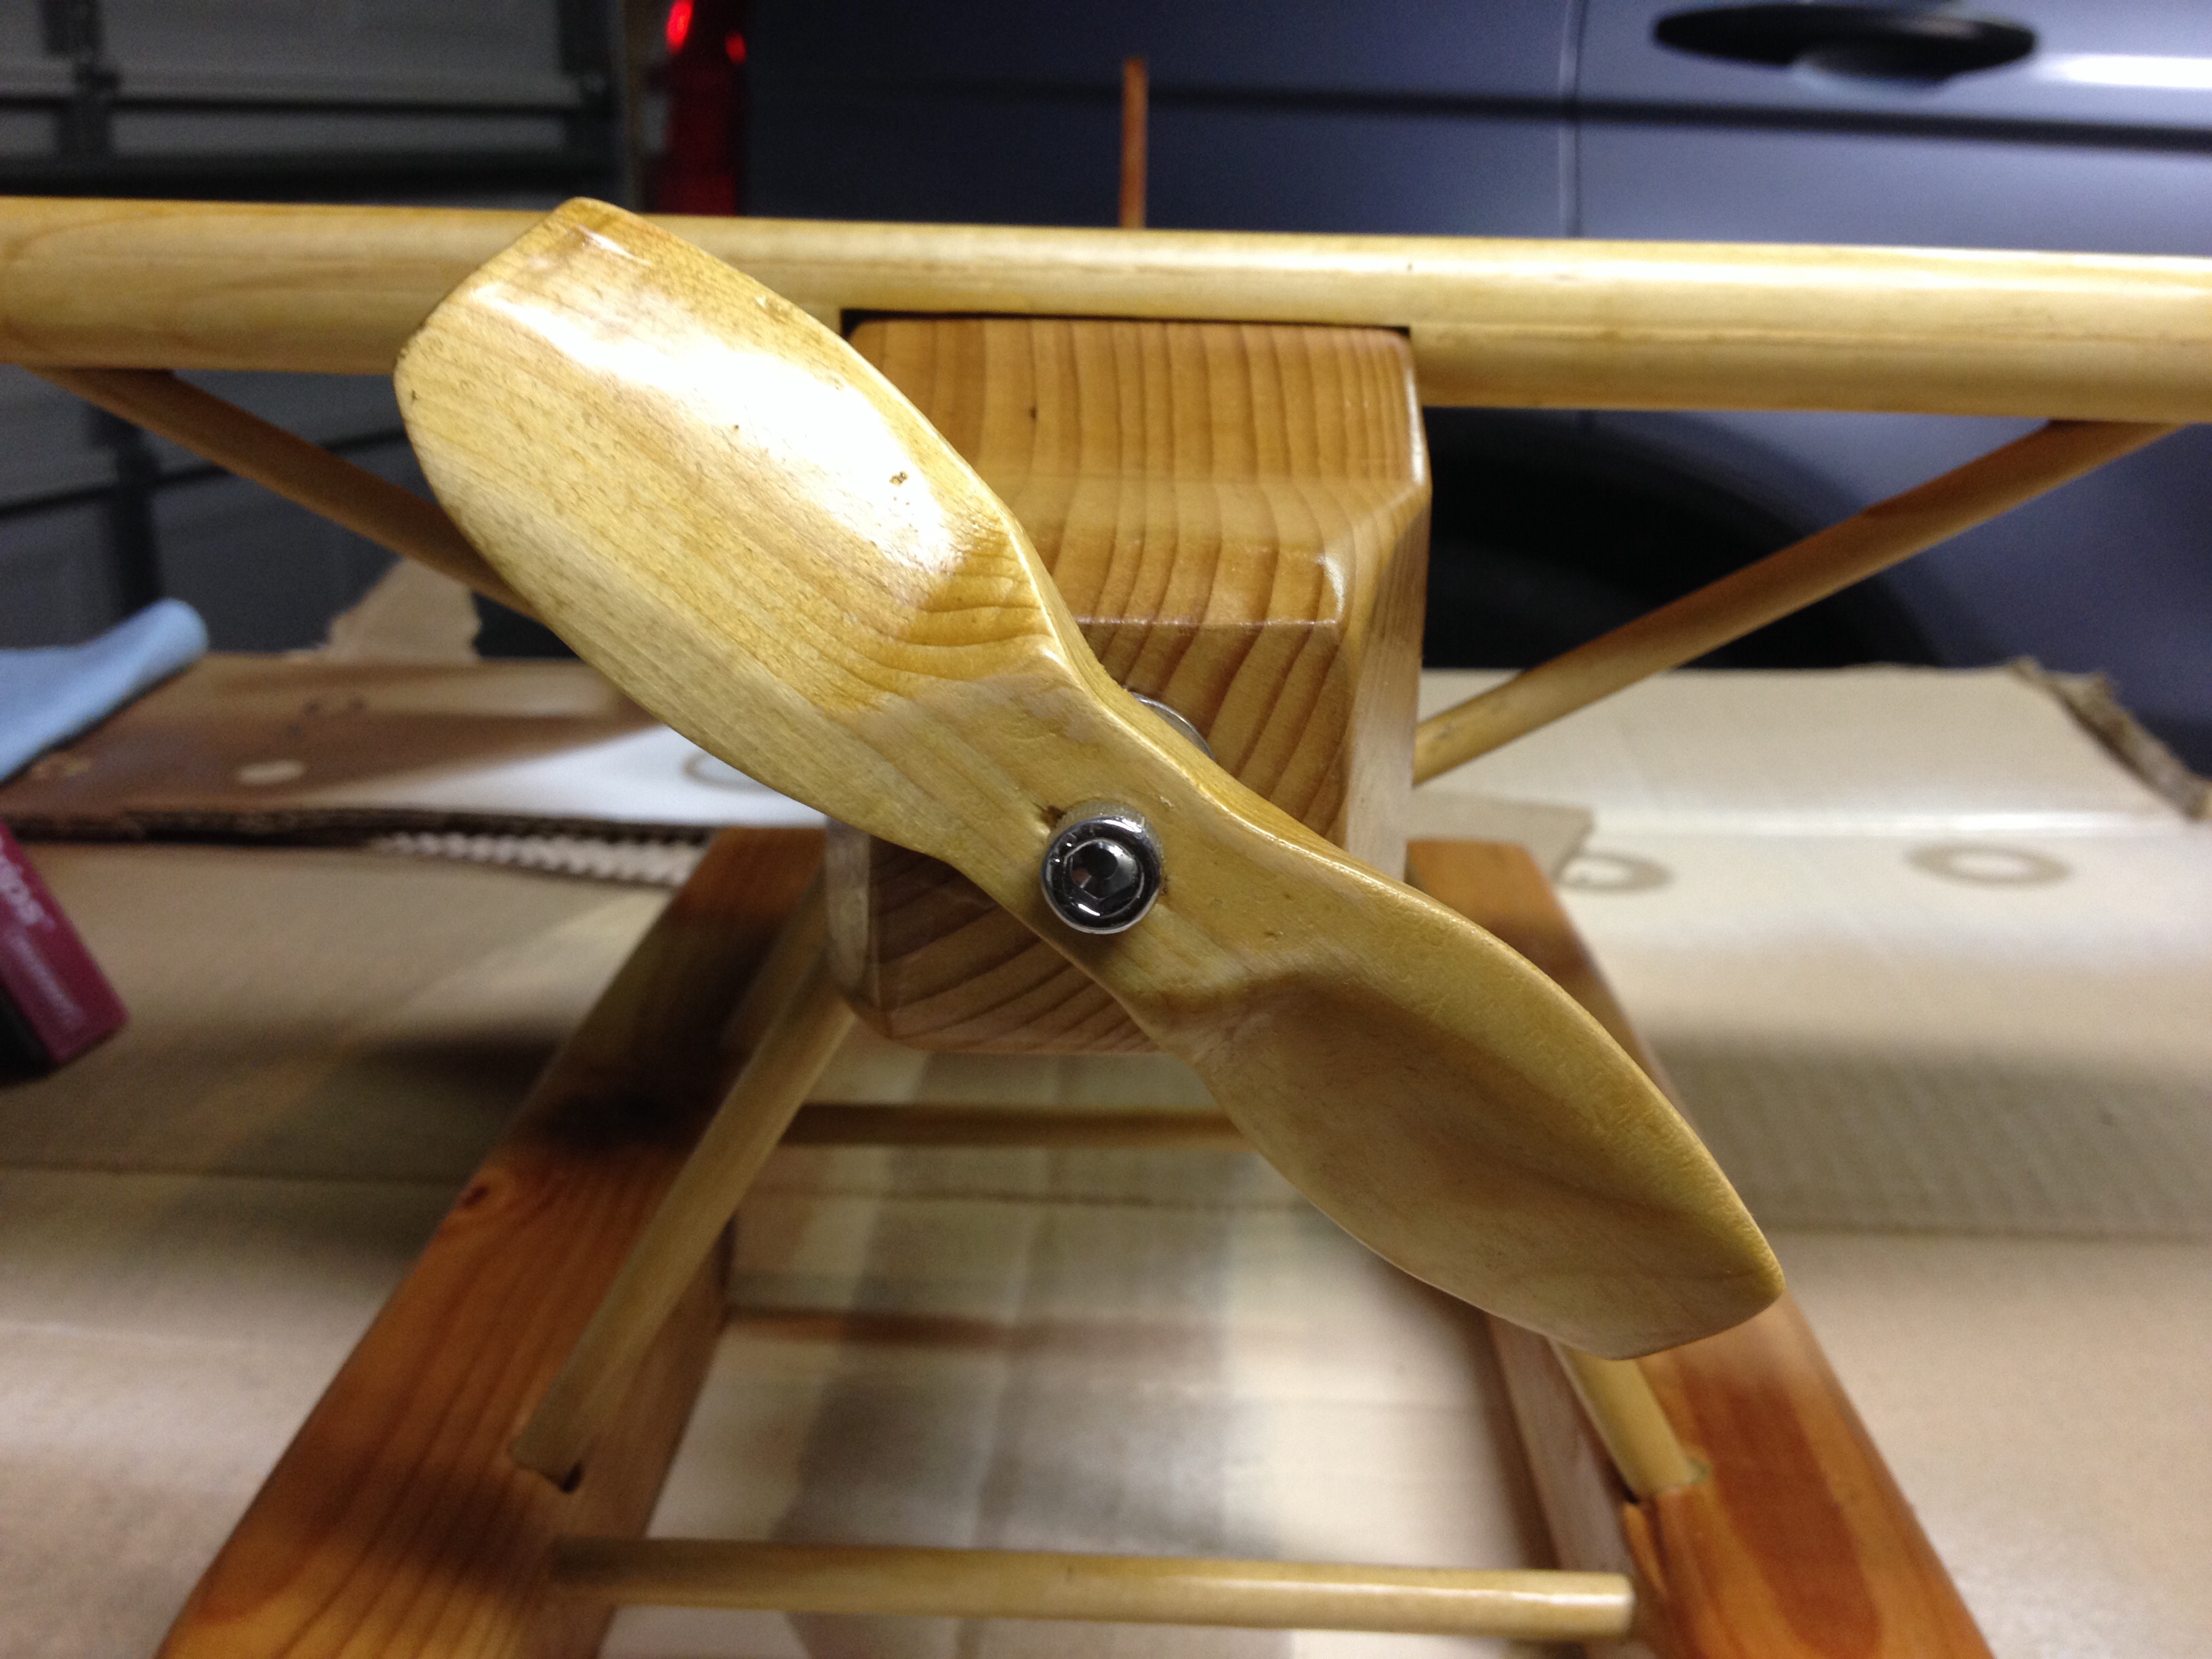
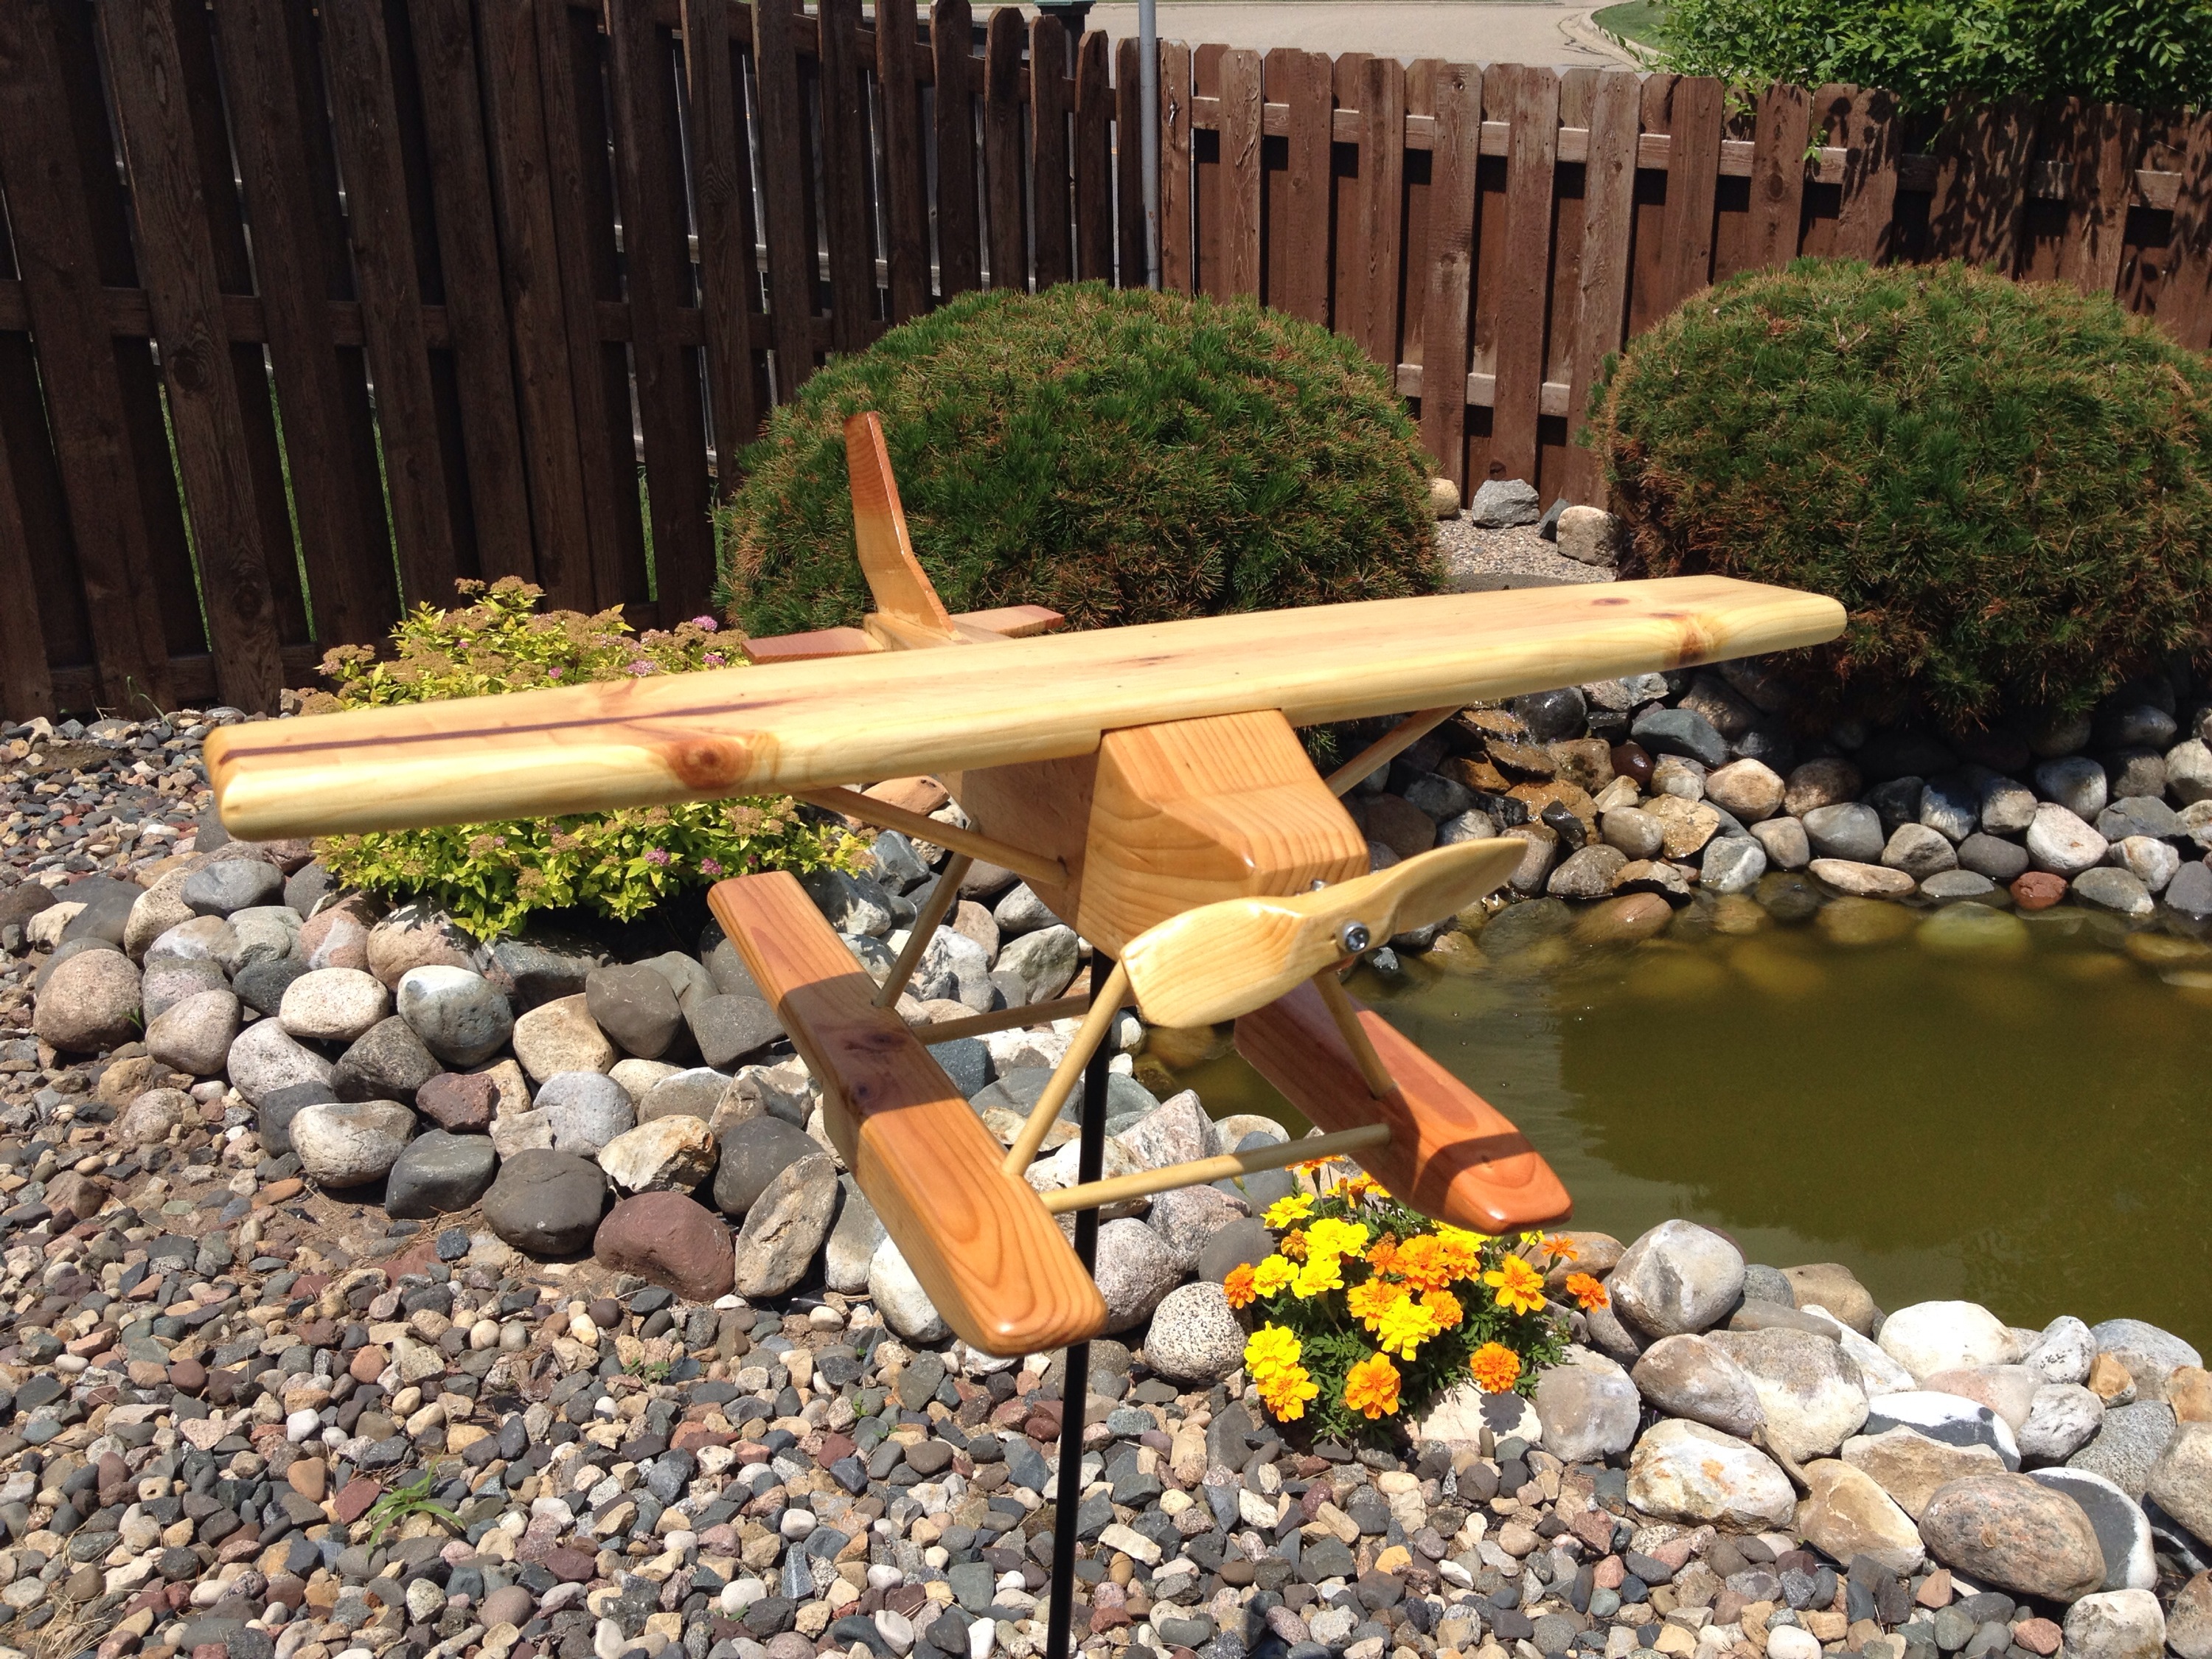
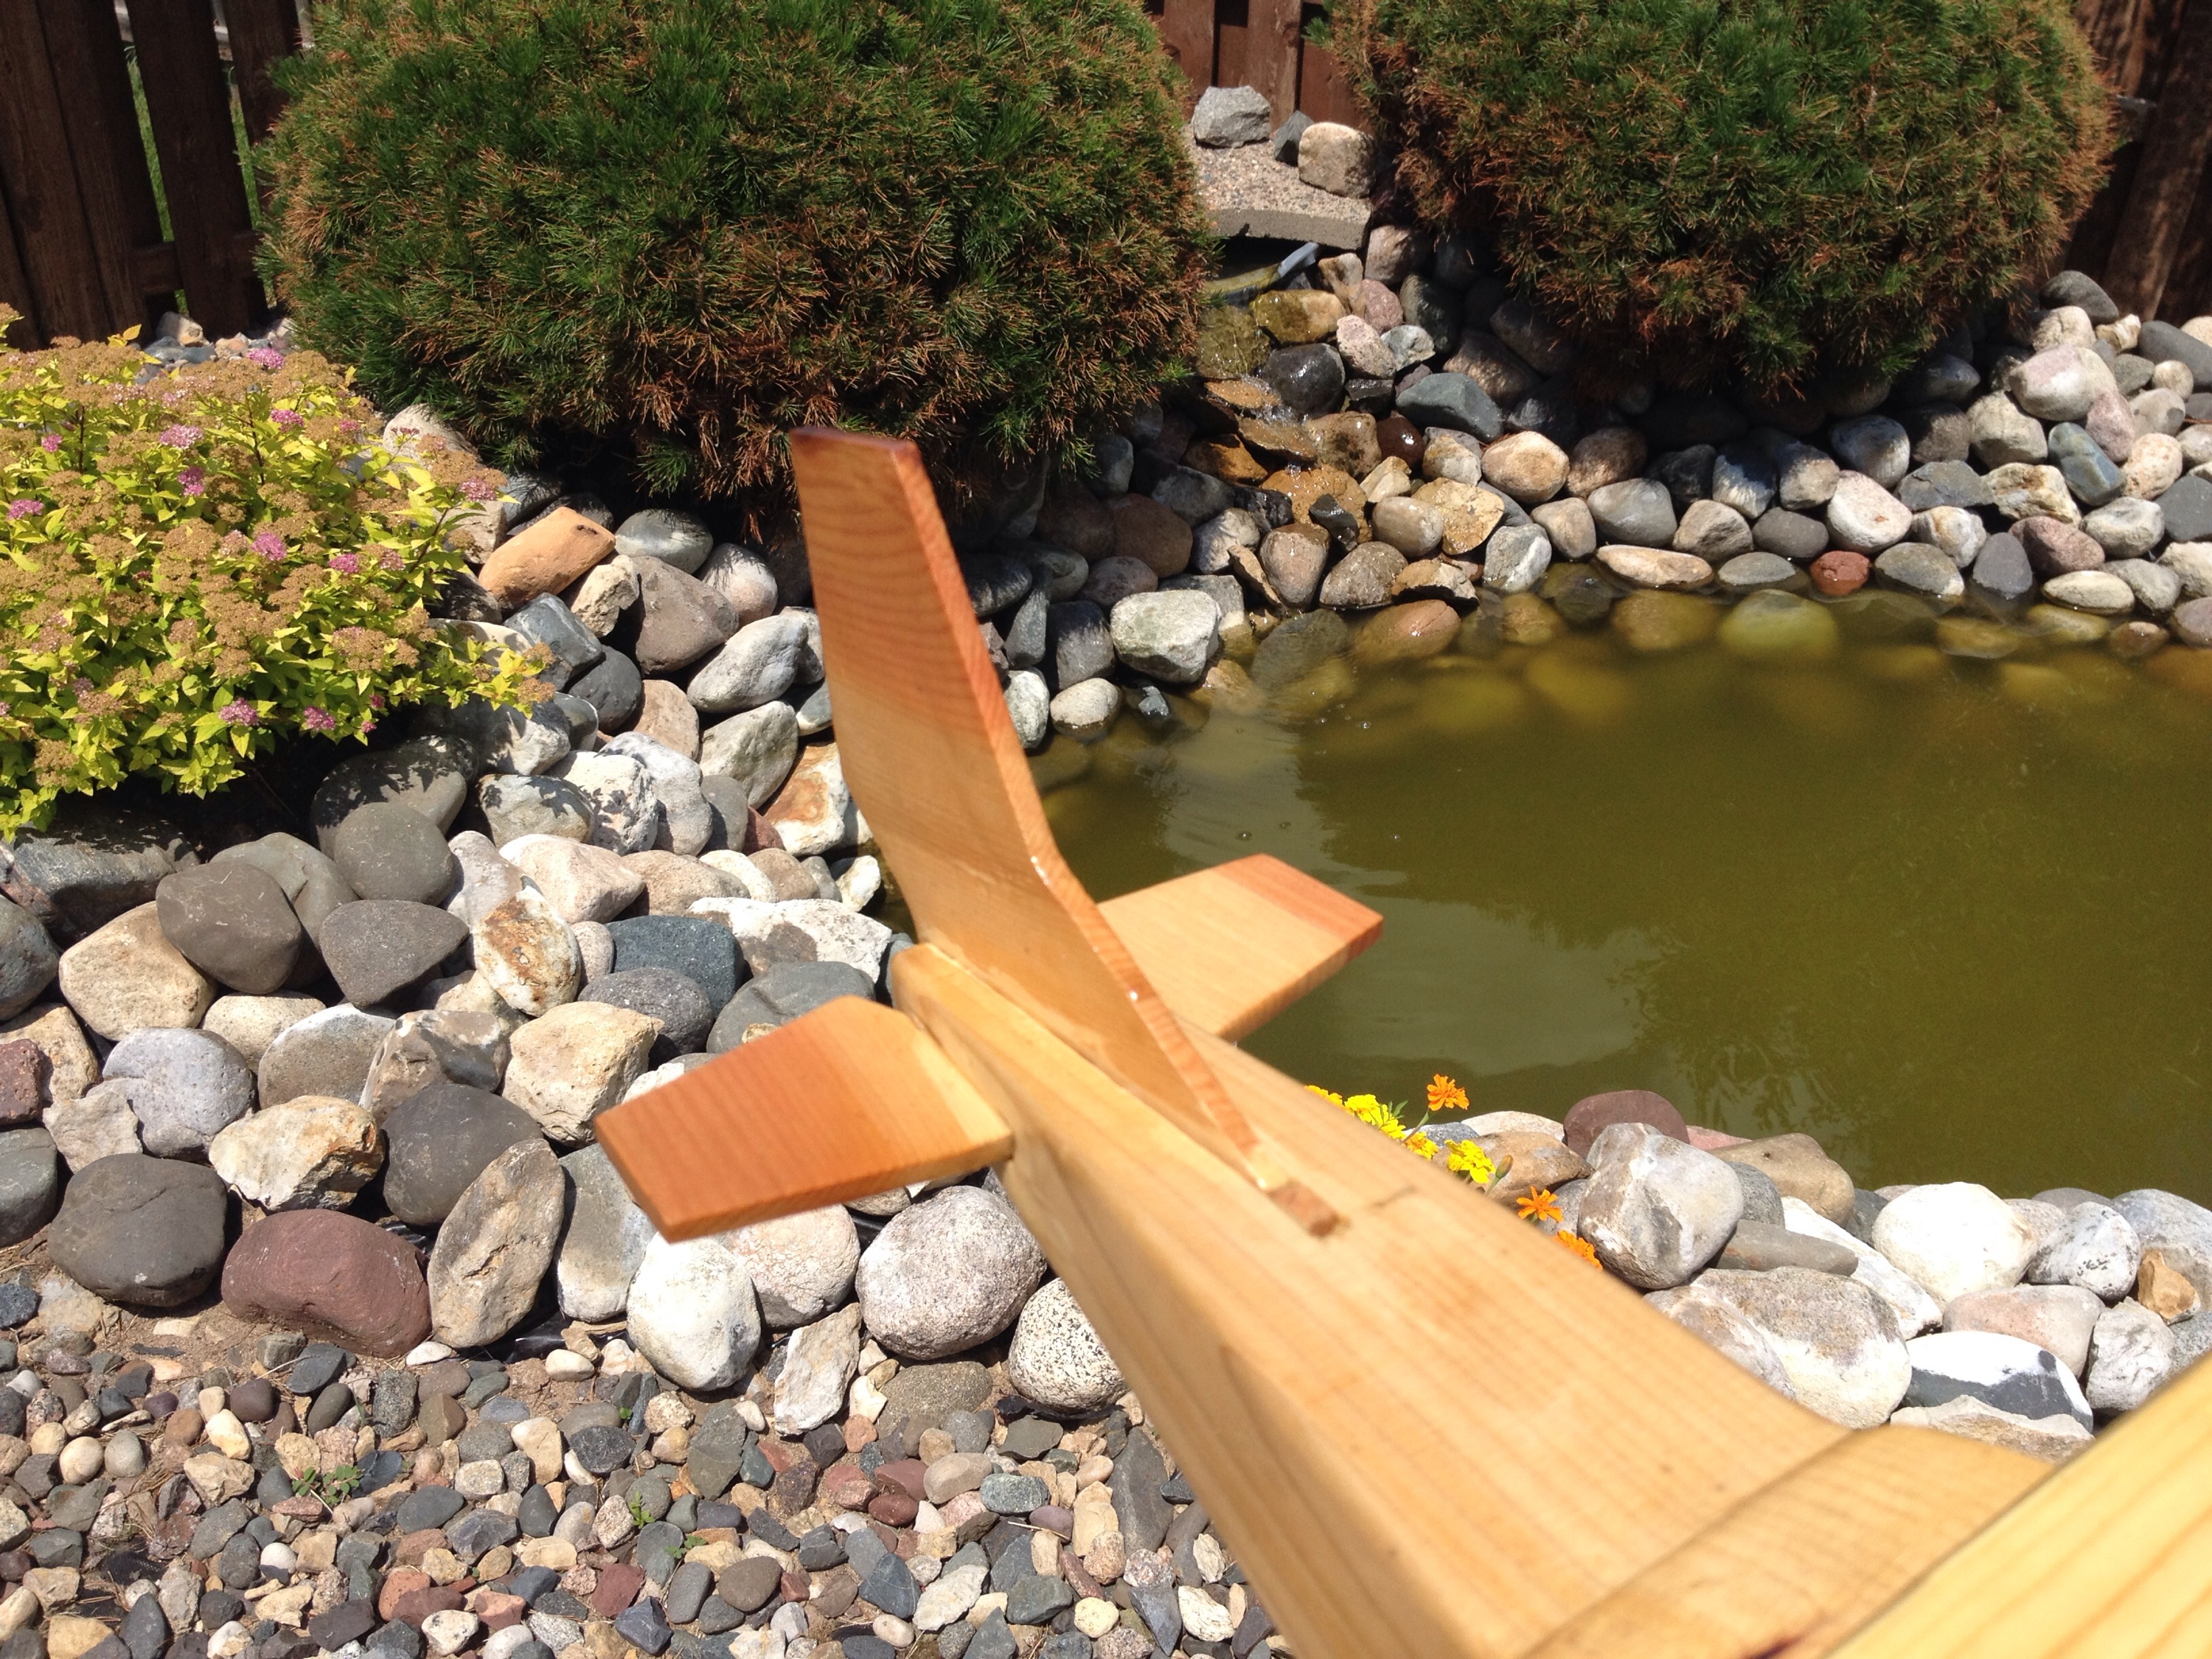
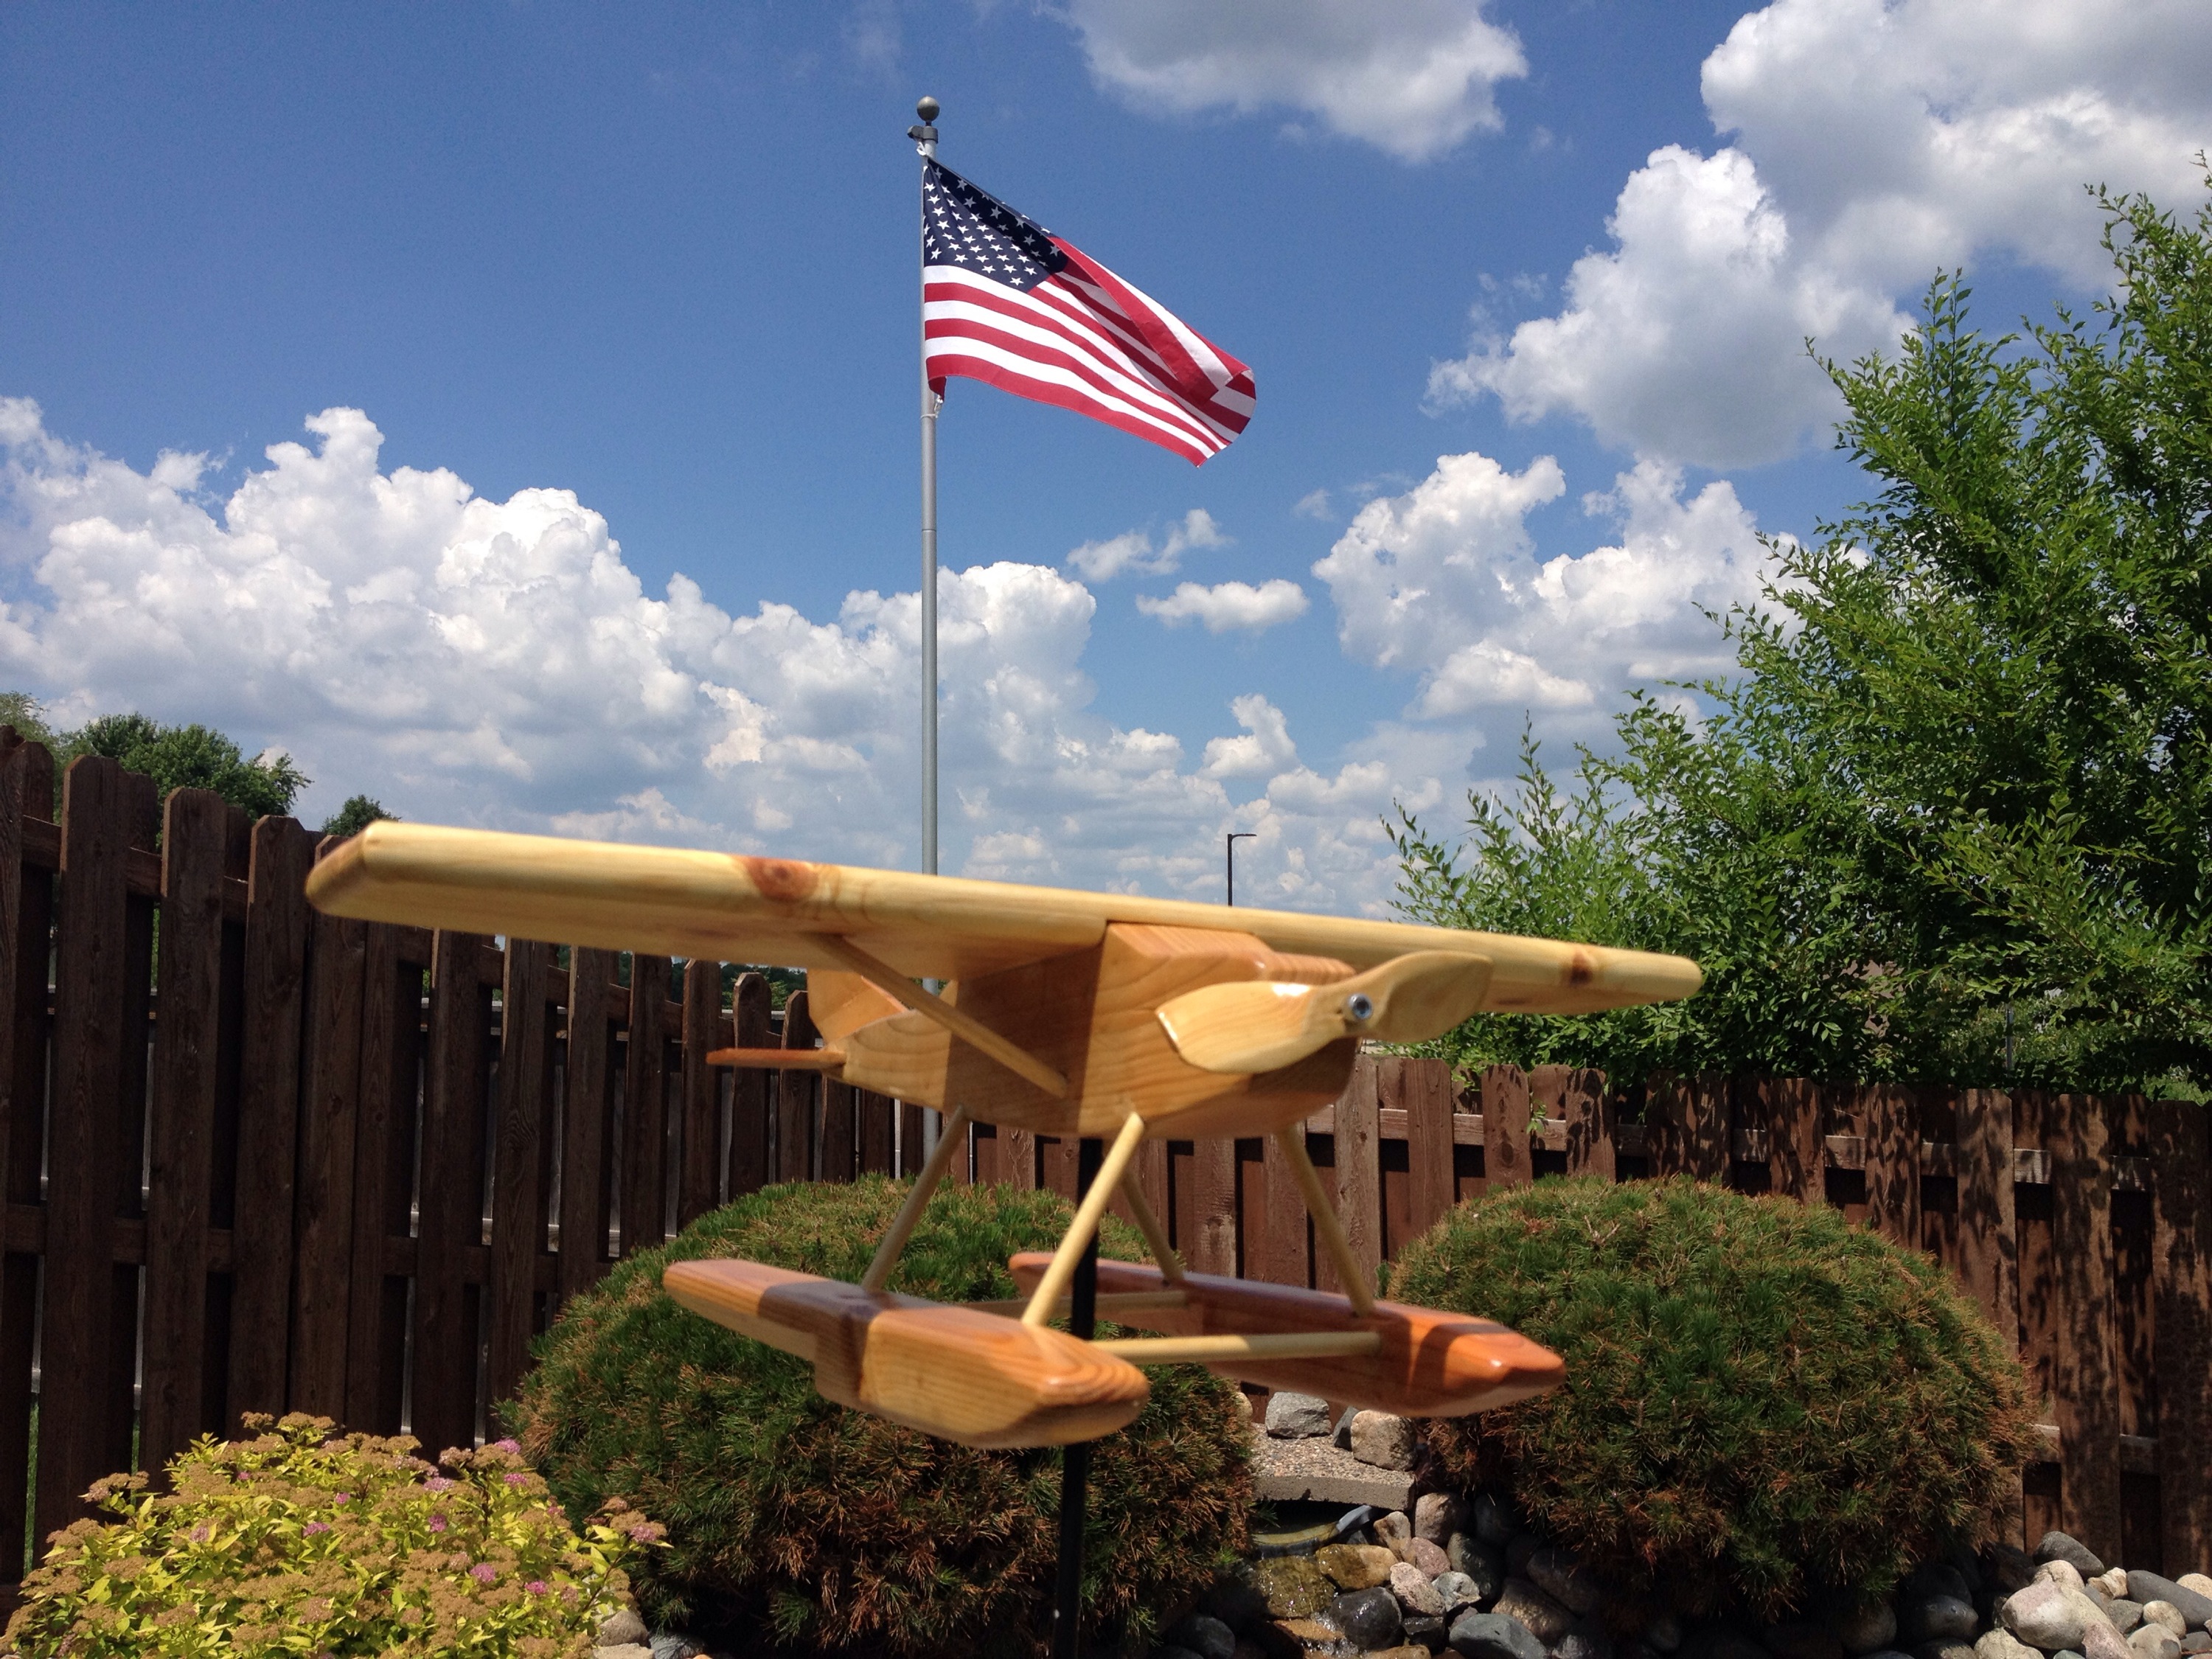
The body, wings, and floats of an airplane whirligig build as a Father’s Day gift for my father-in-law is taking shape. The squared off pieces of wood have had multiple angles added that start to give the resemblance of an airplane. You can see the plane body is sitting on the floats in this picture. Those will get separated by some wooden dowels to give the proper spacing. Oh yeah, and you’ll notice one critical piece is missing at this time – the propeller… (Is that needed? ha!)My wife is ‘flying in’ the airplane whirligig to her dad on Father’s Day.Her dad seemed pretty happy with the airplane whirligig. He has spent his whole life in the aviation field, flown and owned many airplanes himself, and now he has one that can be parked in his backyard as well.Seeing as he is an aviation expert and a craftsman himself, he has to check the work and quality of the airplane whirligig I built him. The smile on his face tells me I did alright. Though he was quick to notice that one of the curves on the back of the plane isn’t 100% correct for a Cessna 182…. but it’s pretty close at least.A close up of the whirligig airplane propeller after a few coats of spar urethane.The original plan was to paint the airplane whirligig, complete with an N-number and make it look pretty realistic. But as the project neared completion, someone wiser than me (my wife) recognized that the wood grain looked too good to cover. That is why we choose to stay with the natural look and just coat it with spar urethane. The grain does look really good…Here you can see how wooden dowels were used to connect the floats and wings to the body of the airplane whirligig.The whirligig has landed at its destination. It is proudly displayed in my father-in-law’s backyard near his pond.A closeup shot of the tail of the airplane whirligig.The airplane whirligig is now “flying over” my father-in-laws backyard pond. The American flag is proudly displayed behind it. Another fun project is complete and found a perfect home.
When I see a problem, I just want to fix it. And when my mind is set on something I get obsessive about focusing on that task until it is one. Since my early days in front of a computer I have been building websites, graphics, and multimedia presentations that are designed with the end user in mind to ensure that they are easy to use, understand, and fun. If what I'm working on doesn't enlighten someone, then I've done something wrong.
“Anything worth doing is worth doing right”
- Hunter S. Thompson
“If it could be done, it should be done.”
- Brian Prom
Yes, I just quoted my self. This quote is both my saving grace and my achilles heel. At times this leads me to recreating something that someone else created. But the journey it takes to accomplish the task is packed full of exploration and learning opportunities, and that's what makes the effort worth it.
At the end of the day, I’m a light hearted soul that likes to put a smile on the faces of others - because we all need to smile from time to time and let out a little laugh once in a while. It’s good for the heart, mind, body, and soul.