A while back I wrote a Bread Making 101 post – and the more experienced I get in bread making, the more I’ve realized I have to update this recipe a bit. It’s bad, but I found that I could better inform you on how to perfect bread making.
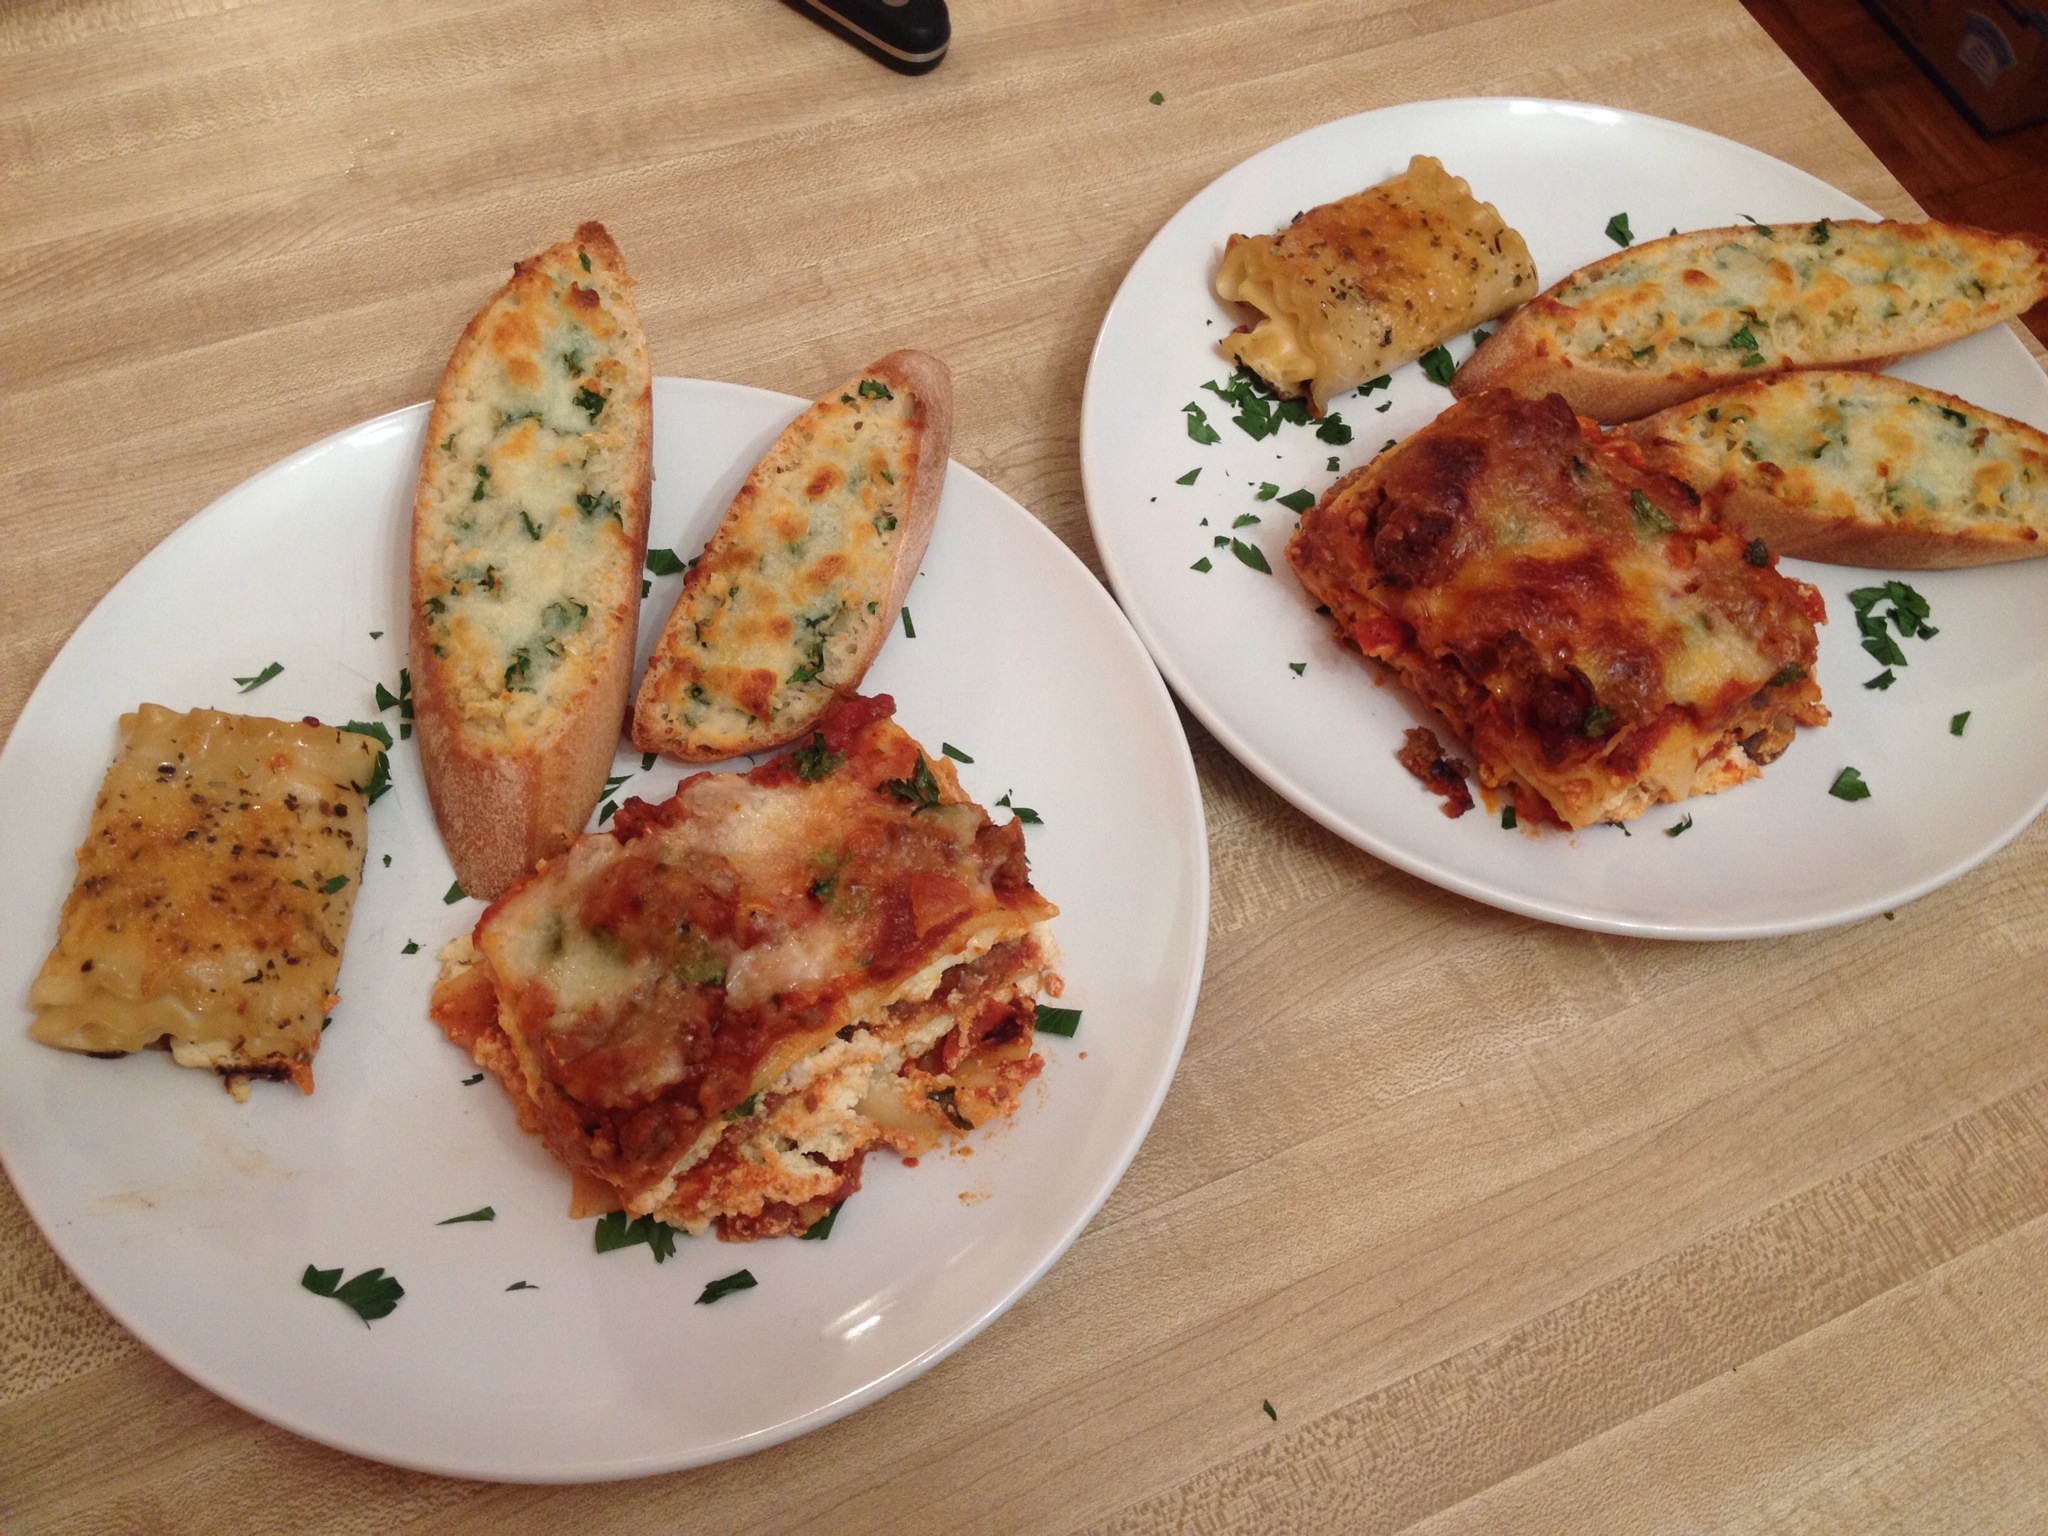
I used this recipe just the other night to make some garlic toast (with real garlic toasted in olive oil, not garlic salt) to pair with lasagna, and it was such a perfect compliment.
I personally use a KitchenAid mixer because I own one and it makes life so easy, but I’m sure there are other methods to bring your dough ball together. Adapt as you need.
Recipe
1 2 3 4 5 | 1 1/2 cups warm tap water 1 1/2 Tbs. active dry yeast 2 tsp. sugar OR 2 Tbs. honey 3 1/2 cups bread flour (all purpose flour can work, but you won't get the same results) 2 tsp. salt |
- Ensure the mixing bowl for your mixer is warm – I run my metal bowl under hot water. I find if you don’t warm the bowl first, you run the risk that the temperature of the water for the yeast to activate in may not stay consistent.
- Pour 1/2 cup of tap water to the KitchenAid bowl. Hot water from your tap works just fine (unless your hot water heater is set higher than the average household).
- Stir either 2 Tablespoons of honey or 2 teaspoons of white sugar into the bowl – this adds sweetness to the bread.
- Stir 2 teaspoons of salt into the bowl. Most of the salt and sugar should dissolve into the water at this point.
- Stir into the water 1 1/2 Tablespoons Active Dry Yeast.
- Let the yeast ferment in the water for 10 minutes. The yeast will start to foam and may bubble – this is a sign that your yeast is working as expected. If this doesn’t happen, your yeast may have died from too hot of water or didn’t activate from too cool of water. You’ll want to toss out the water and start over.
- Attach the dough hook to the KitchenAid mixer and start the mixer on low.
- Add in the bread flour, 1/2 a cup at a time, until 3 1/2 of coups of flower has been added
- Pour the remaining 1 cup of warm tap water into the mixer bowl.
- Continue mixing the dough on low until the dough comes together. This could take a few minutes. The dough will turn into a ball, all the flower will get incorporated, and should not stick to the sides any more. If after 5 minutes or so it doesn’t form into a ball, you may need to add a bit more flour. Do it in small amounts – a 1/4 cup at a time or so – until the dough ball comes together.
- Once the dough ball has come together, you need to continue kneading it. You can do this simply by continuing to run the mixer. However I found that I get better results by doing hand kneading. Either way, knead the dough ball for about 10 minutes. The kneading process promotes gluten creation process. Gluten is what forms the bread fibers – it’s what makes a dough elastic. Without proper gluten formation, your dough will be flat and less flavorful.
- To hand knead the dough, place flour on a countertop or cutting board, and coat your hand with a bit of flour, and push the palm of your hand into the dough ball, which will flatten it out a bit. Fold the dough over, rotate it a 1/4 turn, push down again, and repeat.
- To test if you have kneaded the bread enough, you can try two methods:
- Poke your dough. If you have kneaded enough, the dough should spring right back to a nearly smooth dough ball again. If not, continue to knead the dough.
- The window pane test. Take a small hunk of dough, and stretch it thin and flat. You should be able to stretch it to the point that it won’t tear, and you can essentially see through it because it is so thin – like a window pane. If it tears, continue to knead the dough.
- Coat a large glass or plastic bowl with oil. I use olive oil applied with a paper towel over cooking sprays.
- Shape the dough into a smooth ball, tucking the edges and seams down to the bottom, and place the dough ball into the bowl.
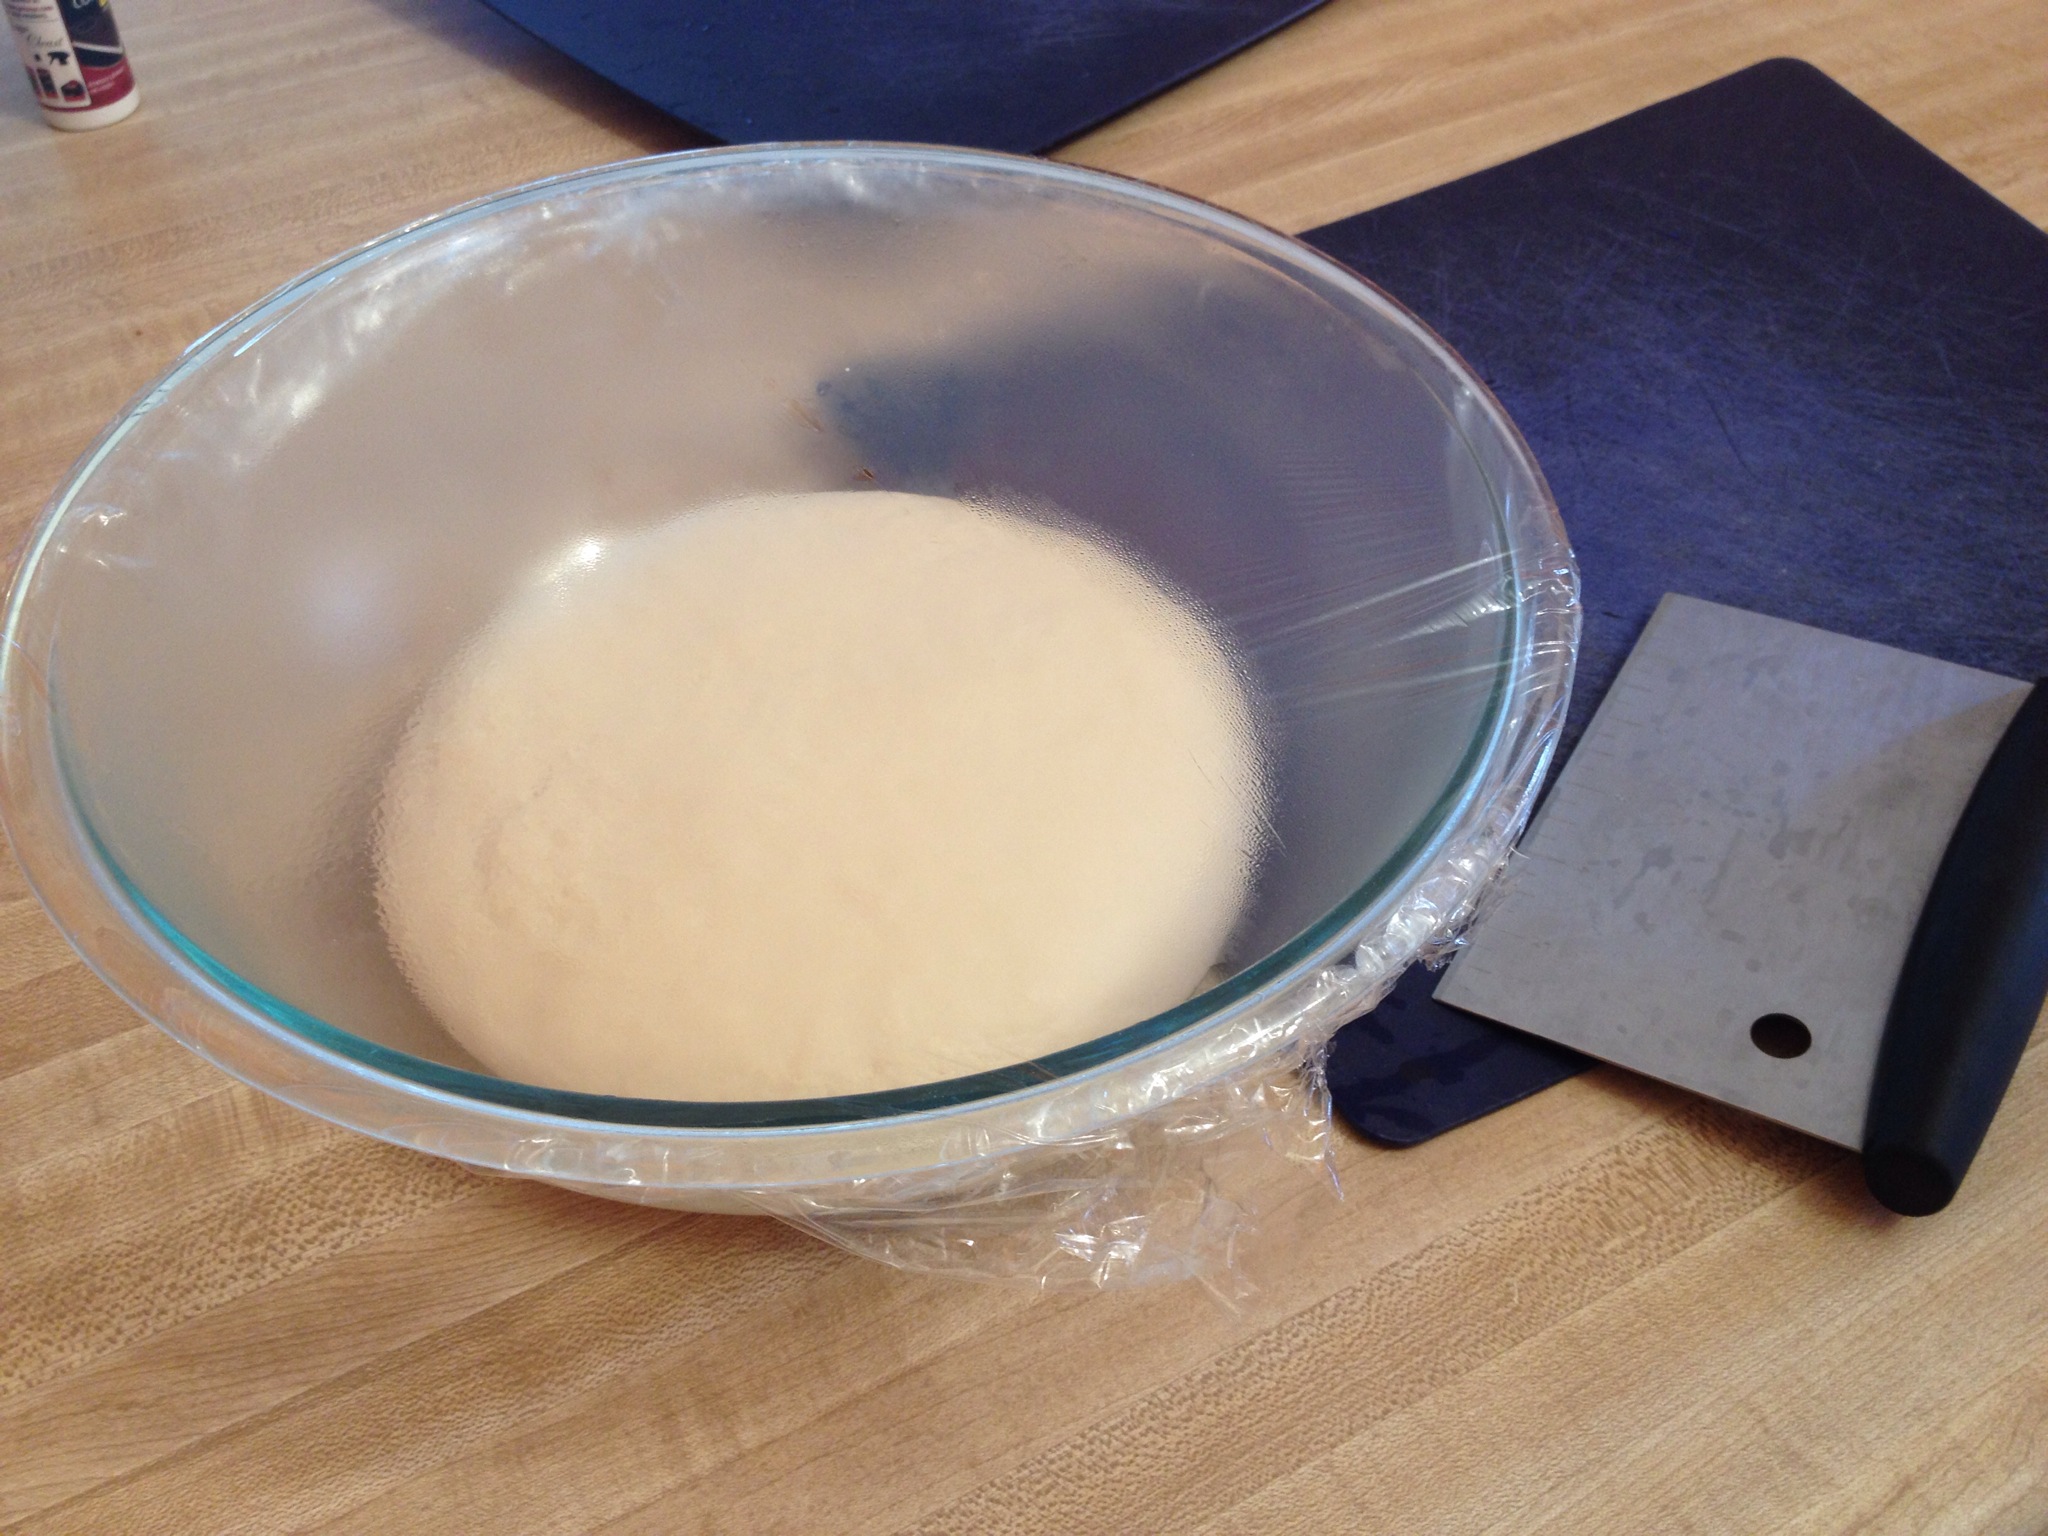
- Cover the bowl with cling wrap, creating an air tight seal. I also suggest wrapping the bowl in a towel, and place the bowl in a warm and not drafty location. The goal is to maintain a consistent temperature for your dough ball to rise.
- Let the dough rise for two hours or so. You want the ball to rise to at least double the size. It may take longer or shorter for the dough to double in size. Technically, the longer it takes the better as a longer rise time helps to create more flavor.

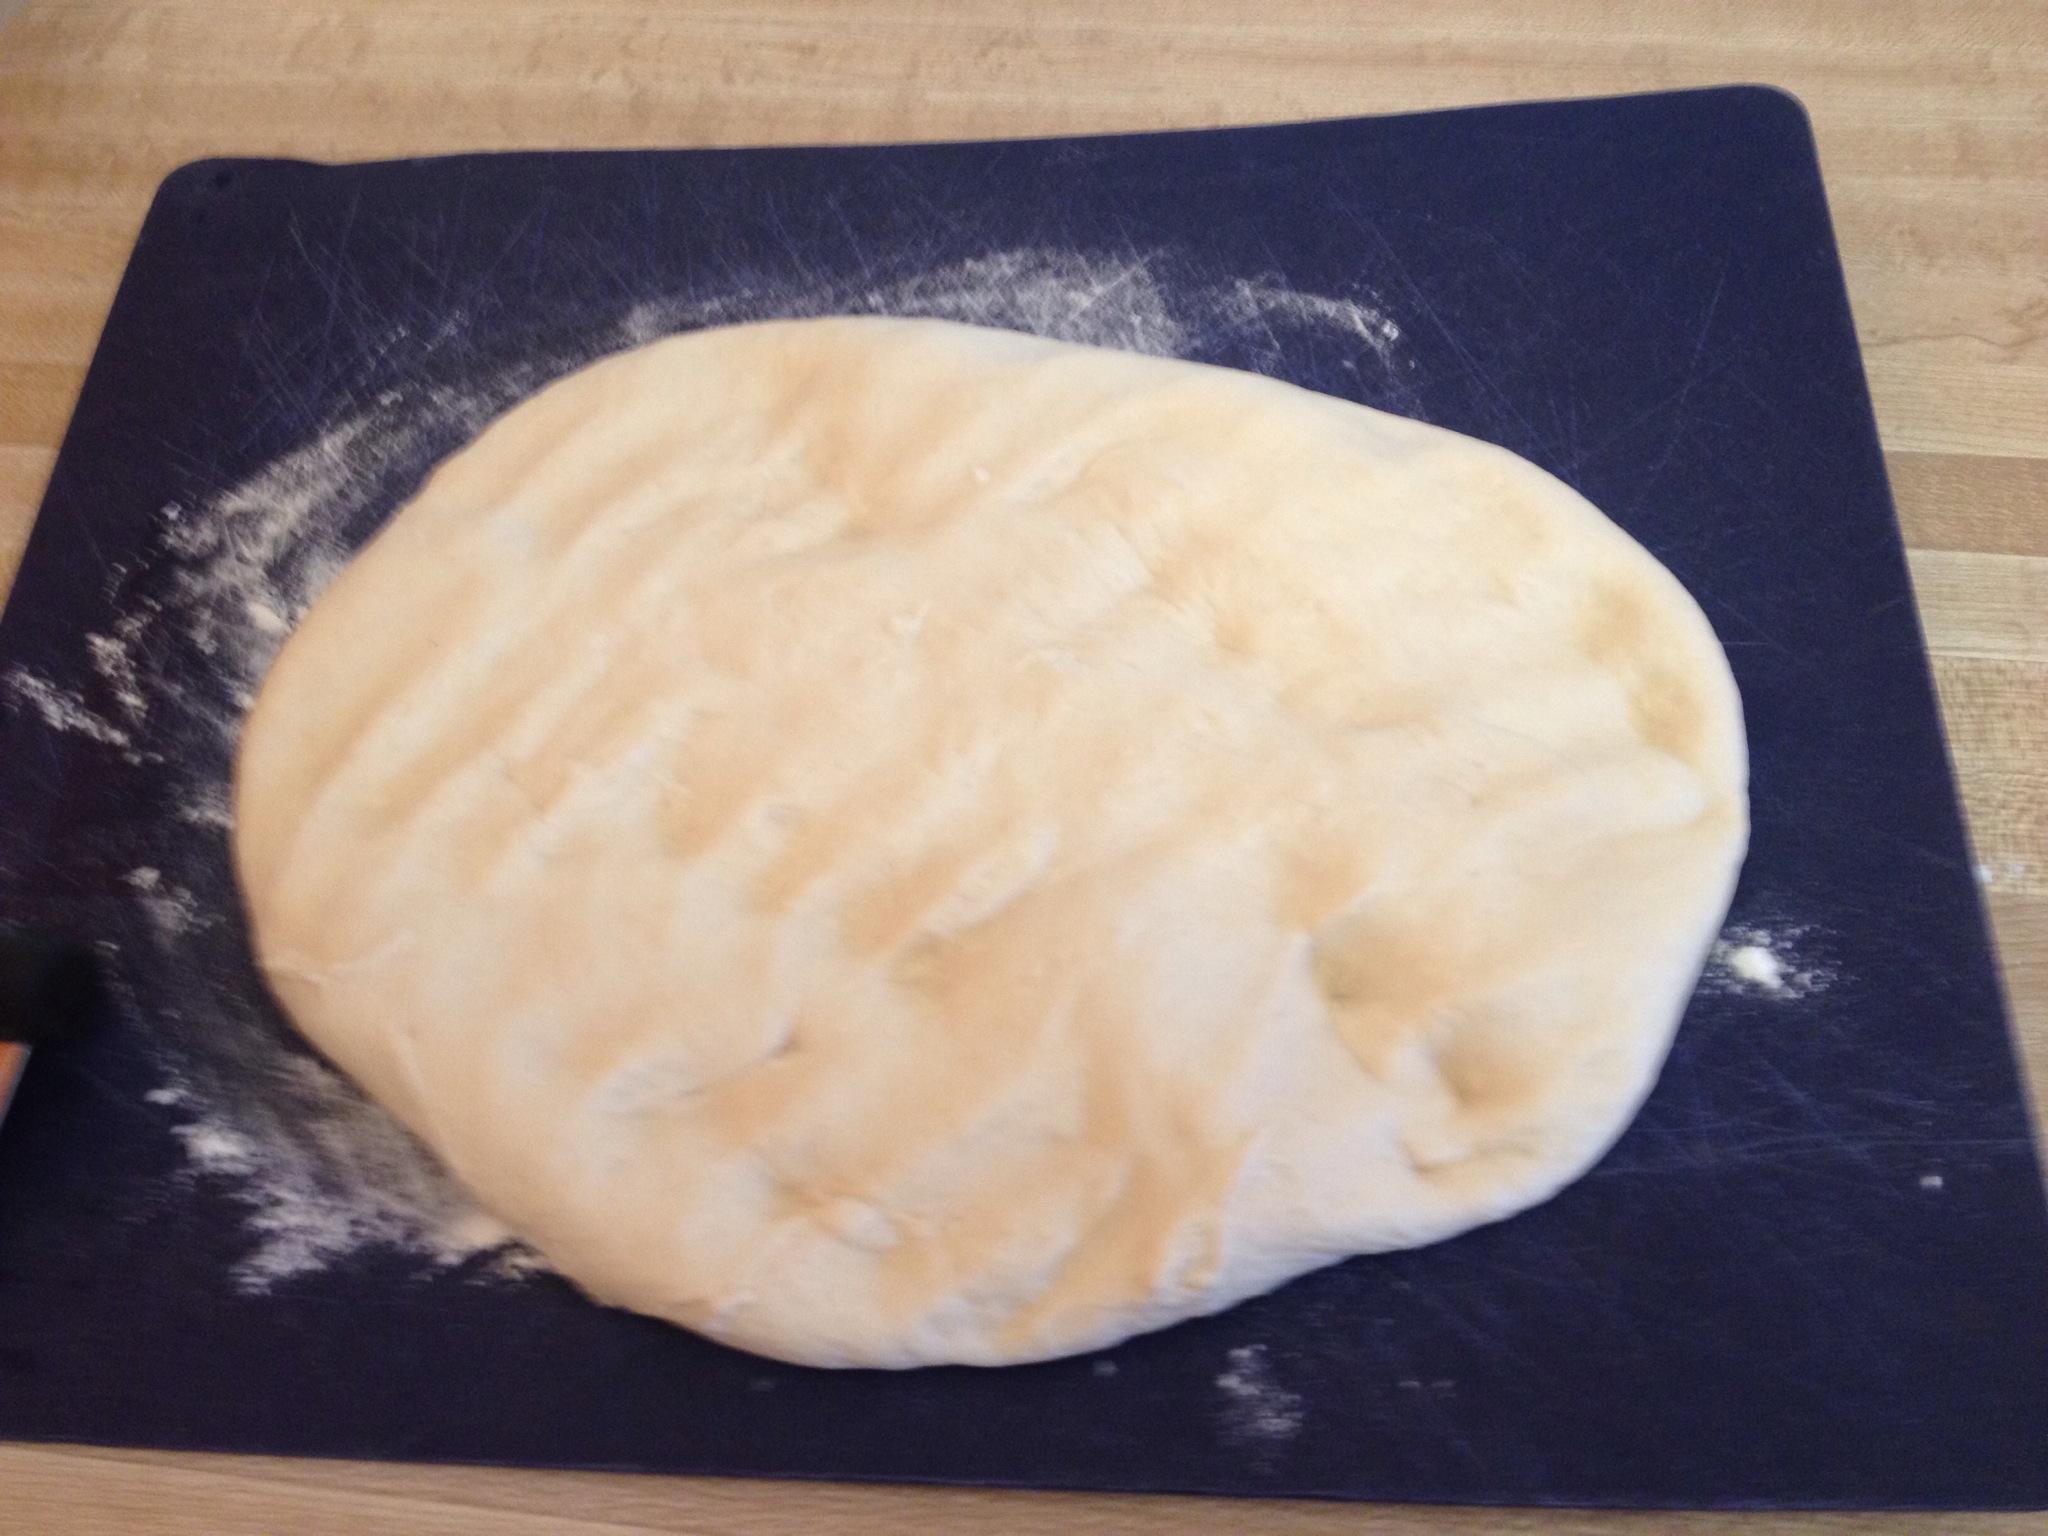
Create an airtight seal on a large bowl with cling wrap for the dough to rise. It should double in size before you take the dough out. - After the dough has risen, remove it from the bowl and put onto a floured surface. “Punch” down the dough to release the air bubbles that formed. To punch down the dough, make a fist and push it down with your knuckles. You don’t have to get physical with the dough, just simply work out the air bubbles. While this seems contradictory as I personally like larger air pockets in my bread, pushing out the air bubbles seems to help to add more to the final loaf.
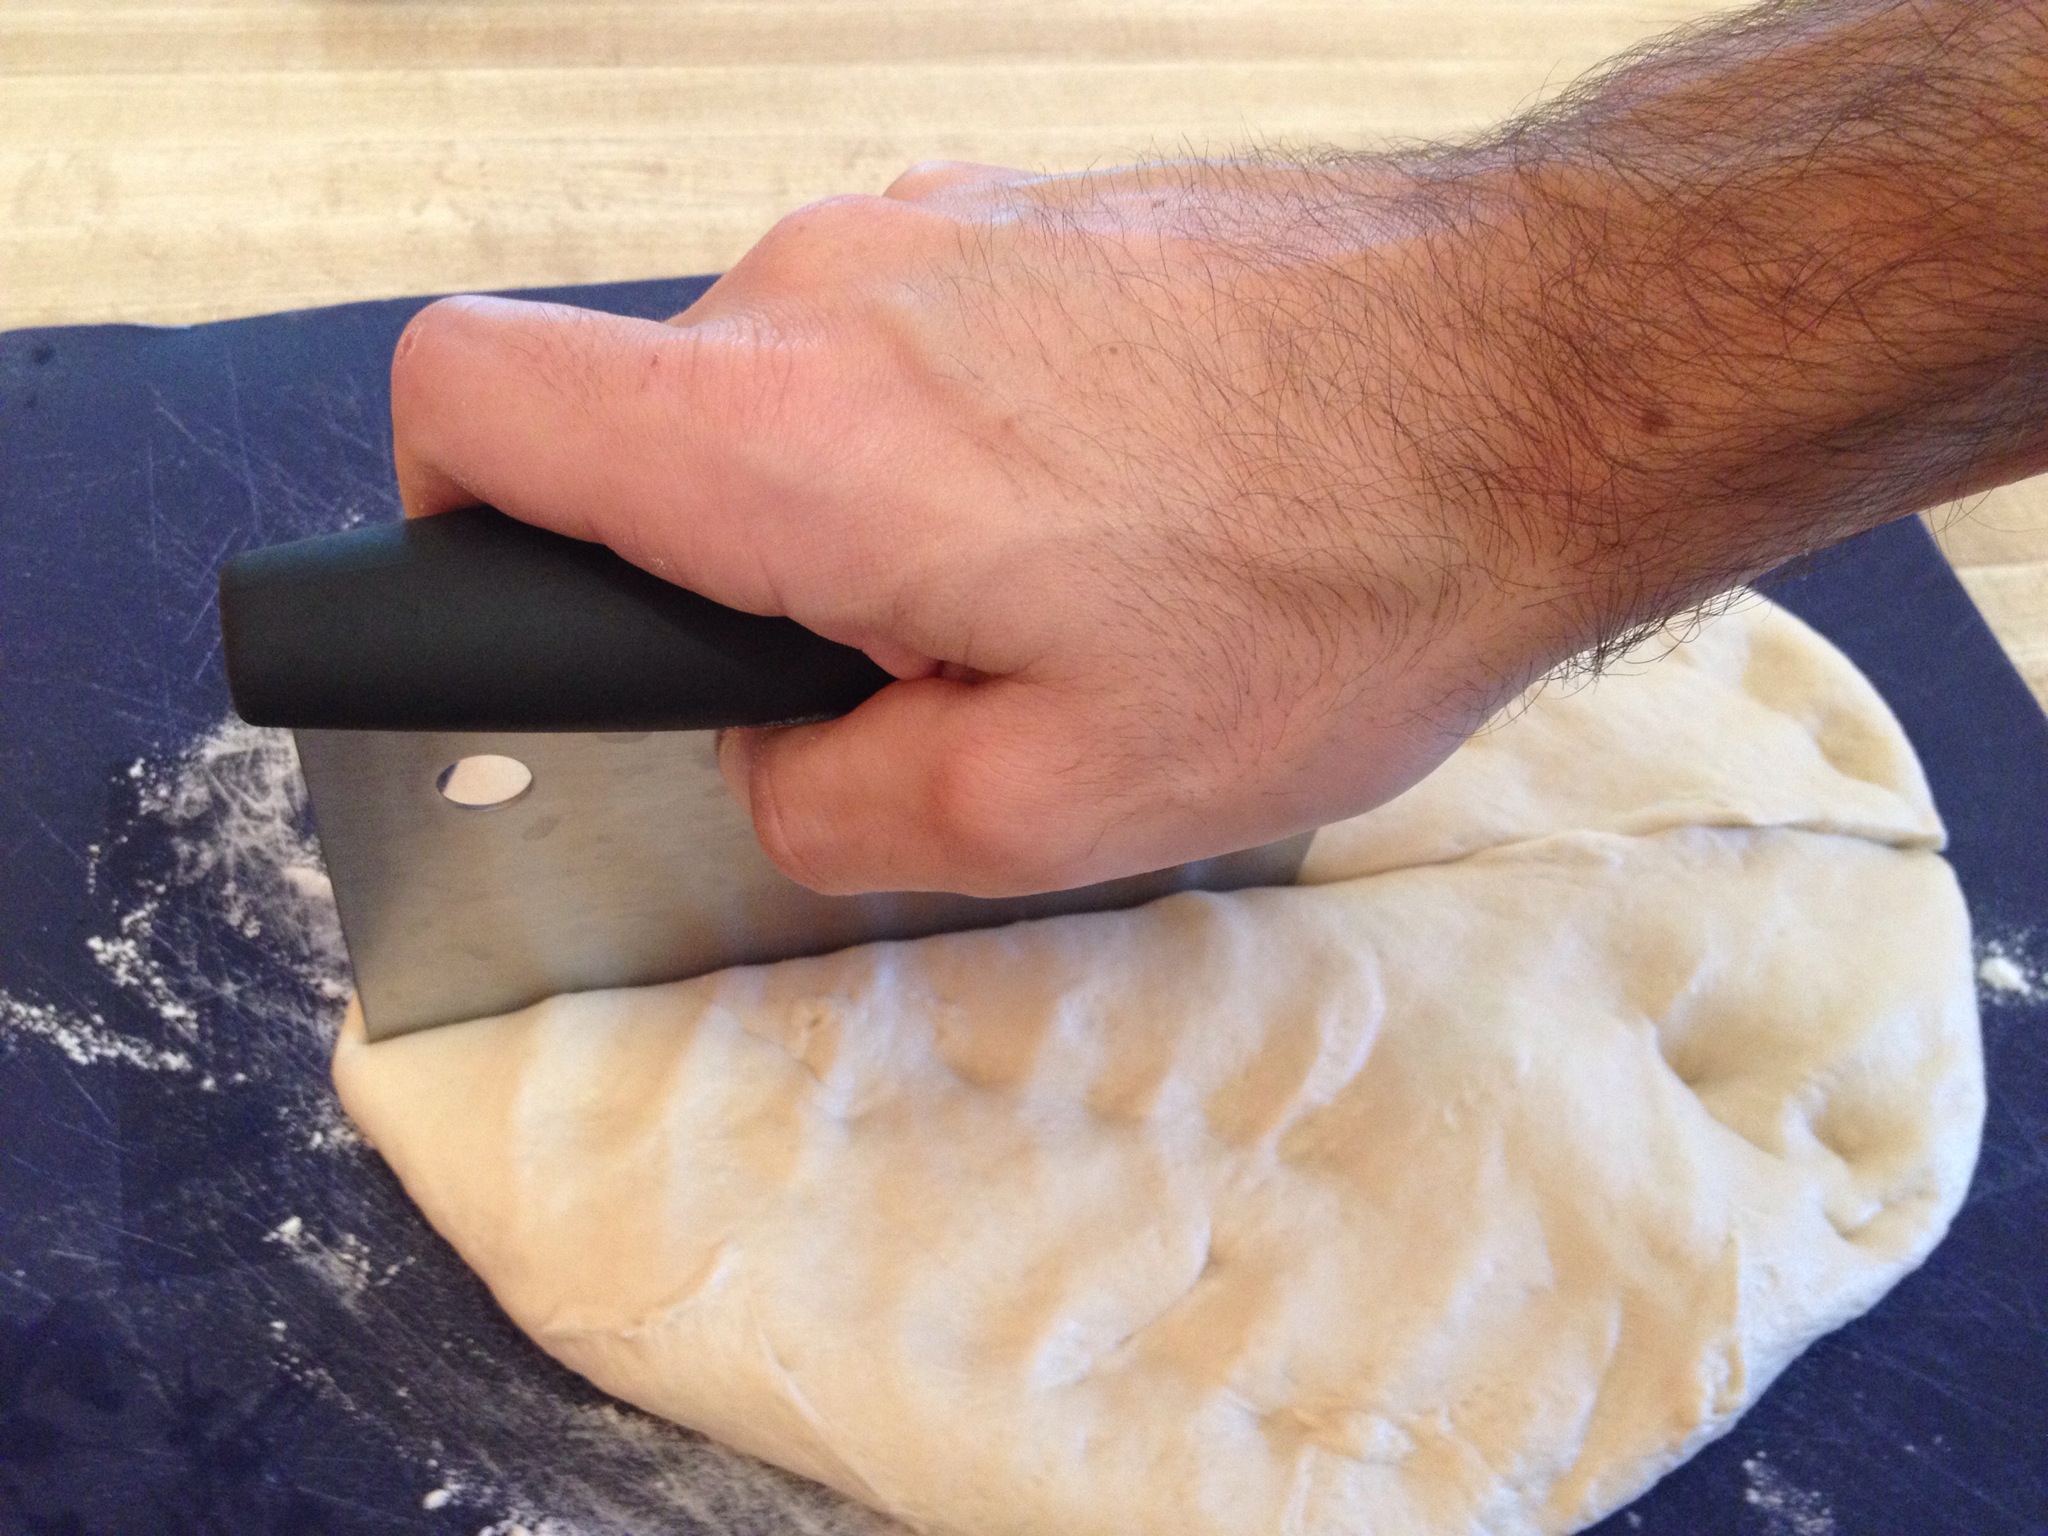
Release the air bubbles from your dough ball after it has risen. Do this by punching it down. - Cut your dough into the loaf shapes you desire. If making traditional long baguettes, divide the dough in half – you can get two loaves out of this recipe. Else you could make small sandwich loaves, etc.
Cut your punched down dough ball into the shape of the loaves you desire. This recipe yields two nice long baguettes or several sandwich loaves. - Shape the dough into your final loaf shapes at this time.
Let your bread loaves proof (second rise) on a floured surface. - Use a sharp serrated knife to cut slits across the top of the loaf. This promotes expansion of the bread as it proofs (second rise) and bakes, and also adds a nice look and texture.
- Let the dough proof (rise a second time), for 30 minutes or so. You can drape a light towel over them if you’d like, but like the initial rise, keep the dough in a warm location.
- While you are proofing the dough, preheat the oven to 450°. Preheat the oven early to ensure your pizza/baking stone is heated thoroughly.
- While preheating the oven, place a small oven safe container with water in the oven. This creates steam, which promotes browning and hardening of the crust.
- Bake for 15-20 minutes. The dough should turn a nice golden/light brown, and if you knock on the loaf with your knuckles you will hear a hollow sound; the dough should be hard on the outside. This is the exciting part – the bread is done! Let it cool a bit though before cutting into it.
Bake your loaves of bread in a 450° oven for 15-20 minutes. Using a baking or pizza stone promotes better heating of the bread. Place a small container of water in the oven as well to add steam to the oven, which puts a nice finish on the loaf.


Freezing a dough ball
- It is possible to make the dough ball days ahead of time. After the dough has finished it’s first rise (doubled in size), punch the dough ball down, recover the bowl and place it in the refrigerator. You can leave it in the refrigerator for several days.
- When you are ready to bake the dough, take it out of the refrigerator several hours before you are ready to bake it. You want the dough to come back to room temperature.
- Once it is at room temperature, you can separate it into your loaves, proof, and continue through the remainder of this recipe to bake the loaves.
