My wife has told me since we dated that she wanted a rubber duckie themed bathroom. I was a bit thrown back at first – seems a bit childish. She clarified and said she wanted it for a kids bathroom. Ok – that makes sense. I can get behind this idea!
Fast forward several years and a wedding later, we have 3 kids. Our own little clan of baby ducks!

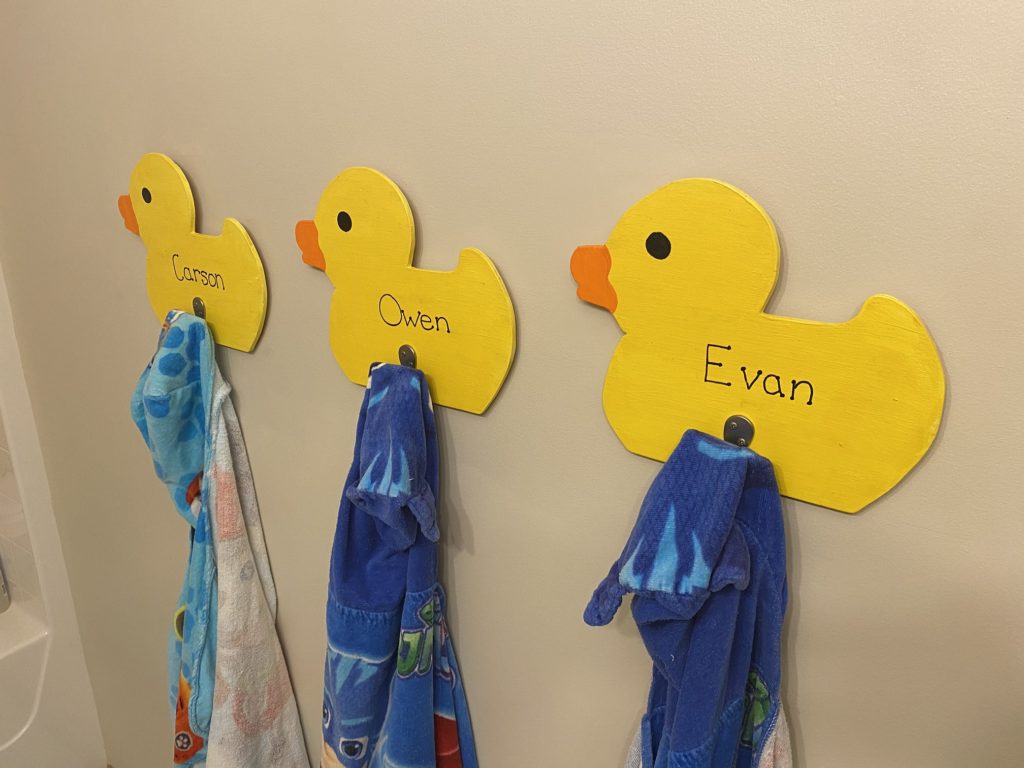
Rubber duckie bath towel hangers for the kids bathroom.
Once getting settled into our recent house I figured I’d work towards making her dream a reality. This seemed easy – bathroom decor is a huge market with stores dedicating huge portions of their display space to bathrooms. Well… not so much… I struggled to find things that matched, were cute, etc. She looked as well (are you surprised?) and came up with the same issue as me.
I did find one cute small sign that I bought, but even I didn’t think that was enough to complete the dream.
There is a large open wall. And it was missing one thing – a row of ducks holding towels. I like to create things – so this seemed like a perfect job for me.
Now I’ve seen some cutout duck shaped pieces of wood that would have sufficed, but the price made me frustrated and I just like to say “I made that” in my own house. So – to the garage I went to make some wooden duck shapes to hang towels.
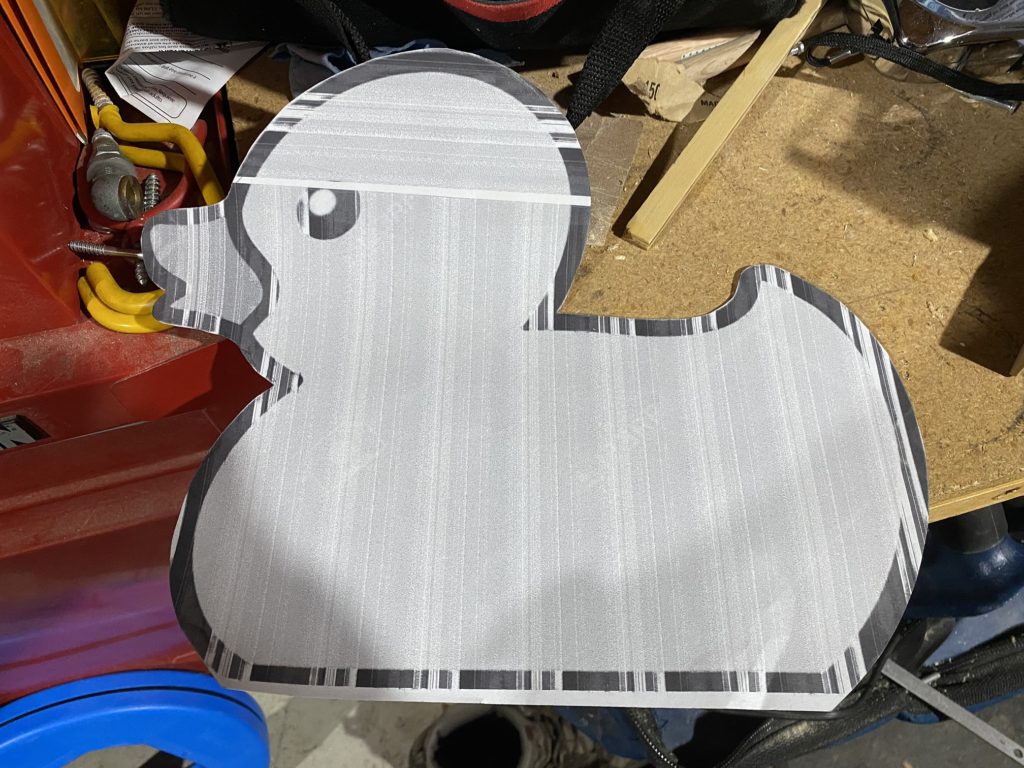
I printed a simple template and stacked three pieces of 1/4″ plywood together.

A paper template for cutting out the wooden duck towel hangers. Also used as a painting guide later on.
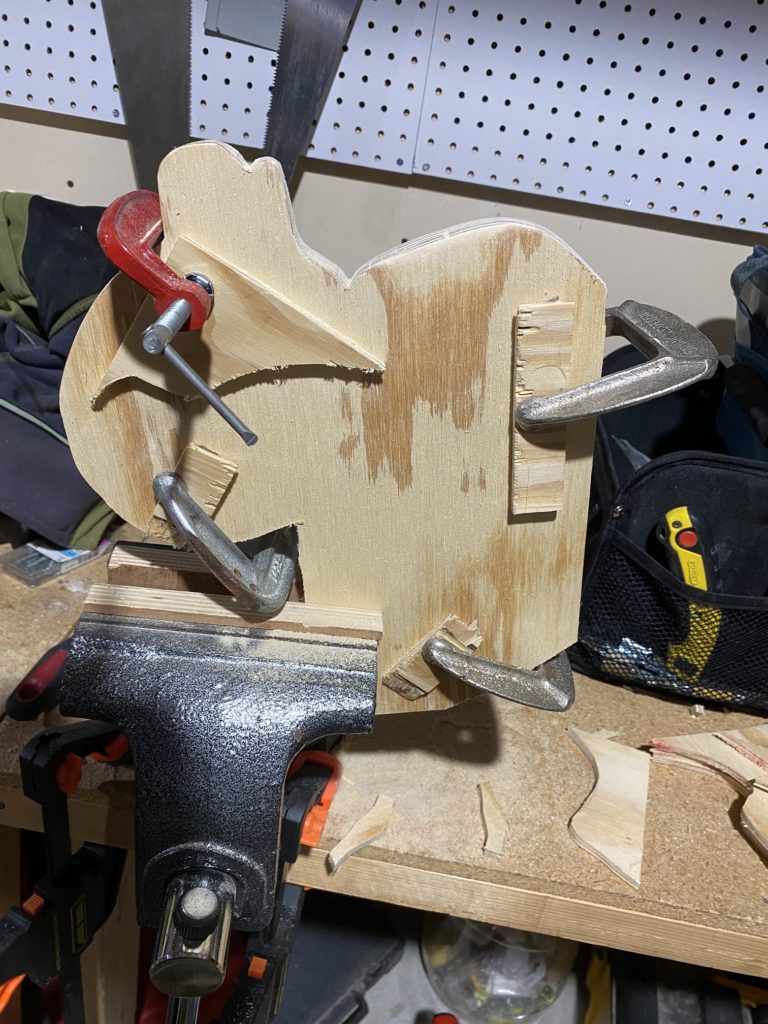
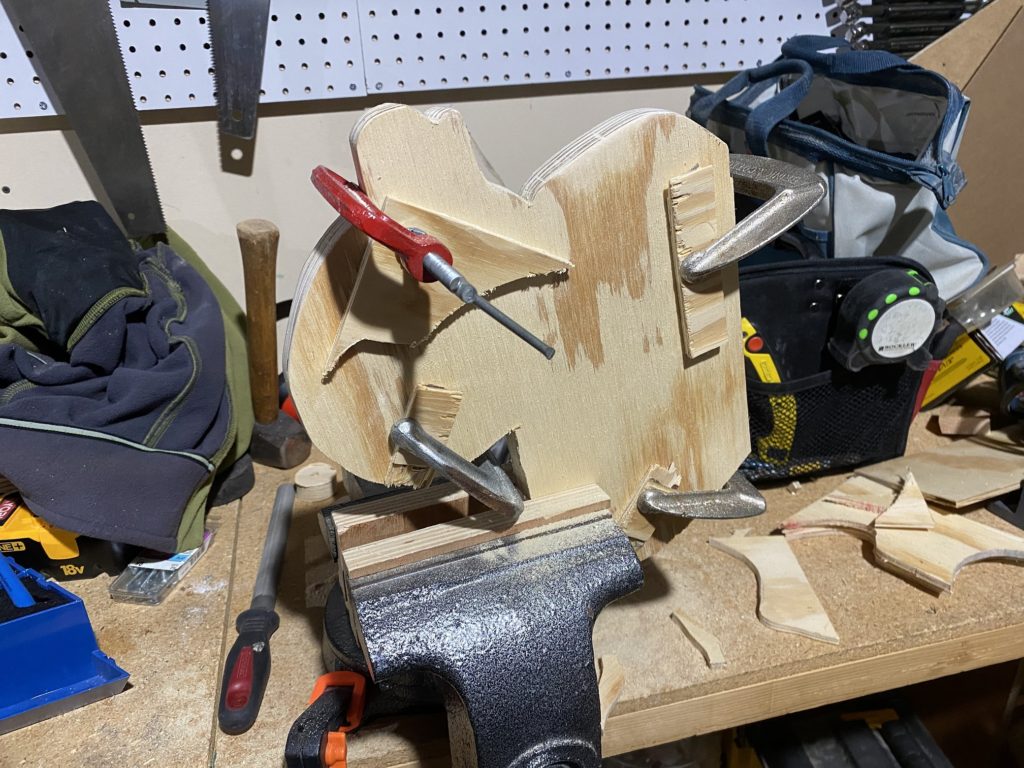
The plywood is then clamped together with scraps to protect dents. A file is then used to smooth off the cut edges.

Clamp the plywood with scrap blocks to prevent damaging the surface. This allows for cutting 3 identical ducks at once. 
Filing the edges smooth before removing the clamps.
Once the duck shapes are all cut and smooth the clamps are removed and a surface sanding with 220 grit sandpaper creates a nice smooth finish.
I did find a few spots where the plywood split out and thus used a bit of wood filler I had laying around.
The next stop was to my wife. She is the painter in our household. She did the real magic – turning plywood shapes into something with life!
Lastly, I glued a few pieces of scrap onto the back side for a few reasons. This gave me more material to put the hooks into and thus they were stronger. Also gave me a good place to put the nail hangers on the back as well. The scraps were held on with glue and screws.
NOTE: I had to cut the screws shorter for the hanger brackets. They came with really long screws – nothing a hack saw couldn’t fix.
And now – the kids have some awesome towel hangers!


