My bread making ventures have put numerous french baguettes through my oven to this point. And for the most part, I’ve been using the same recipe and style. Let the yeast activate in warm water, then add the flour, let rise for a few hours, add in a few more tricks and you’ve got some bread.
And this works, but I’ve found a modified method of prepping this recipe and it’s SO much easier. And I think the flavor is the same if not better. There’s less kneading, less prep time, less time needed to rise – all around a great recipe.
That’s one of the reasons I’m writing this post. The other is that this is the first french baguette recipe I’m posting since my lovely wife gave me a kitchen scale. Weighing your ingredients is far more accurate than measuring, and you of course need a scale to weigh your ingredients. Flour in particular can be packed tight or loosely. For that reason, the weight of say 1 cup could vary a fair amount, and thus would throw off how your bread turns out.
But enough small talk – lets get down to business.
Simplified French Baguettes by Weight
I’m using a stand mixer for this recipe. It is possible to do this by hand with hand mixing and kneading, but you’ll have to adjust on your own.
Also, I use bread flour. And I suggest using bread flour. All purpose flour isn’t very helpful in bread making. It’ll work, but you don’t get the same gluten development, so it doesn’t rise the same and the flavor isn’t there.
1 2 3 4 | 10 grams (1 1/2 tsp.) salt 400 grams (2 1/2 cups + 2 tablespoons) luke warm water 650 grams (4 3/4 cups) bread flour 20 grams active dry yeast |
- Warm the stand mixer bowl with warm water. This ensures the yeast is in a warm environment to activate successfully.
- In the bowl for your stand mixer add the dry ingredients. First the salt, then flour, and lastly yeast. I suggest layering the dry ingredients in this order to ensure the yeast gets activated as soon as possible.
- Pour the water over the mixture in the mixer bowl. The water should be warm, but not boiling hot. Too hot and it’ll burn and kill the yeast. Too cold and it won’t activate the yeast.
- Place the mixer bowl on the stand mixer, attach the dough hook, and start mixing on medium-low. Mix until it forms a ball, cleans the sides of the bowl. Then let it knead just a minute or two more. All in all this should take about 3 minutes or so – don’t go longer than 5 minutes or you’ll jeopardize the elasticity and flavor of your loaves.
- Once the dough ball has formed, take it out of the mixer bowl and shape into a nice smooth ball with your hands. Once shaped, place onto a lightly floured surface and place the mixer bowl upside down over the dough ball. Let this sit for 15 minutes. This will create a bit of heat while the yeast does it’s thing – the dough ball will rise. The dough should grow to at least double in size.
- Cut your dough ball into the shapes and sizes you’d like. You should be able to get 3 french baguettes from this recipe. I like smaller loaves as well for sandwiches and such – so make whatever you’d like at this point and place onto a lightly floured baking sheet.
- Drape a very damp over the loaves and let them sit at room temperature for an hour or two or three. Whatever works really, but let it sit for at least 30 minutes.
- Using a sharp knife, cut diagonal slits into the top of the loaves.
- Bake the loaves at 425°F for about 15 minutes. The outside should be a nice tan/brown color. Knocking on the loaf should have a hollow sound. The outer crust should be hard and the inside will be nice and soft and chewy and heavenly. Let the loaves cool for at least 15 minutes before cutting into the loaves however. It’s best to eat and serve the same day when it’s nice and fresh.

Use a stand mixer with a dough hook to mix the ingredients for your bread loaf into a ball. Then continue to knead the dough for a few minutes in the stand mixer.

Bread flour is ideal when making loaves of bread – french baguettes in particular. Bread flour allows for better gluten development. All purpose flour does not provide the same results.
Also I’ve had great success with active dry yeast – it activates quickly and reliably and provides great gluten development and ferments well.
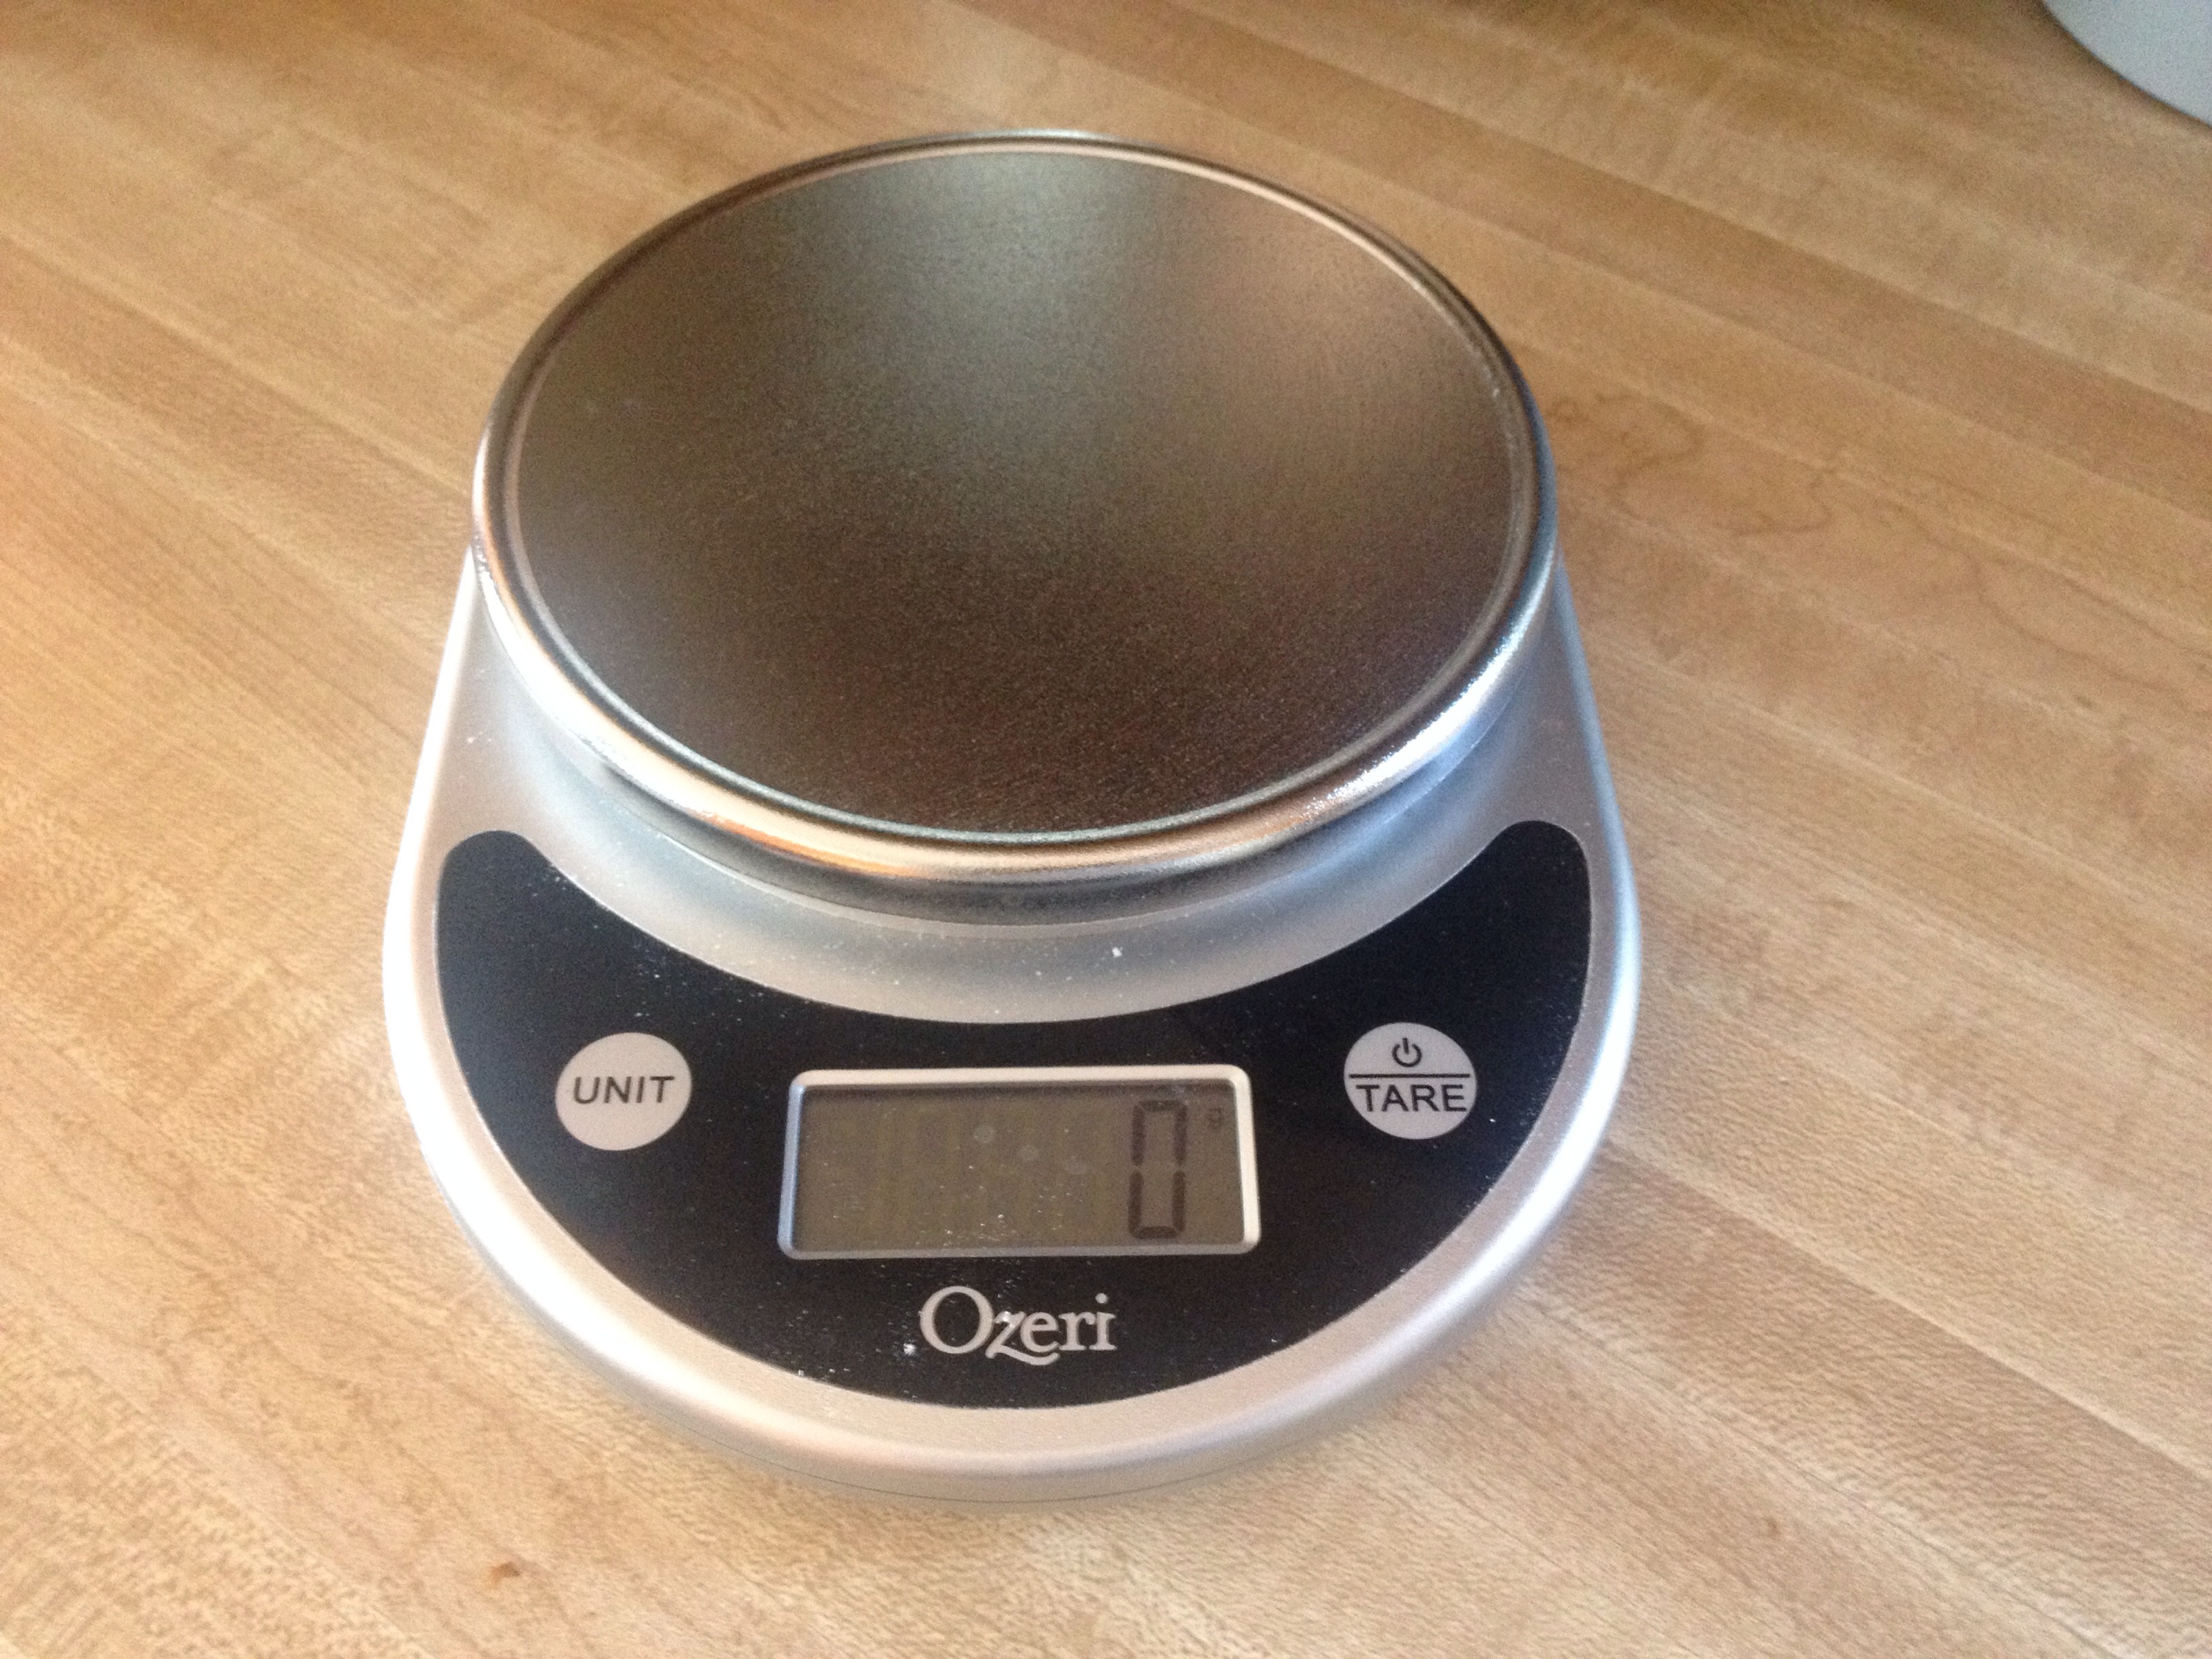
Use a food scale to measure your ingredients. Dry ingredients like flour for example could be packed loosely or tightly. For that reason, standard measurements can be inaccurate, and thus using a kitchen scale to measure by weight will provide you with the best results. Remember to zero (or tare) the scale as you add ingredients for accurate measurement.

Once the dough ball has been formed, place on a floured surface under the mixer bowl and allow for it to rise. The yeast should be activated which means that heat will be generated under the bowl and the dough should at least double.
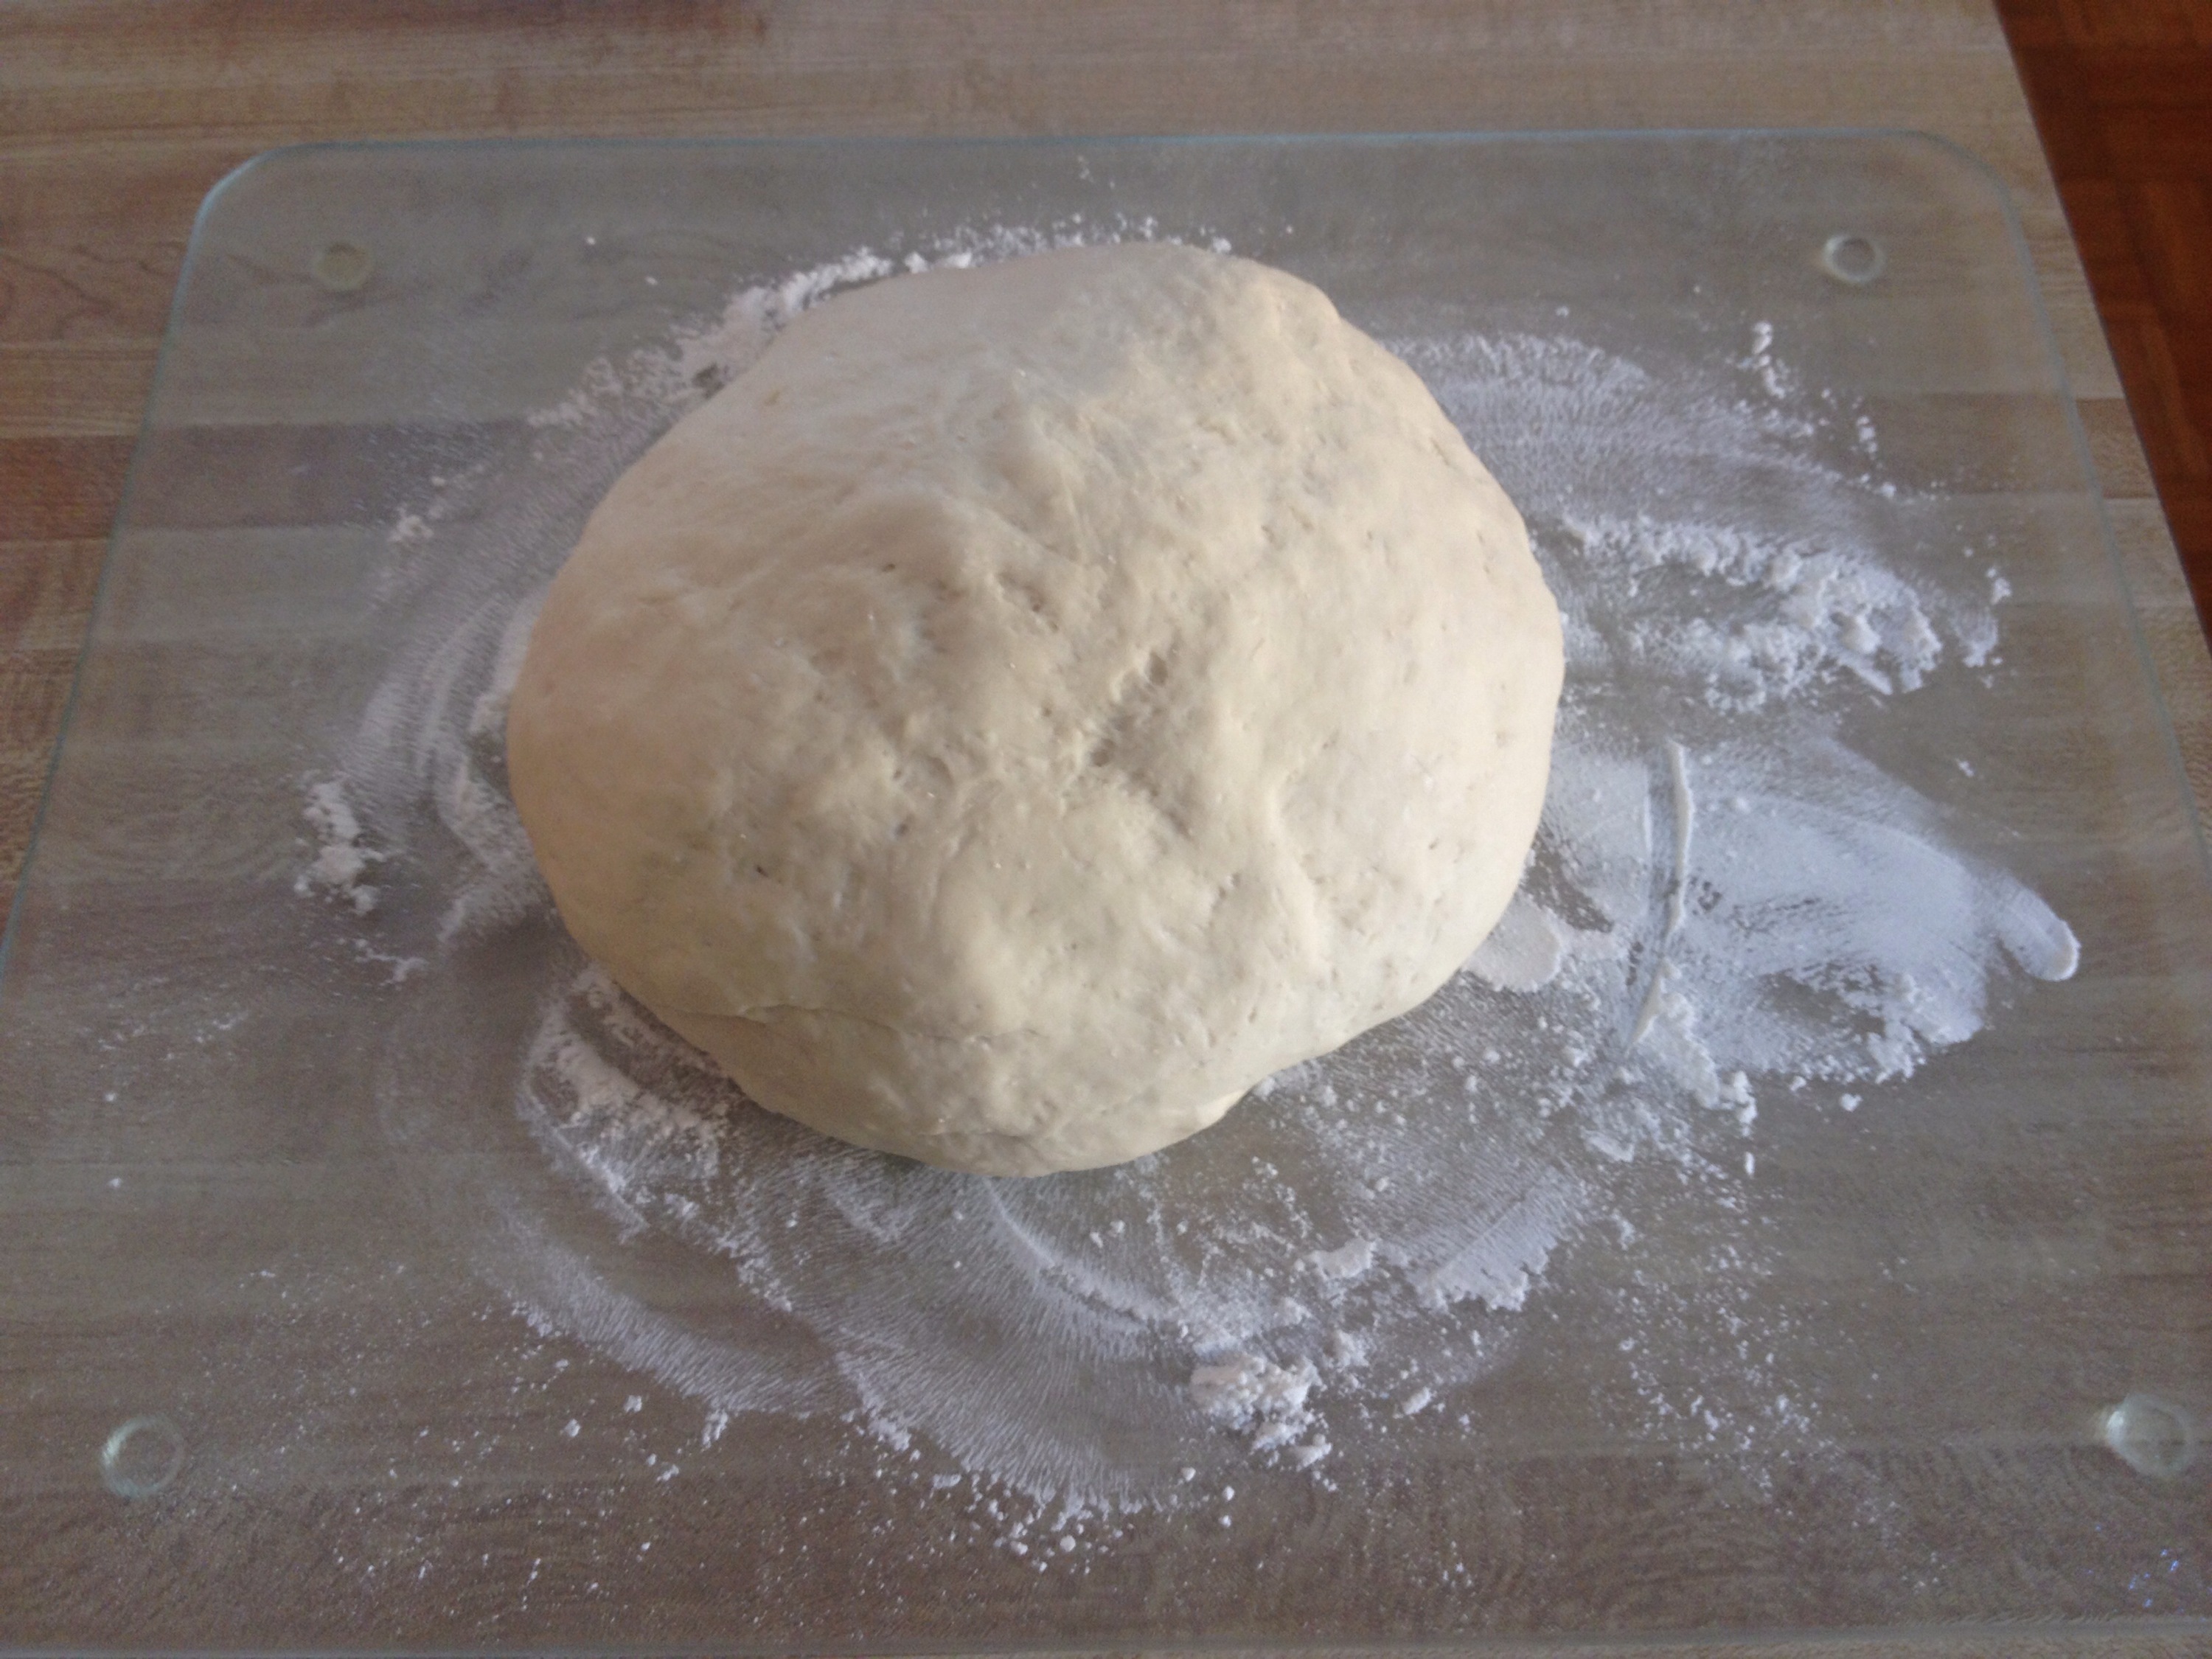
The dough ball has risen and is ready to be shaped into final loaves. The dough should feel a bit warm to the touch and you may be able to see bubbles forming in the dough. This is all good – it means the yeast is activated and the fermentation process is working which is building the gluten and elasticity in your dough. This means flavor!

Form the dough into loaves and place on a lightly floured baking sheet. Make whatever loaf shapes you’d like. I like the long loaves, but also like smaller loaves for sandwiches and such.
Be sure to allow room for your loaves to expand on your cookie sheets. You’ll see below that these loaves are not spaced out enough.
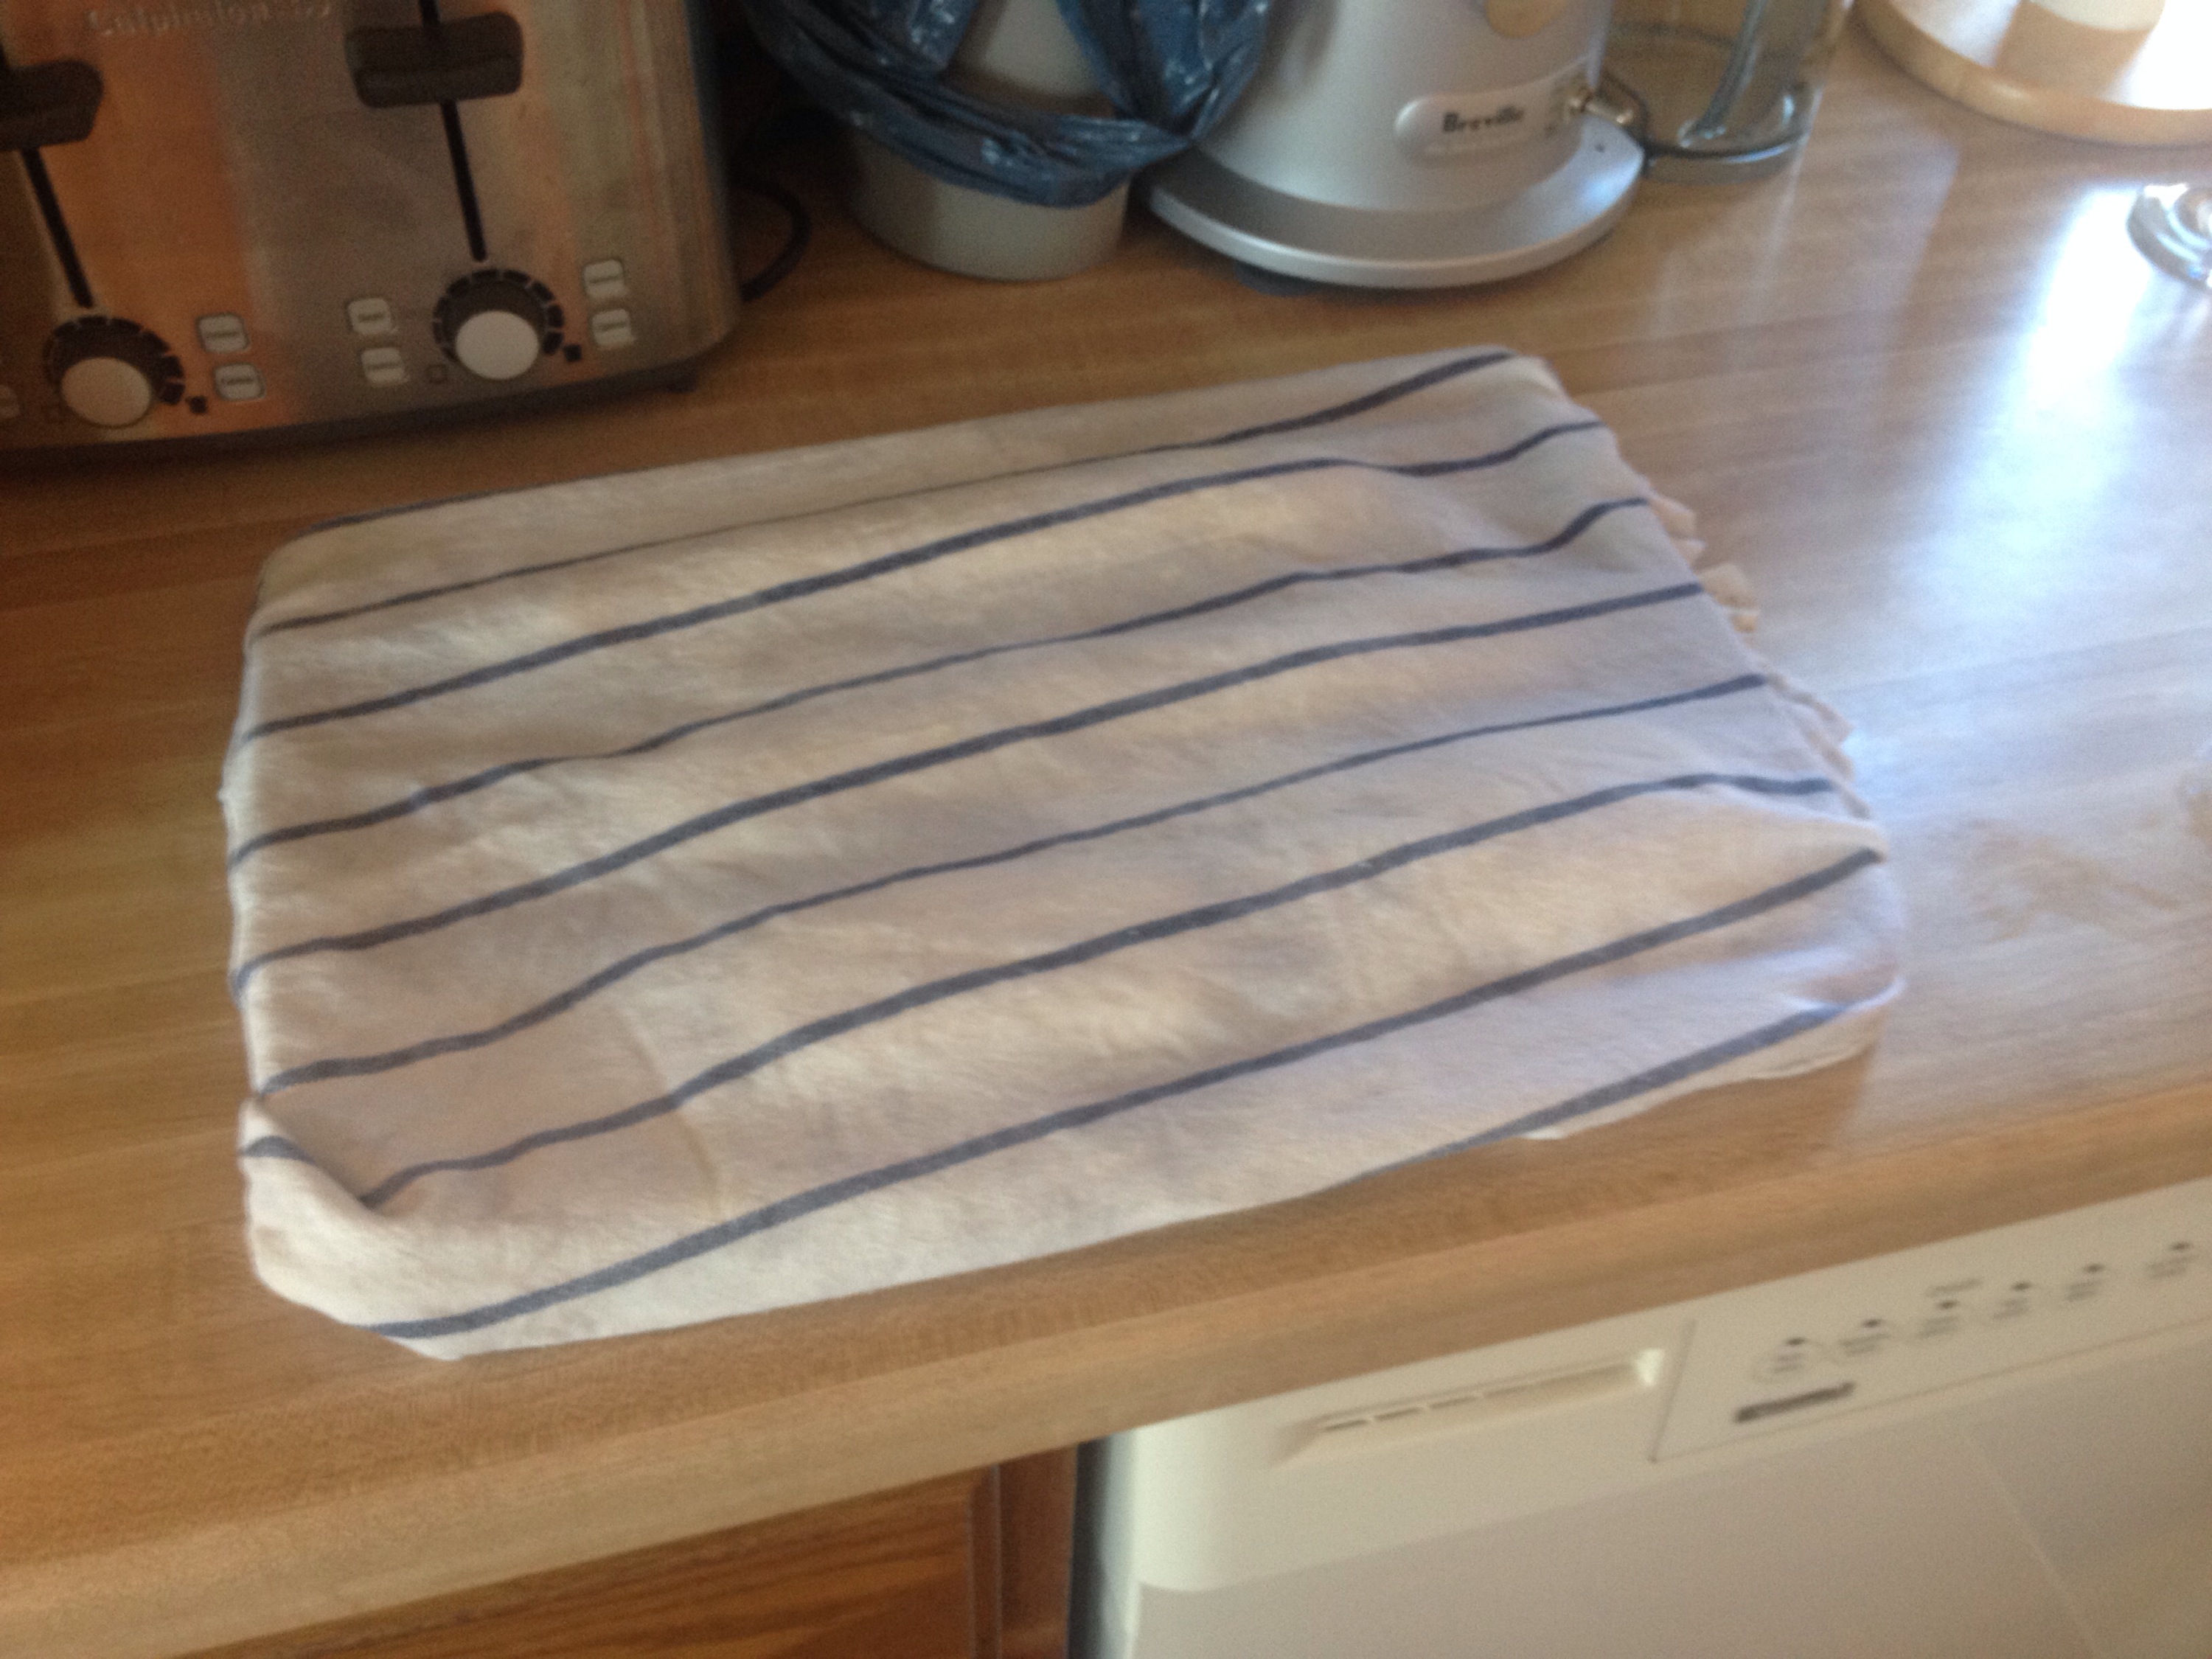
Cover the baguette loaves with a damp tea towel and let proof for a few hours. Place the covered baking sheet in room temperature location free of drafts. You don’t want the dough to cool.

The loaves have proved and are ready to be baked.
Notice how much they have increased in size. Now you’ll also notice that the loaves have “grown into each other”. This was a dumb move on my part. I should have used two cookie sheets. Give the loaves room to expand.
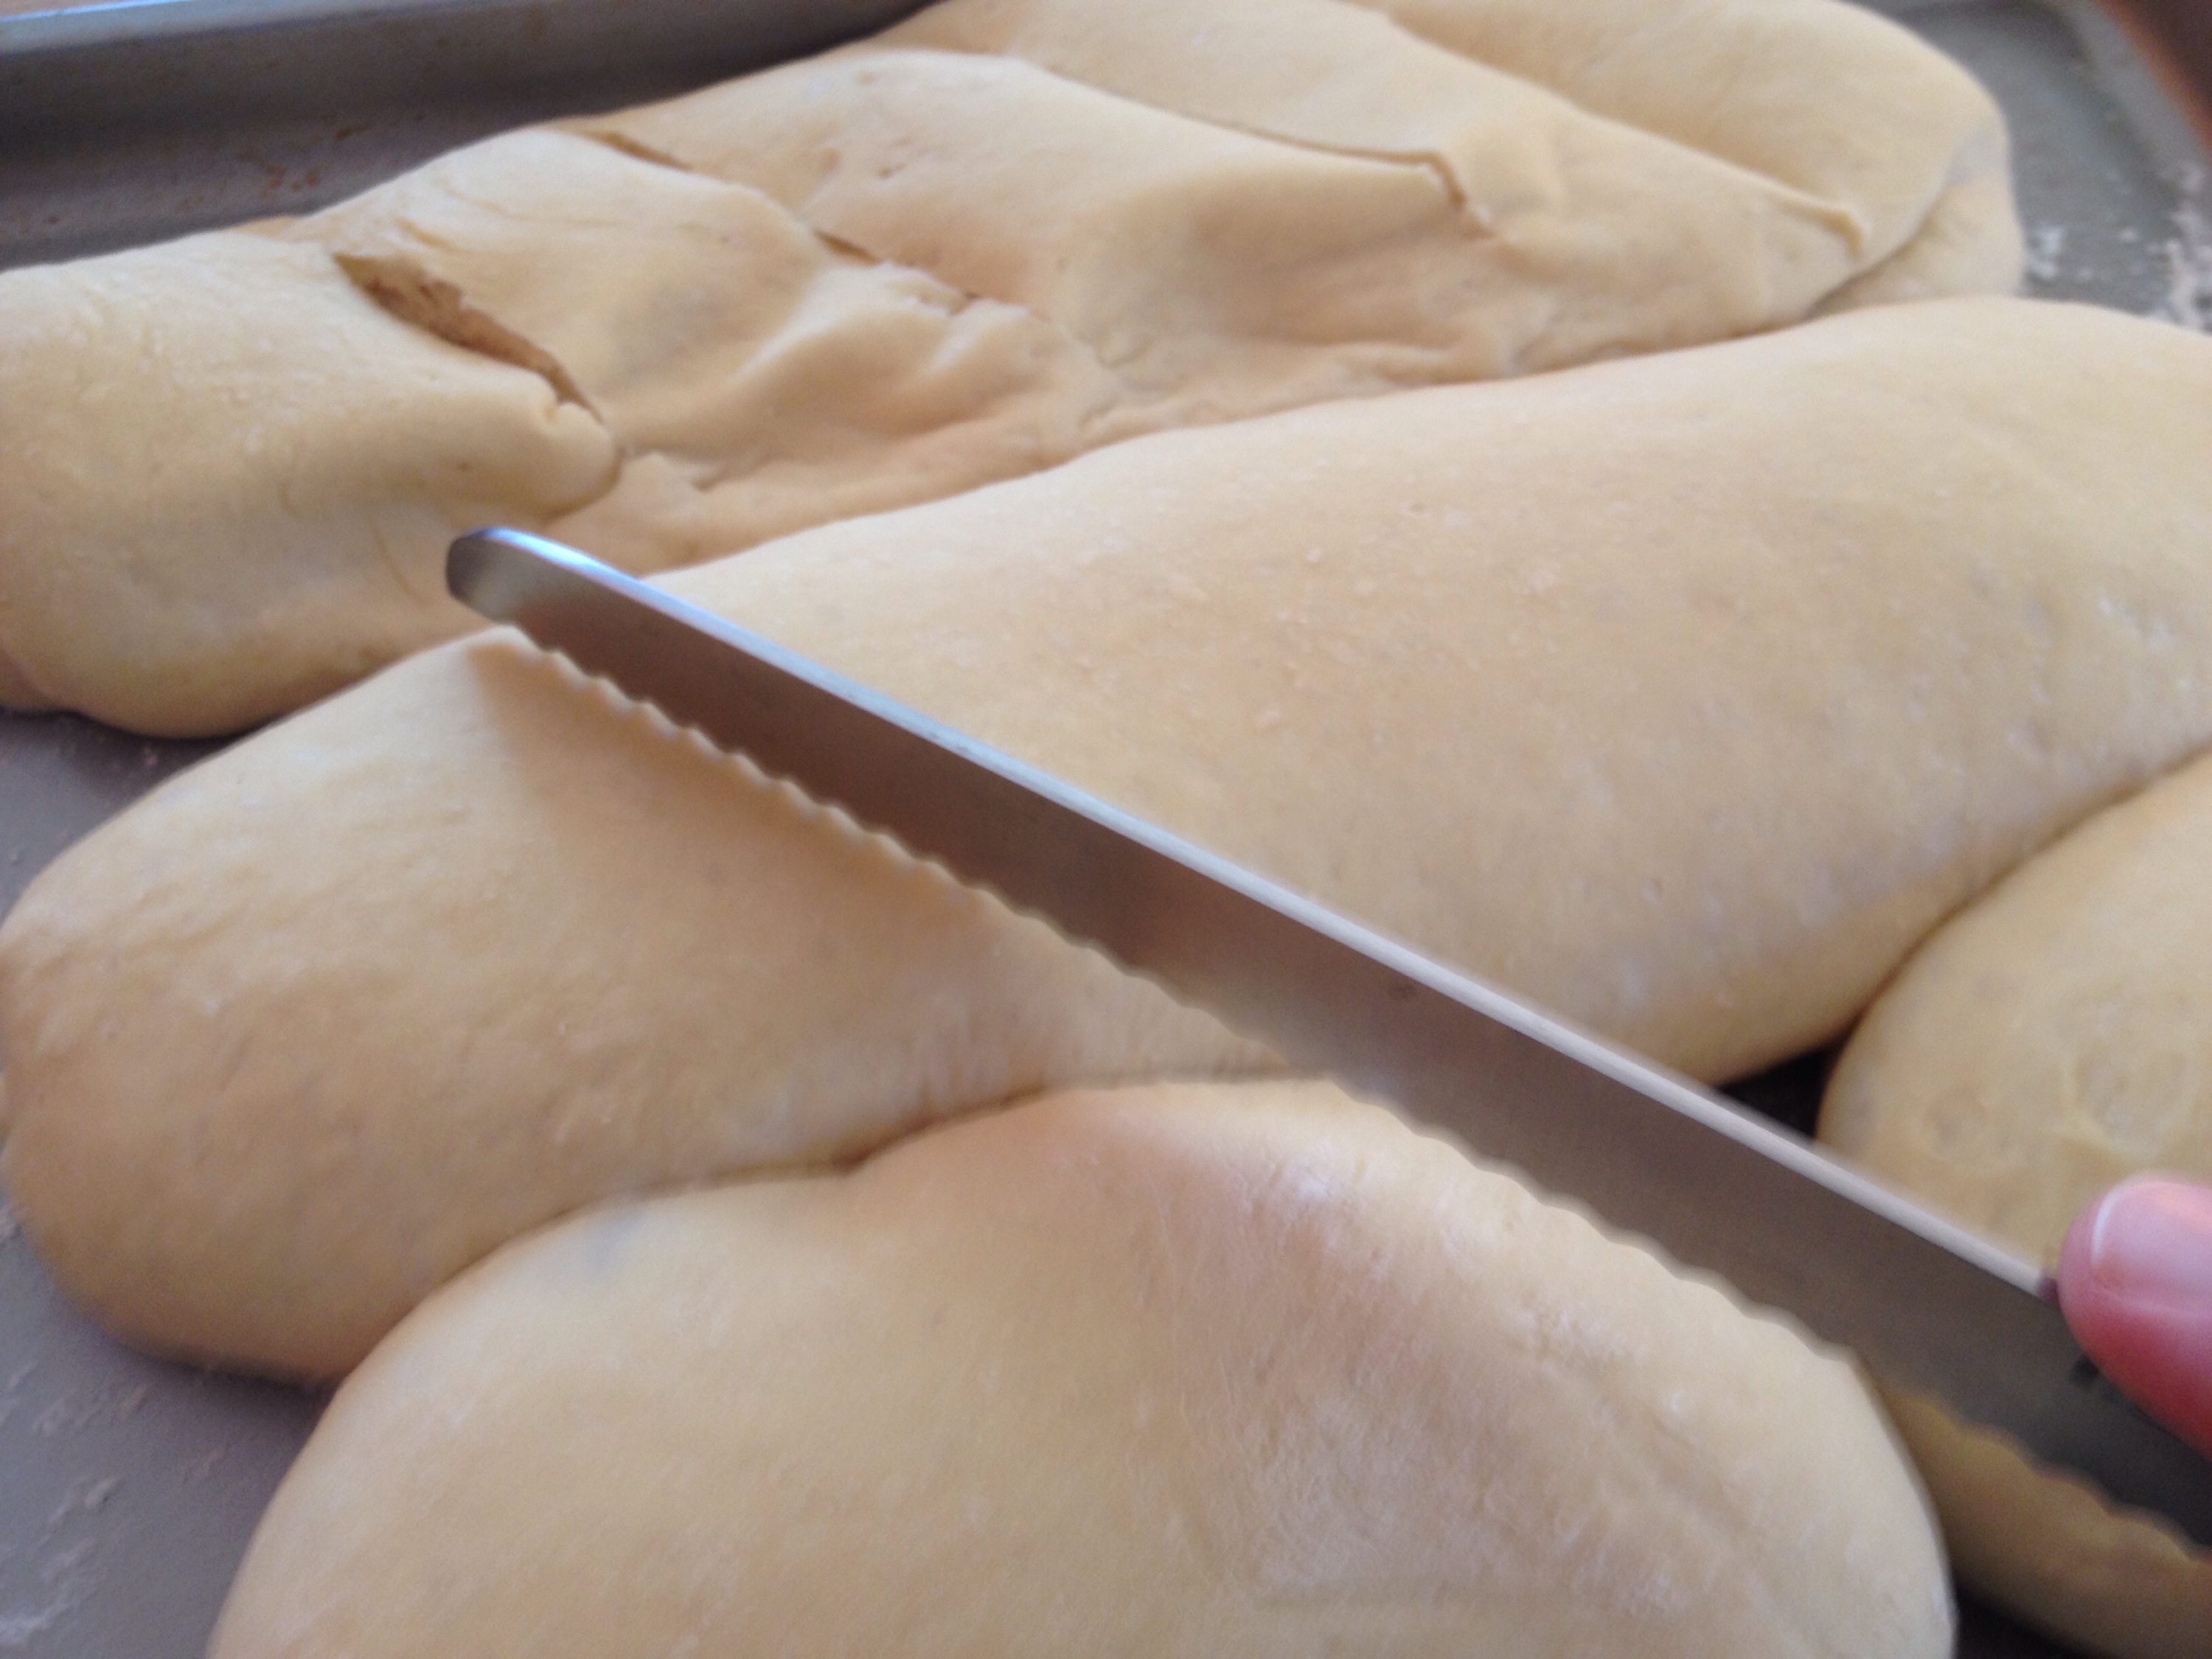
Cut slits into the top of your loaves. This will give the classic baguette look that we are used to seeing. It also is used for allowing the bread to stretch and expand a bit as it expands a bit in the oven.

Bake the french baguette loaves in a 425 degree F oven for about 15 minutes.
Notice what I did here – I moved the loaves from my baking sheet to the baking stone. To be honest – I wish I hadn’t done this and will probably not do this in the future. The reason is quite simple – as the loaves prove on the baking sheet, the yeast ferments and air bubbles are created in the loaves. When I moved the loaves from the baking sheet onto the baking stone however, I collapsed many of those air pockets. The bread still turned out great and tasted great, however it could have turned out better.

The french baguettes are all set to go!
They have that lovely tan/brown color, a hollow sound when you knock on them, and a nice crisp shell with a soft inside.
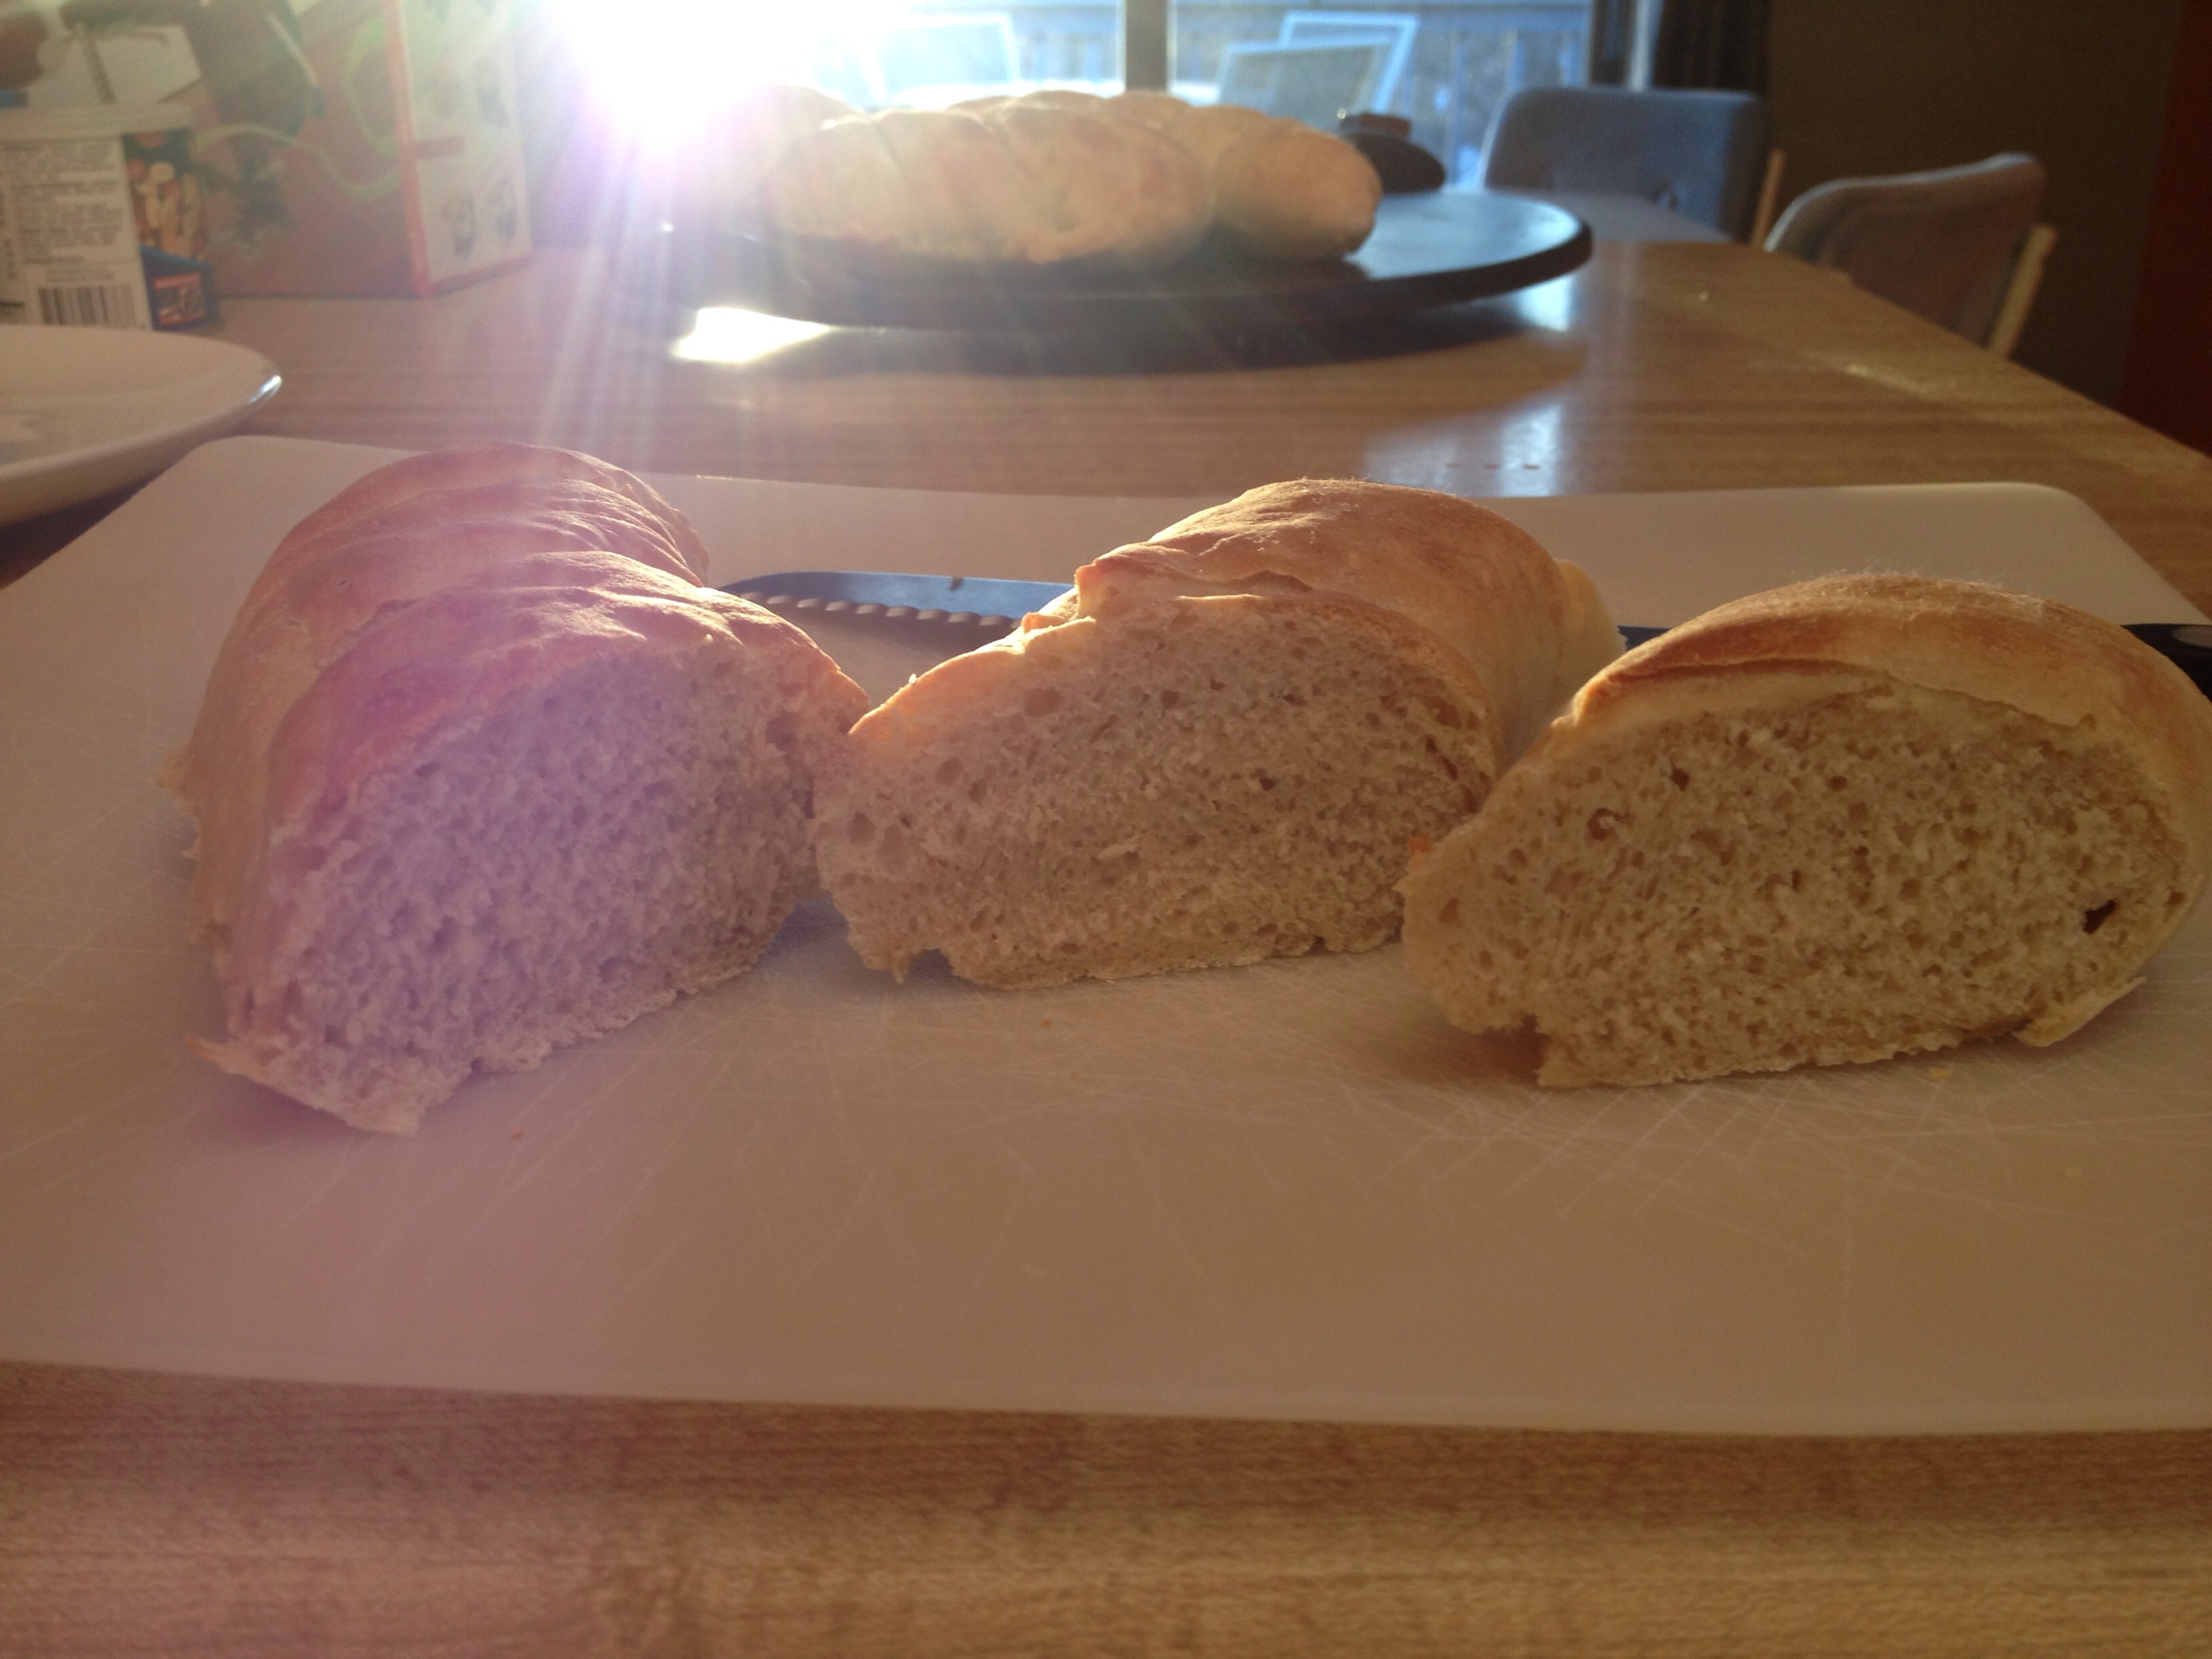
Fresh homemade baguettes ready to eat.
Be sure to let the baguettes rest for 15 minutes or so after baking before cutting into them.
