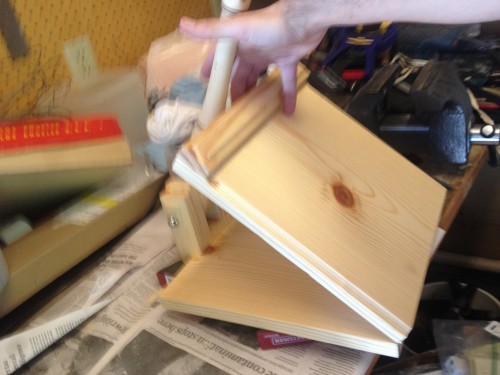
I’ve seen other people making these on the internet, and it seemed like the perfect mix of some of my big passions in life – food and making things (as well as some thriftiness tossed in to boot!). When I first saw this idea online, I was obviously curious what it takes to make the tortillas. I quickly found that to make a traditional flour tortilla, you need a fair amount of lard or butter. In my wife and I’s quest to eat more natural foods, that didn’t fit very well. However, corn tortillas are really nothing more than Masa (corn flour) and water – that seems like a perfect mix! That was all I needed to take this idea to the garage!
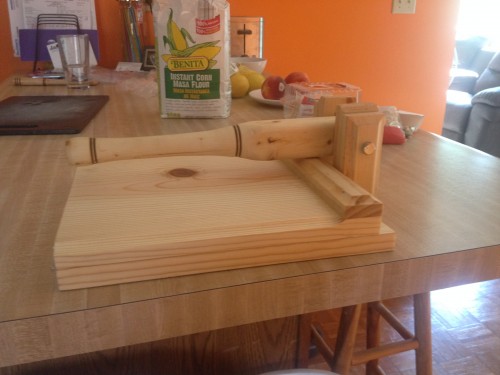
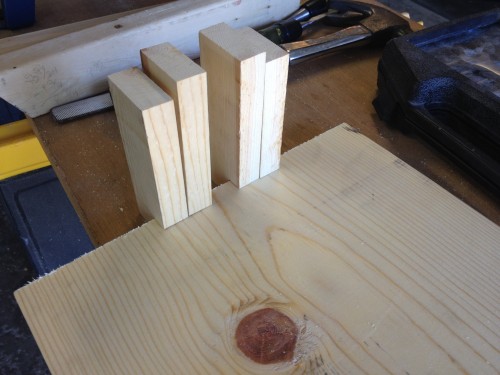
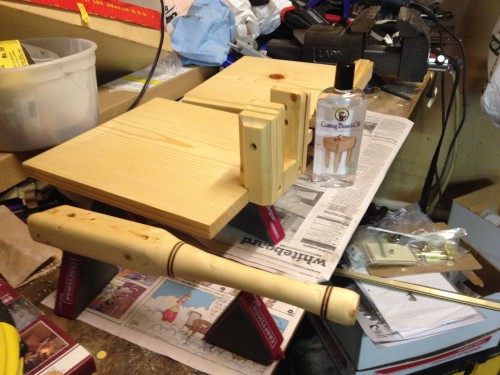
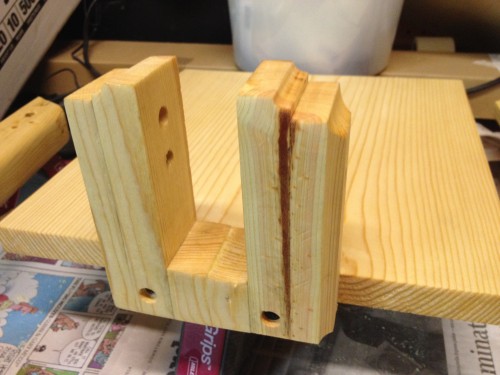
Part of what makes this project fun is that you can go through your scrap wood piles and most likely find what you need. I was able to find the wood I needed, but had to run to the hardware store for a bolt, the hinge and butcher block oil. Below is the plan I used, but feel free to make modifications as you’d like and your supplies allow for. The number one thing I learned from researching this before the build is to make the pivot point and it’s support bracket strong enough – after my first batch of tortillas mine is still holding up, but I’m wondering if I shouldn’t have found a better plan… I’ll update if it breaks, but at this point I think it’ll be fine. I tend to be a perfectionist and worry about the things I build that they aren’t “good enough” so I’m thinking it’s anxiety at this point.
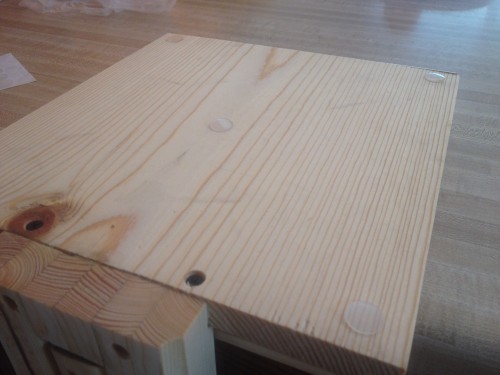
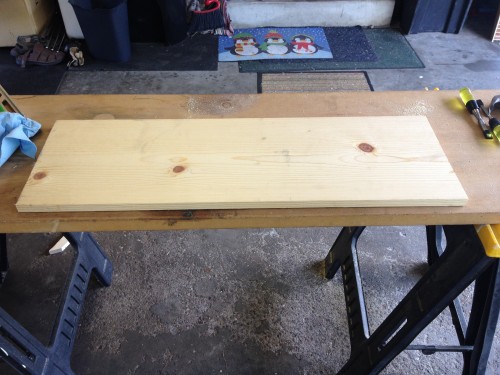
Along the line of strength, the type of materials used is important as well. I quality pine boards – I’m aware that statement can be a bit of an oxymoron. I considered using oak, but I didn’t have enough in the shop and I’d rather hold onto my scrap oak at this point. But I don’t see a plywood or other engineered wood being sufficient. My press boards were 3/4″ but using thicker will really ensure you won’t have cracks or issues. It does take some pressure to get the press to flatten out the tortillas, so expect a bit of stress on the device.
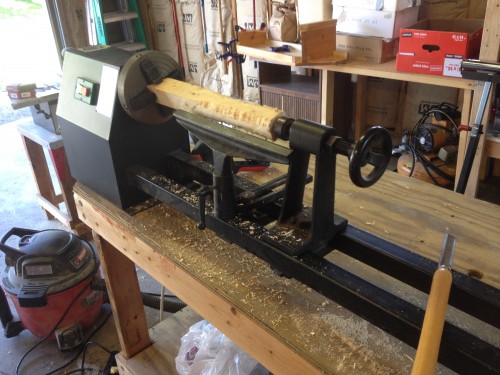
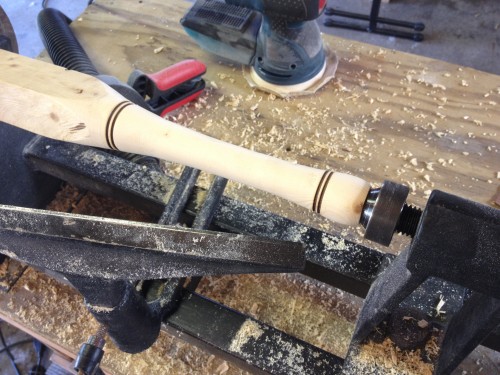
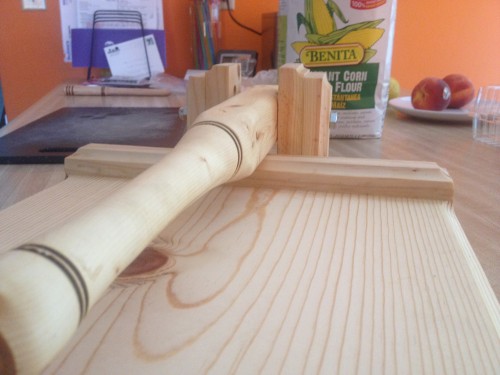
Lastly, I have a belief even the simple projects should have a touch of class to them. For that reason, I did some extra routering and turned part of the handle on the lathe to ensure that it looked nice and was extra functional. Of course these steps aren’t necessary, but in some ways I felt it was. I like to be proud of anything I put effort into – and it’s easier to be proud of it if it looks nice and has those extra special touches. When my wife first saw what I was working on she made comments “oh, these corners are even fancy”. That puts a smile on my face – it’s cool to hear others take notice of my efforts. That’s what makes it worth it, and will help encourage both of us to continue to use it on a regular basis.
Tortilla Press – Materials List
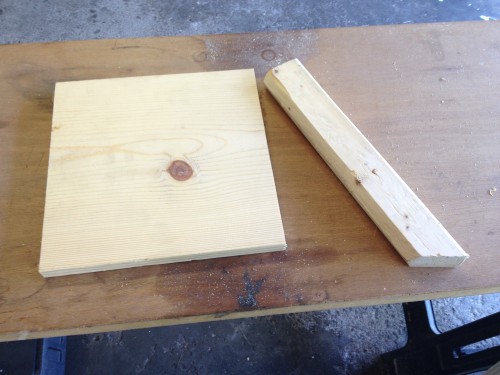
- Top Press Board – Square, 3/4″ thickness or greater, 6″ square or greater
- Bottom Press Board – Same thickness as Top Press Board, Same width as Top Press Board, An inch or two longer than Top Press Board to accommodate for the pivot support
- Press spacer bar – I used a 1×3. This bar sits on top of the Top Press Board and is crucial to getting the proper leverage
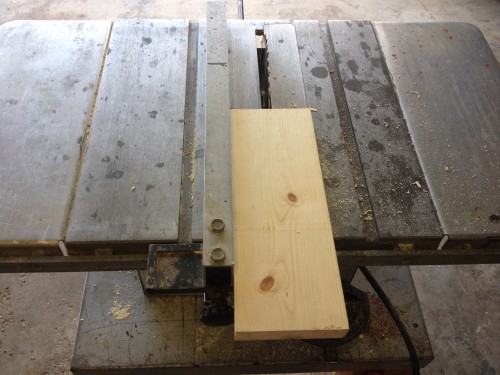
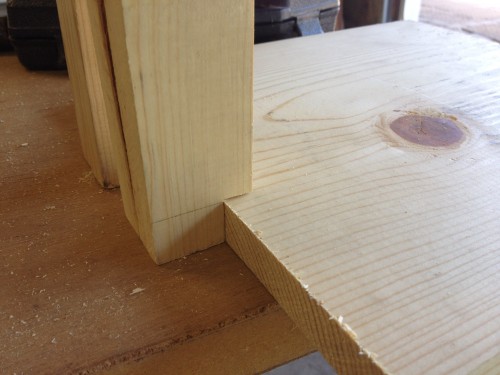
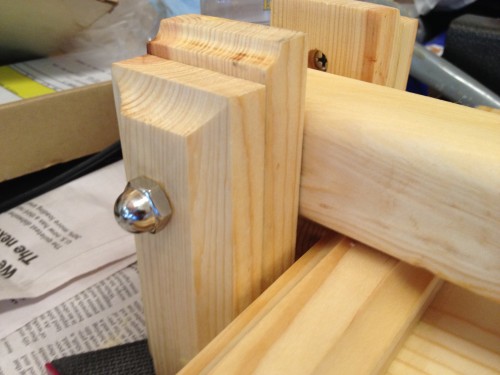
- Pivot support brackets – I used some stacked 1×3’s, but a 2×4 or similar would do the trick.
- Press Handle – I used a 2×3 for this
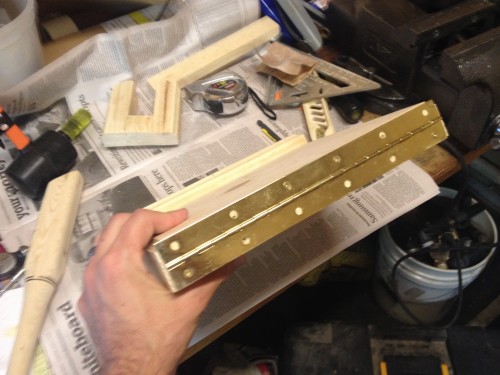
- Hinge – I used a full width piano hinge to ensure there isn’t a weak point
- Screws for assembly
- Bolt and nut for pivot
- Butcher block oil to ensure the press is food safe
