I found a perfect oak branch off of a tree that fell in my parents back yard the other day. So I figured I had no option but to put this log to good use – make a drinking goblet and coffee mug out of it! Ok ok, I’ll admit – a coffee mug wasn’t my first thought – it was actually to make more of a beer stein. But once I got into the log a bit and found some pitting in the log I didn’t like, and made a few mistakes, I ended up with no option but to make a coffee mug. ;)

This is where I started. An oak log, bark and all. Now my intention was to keep the bark around the body of the glasses, but it was too loose and the log was not symmetrical enough that I decided it all had to go. I squared up the ends of the log, and centered it on the wood lathe.
My lathe is nothing special – just a basic entry level wood lathe that I found on Craigslist. But should be good enough to get the job done. Also however, my skill level is very basic with the lathe. I think this is only my 5th project, so we will see how it works out.

I’ve stripped the bark off, and made the log symmetrical. I didn’t notice this when I started in on this, but the log was actually not very symmetrical to the point that my lathe table was vibrating all over the place until I was able to get it evened out a bit. I was chasing the table all over the garage – pretty crazy actually.
But once I got past that point, I was able to get it here. You can see the line in the middle of the log where I started to part it into two blanks – this is WAY too long to make one glass out of (for my skill and tool level at least).
 is now ready to shape into a water goblet.")
This is a blank for making a wooden glass. This size is now much more manageable than the long rough log I started with.

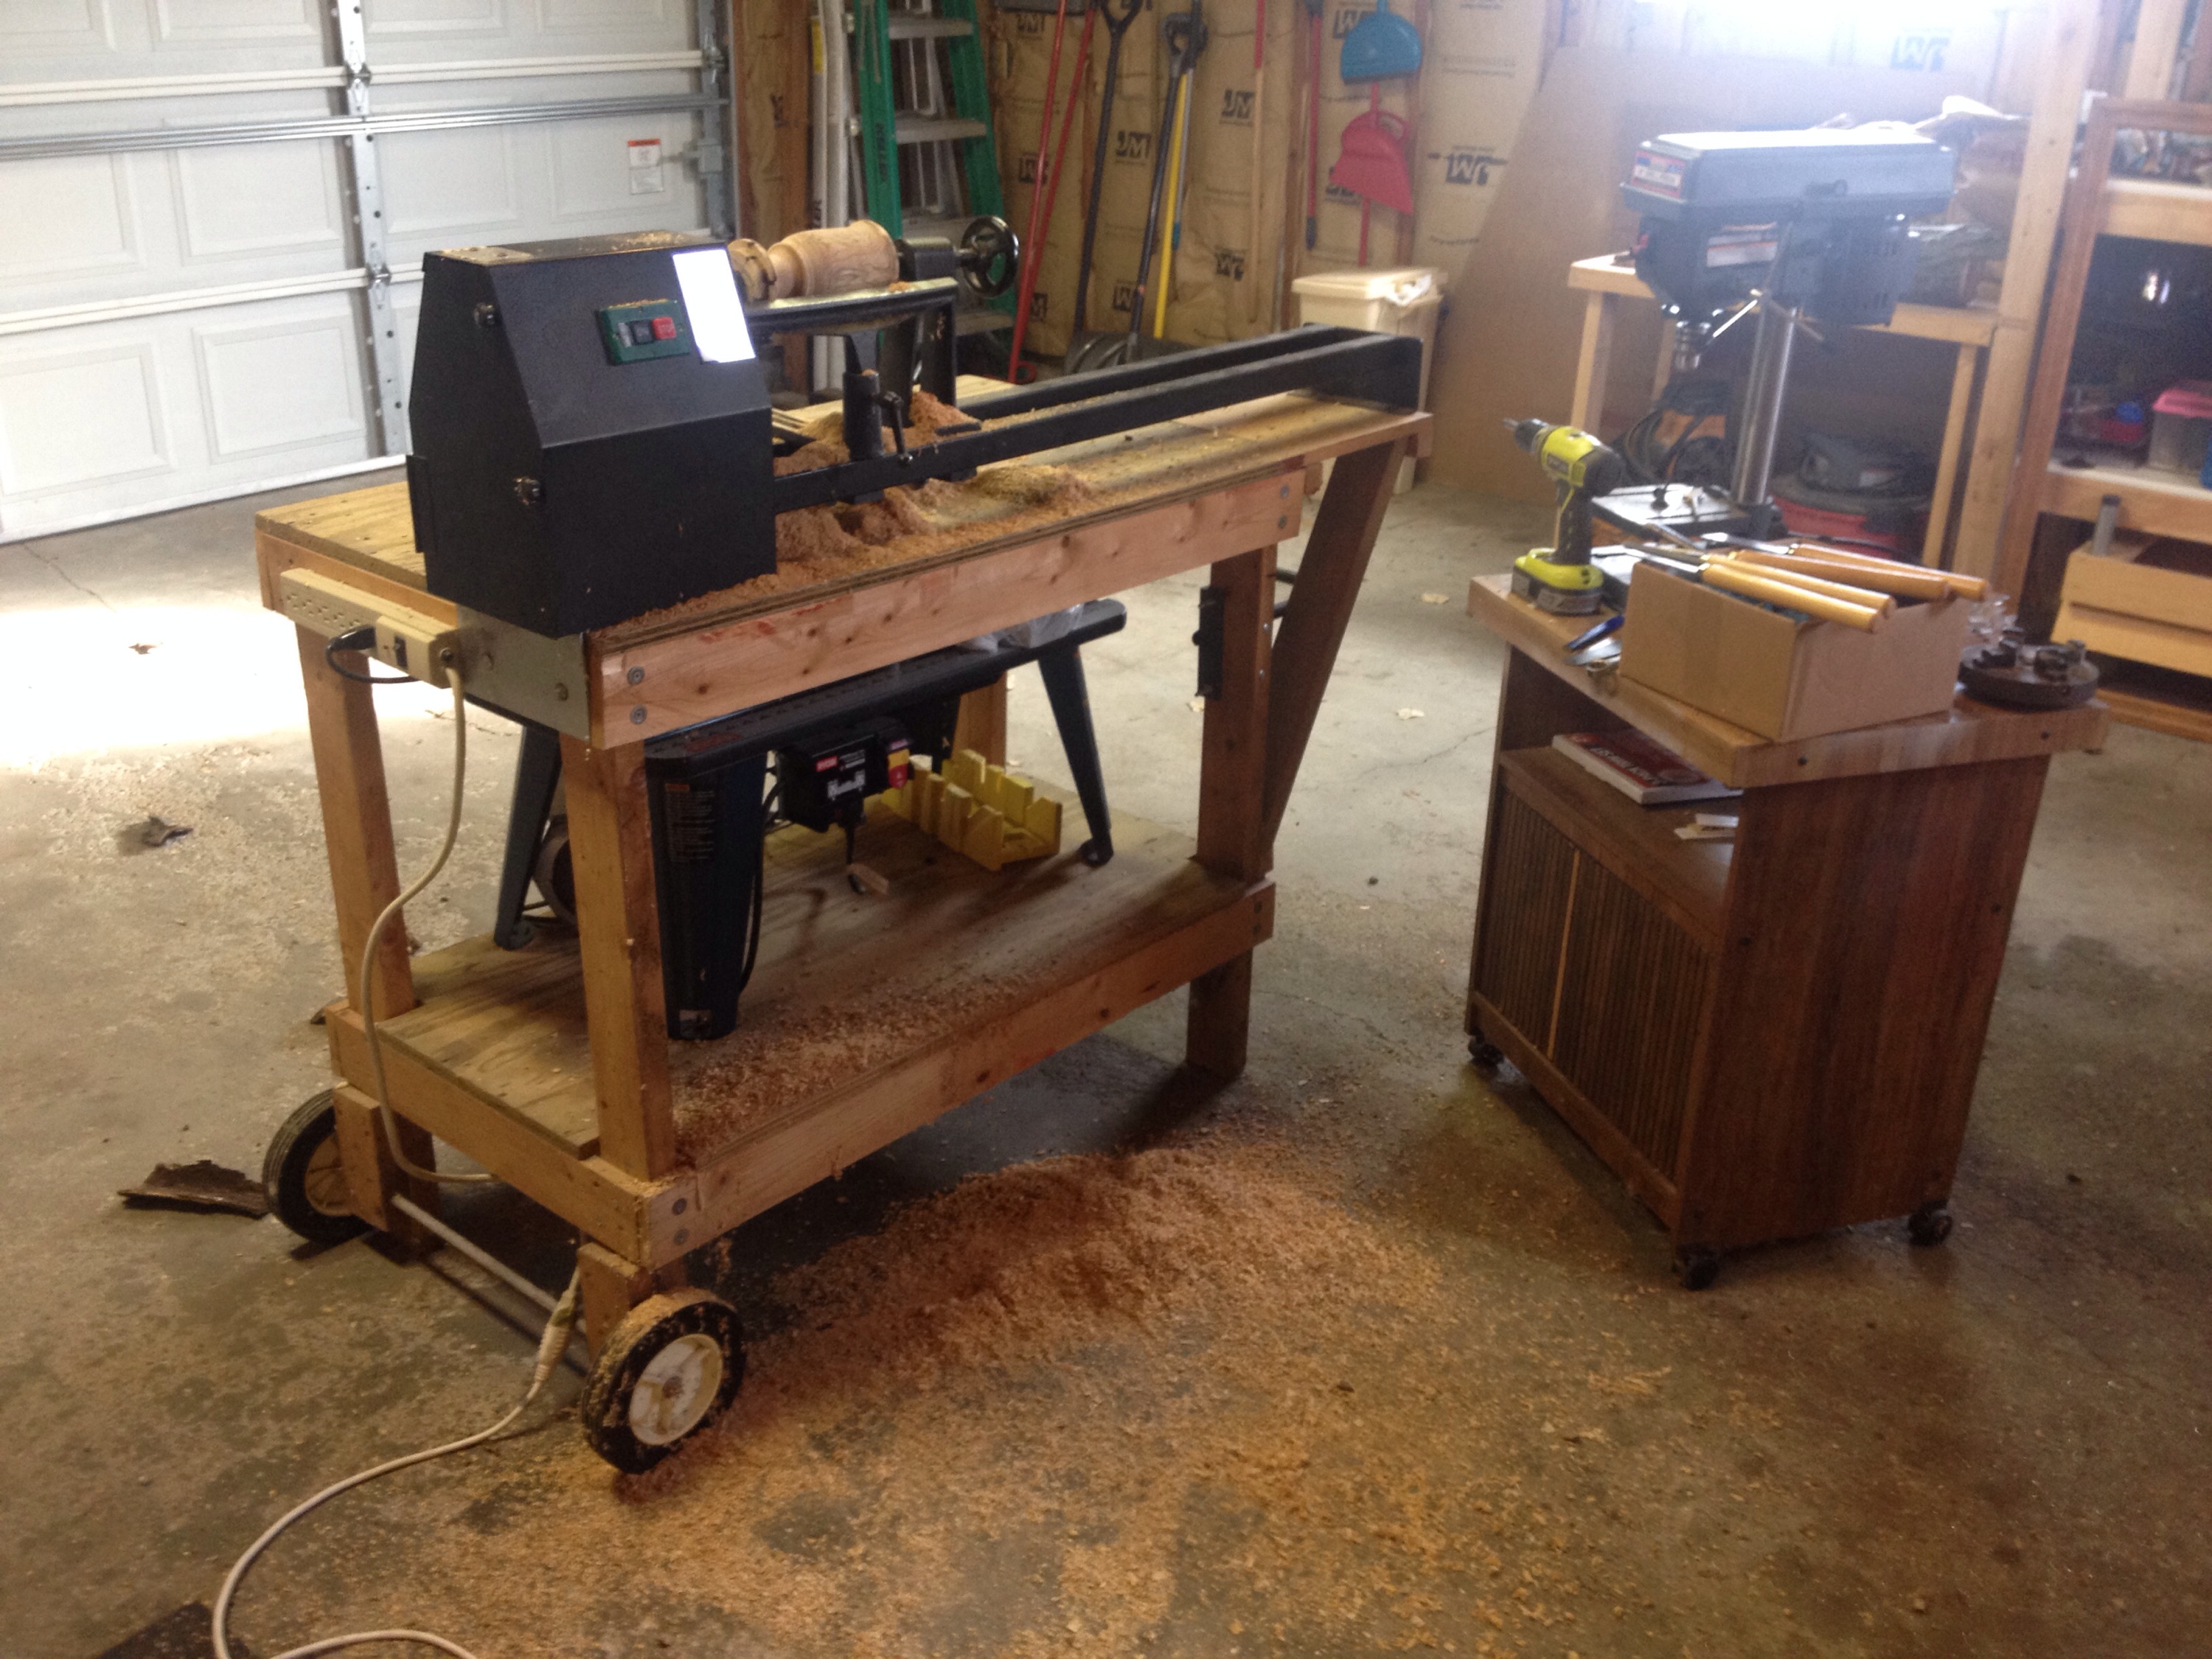
My shop setup. Ok, really my “shop” is our two stall garage. During the summer we tend to park outside partially so I can take over the garage and make projects.
You can see the oak blank is already staring to take shape into a water goblet on the lathe.
Also note the amount of sawdust and shavings on the ground. And I’m far from being done yet!
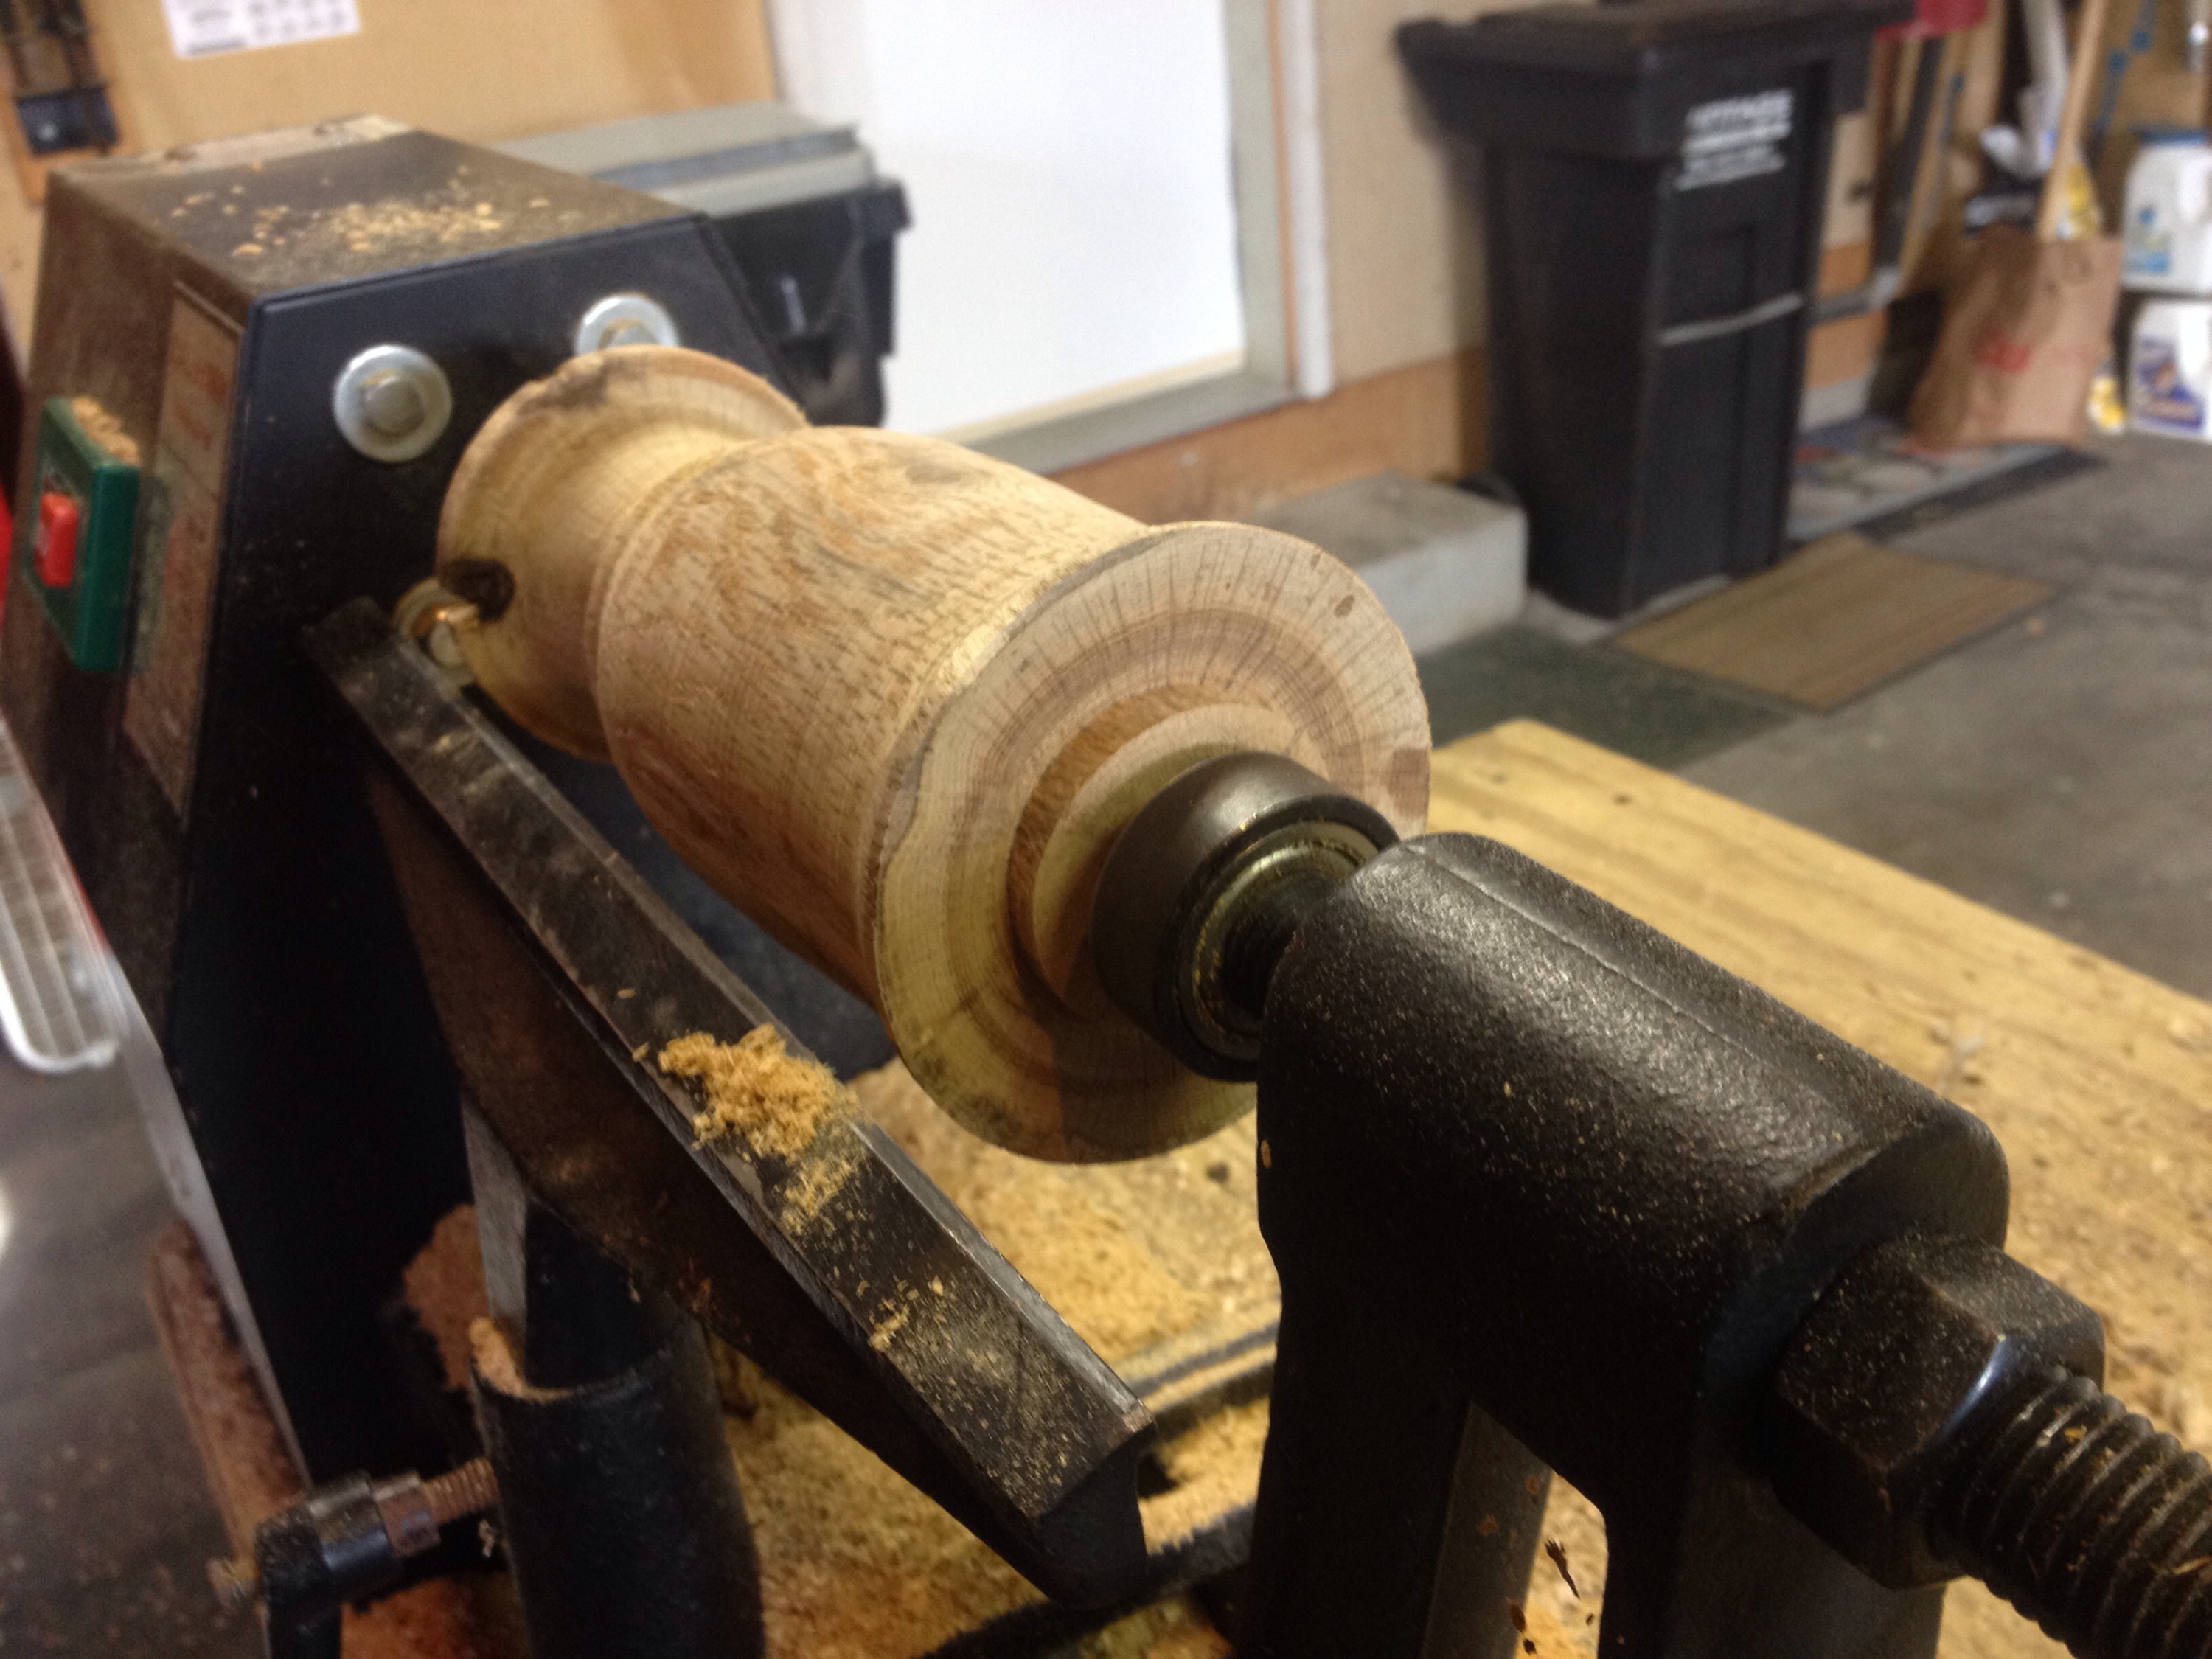
This is a basic entry level wood lathe that I found off of Craigslist, but it’s the same model you can still find at Harbor Freight. When I bought it, it came with a chuck which I don’t believe is standard equipment for this model. But it’s a nice addition and was critical for this project – a spur would not hold the blank for me to be able to hollow out the inside. On the flip side however, it may have been better to screw the blank to a plate as the chuck allowed for some movement and the goblet ended up going flying across the garage a few times….

The outer shape is nearly formed. The stem with a flared based is at the far end of the picture. I was thinking of leaving the lip flared out a bit as well, as you can see here, but ended up straightening that out in the long run. You can also see there was a knot on the base, so there’s a hole there. That’s the joy of working with wood, right? The imperfections you find once you get into it. But those are also elements of character.
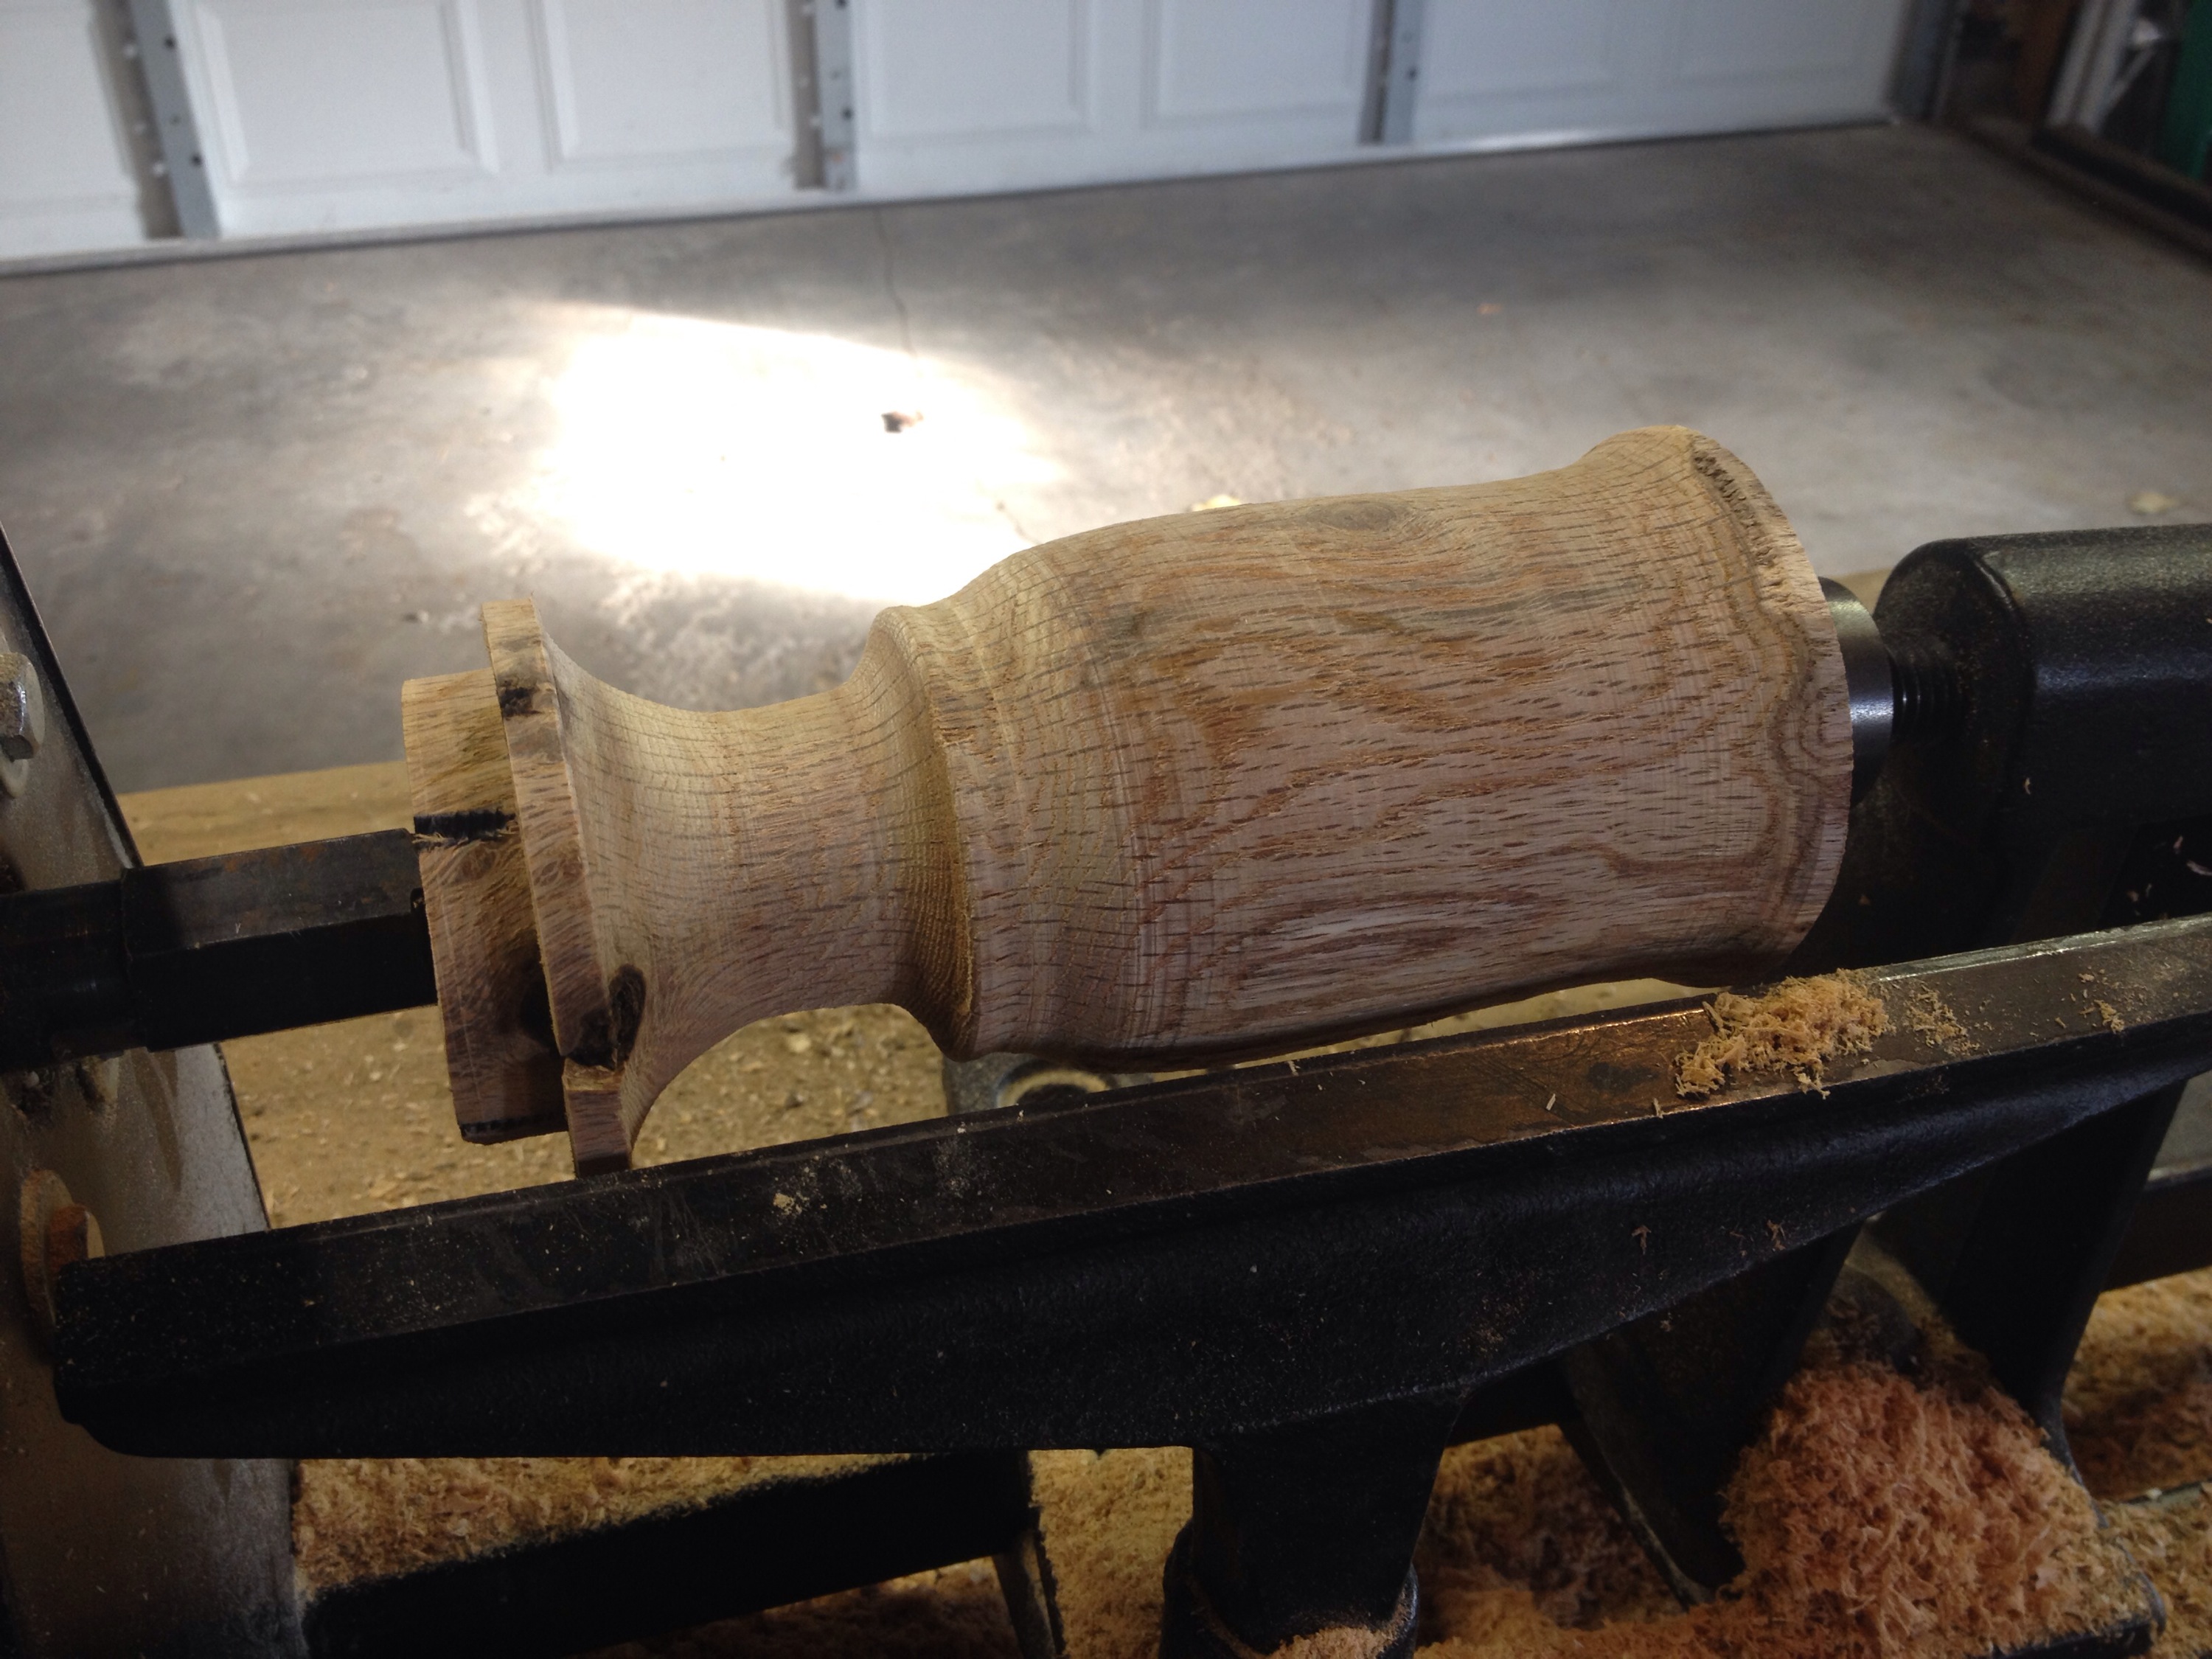
Another view of the oak water goblet coming together. Again, note the flare at the mouth, which will soon go away. Also note the levels of texture where the stem meets the body.
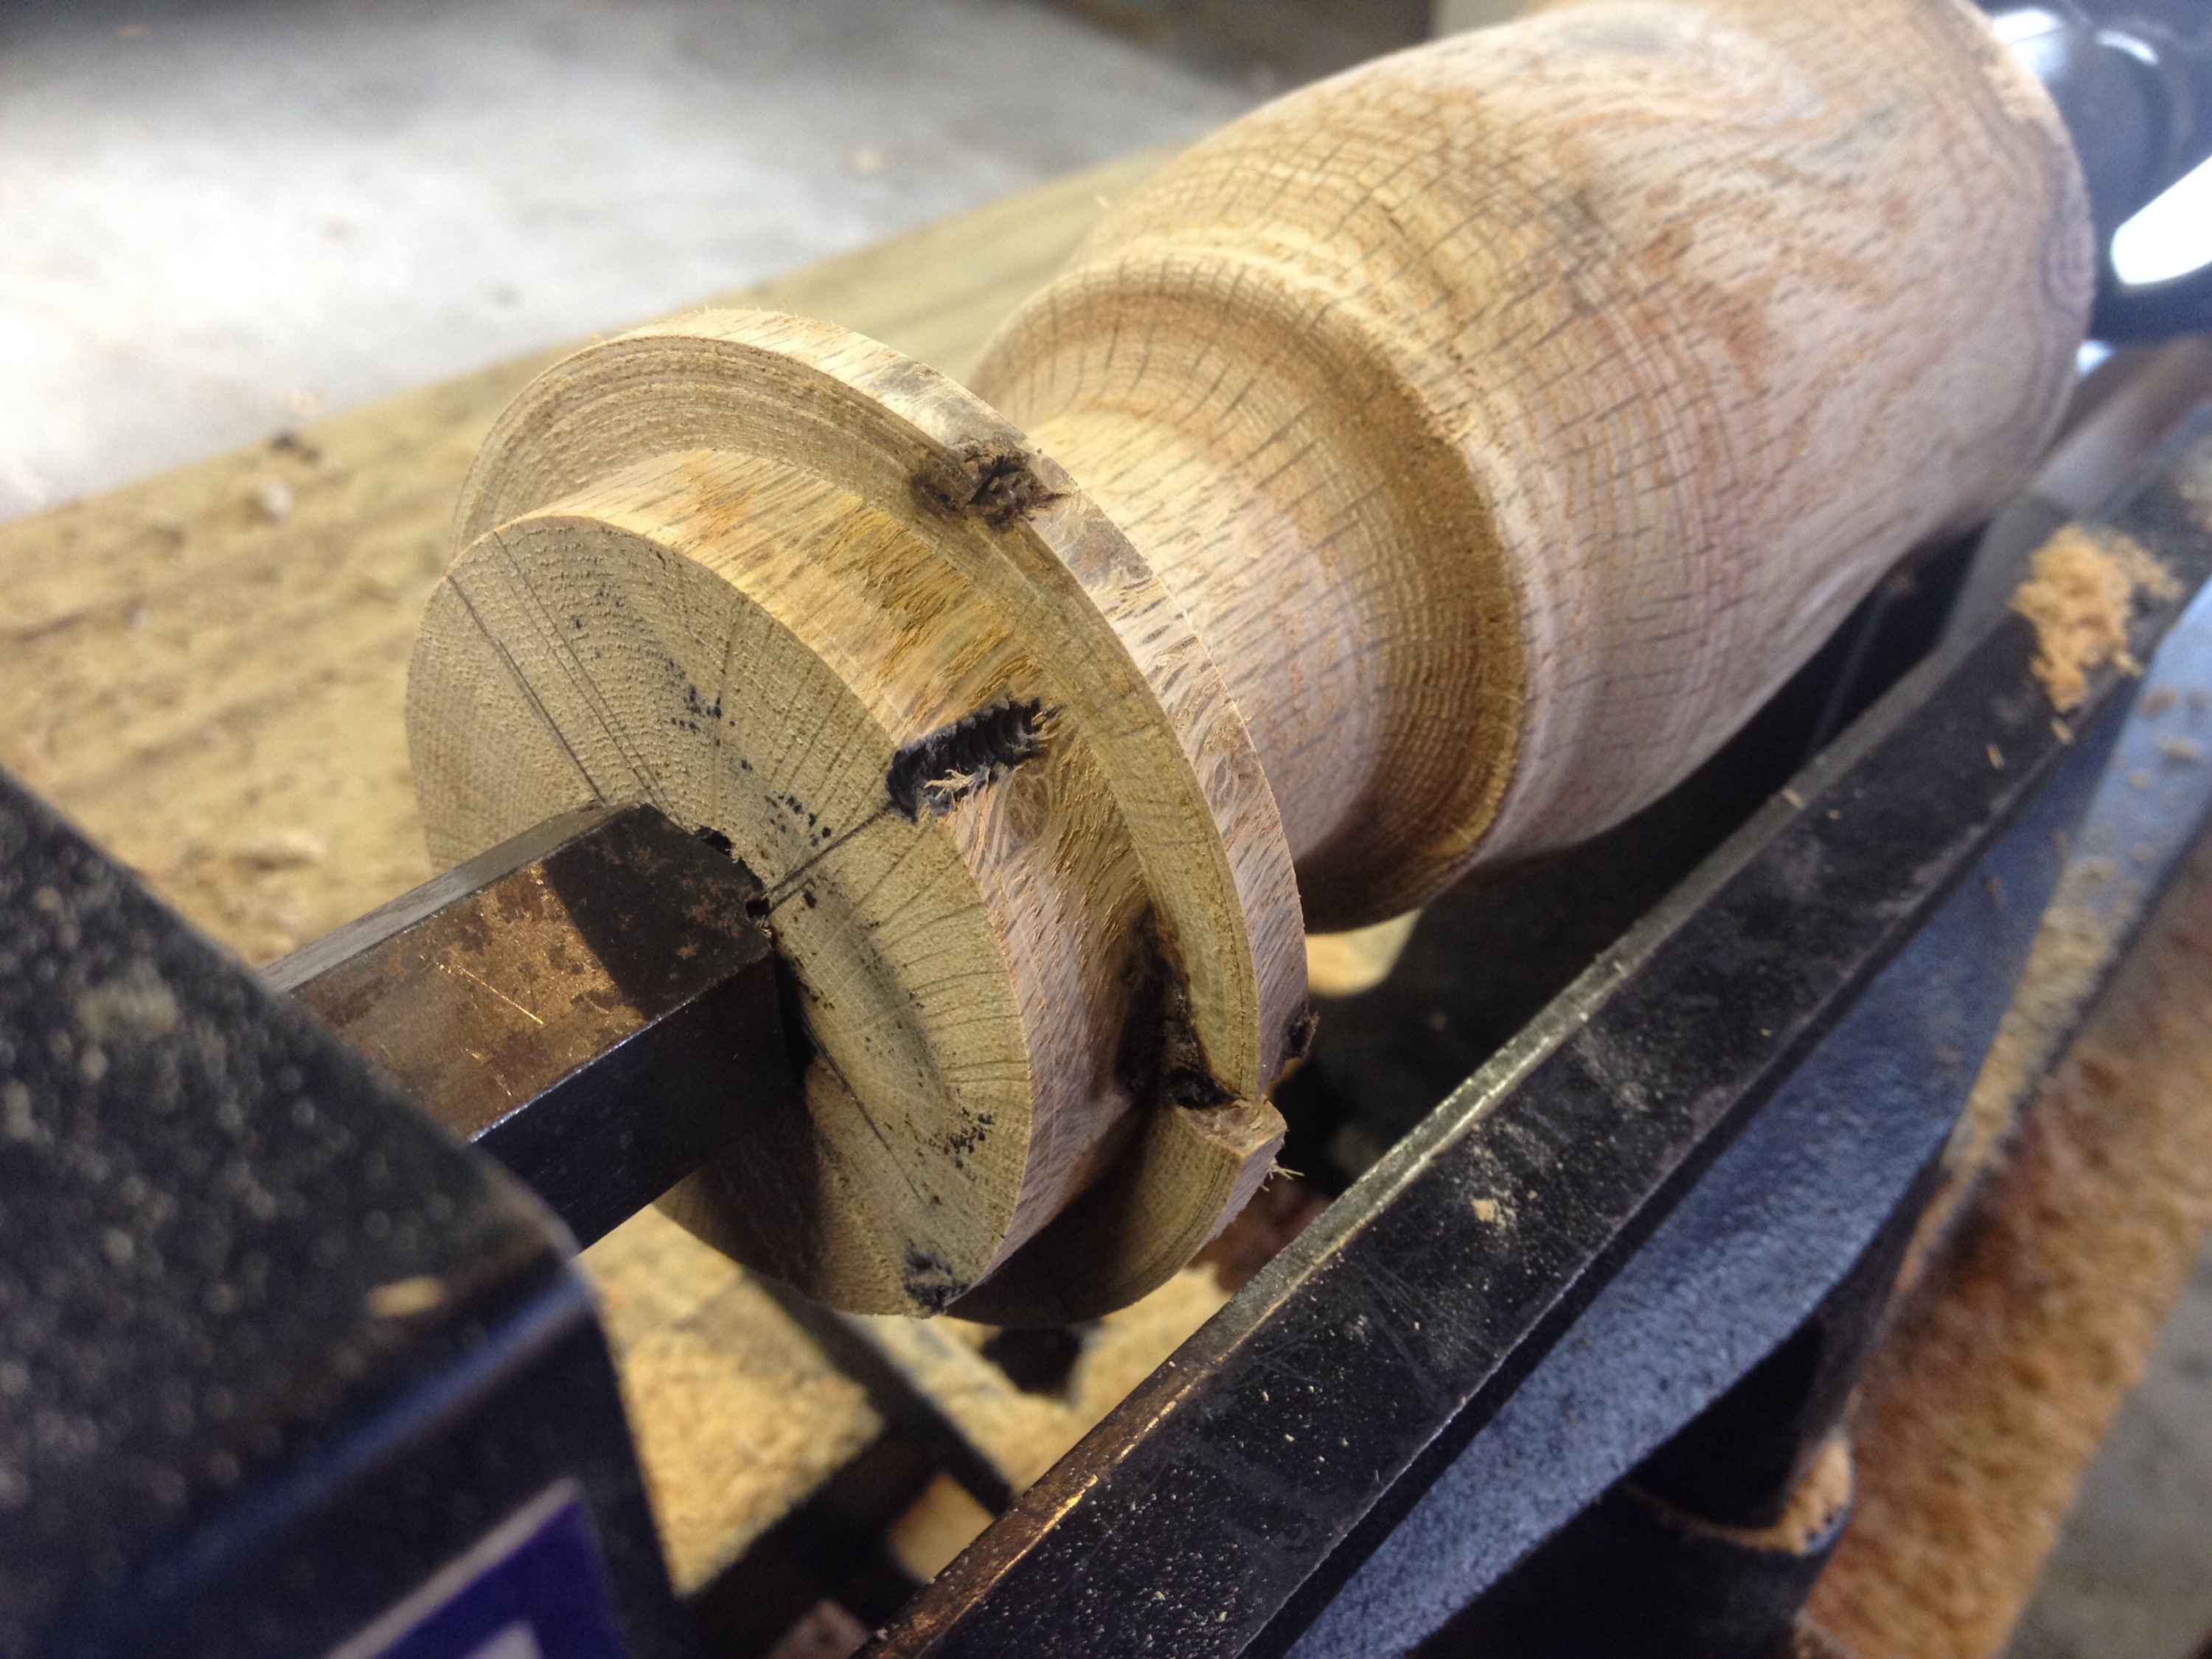
Another angle of the oak water goblet, still being turned on the wood lathe. Next step is the process of hollowing out the goblet basin.
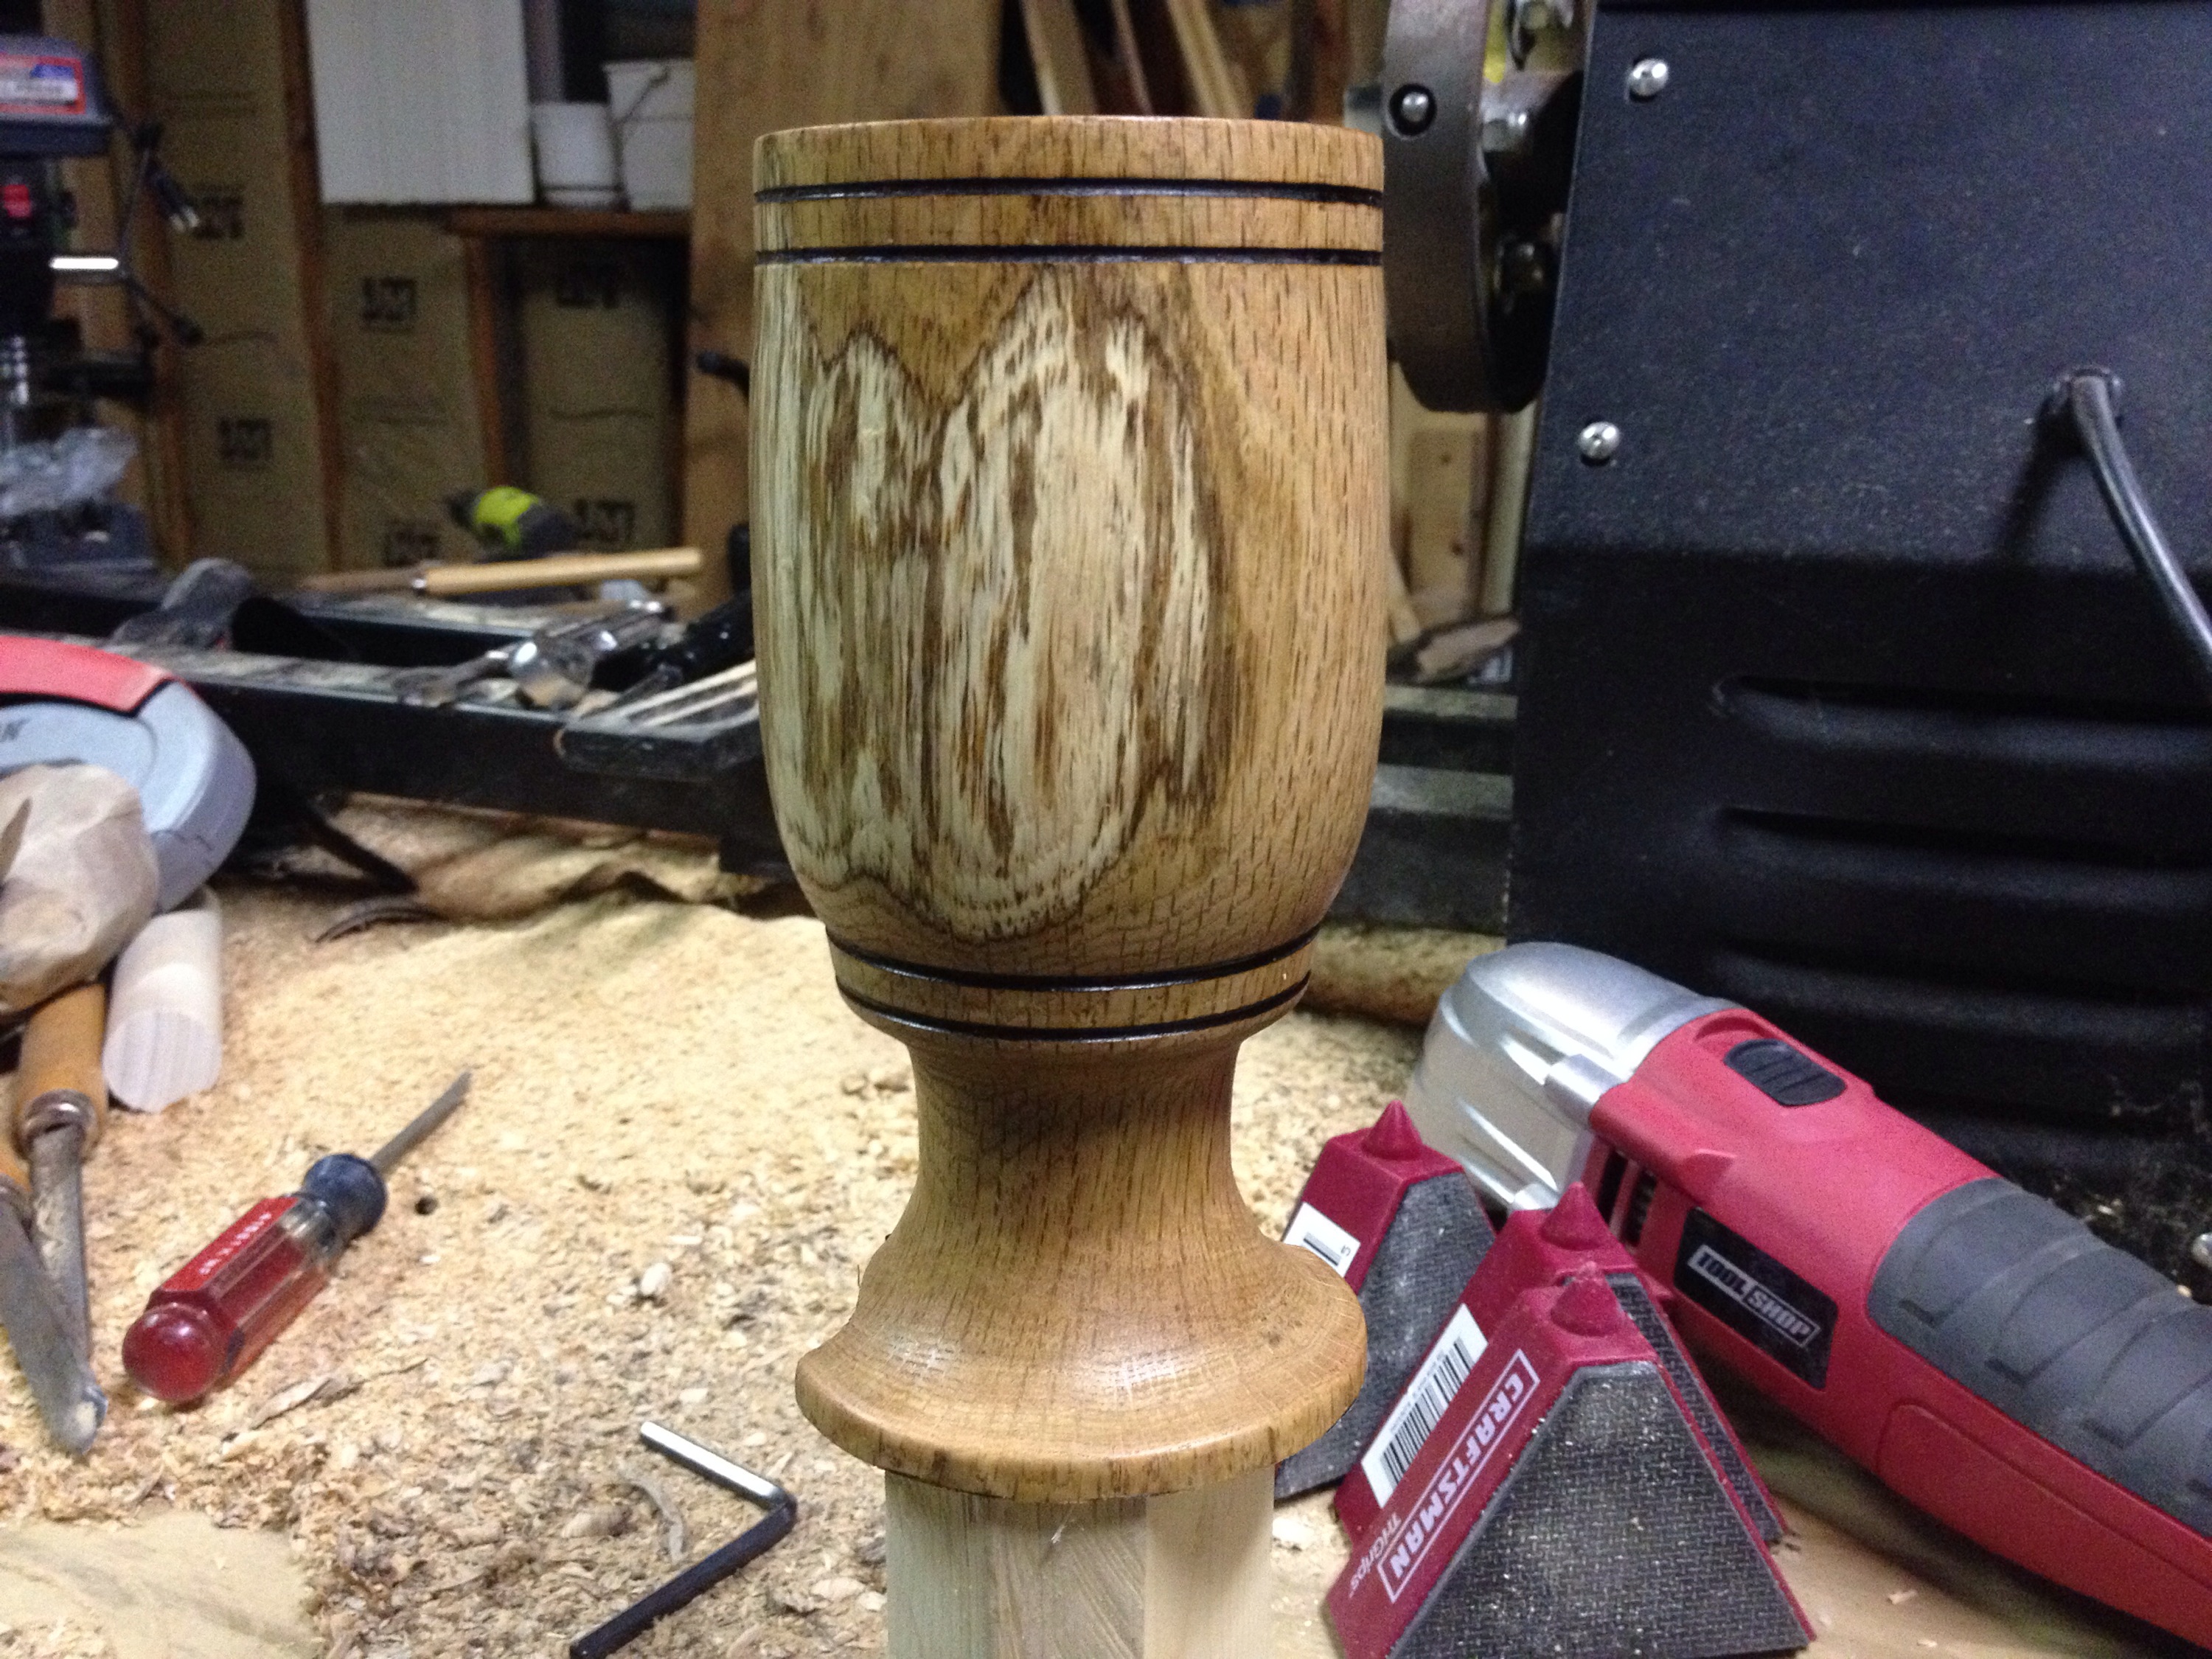
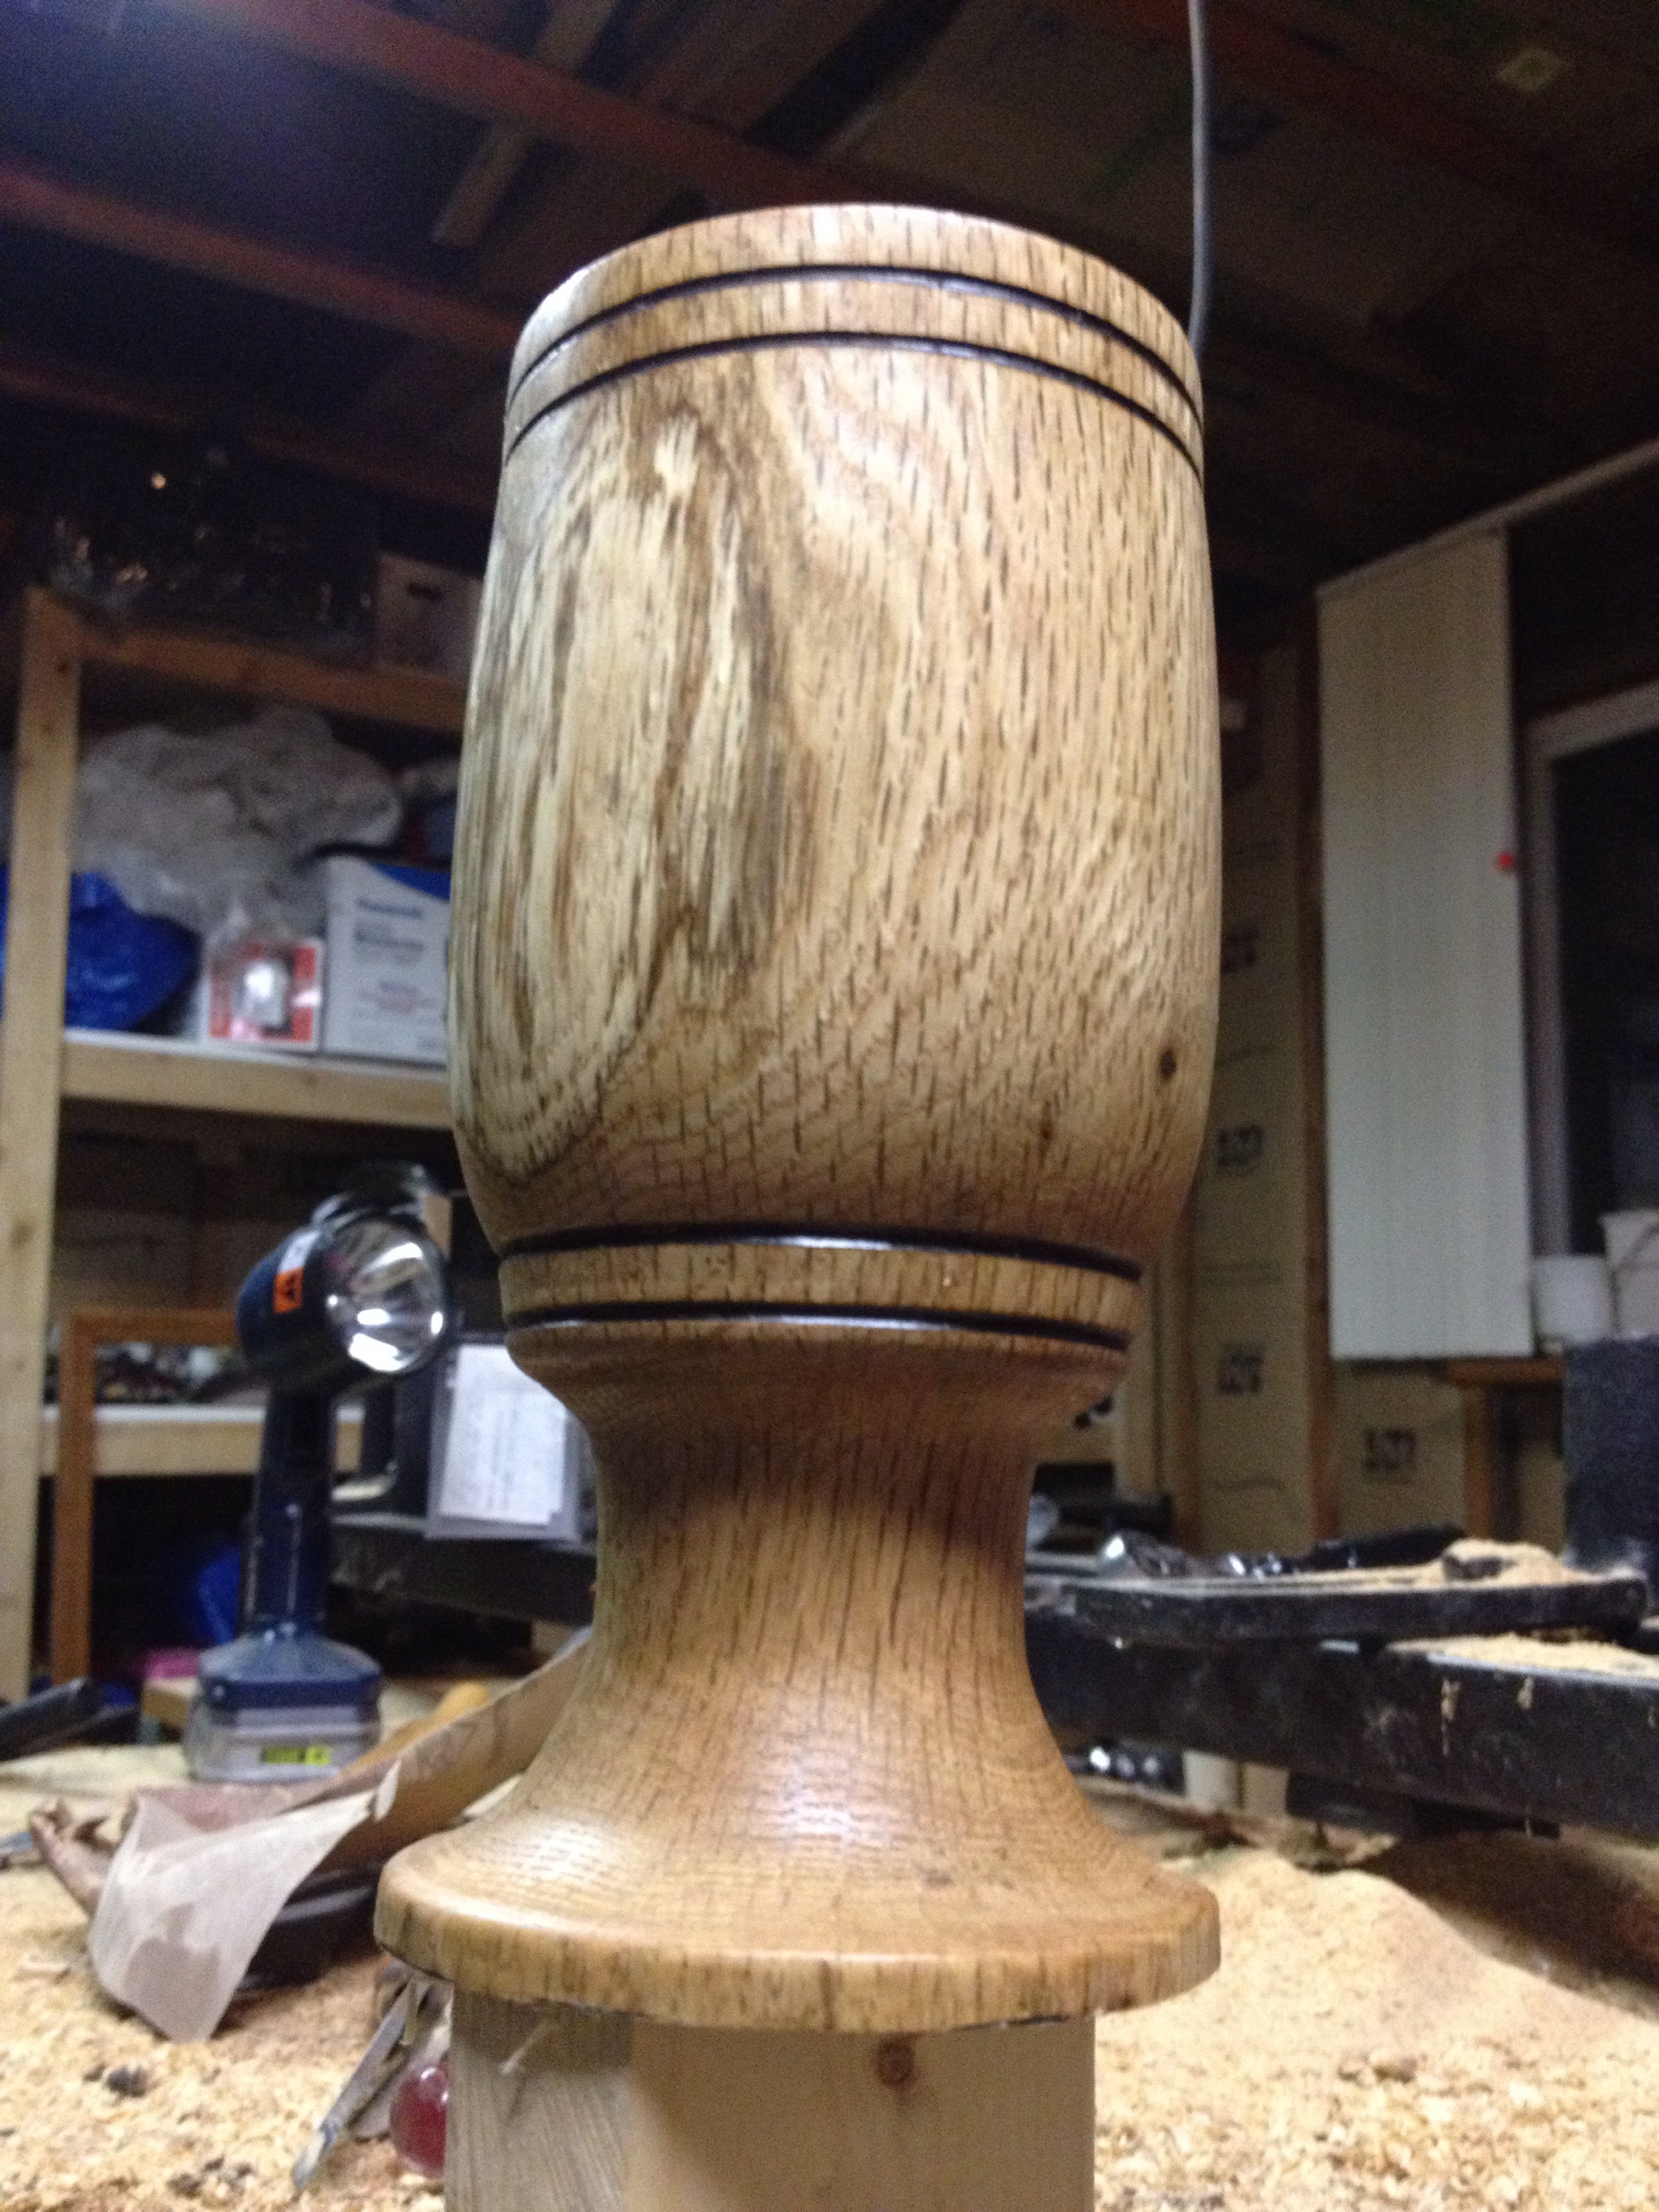
Ok, I fast forwarded a bit here, but here is the final product of the oak water goblet, finally off of the wood lathe!
When working on a project like this, you never really know what you’ll get in the end – the bark and such hide the character details you might find once you get into the project. Case and point – the white spot in the grain on this glass. I had no clue that was there, but personally love the character that it adds to the glass. That was a nice surprise to me.
I added to the fine details by burning in some marks at the top and bottom of the body of the goblet. I also added a coat of spar urethane, which is what is giving it a bit of a shine that you can see on the base. I of course sanded the heck out of this as well to get it as smooth and finished as it is too.
I also didn’t show you the process of hollowing out the basin here – see below though for the similar process I did on the wood coffee mug however.
I mentioned above that the goblet flew off the lathe a few times – and though I tried to hide this in the this picture, I’ll point it out anyway. See at the base on he left hand side how part of it is missing? That’s from taking a trip across the garage a few times, a few chunks broke out. I did find them while cleaning up the garage and did glue them back in place though.
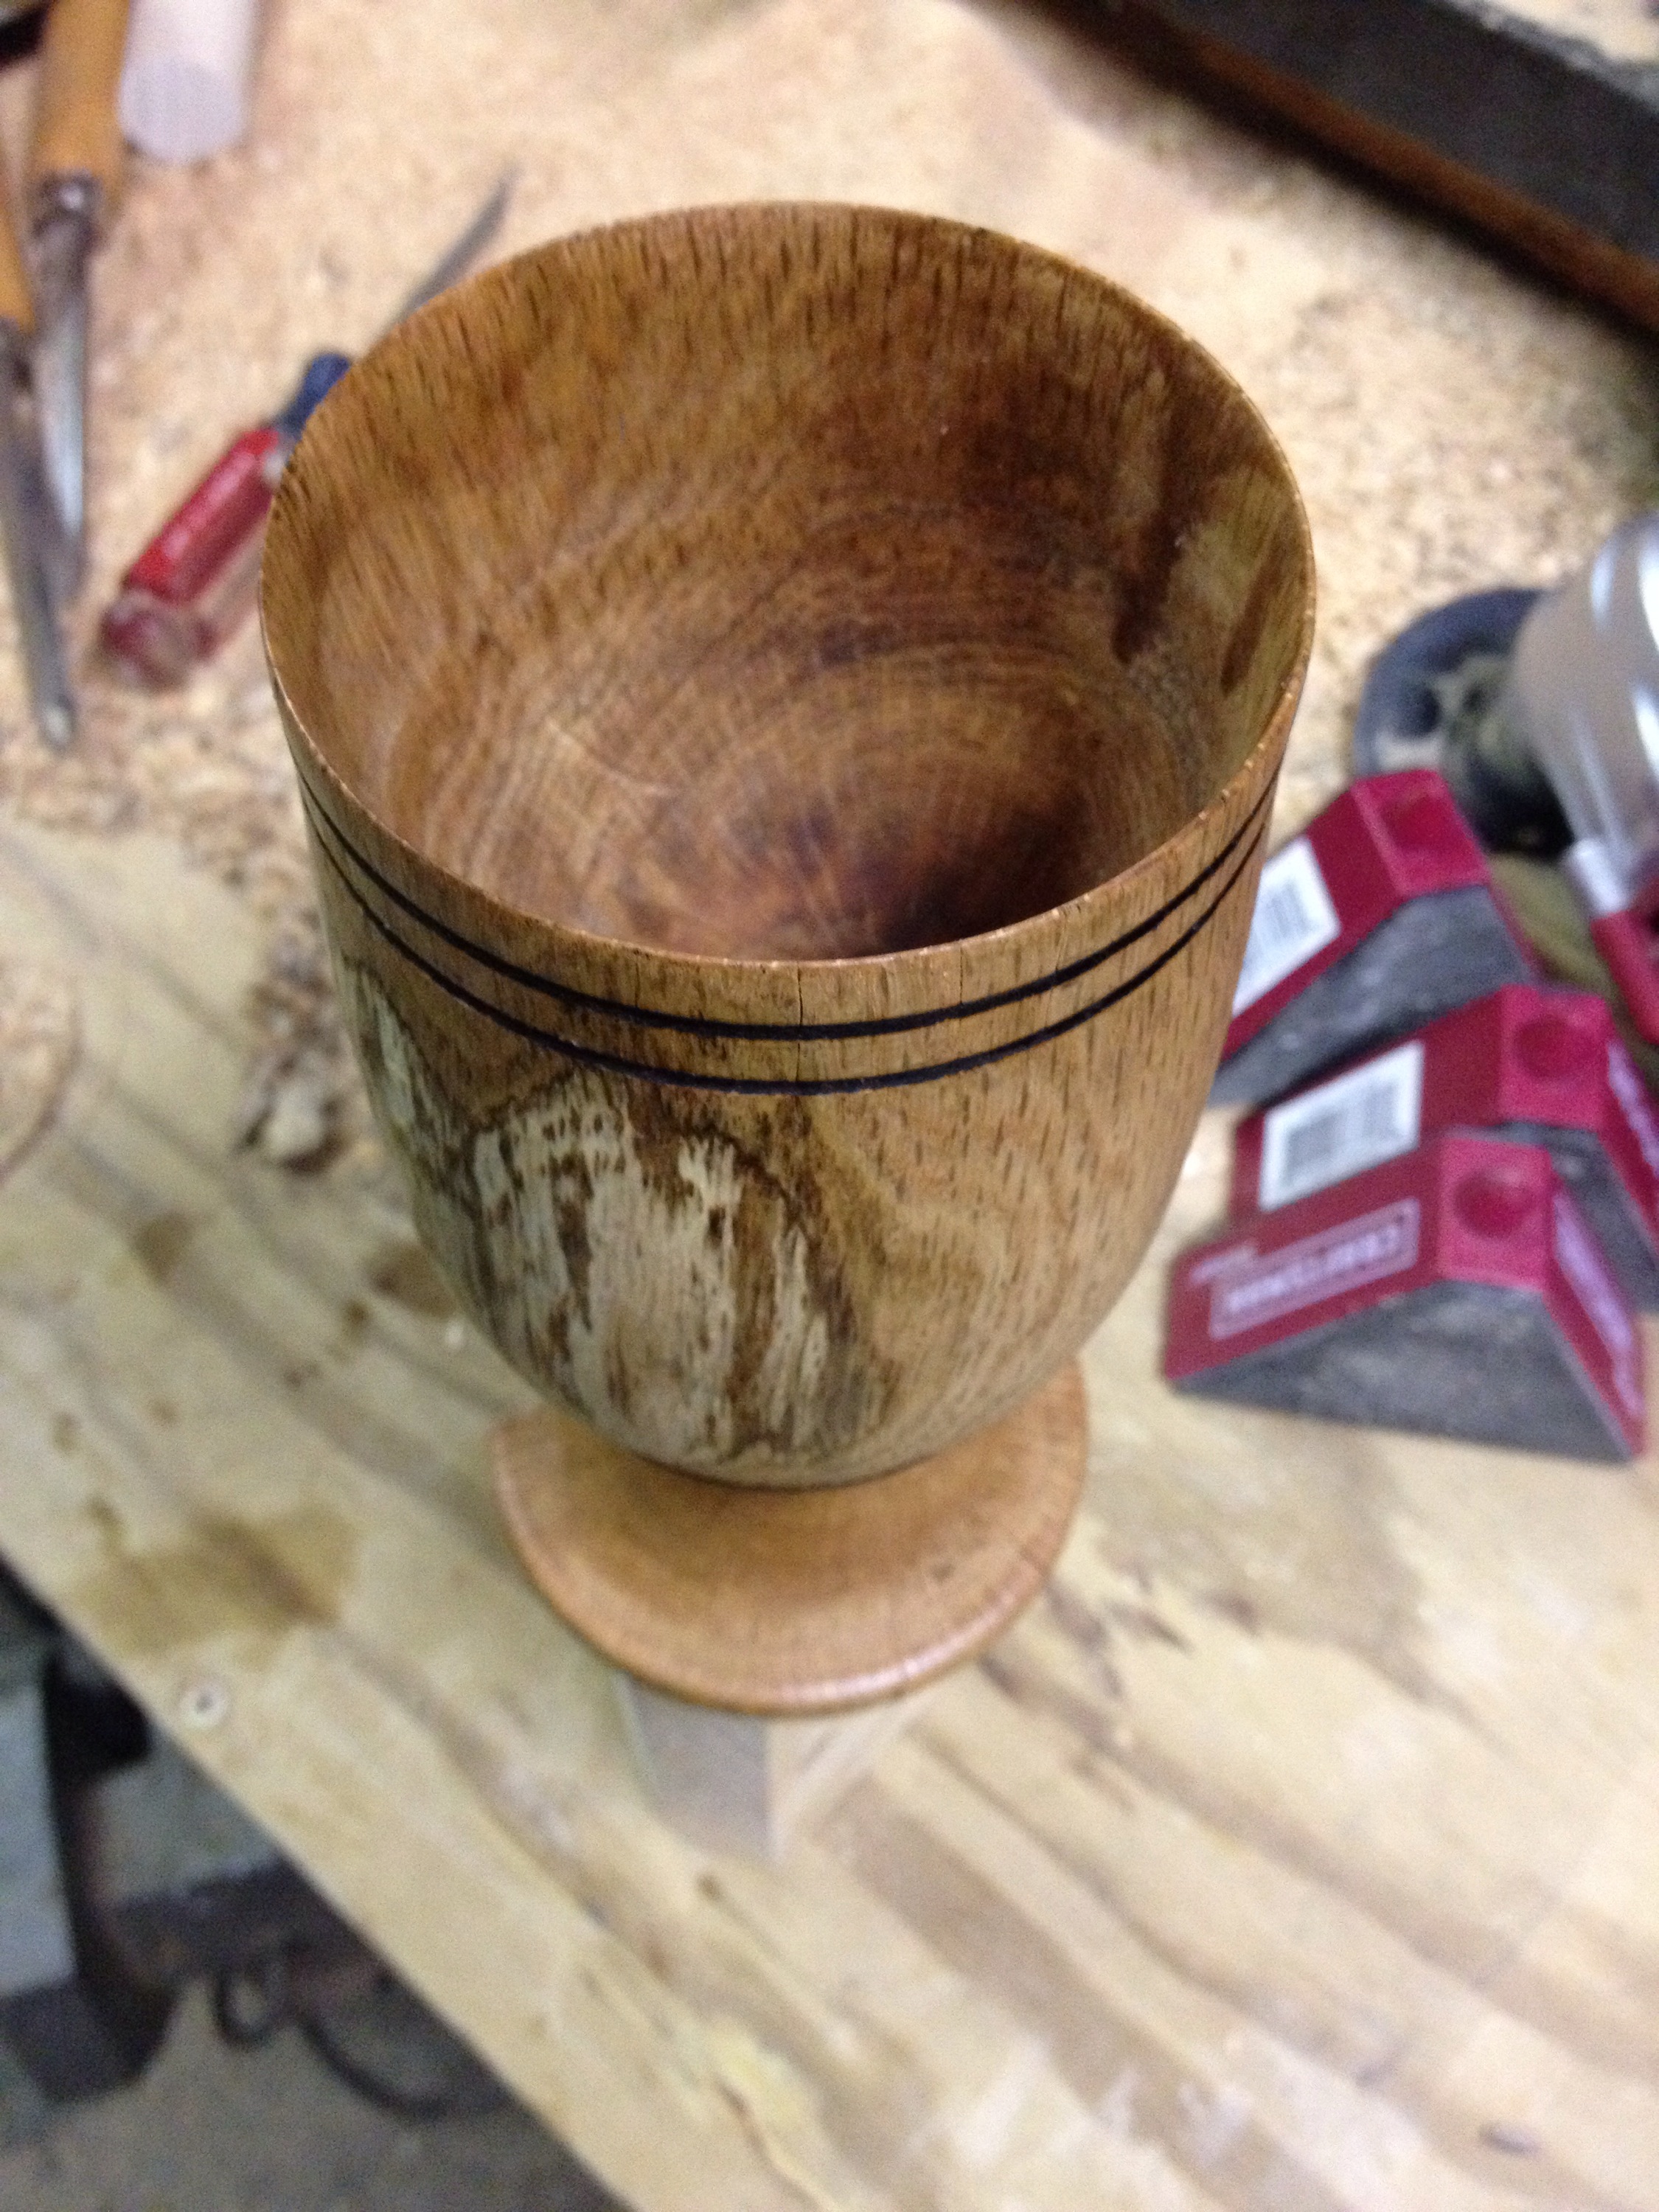
A view of the inside of the water goblet. Notice how thin the edges of the goblet got! Admittedly, that was kind of an accident to get that thin, but it looks and feels awesome.
Now seasoned wood lathe artists know what I did wrong here, and I knew going into this but didn’t head the warning I knew…. What I did was turn a green (wet and freshly cut) oak log into a finished product. HOWEVER wood is full of water, and it will dry. And when it dries, the wood moves, shifts, and well cracks. So what you don’t see in this pictures, is that about a week later the glass split up the back side and has a sizable crack through it. As you can imagine – it won’t hold water anymore and is useless in the regard of holding beverages. Regardless, it’s a cool piece with character, and was an experimental and learning piece for me. So while it’s not a perfect piece, it accomplished what I wanted – get more familiar with my lathe, have fun, and make something I’m proud of. And all of those still apply!
Another beauty shot of the final oak water goblet. I only put spar urethane on this project – no stain. I love the natural color of wood when enhanced with a good clear coat – and this shows that off perfectly!
Moving on from the water goblet, I put another blank on the wood lathe and set out for project number two for the day. This was going to be a beer mug style, but as I got into the piece it shaped into a coffee mug for this and that reason.
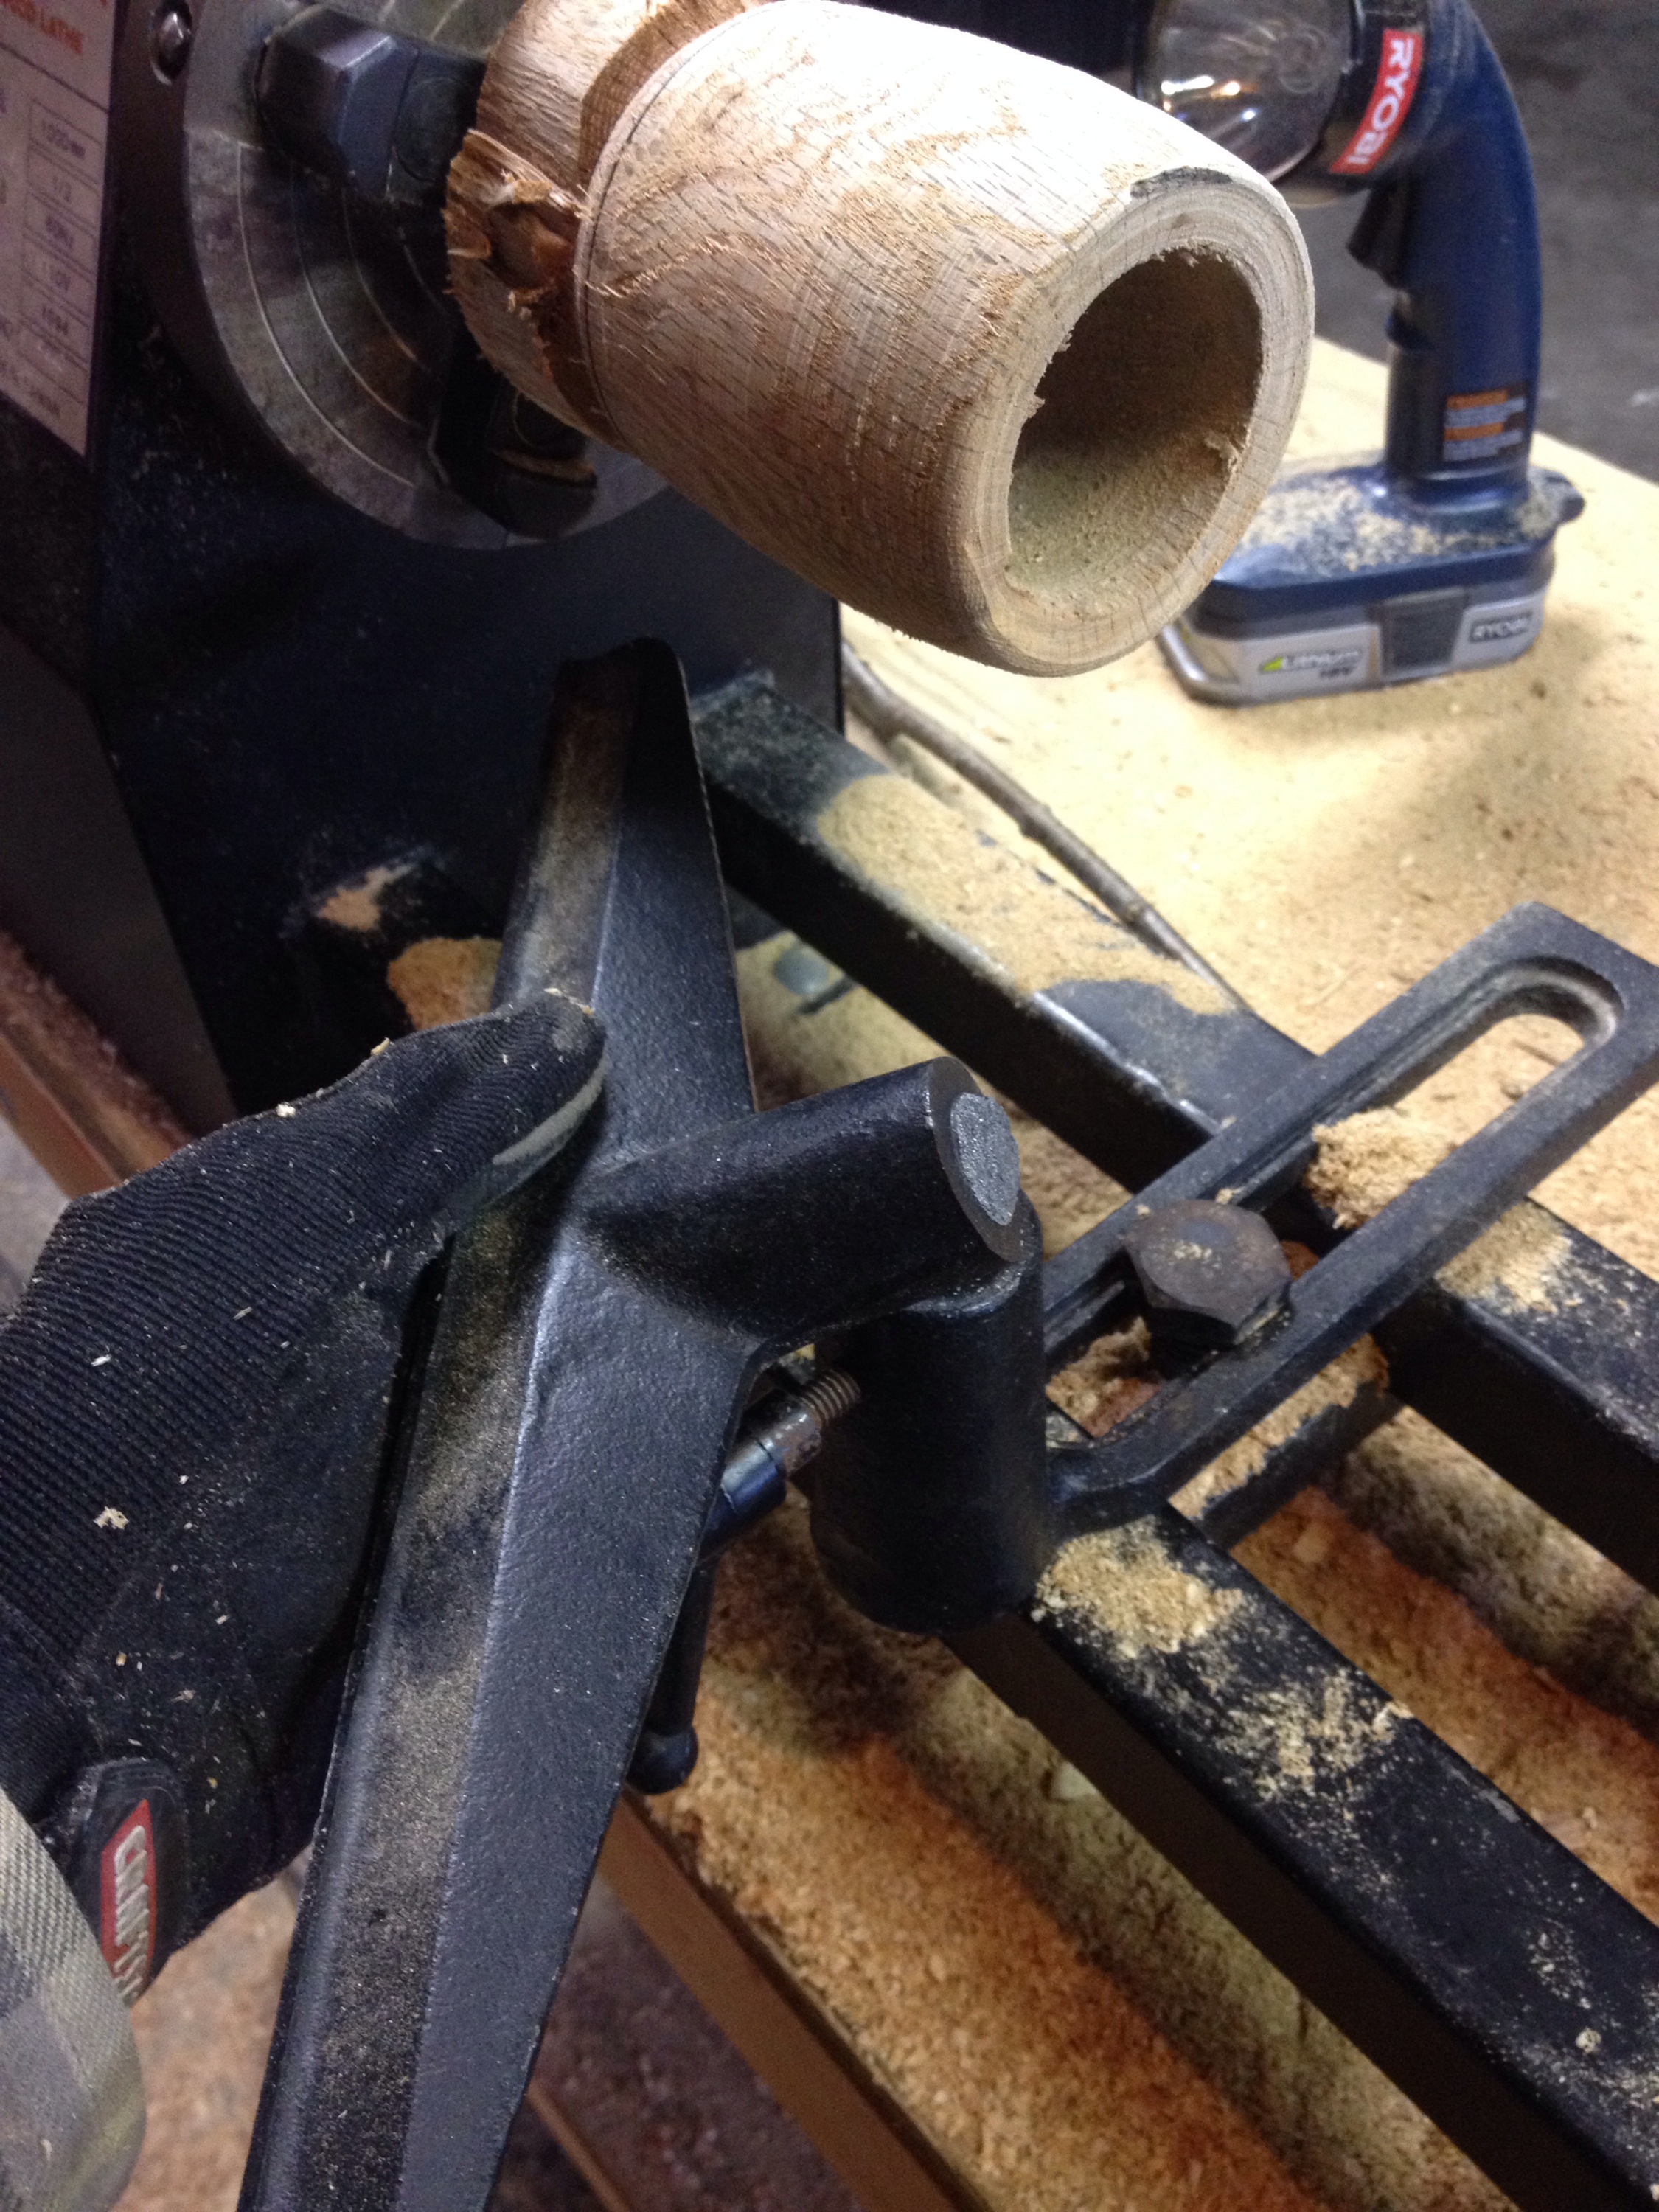
Two things to point out in this picture. First, you can see I have the inside mostly hollowed out. I start with the largest spade bit I had and drilled a channel into the mug. I left the blank stationary and tried to keep my drill as level as I can while doing this. I’ve seen people do the opposite however – mount the bit into the tailstock of your lathe and turn the blank, then slowly move the tail stock into the piece. Great idea I think, but I don’t have a tailstock chuck so I wasn’t able to do that…
The other thing to point out is what I’m holding in my hand – the tool rest for my lathe. It snapped right off of the shank that you mount and adjust it with. Rather frustrating and not sure why that happened. My chisels were chattering against it a fair bit, but still I wasn’t that abusive on the lathe… But it is what it is.
Continuing to shape the body of the oak coffee mug.
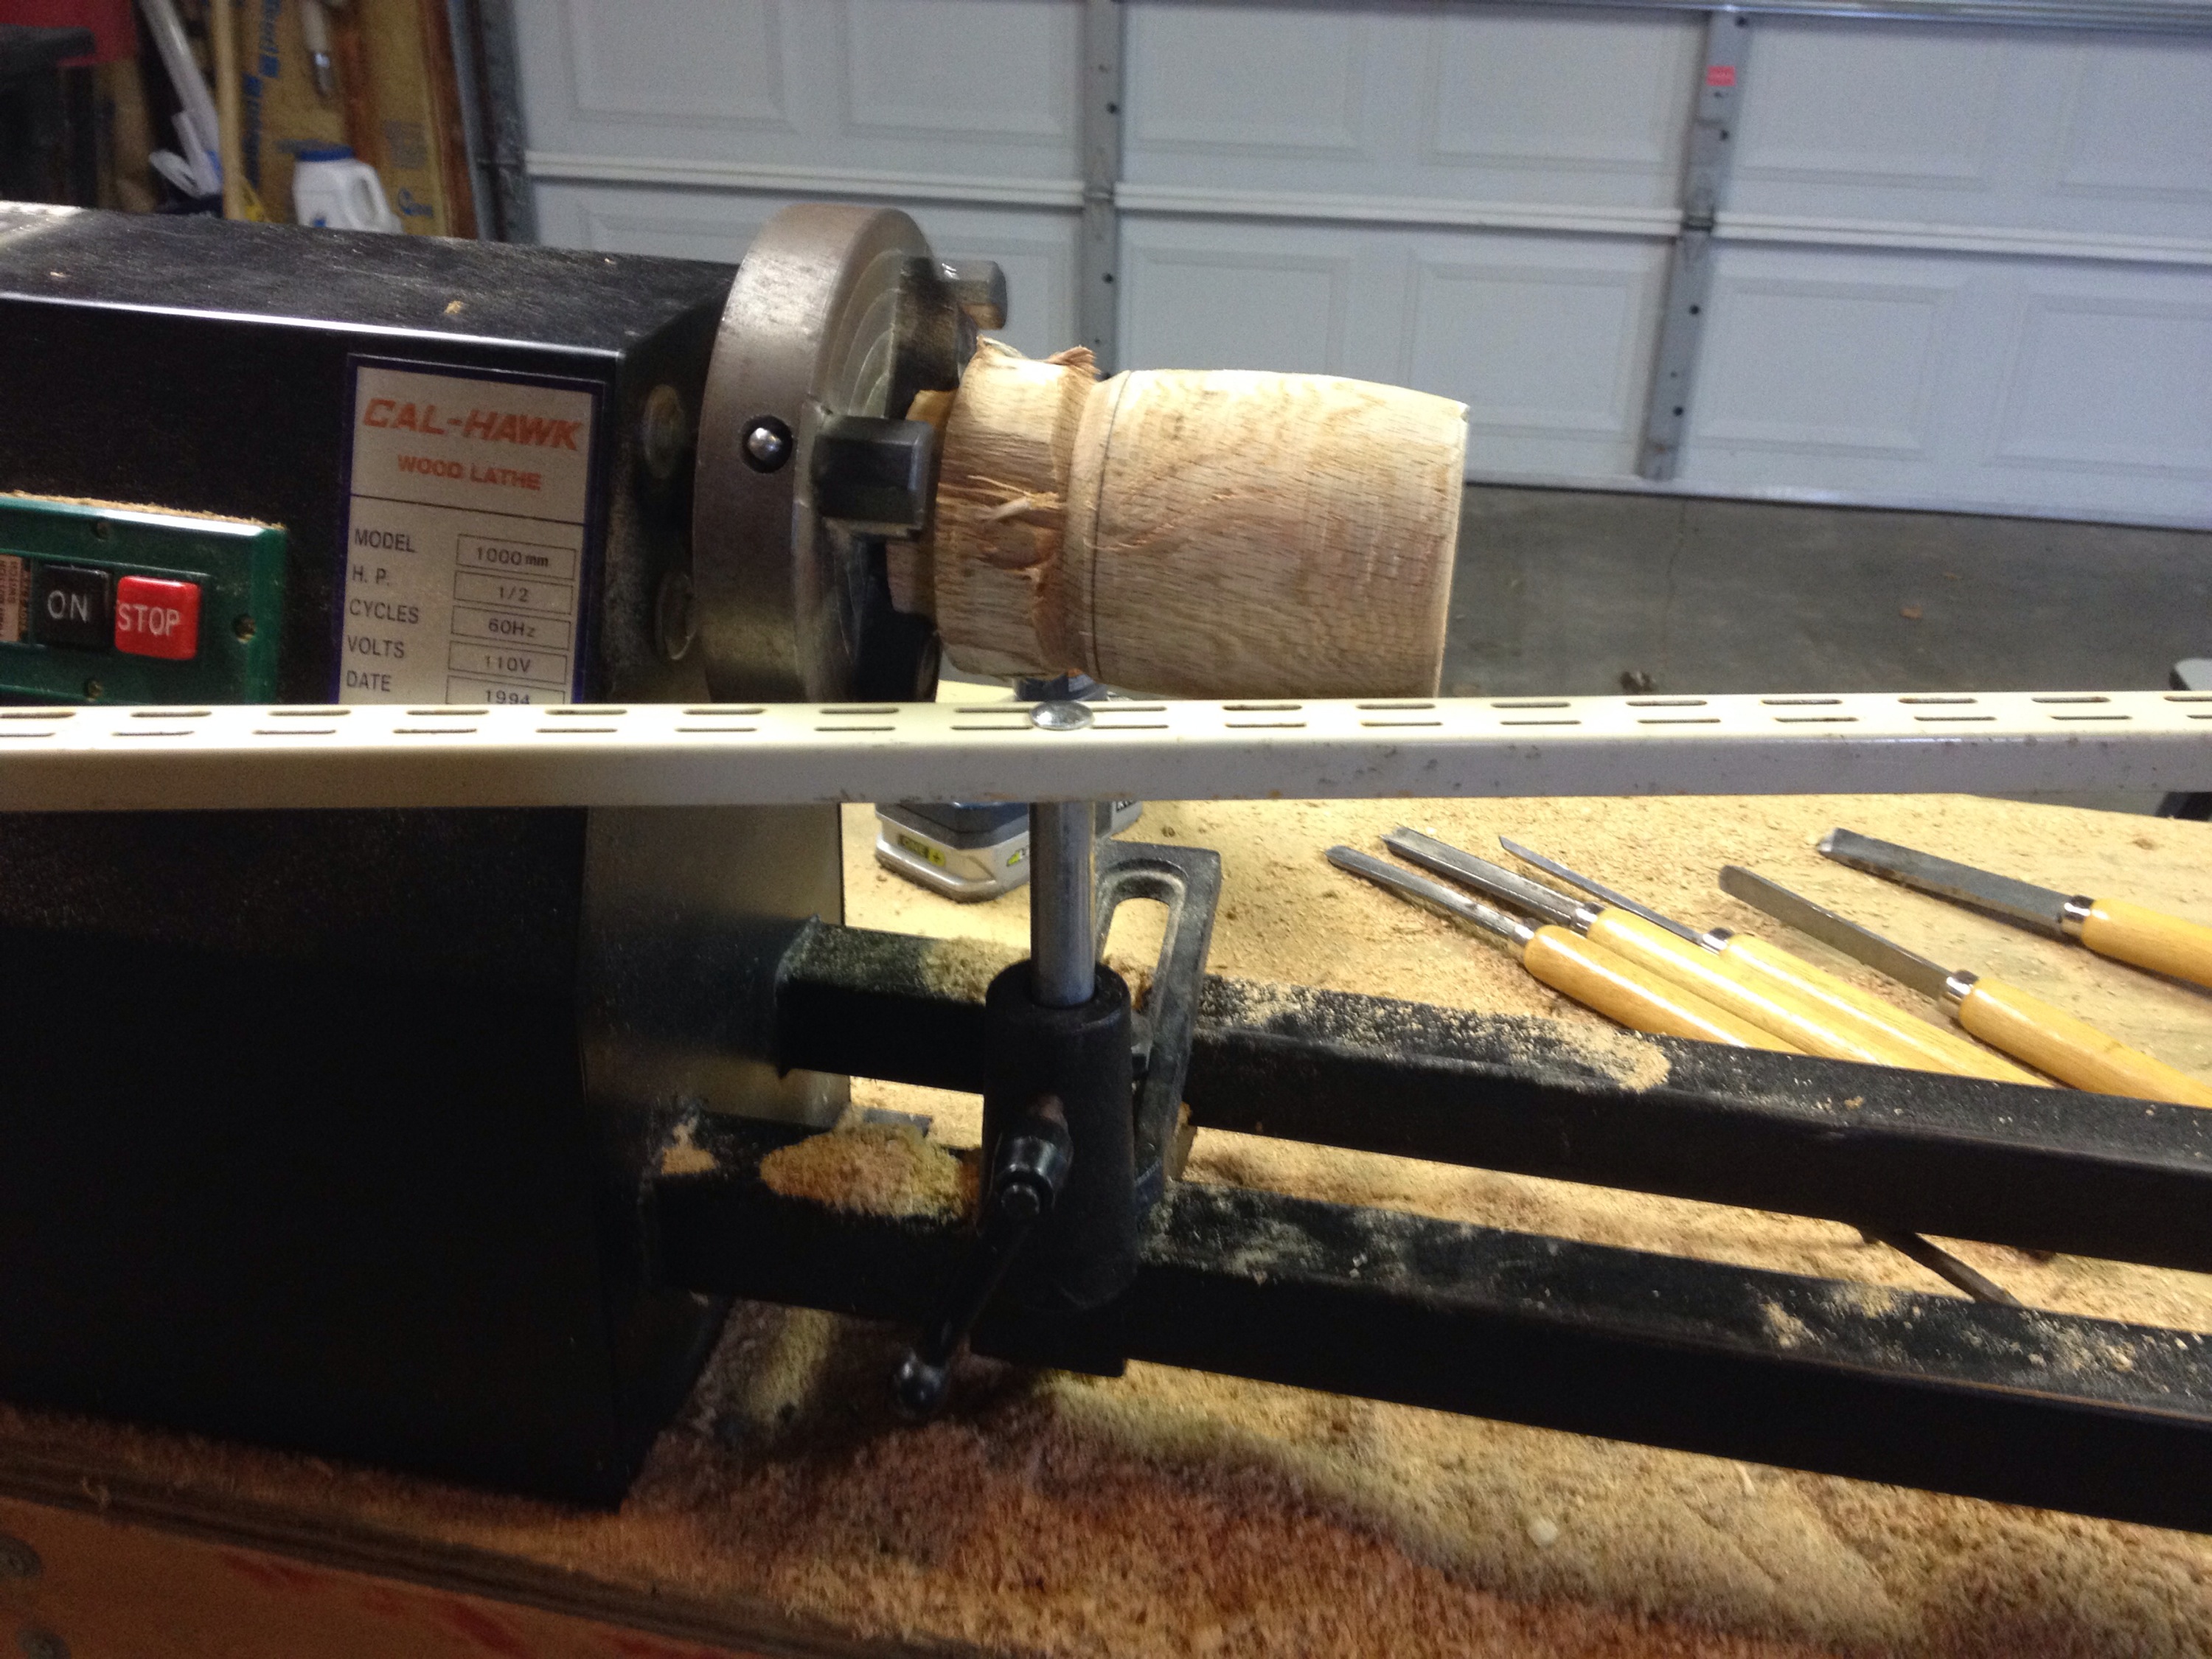
Working on a wood lathe without a tool rest is not a good idea, so I was able to improvise and make a replacement for my broken tool rest using a steel tube, long bolt, and shelf bracket I had laying around in the garage. Not the same thing, but actually works rather well as a quick temporary replacement.
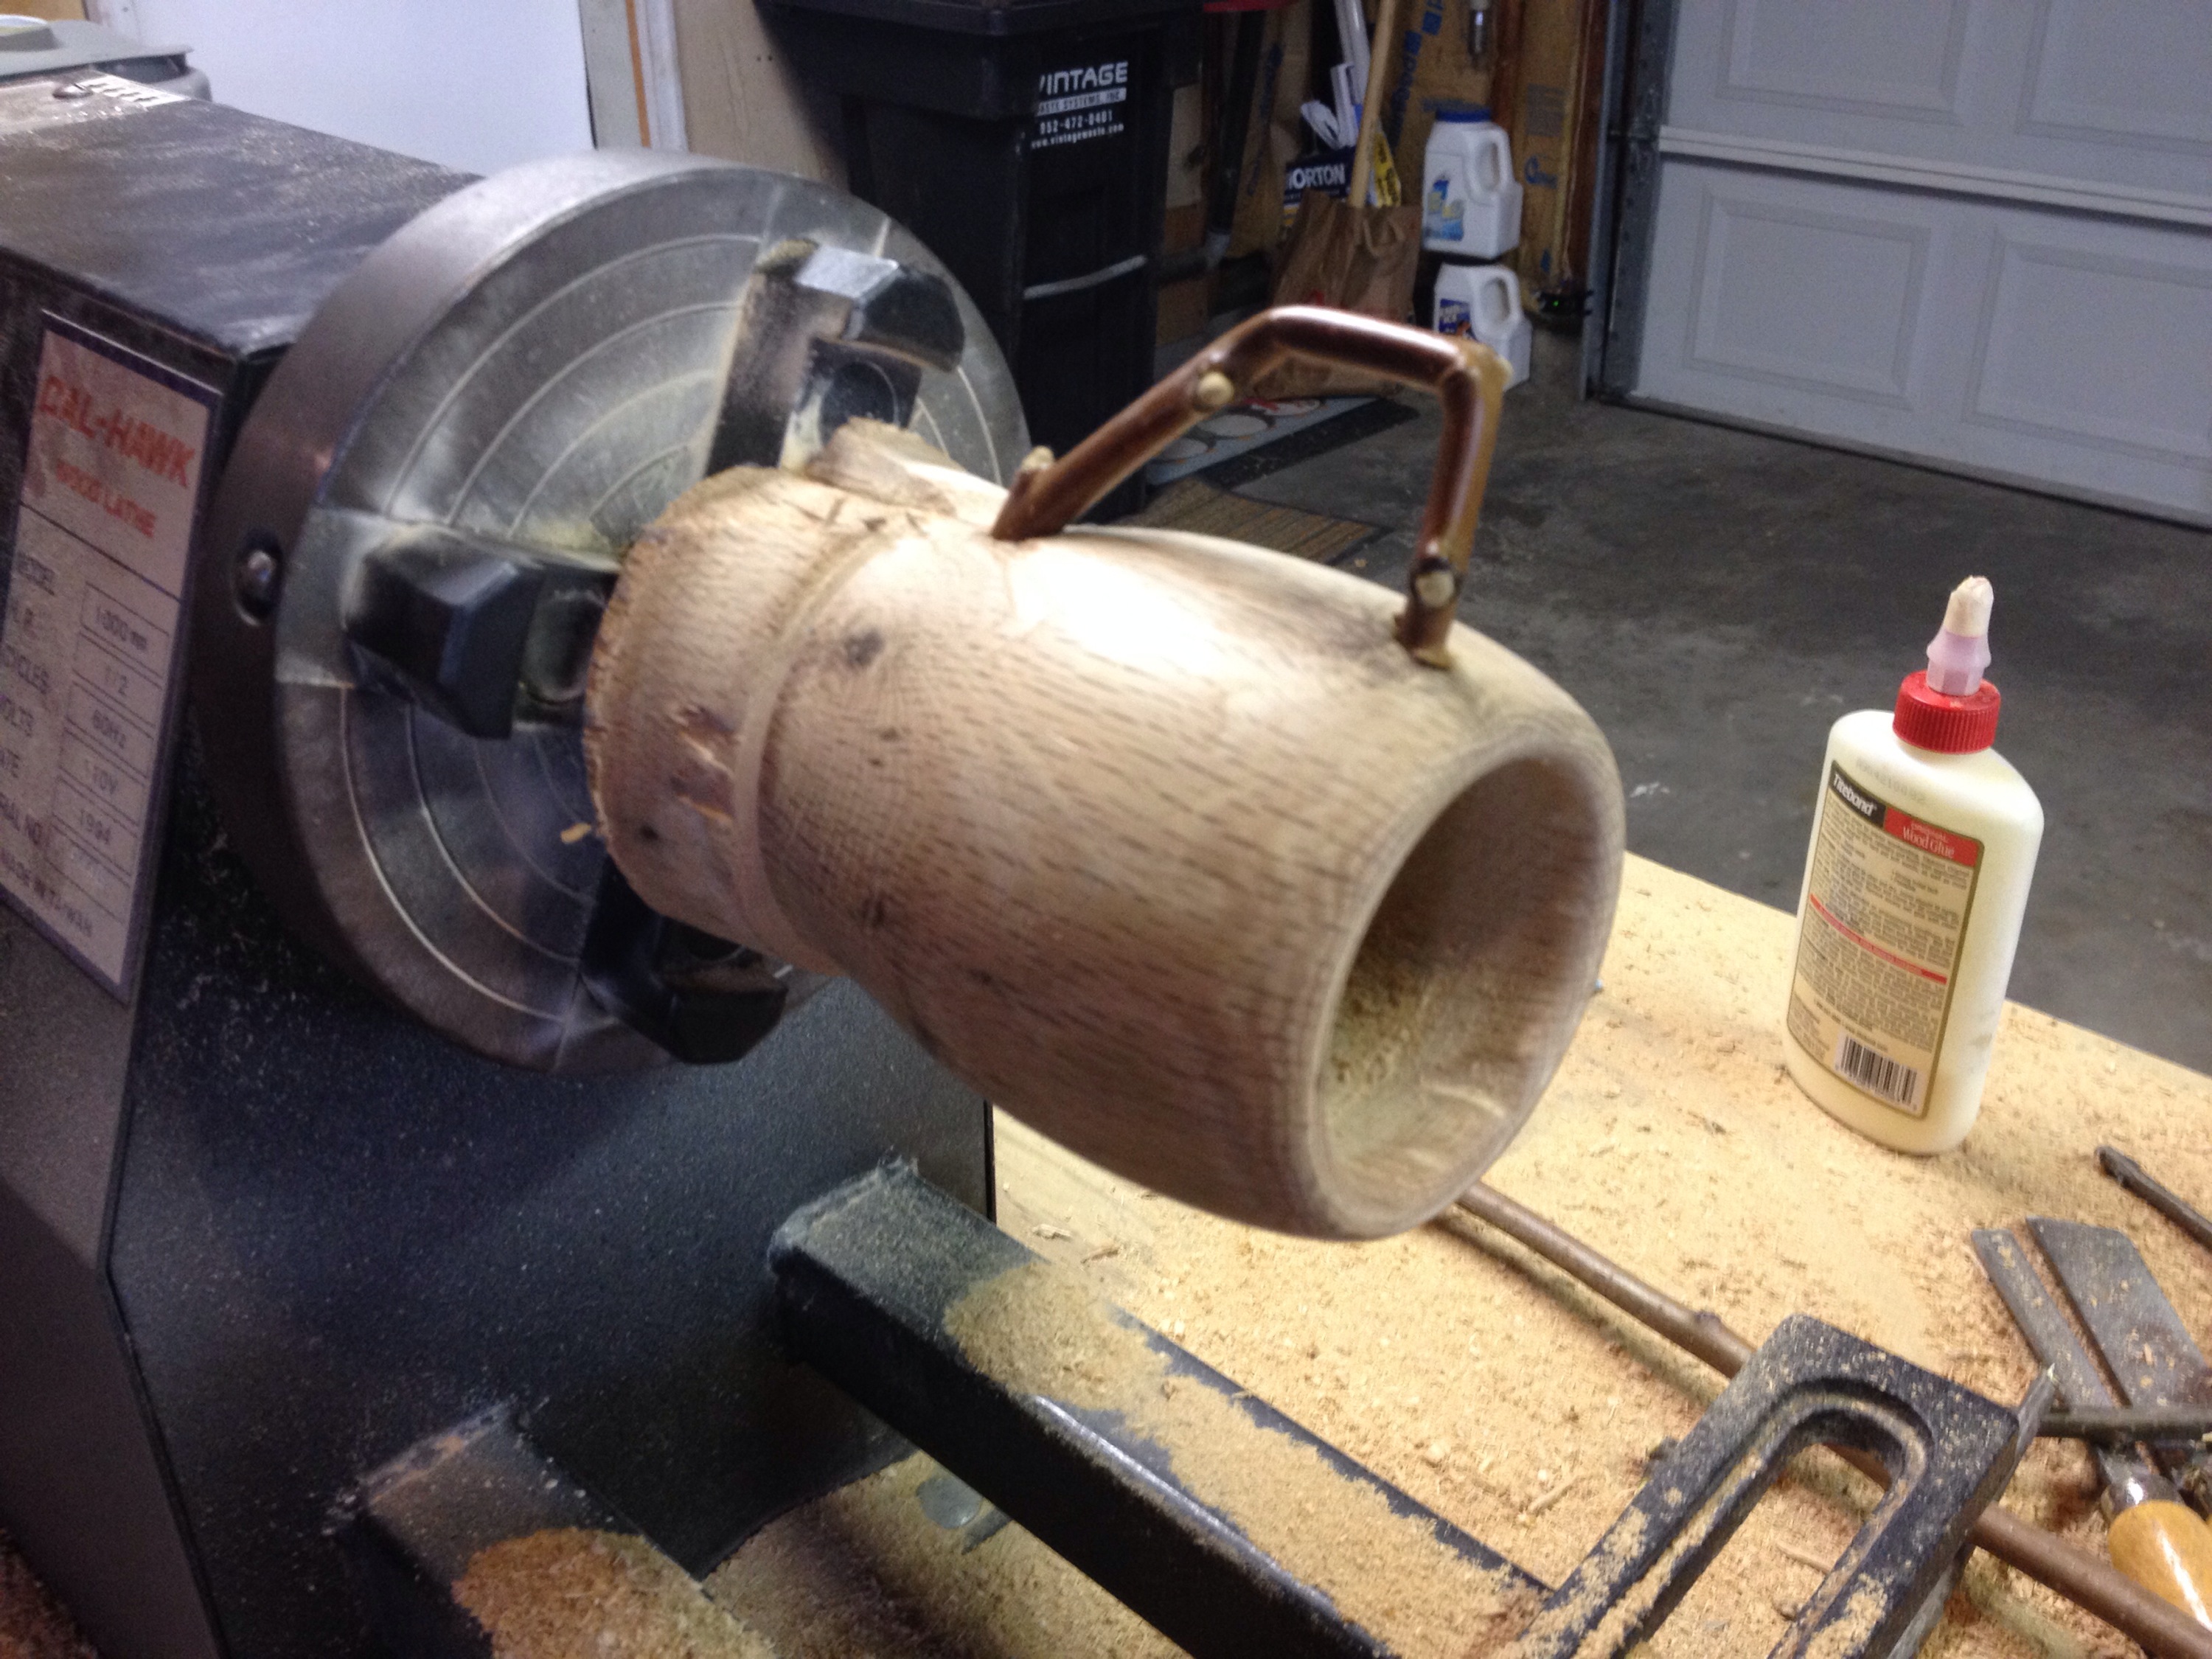
The shape of the oak coffee mug is pretty much done. The basin is hollowed out, the lip is smoothed off, the body has been shaped and sanded.
But every coffee mug needs a handle – so I took a sumac branch from my back yard which bent just right. I drilled a few holes to set it into, glued it in place, and we are all set!
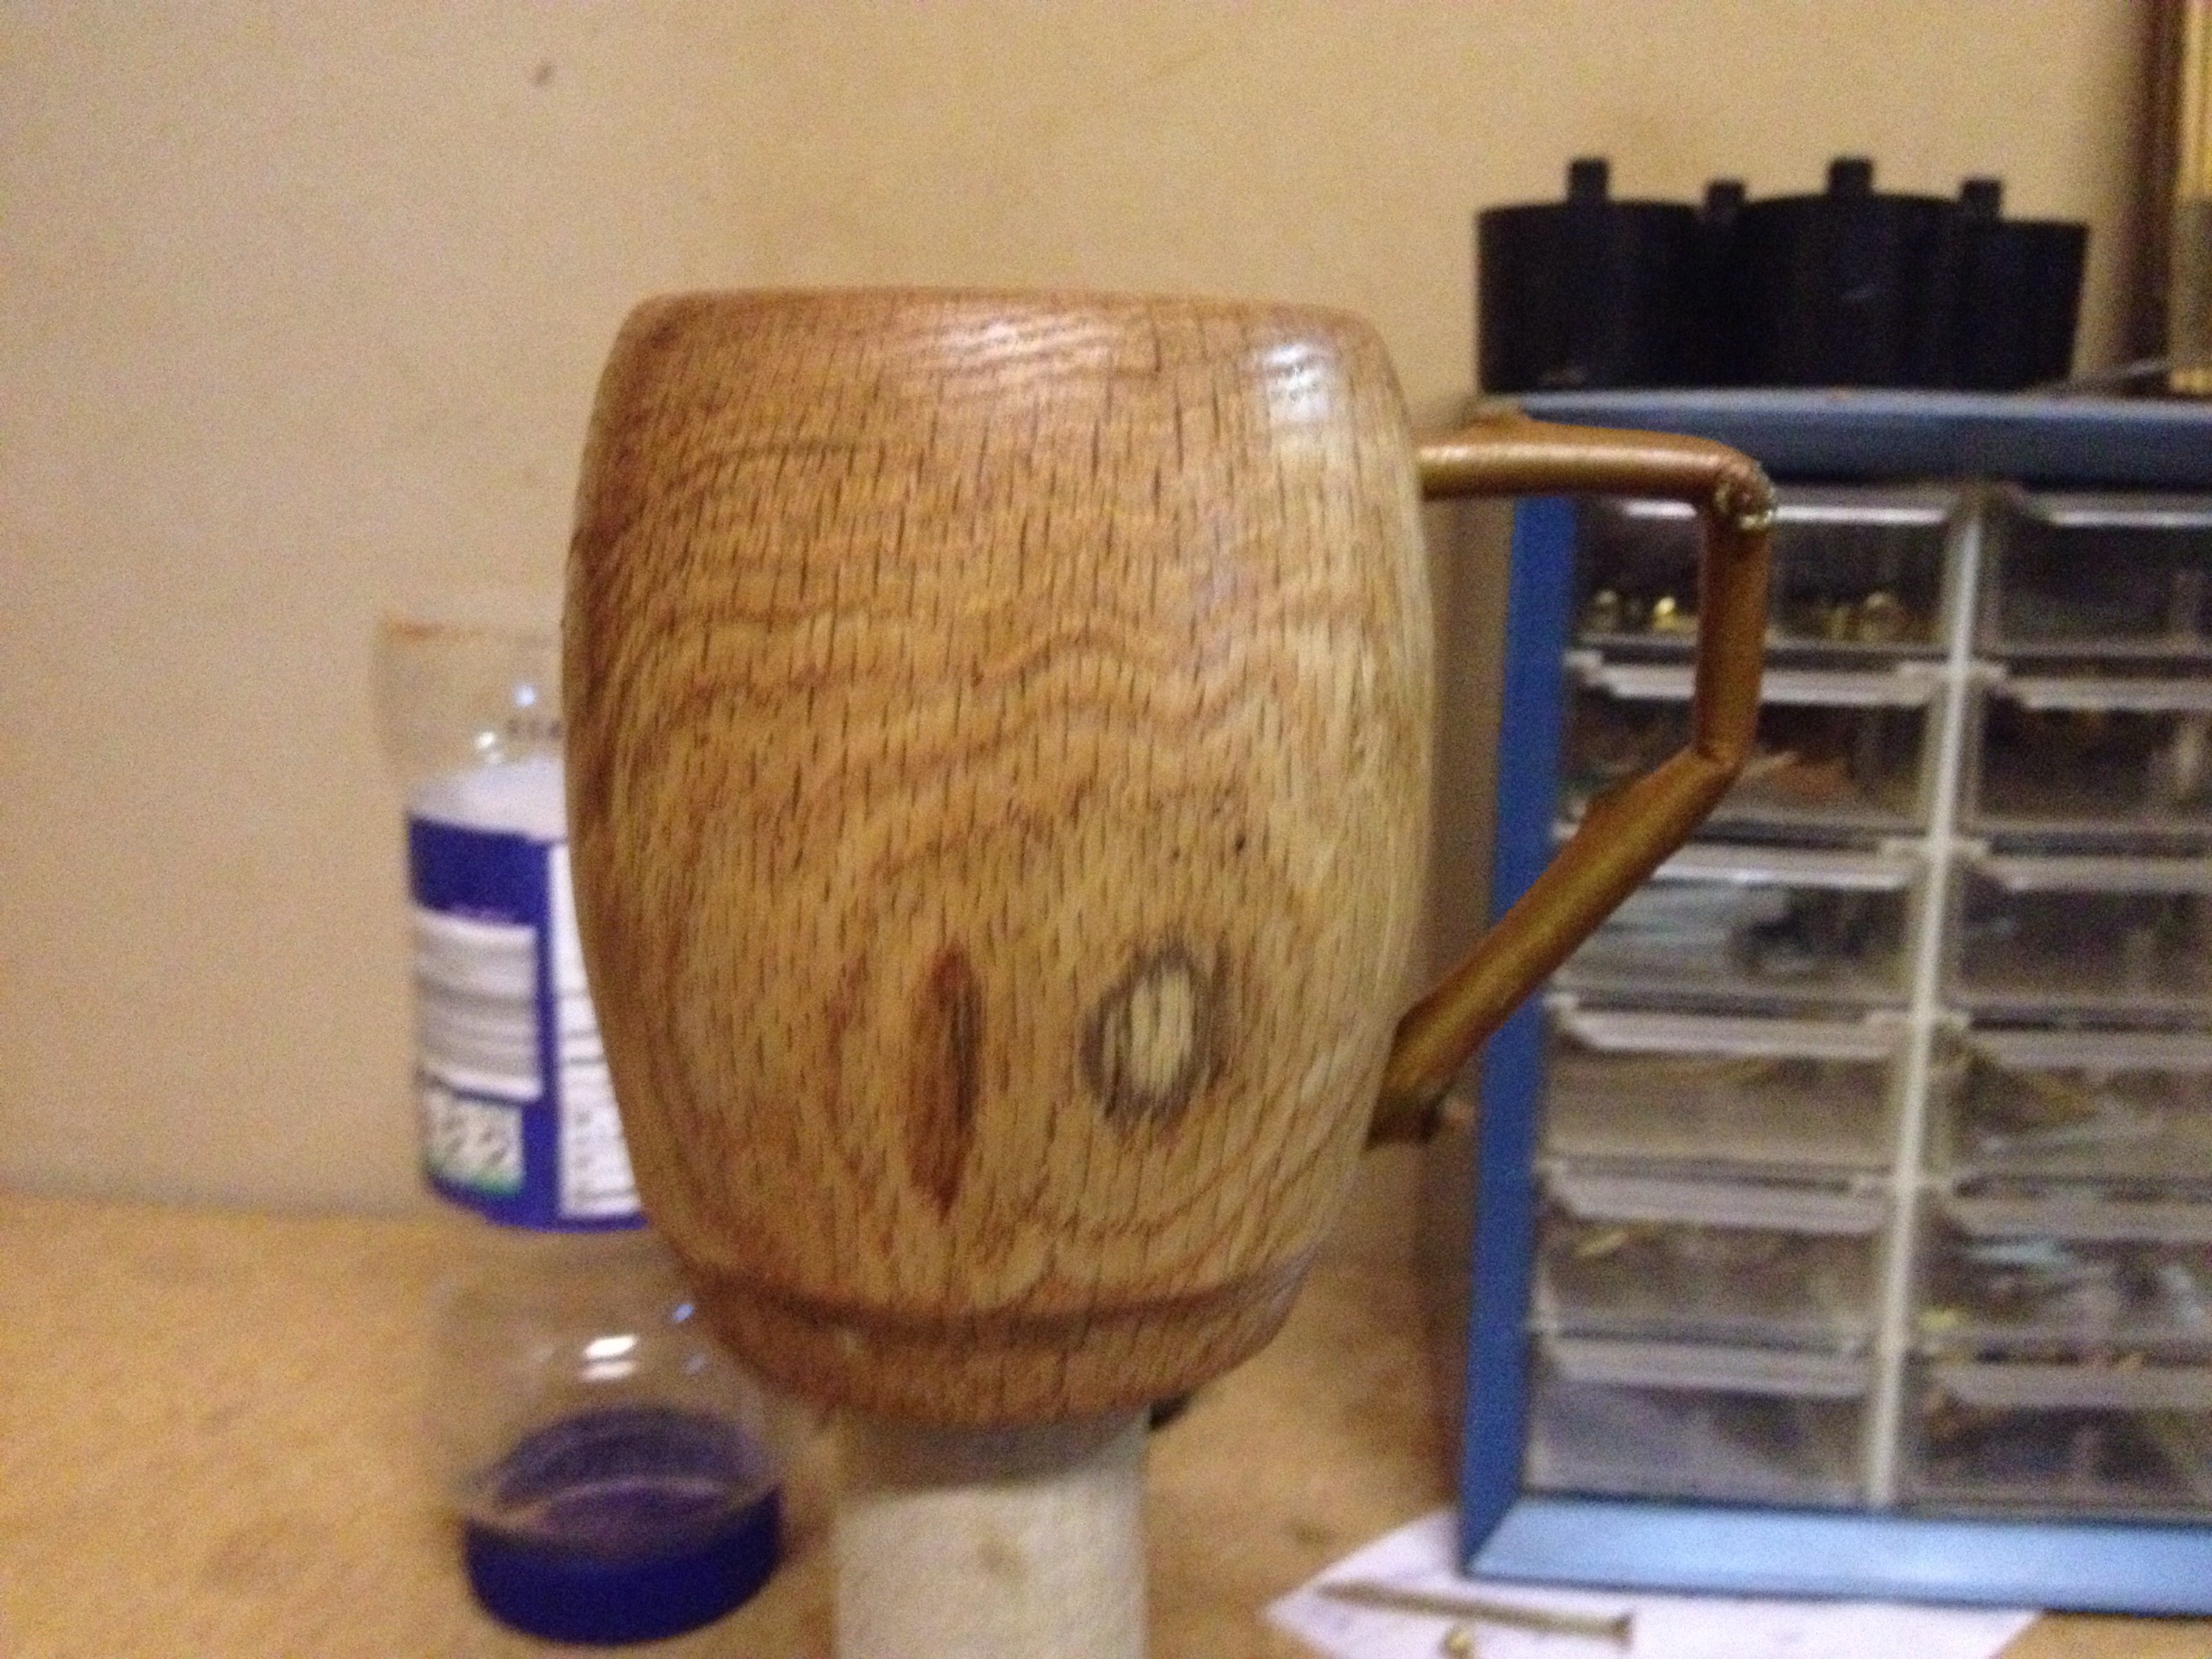
The final product – a lovely oak coffee mug with great wood grain and character.
I coated this with spar urethane to seal the wood, which also adds the slight sheen you see.
The handle I made using a sumac branch rounds it out into a very complete project.
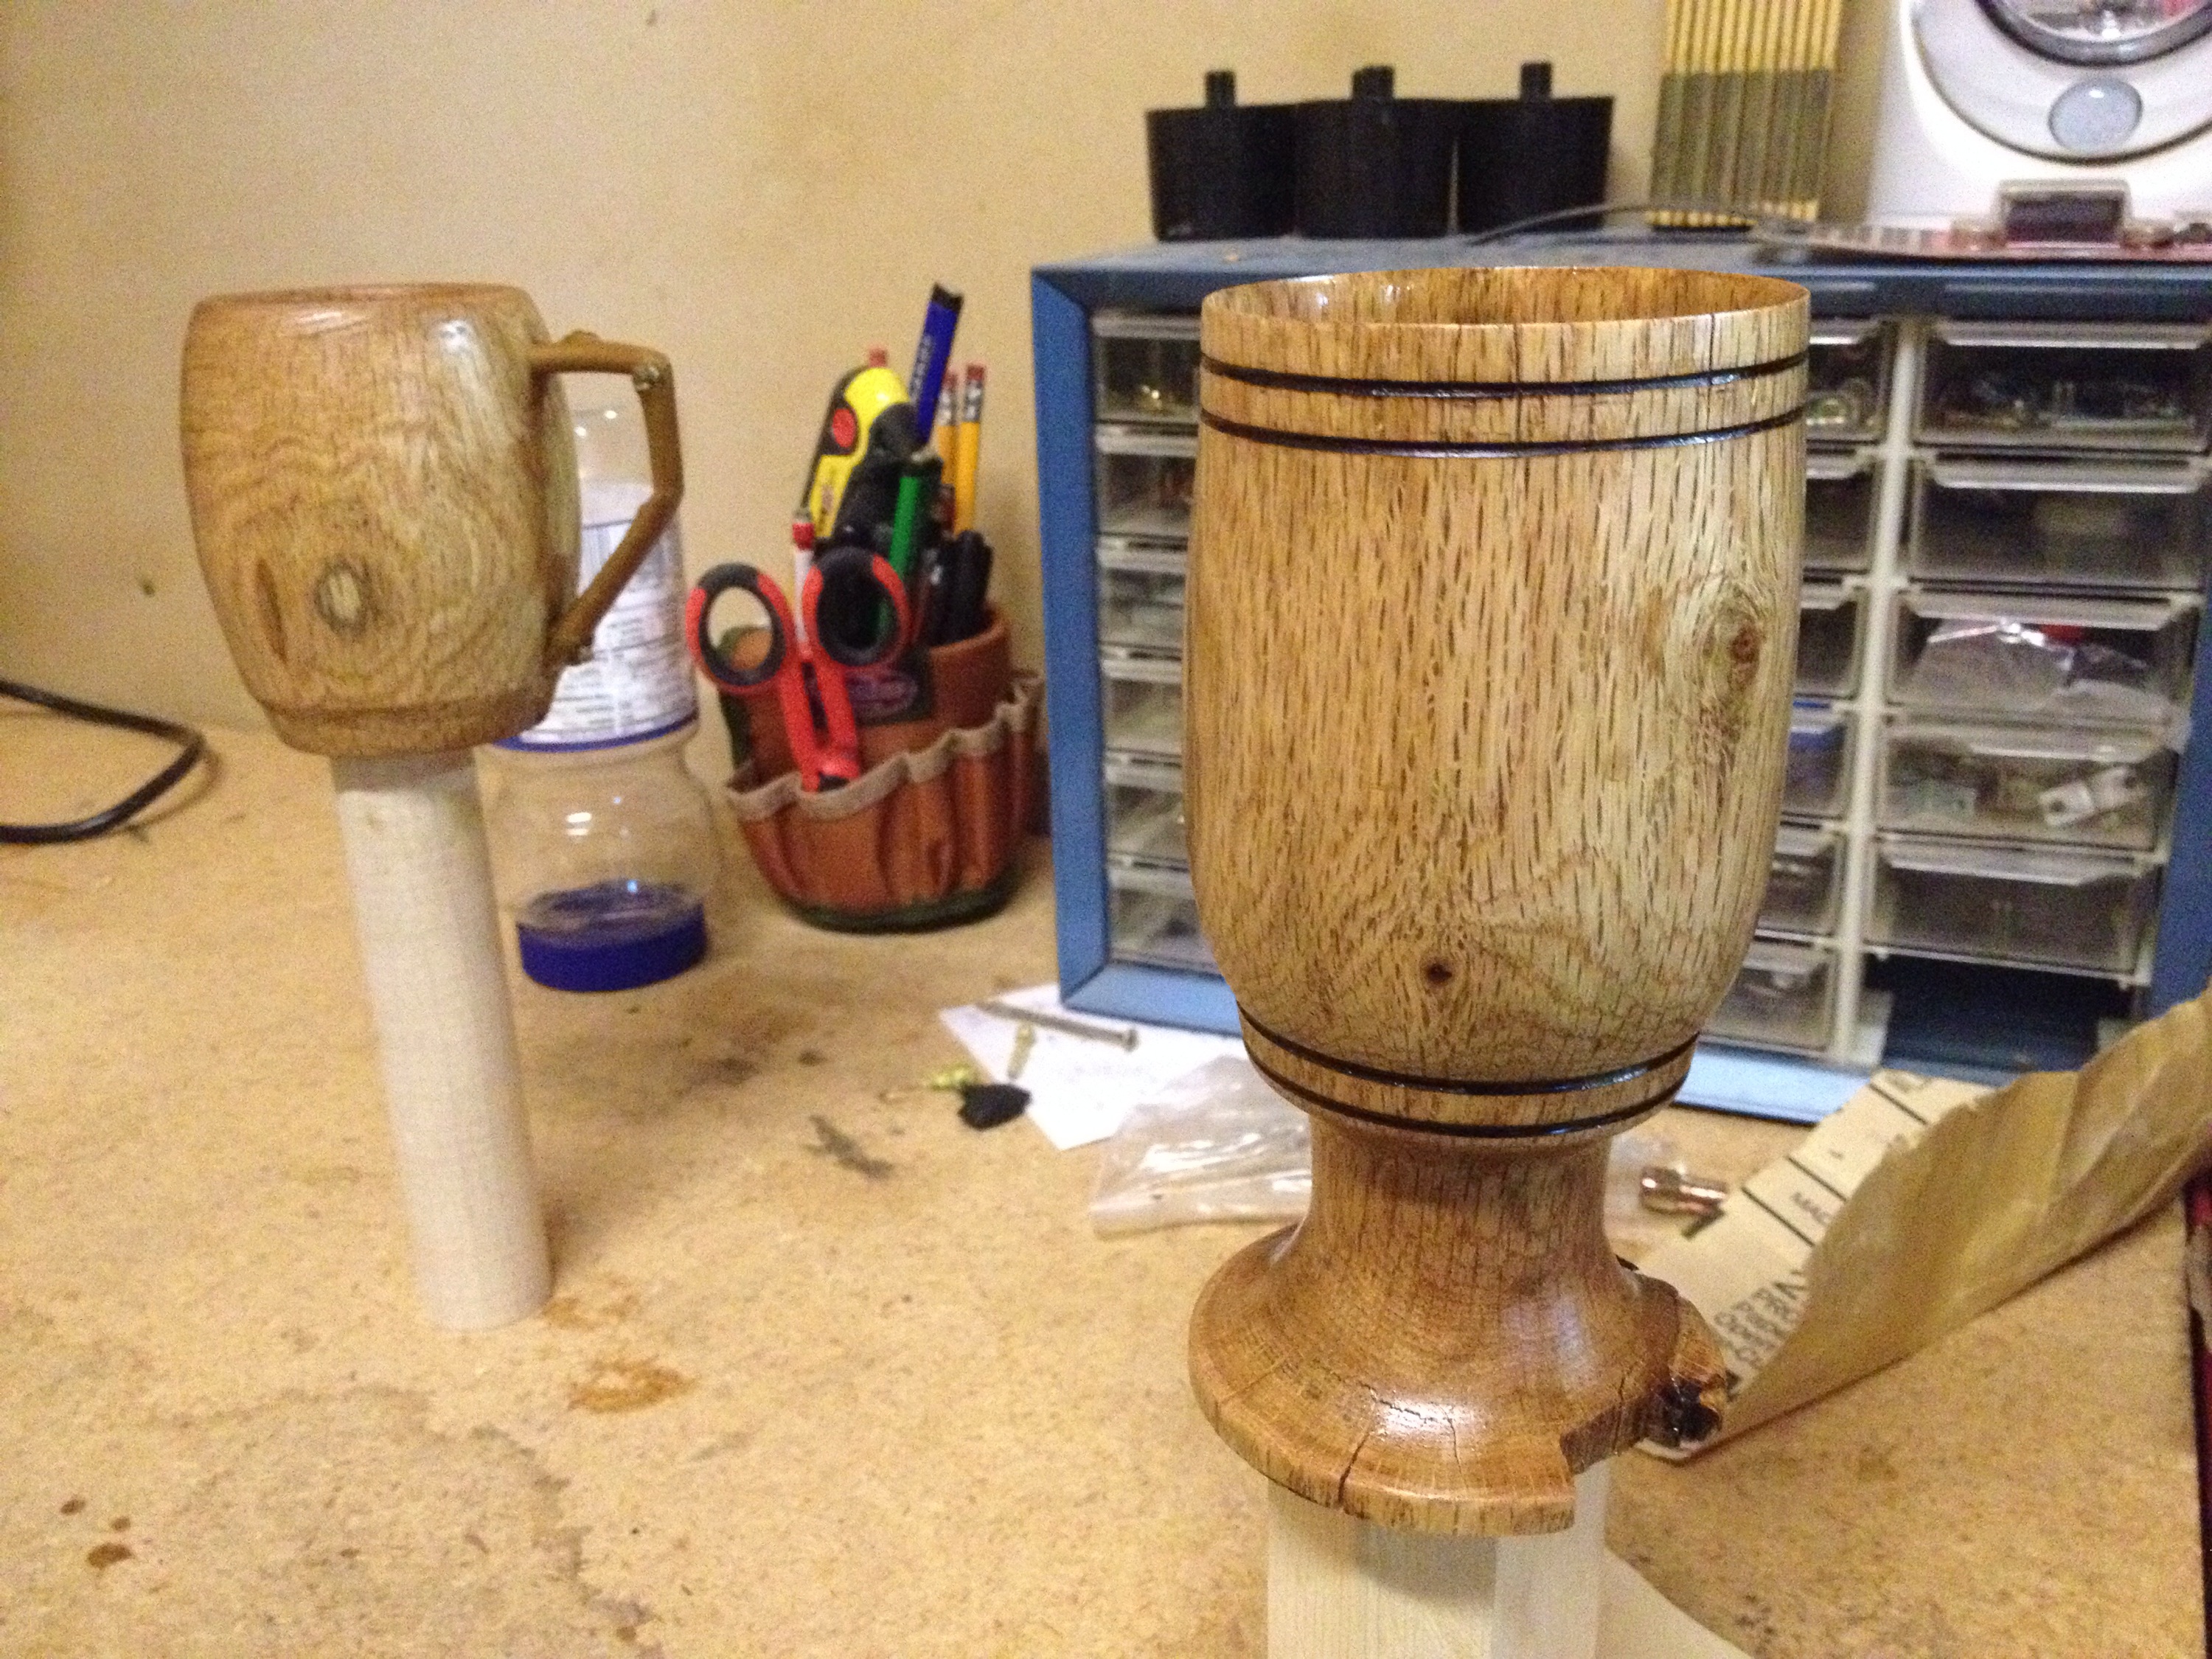
My completed wood lathe projects for the day. Both were made from a white oak branch that feel in my parents back yard. I was able to turn both of these in an afternoon.
The oak water goblet mimics the size and shape of the glass water goblets we have in our kitchen. But making this out of oak gives it so much character with the wood color and grain. Also some texture and layers in how the body was shaped, paired with the burn in marks really makes this a unique piece that looks and feels very rich. A proper sanding job makes it smooth and being that it’s made out of oak it’s rather heavy and very stable.
The oak coffee mug is a fun and functional piece. The sumac branch bent perfectly to make a handle and adds a layer of character to the final product.
Finishing A Wood Drinking Glass
Given that these pieces are designed as a drinking vessel, the biggest question comes in how to finish them appropriately. Ideally, you need a finish that is waterproof and can withstand both hot and cold liquids. But the bigger catch to this is that they need to be food safe as well. (and non-cancer or disease causing)
I mentioned in the captions that I used a spar urethane to finish these – which does NOT accomplish the above mentioned goals. In fact, I think that a urethane of any sort is probably the worst choice for a food safe finish. So with that said, I have no intention of actually using these for food and drink purposes. These were merely a project for fun and practice to me. Plus the wood goblet ended up cracking and wouldn’t be able to hold much of anything now.
That said, if I were planning on using this for drinking purposes, what I would have used is a Tung Oil. My research has lead to that being the best option for a drinking vessel. Tung oil should give you a hard coat that won’t wear off. I believe it will withstand some heat, but I don’t think it’s the best for really hot liquids though – not sure what the best option there would be…
Another option would be butcher block oil, however I believe that will require re-treating the wood from time to time as it’s not as long-lasting of a finish as the tung oil will be.
Whatever you do, do not use a vegetable oil or olive oil as they will got rancid over time and thus become unhealthy.
