I use the Tiny MCE Advanced plugin in WordPress to give me a few more options when editing posts. But when I have a list, I often times want to nest and have sub bullets. So I press the Tab key much like I’d do in any other word processing document, but no luck. That just moves the focus to the next HTML element like the web browser should do. But it is possible to nest lists.
The solution:
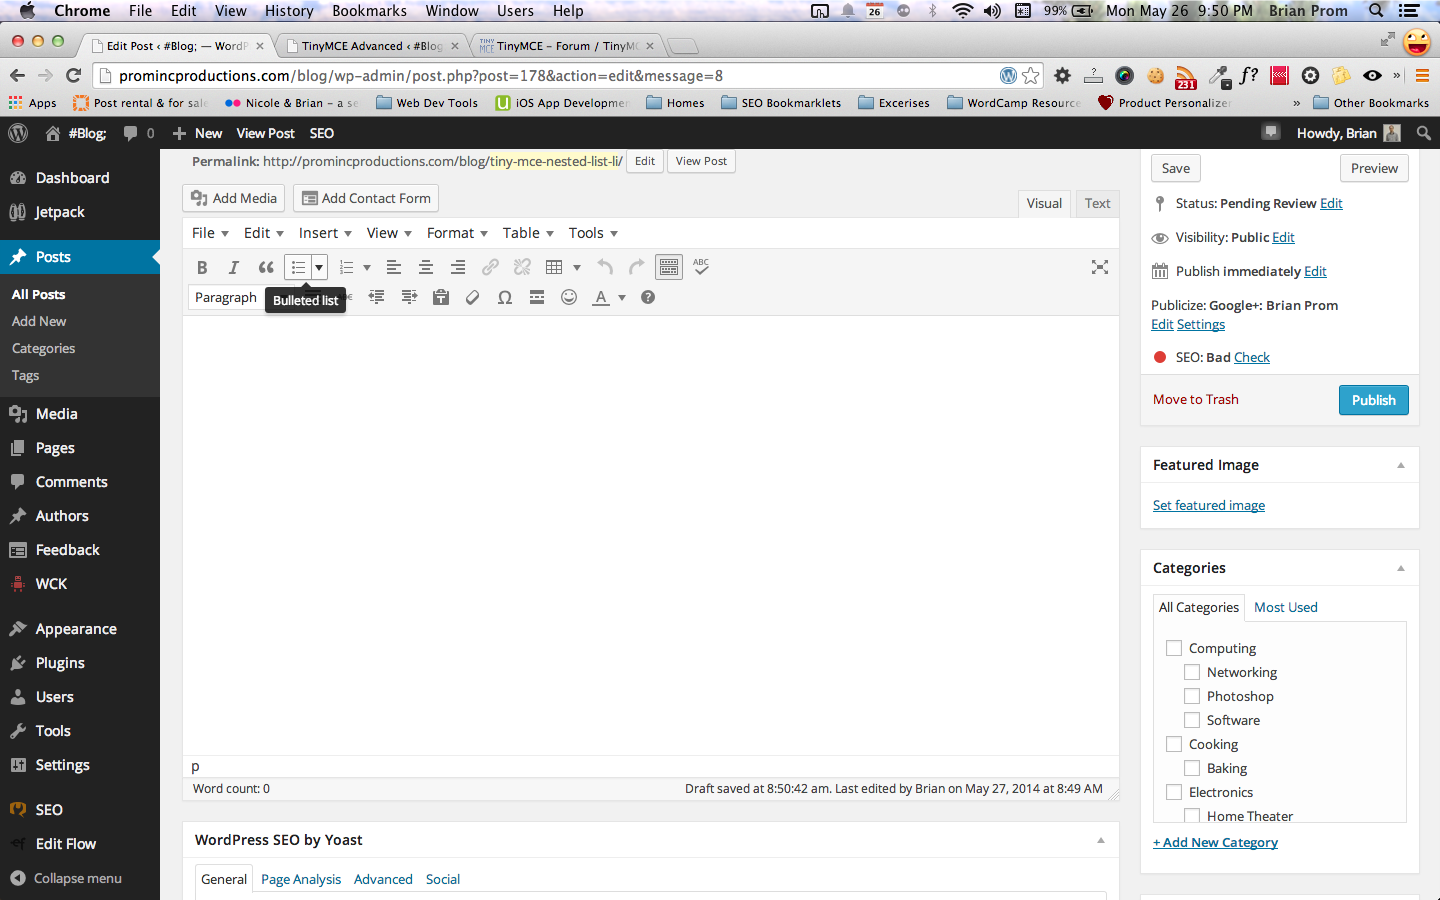
- Begin your list by clicking the Bulleted List or Numbered List icons.
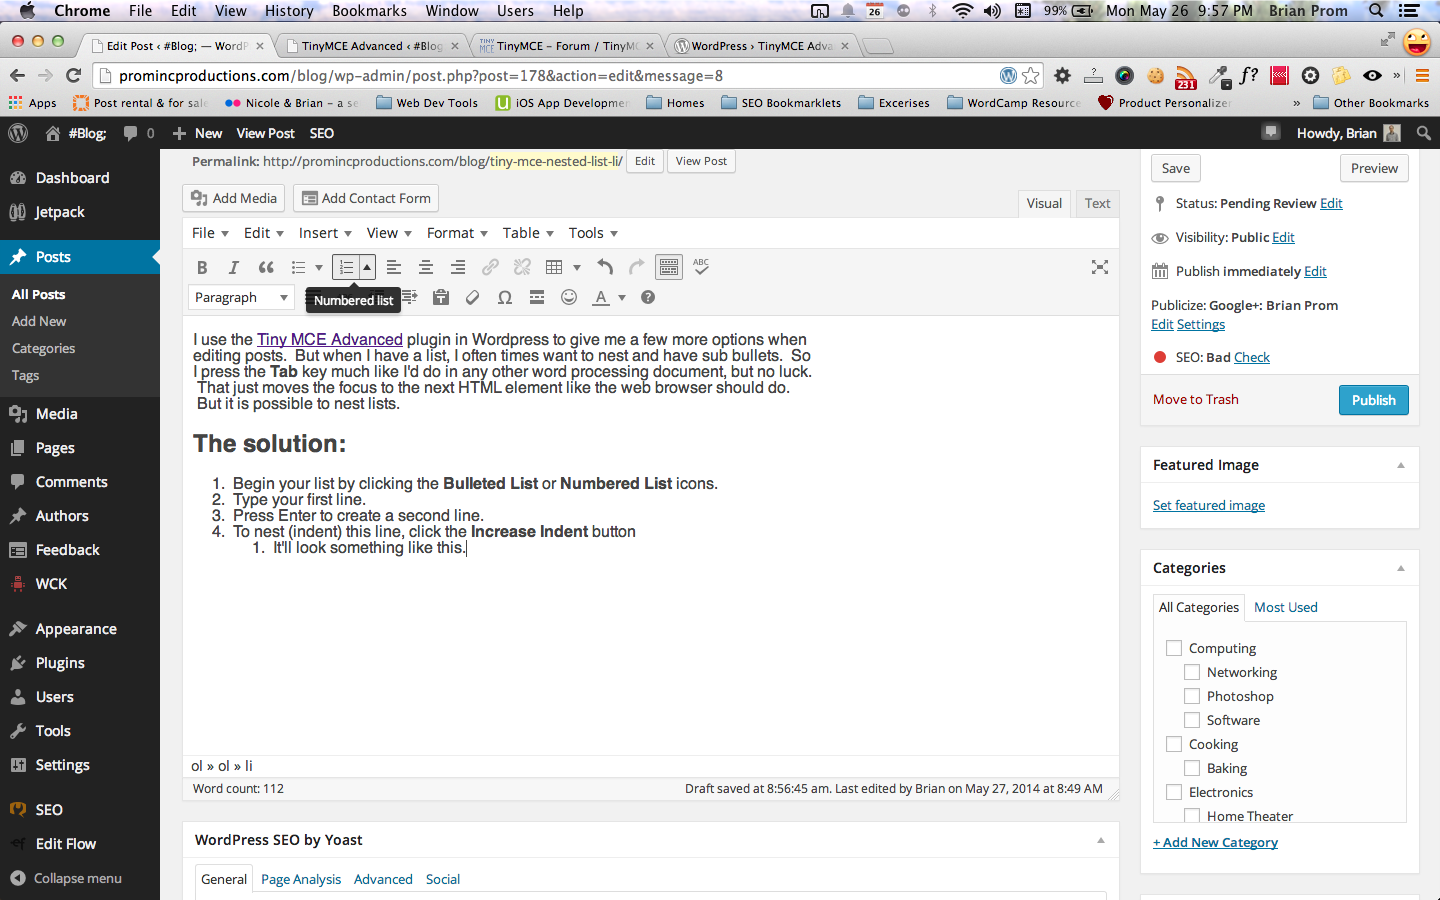
- Type your first line.
- Press Enter to create a second line
- To nest (indent) this line, click the Increase Indent button.
- It’ll look something like this.
- Then press Enter to create another line.
- To go back to the main level, use the Decrease Indent button or press the Enter key a second time.
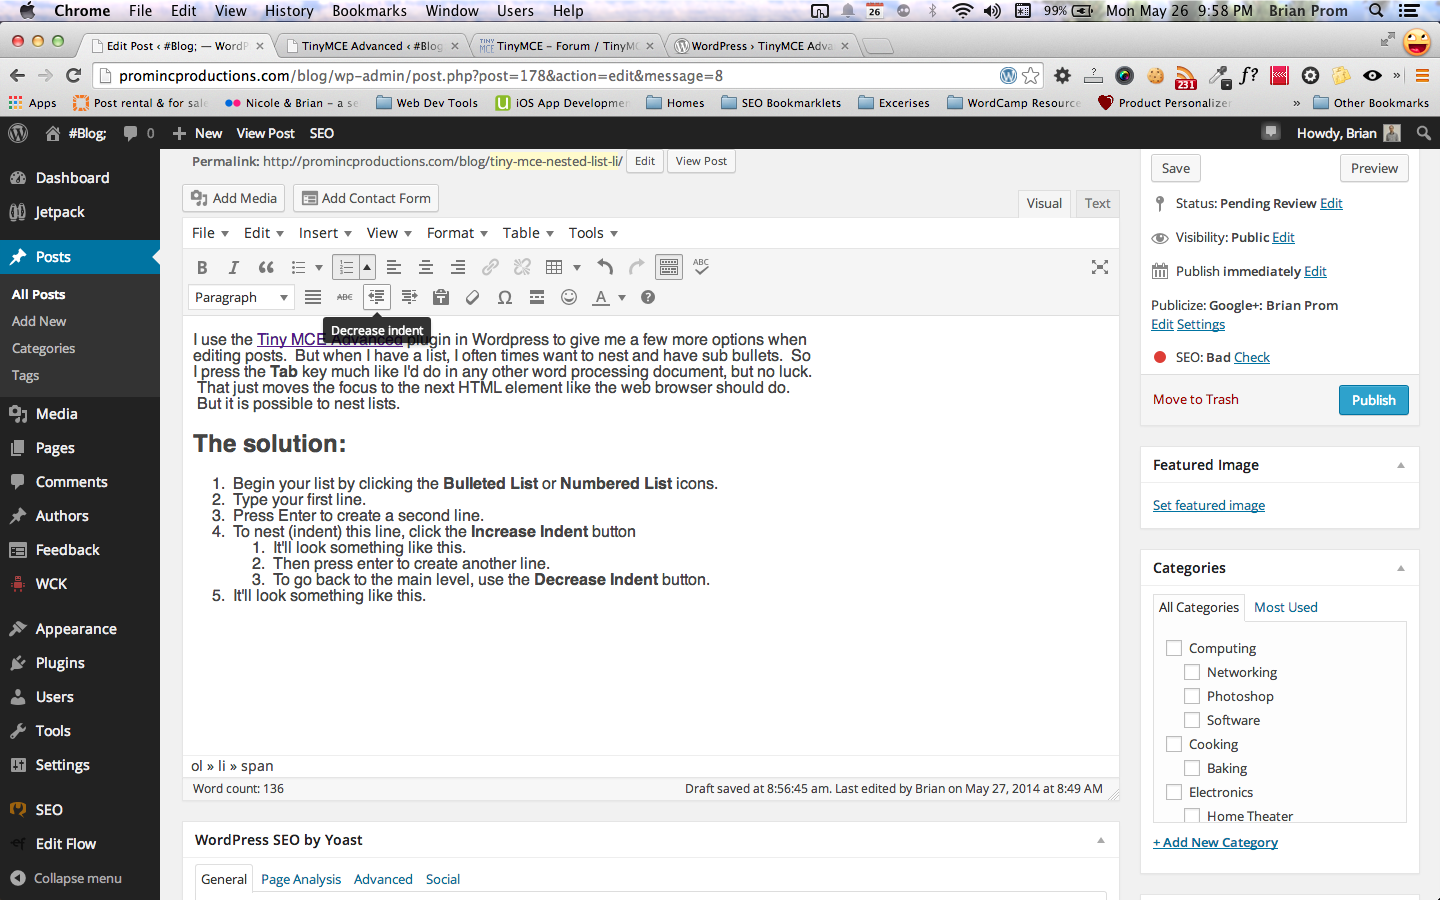
- It’ll look something like this.
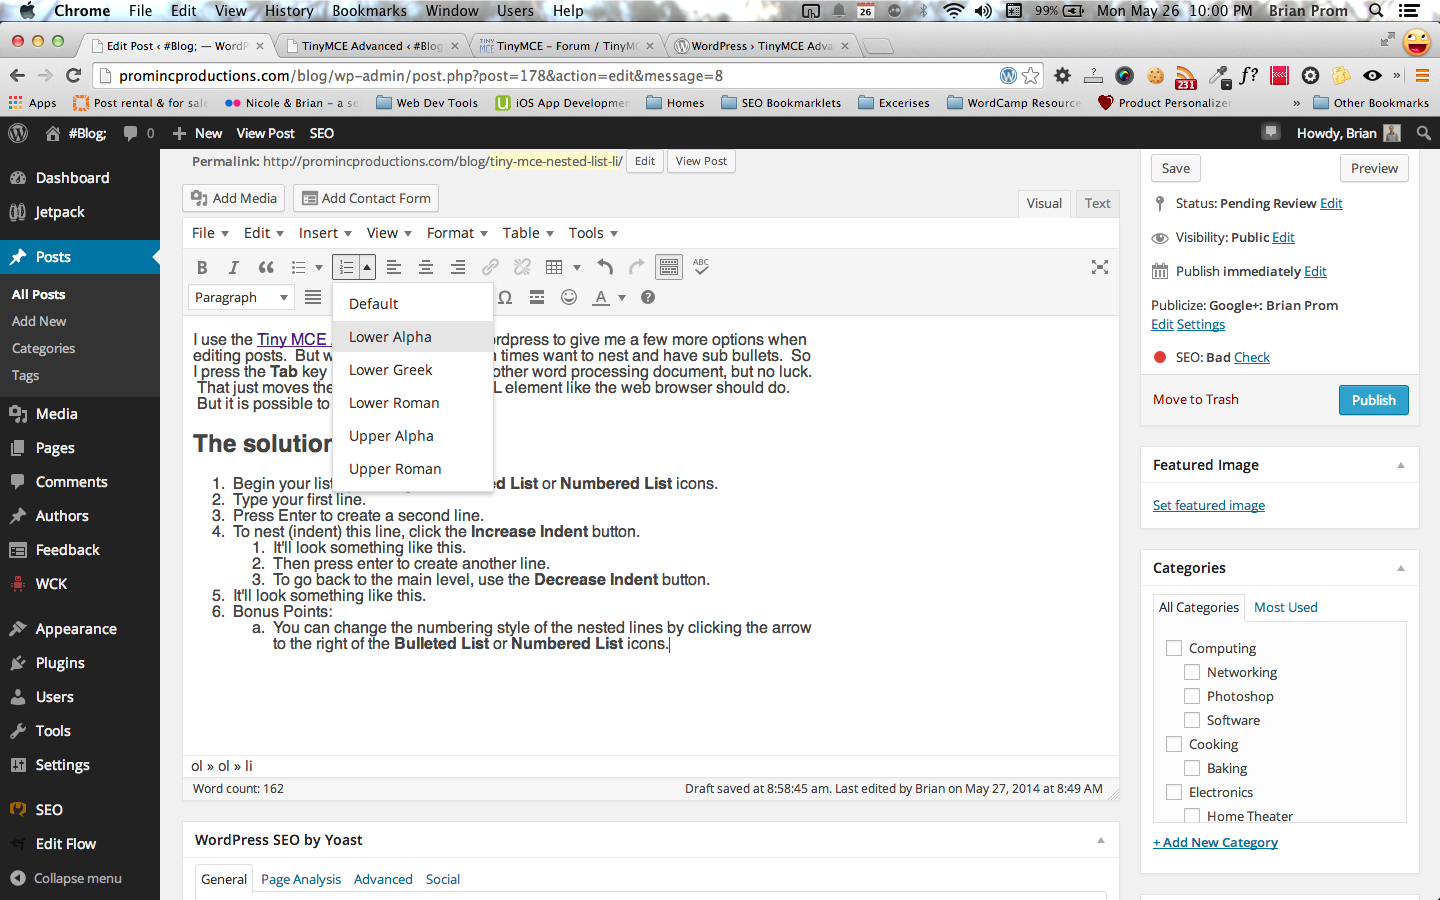
- Bonus Points:
- You can change the numbering style of the nested lines by clicking the arrow to the right of the Bulleted List or Numbered List icons.
- Use the Increase Indent button to go even deeper in.
- and further yet…
Pressing Shift + Enter allows you to create a new line without creating a bullet / number for that line.
- and further yet…
Bullet lists in the Tiny MCE editor work the same way. Different bullet shapes are available.