I was using my bench vise while working on the Airplane Whirligig and Antique Car Whirligig projects. While I love this vise and it worked great, there was one big problem – there are some aggressive teeth in the vise and would ruin the smooth surface of my projects.
So the solution I came up with while working on this project was to use some wood shims between the jaws and my project piece. And this worked, however got difficult to wrangle all of the wood to ensure it all lined up as I was looking for.
Can You Buy Vise Jaw Pads?
I looked at buying bench vise jaw pads to protect my workpieces. However, what I saw were in the price range of $18 up to over $60, and none of them seemed to really fit my vise width perfectly. Also, many of them have rubber on the face. While this seems nice, my experience is that often times that rubber will melt or get “gummy” from glue, etc. and end up leaving marks on my workpiece. Even more, many have grooves cut into them for holding pipes and such, which I just don’t need and feel will interfere with my work.
Frustrating. This really isn’t that complex of a situation, is it?
For reference, here are some viable options to consider if you want to purchase a solution. (Make sure you measure you vise to get the right size!)
- Shop Fox Aluminum Rubber Soft Pad Jaws 4 1/2″
- Yost Vises MA-345 Magnetic Aluminum 4 1/2″
- WORKPRO 2-Pair (rubber, grooved) Vise Jaw Pads 5 1/2″
- Yost Vises MA-360 Magnetic Aluminum 6″
My Solution for Vise Jaw Pads
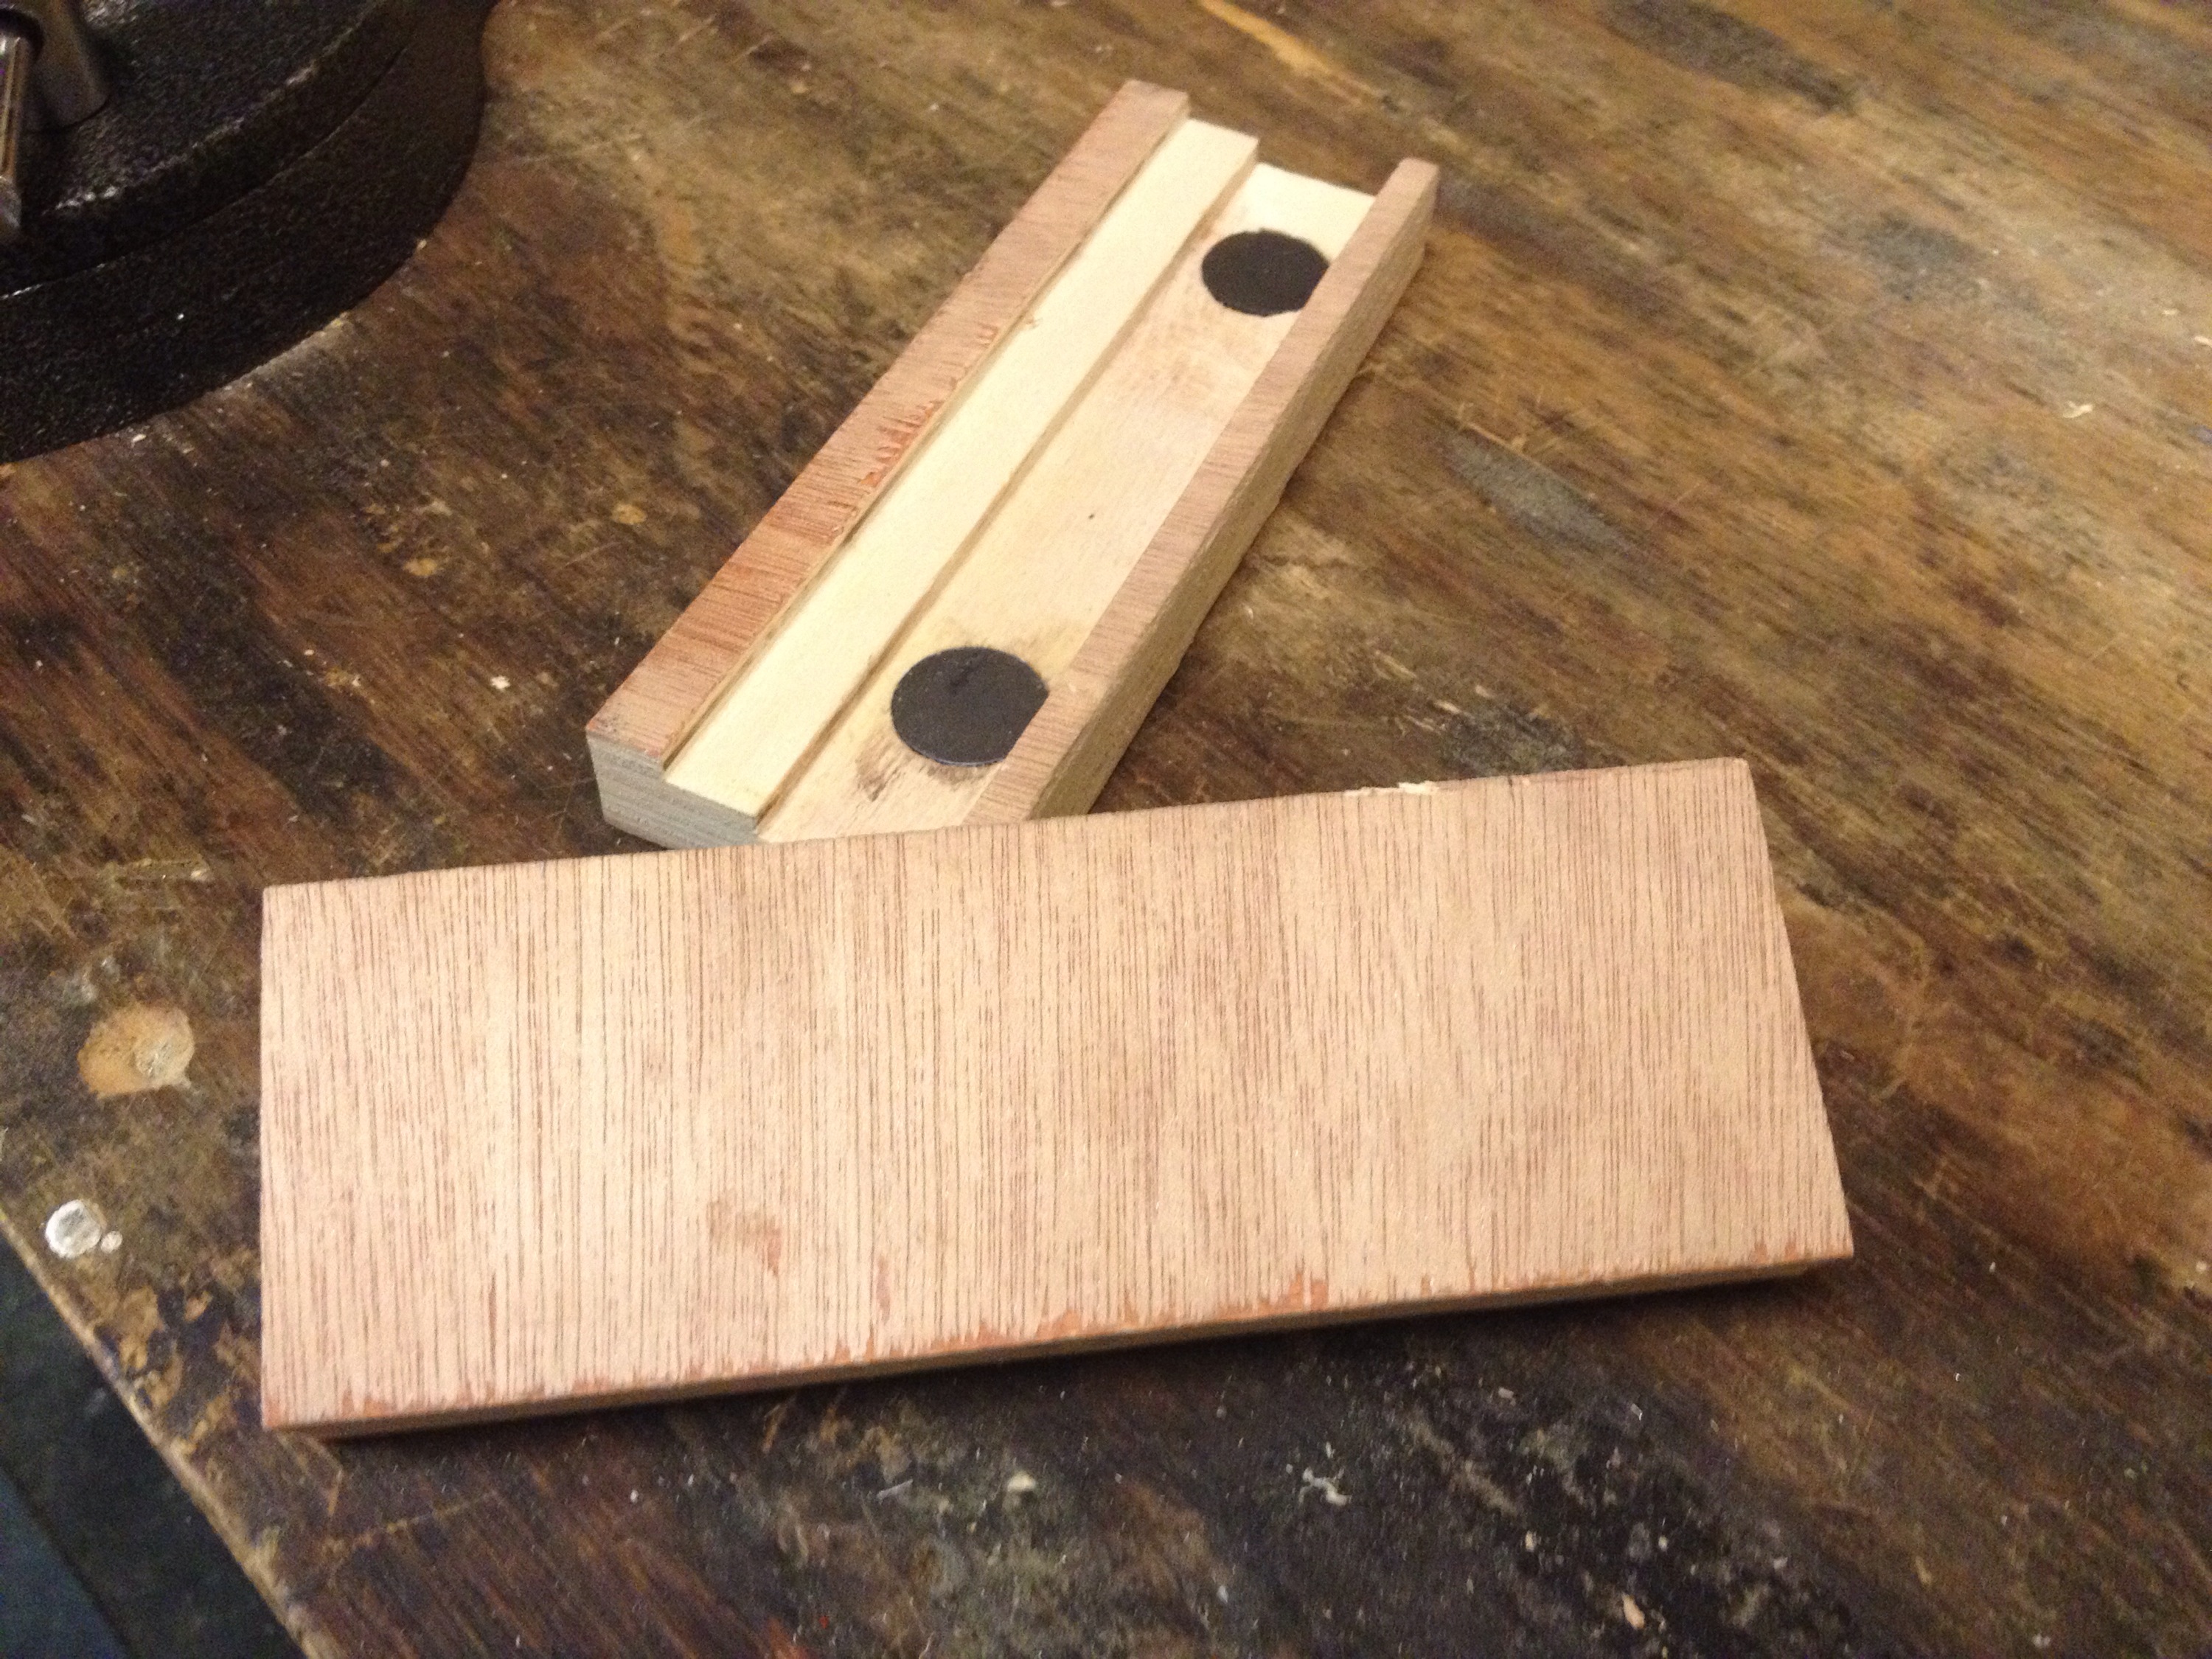
So like usual, I decided if I wanted a proper solution I’d have to make it my self. So I went out to the craft store and bought the one piece I didn’t have for this project – magnets. I spent a whopping $1.99 for an 8 pack of magnets. Now I only needed 4, but thats the only size package they had and this way I could make a set for my drill press vise as well. (The craft stores are cheaper, but if you want to shop from home, these magnets on Amazon aren’t horribly priced and the same shape/size as what I used)
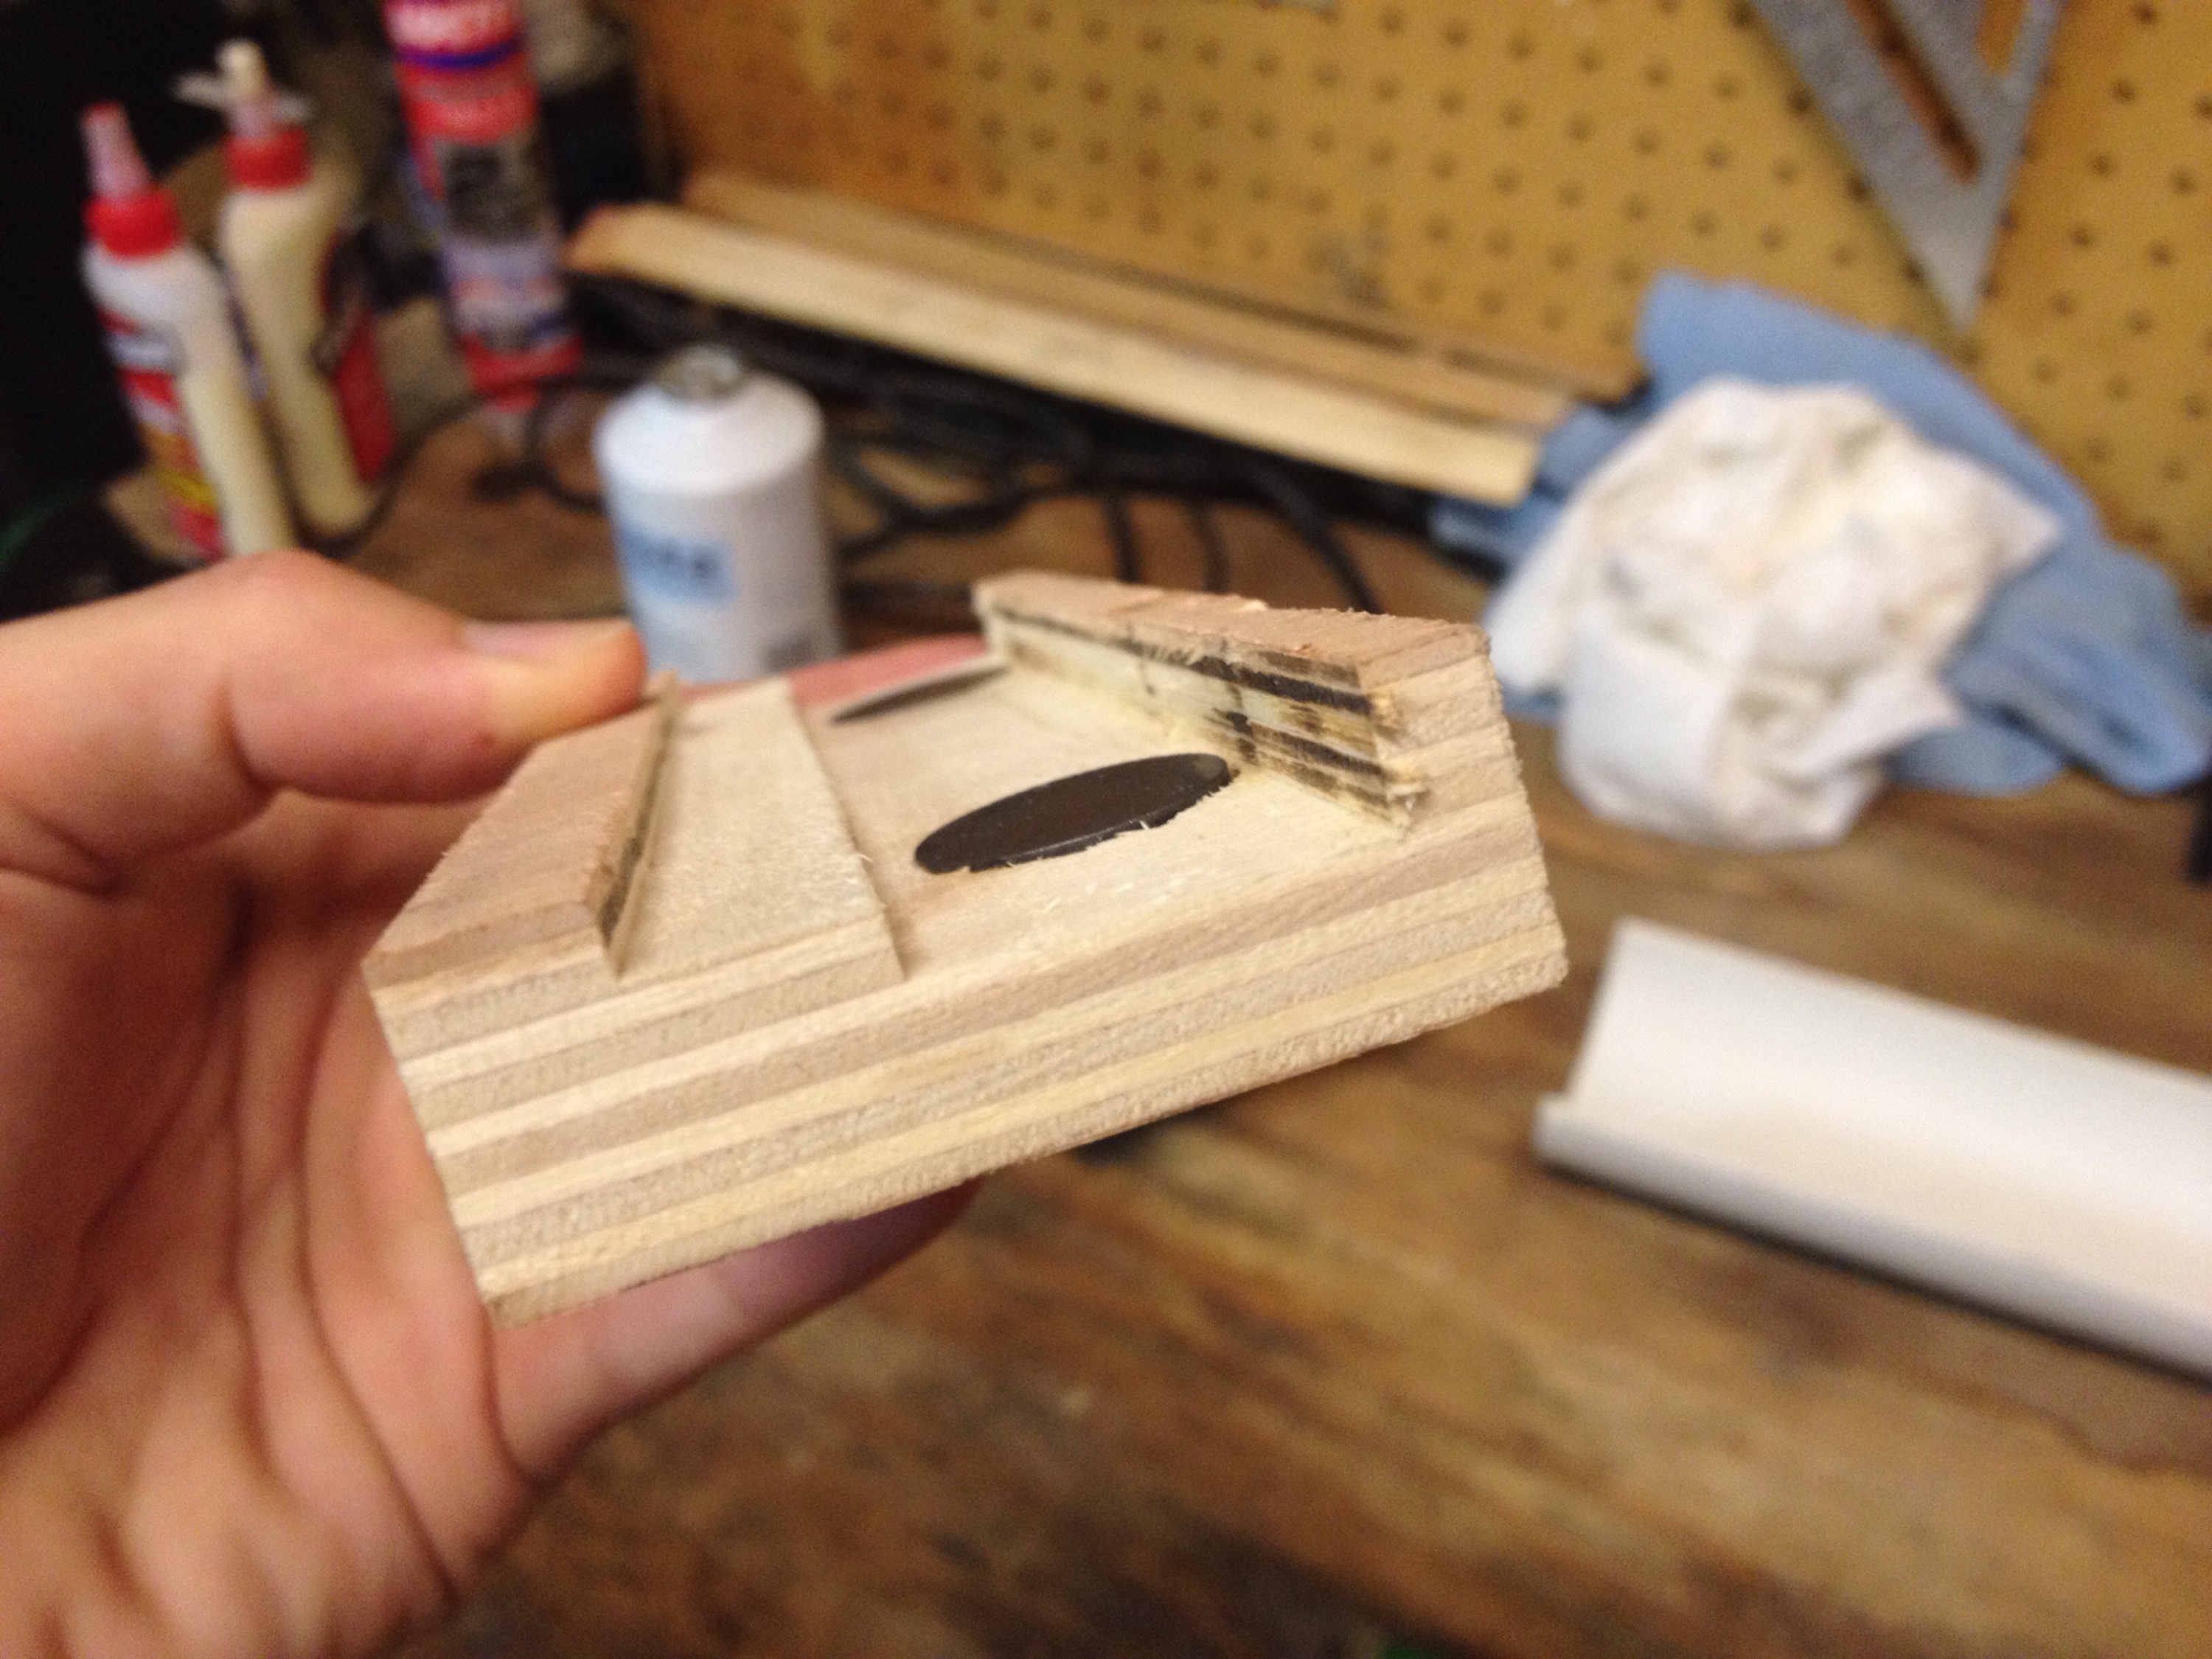
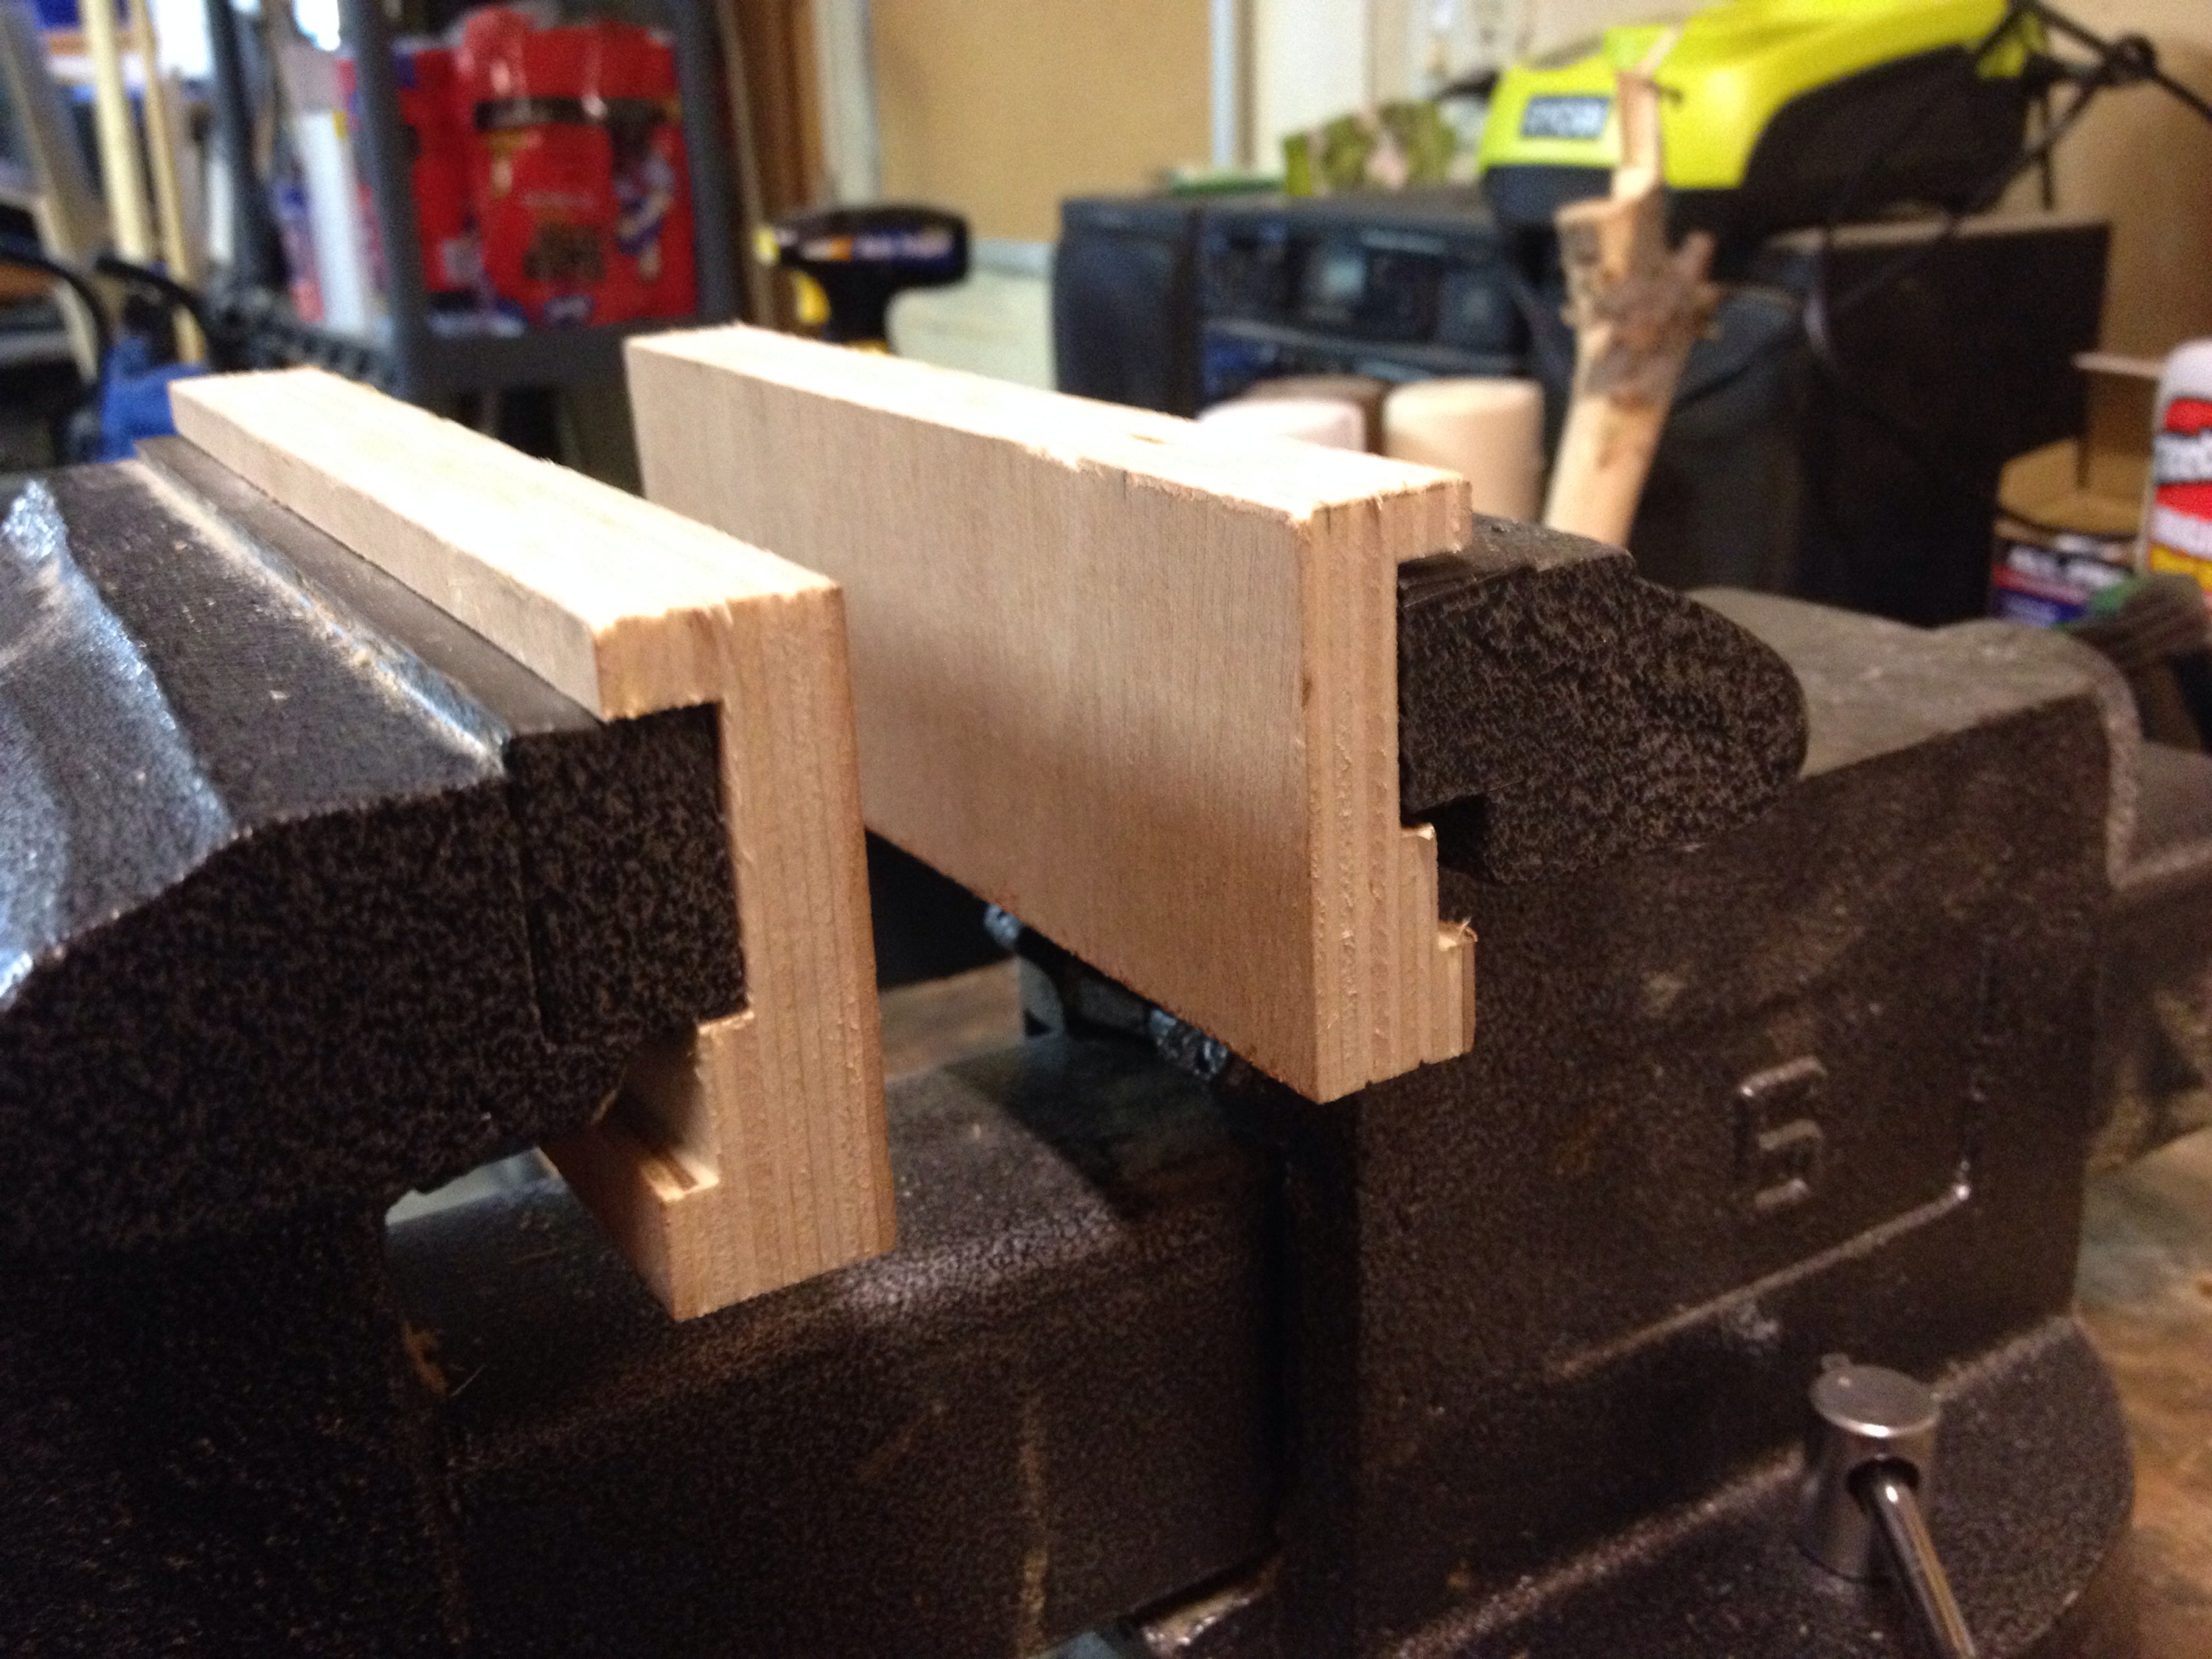
The concept is super simple really. You adhere the magnets to a piece of wood so that they stay in place on the vise jaw. So really it’s adding a magnet to the back of a wood shim in essence. I wanted to go a step further and add a lip to the top edge of the pad as well so that if they get bumped or the magnets slip or something they would still stay in place. Plus, if I overrun with a saw cut, the saw will now end up in the jaw pads as opposed to the steel vise jaw.
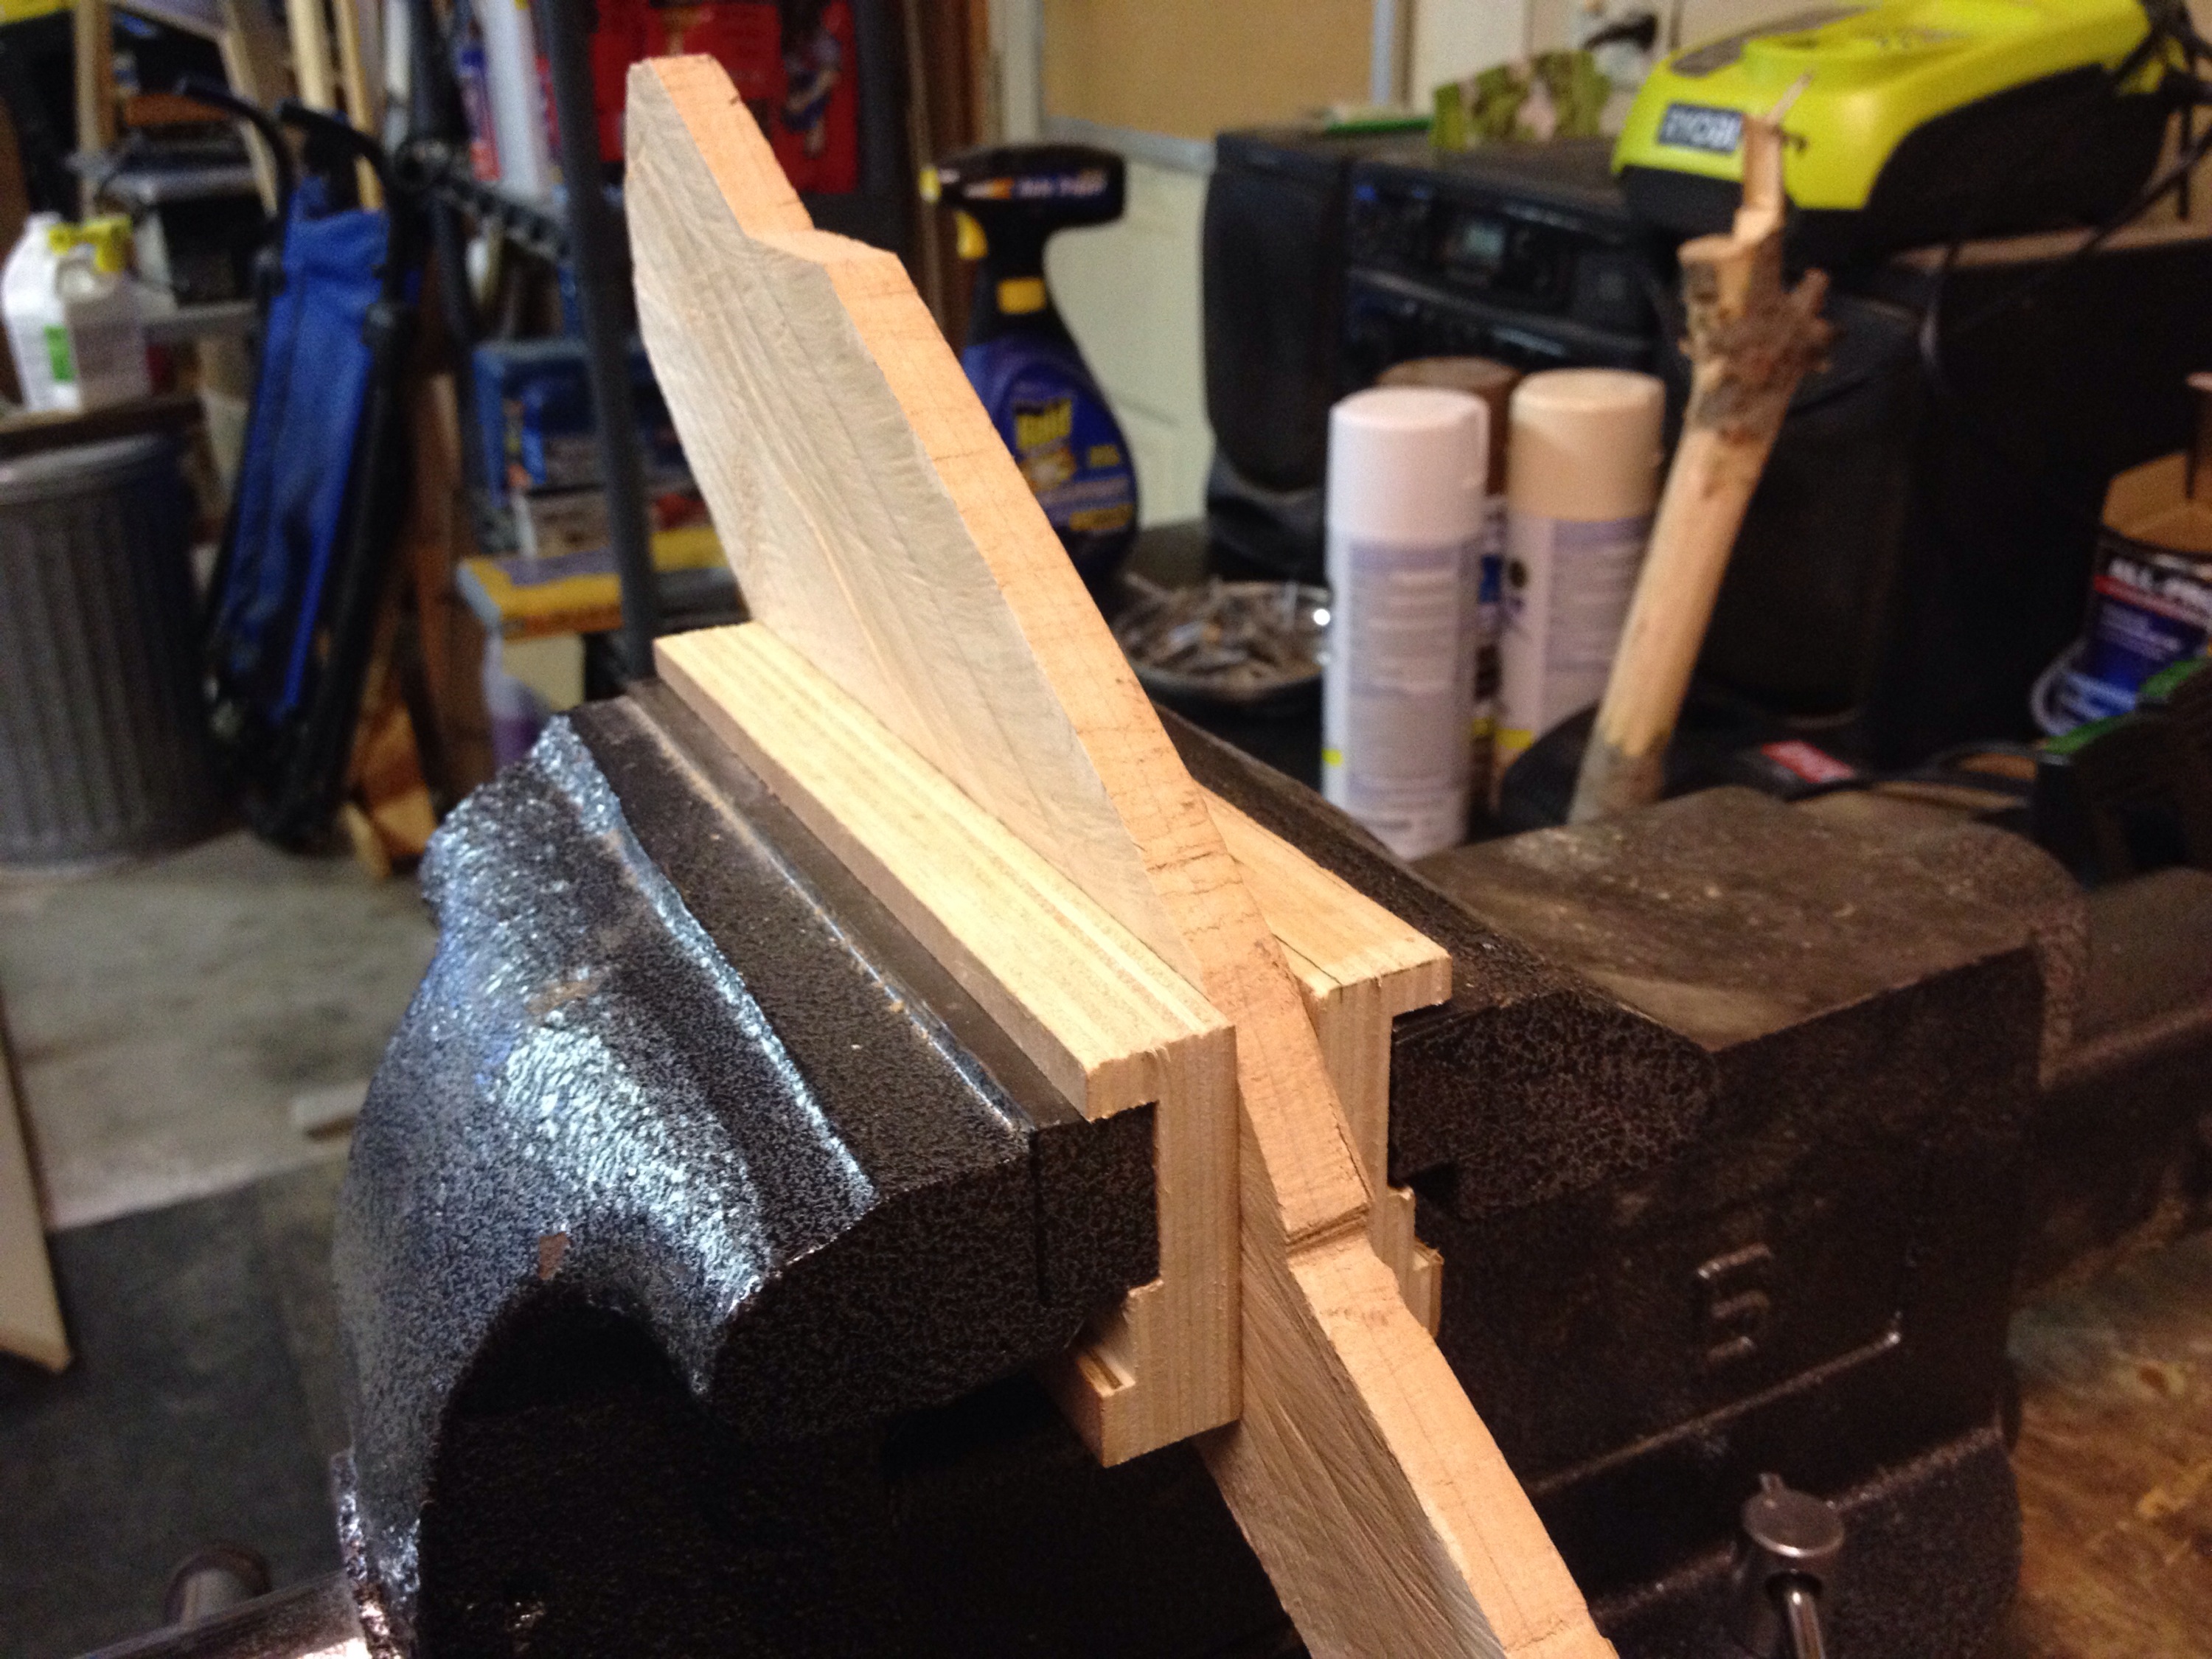
These could have been made several different ways. I was going to nail two pieces together to get the top lip, but found a perfect piece of 3/4″ scrap plywood that I instead decided to use the router table to cut some channels through to fit over the vise jaws.
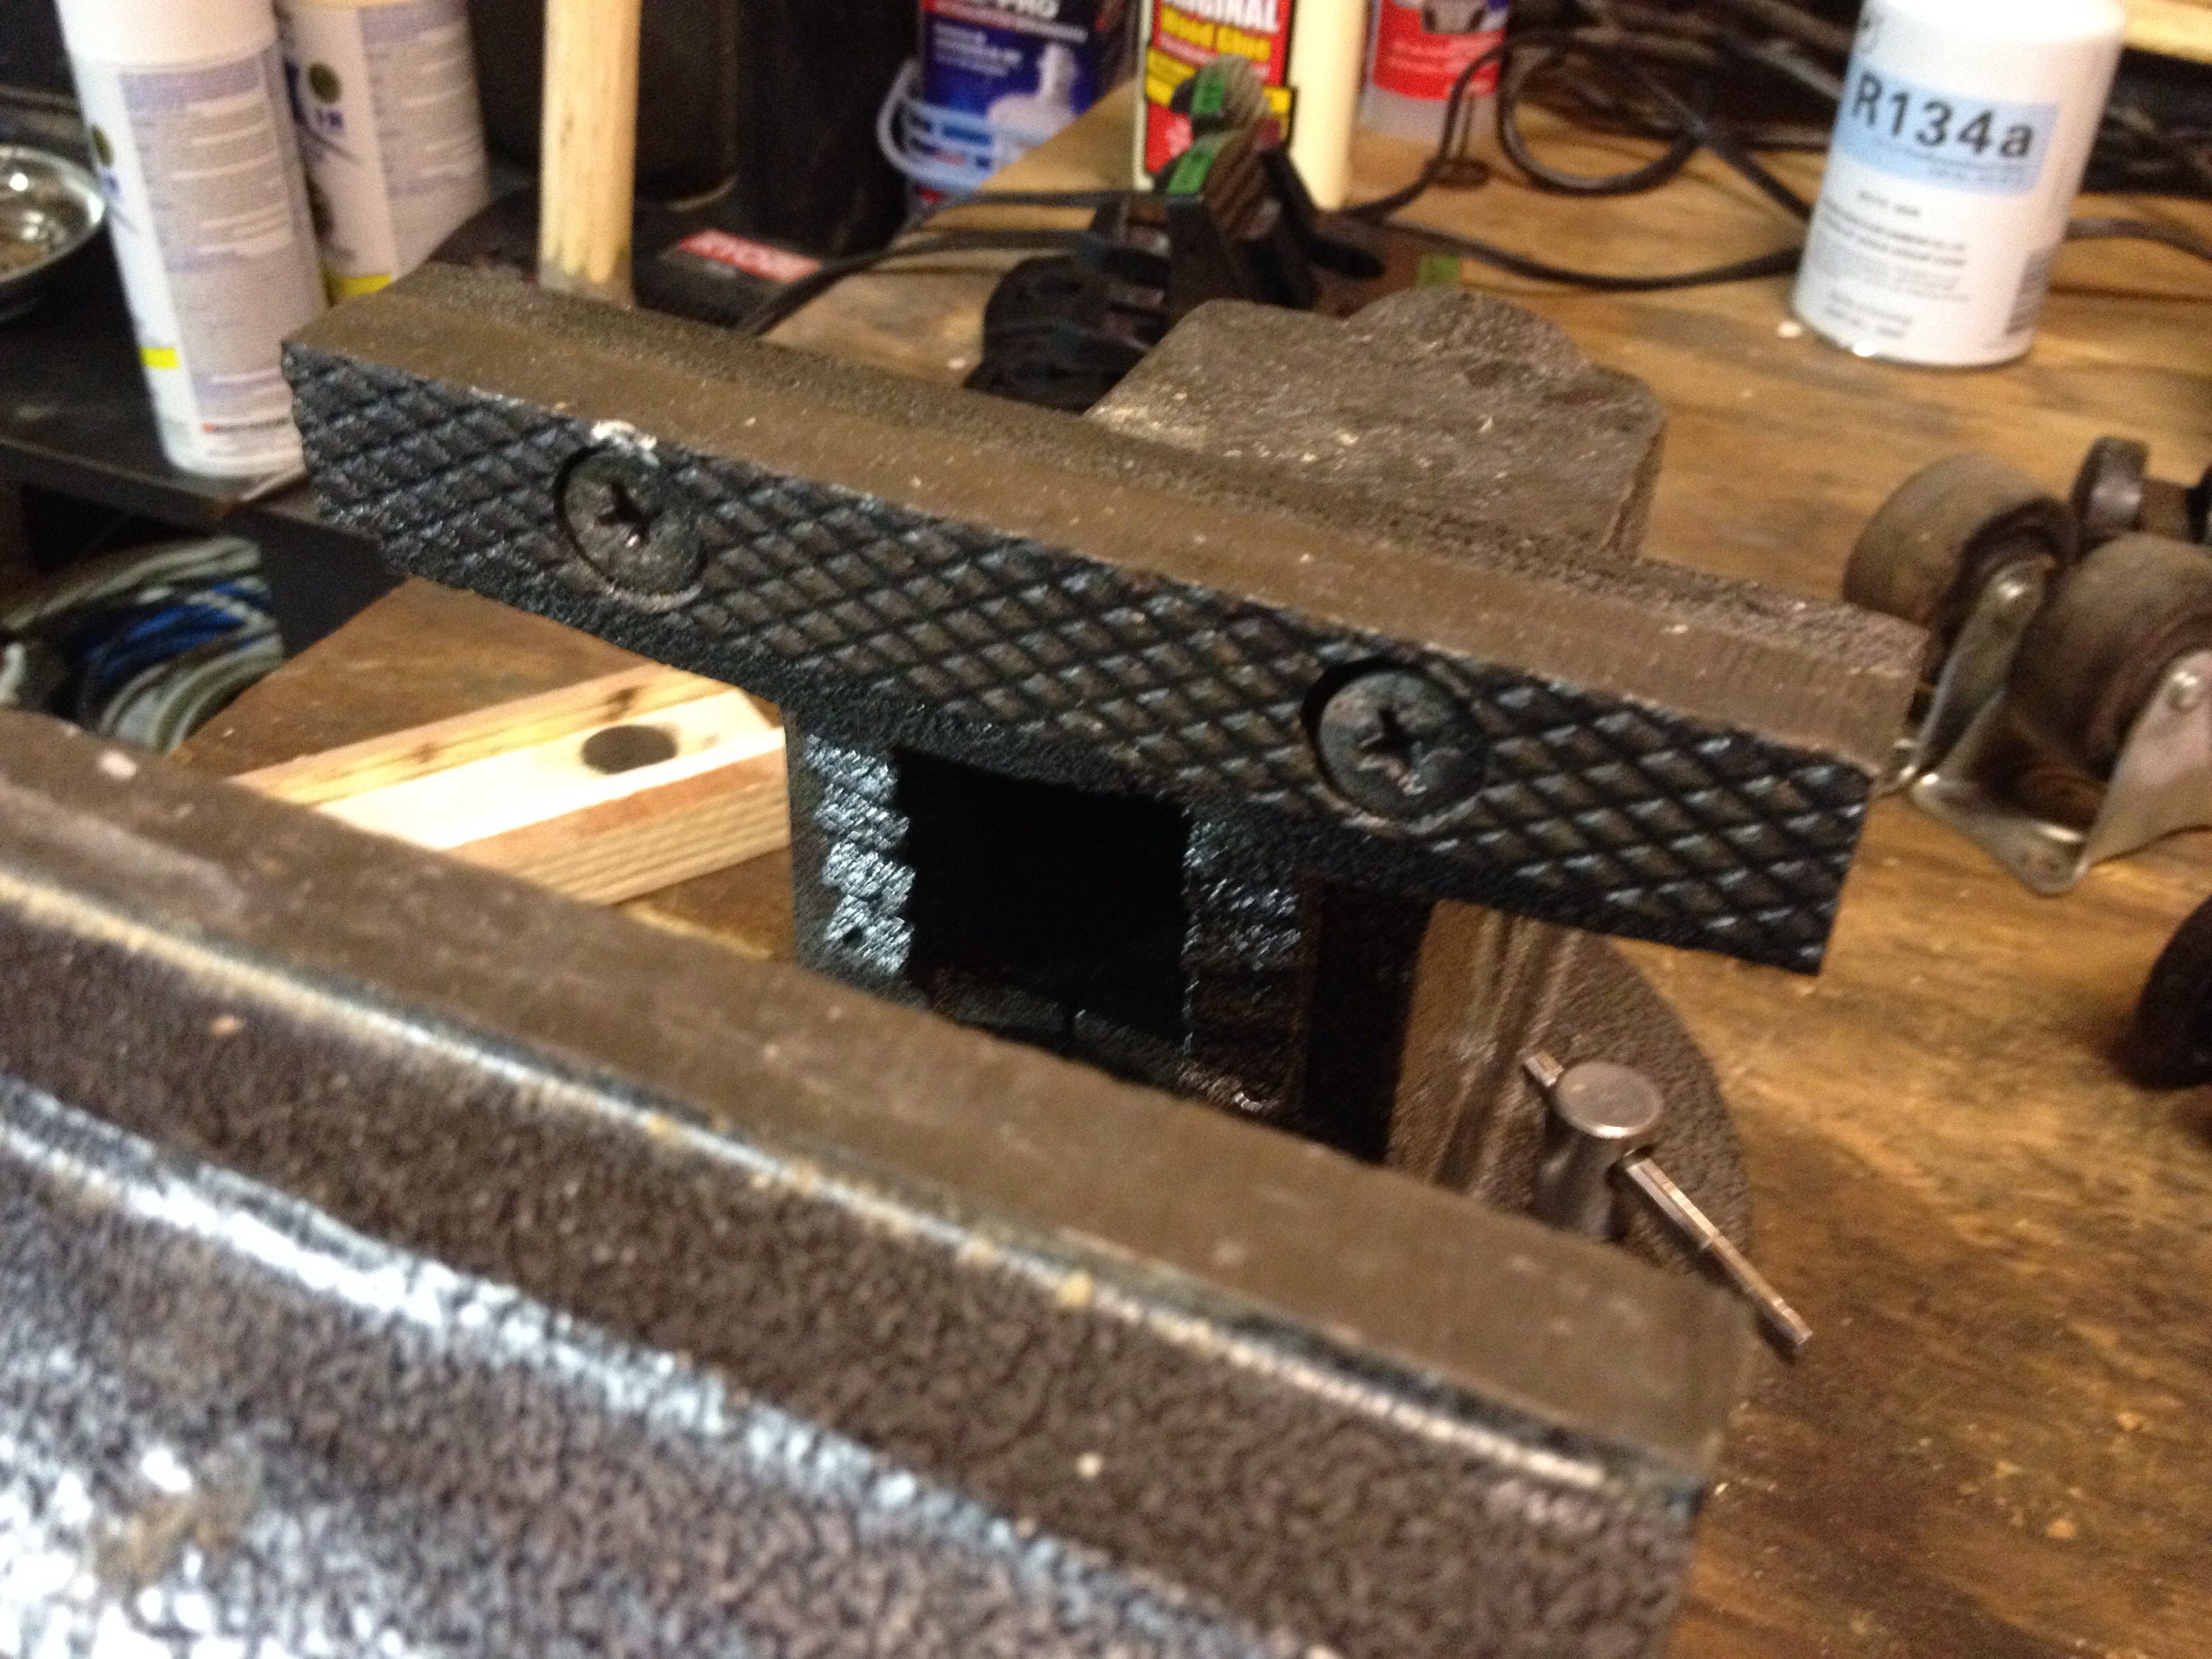
To help it hold to the vise jaw pads to the vise, I added round magnets set into recessed holes on the vise pad. I used the router table and did a drop in cut for these holes for a few reasons. One is that the only 3/4″ bits I have have a long point on them that would have run through the face. Secondly, the router table offers such good accuracy that I figured why not!
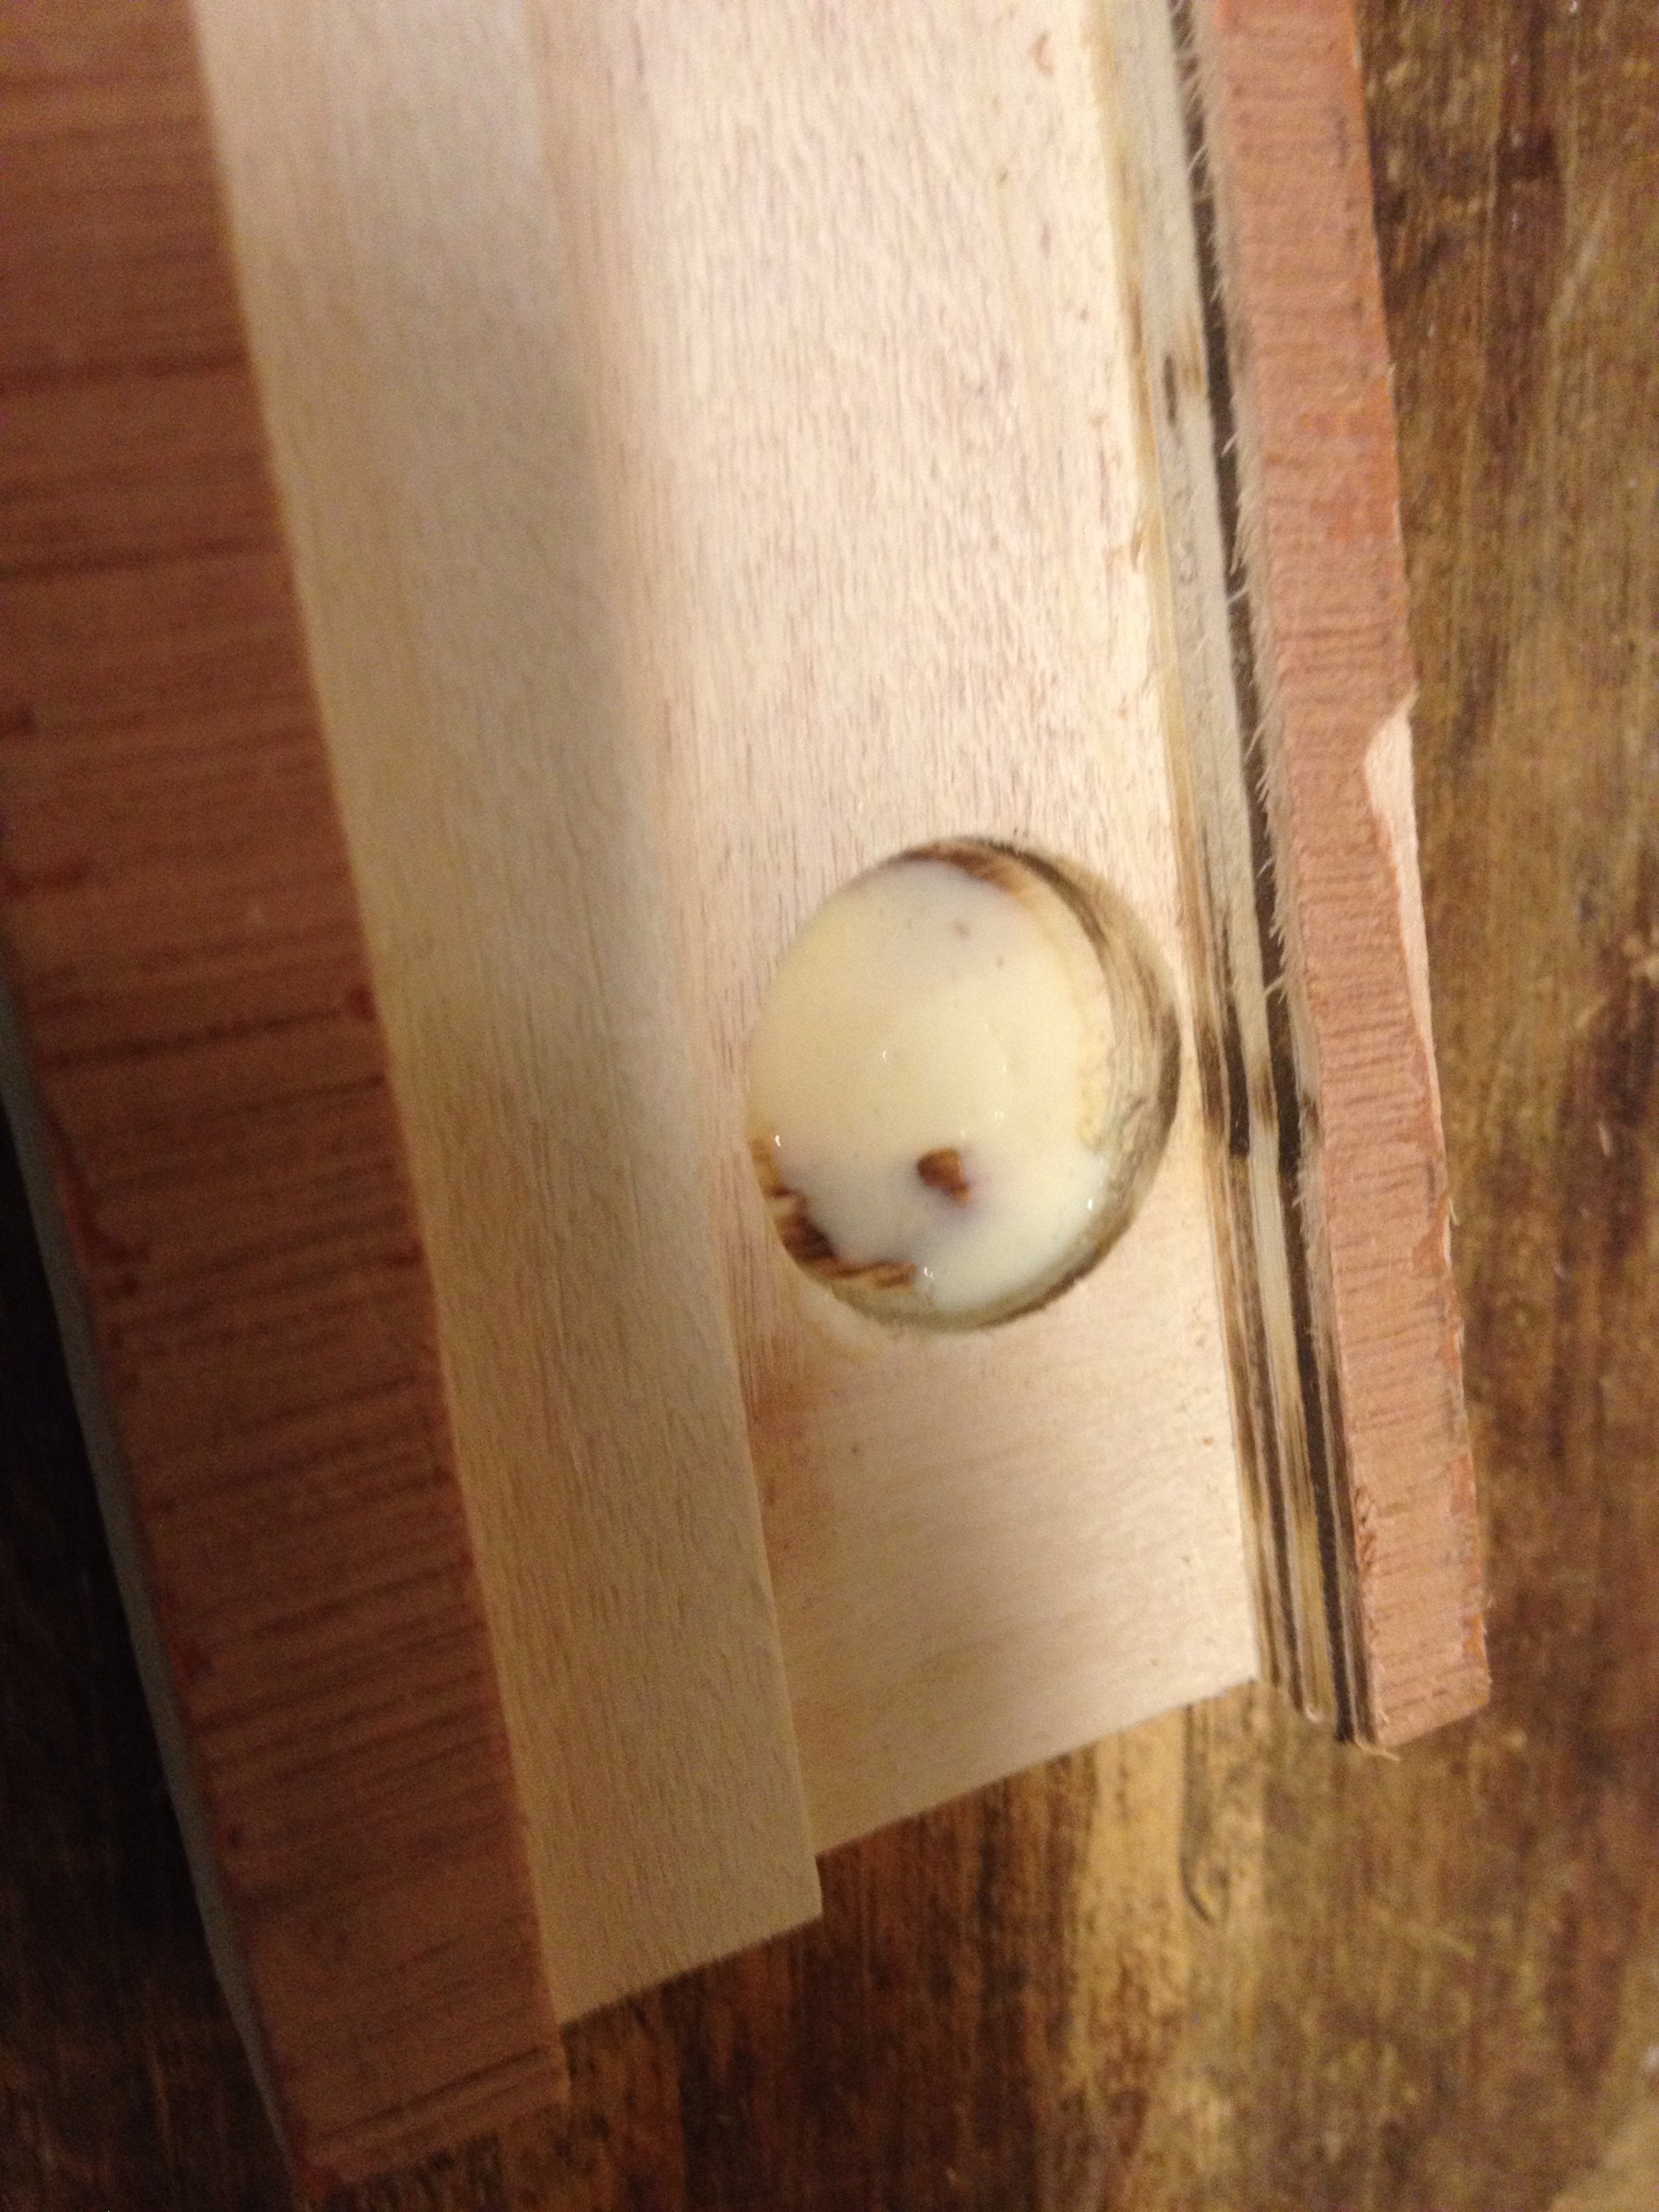
I glued the magnets in with standard wood glue mainly because I didn’t have any epoxy on hand. but if they ever fall out I’ll have to use some epoxy – that should last quite some time!
The Final Product
So here we are – my uber-cheap set of bench vise jaw pads!