Motion sensors are great smart home devices for security and automation workflows. This tutorial will walk through how to add an Aqara Motion Sensor to Home Assistant without an Aqara hub! Using the motion sensor without the Aqara hub simplifies the network, the devices requiring support, and reduces cost to setup a simple device.

Contents
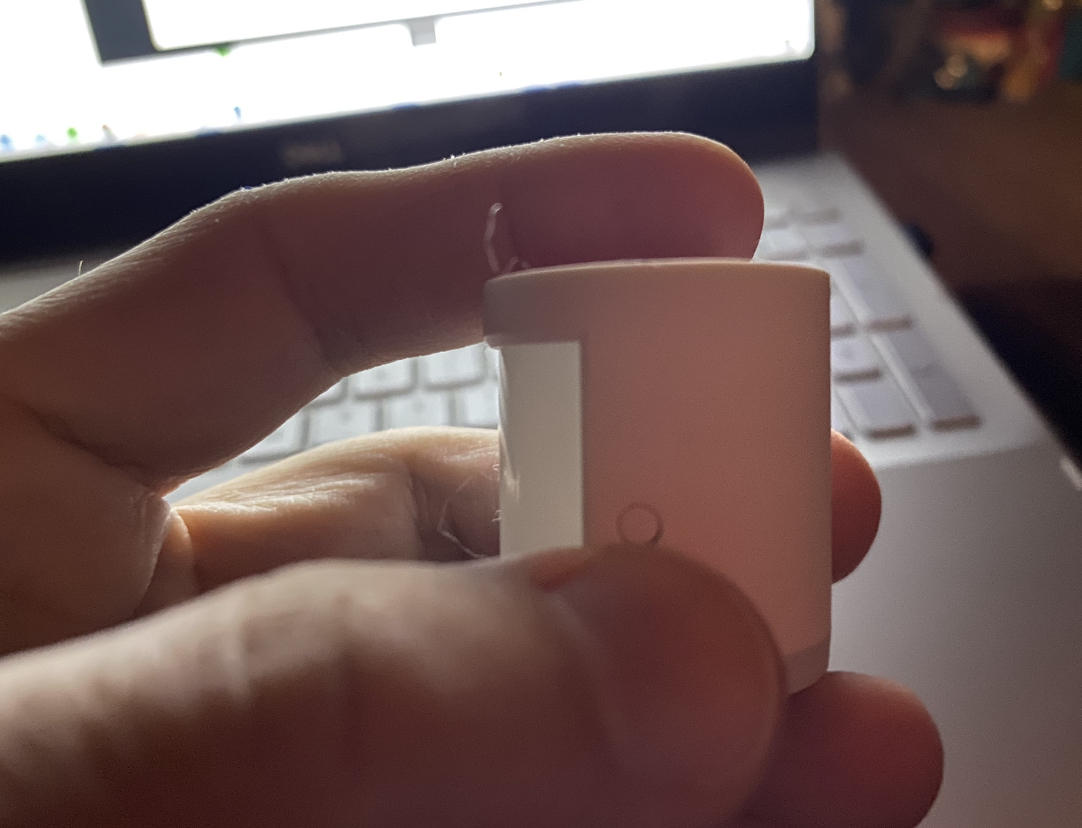
Aqara Motion Sensor
The sensor used in this tutorial is the Aqara Motion Sensor [model MSS02].
Aqara products are available via Amazon in the United States and Amazon often has sale prices and coupons on the Aqara line of products – so keep an eye out for that.
NewEgg also sells Aqara products in the United States with free shipping and at the time of writing is nearly the same price as Amazon even with discounts.
For those living outside of the United States, Aqara lists the retailers they sell through on their site.

Aqara Motion Sensor Models
This post was initially written for integrating Aqara Motion Sensor RTCGQ11LM using deCONZ v2.14.1 using a Conbee II as the Zigbee coordinator. This model has since been discontinued.
The latest model Aqara Motion Sensor P1 (MSS02) is a very similar device but is slightly larger. It didn’t want to connect to deCONZ due to not being supported by the version I had installed. deCONZ added support for Aqara Motion Sensor P1 in v2.16.1 (Akihi). After updating (to v2.32.5) connecting the Aqara P1 to deCONZ paired in seconds as expected.
How to Integrate an Aqara Motion Sensor to Home Assistant without a Hub
There are three primary Home Assistant Integrations for Zigbee. More detail on those three methods can be found in the Adding Zigbee to Home Assistant post. Two of those methods have been tested for adding an Aqara Motion Sensor without a hub to Home Assistant: ZHA and deCONZ.
Using deCONZ and the ConBee II Zigbee coordinator the Aqara Motion Sensor successfully connects and functions as expected in Home Assistant. The connection was quick as expected and is very stable.
The Aqara Motion Sensor never connected to ZHA (Zigbee Home Automation) with a HUSBZB-1 Zigbee coordinator. It is not recommended to use this Zigbee gateway for the Aqara Motion Sensor.
Entities Exposed in Home Assistant for Aqara Motion Sensor
Using the deCONZ integration with a ConBee II for an Aqara Motion Sensor, this is the list of entities exposed in Home Assistant:
- Lux Meter
- Battery Level
- Motion (detected or clear)
- Temperature (of the device, not air temperature)

Instructions to Add Aqara Motion Sensors with deCONZ Home Assistant Integration and ConBee II Zigbee Coordinator
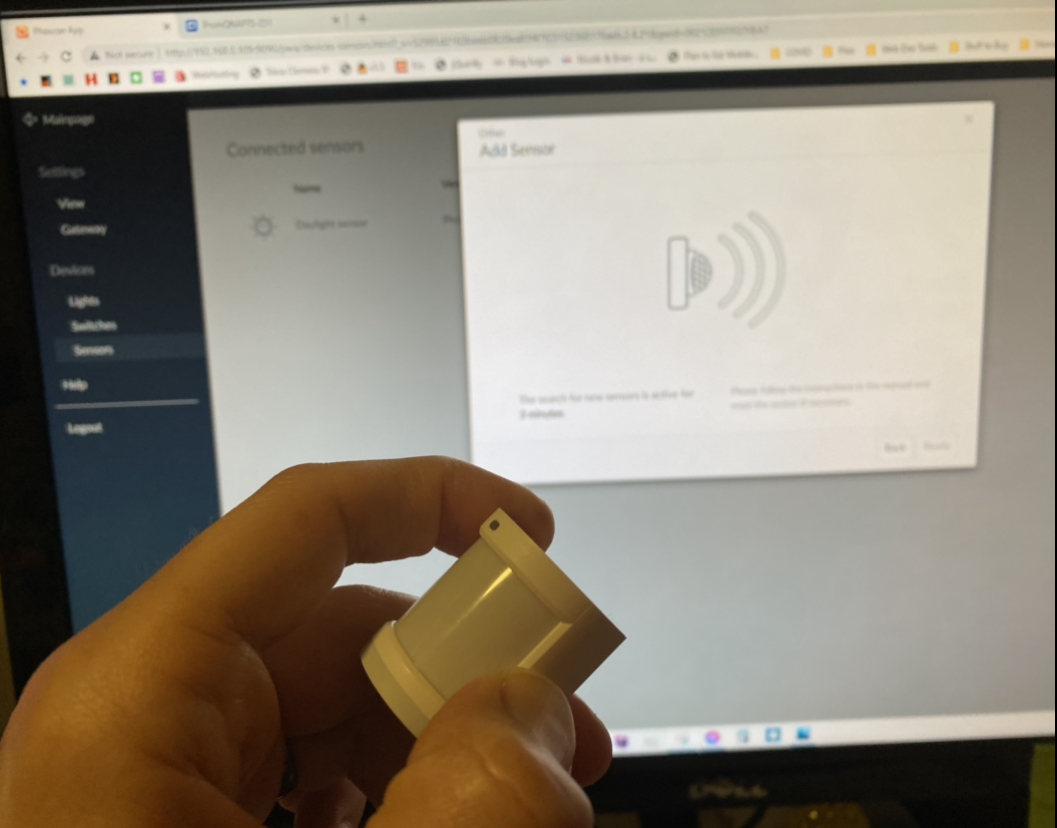
In Phoscon App
- Open the menu by clicking on the three lined hamburger icon in the top left
- Select Sensors
- Click on the Add new sensor button
- Select the Other button. A screen will show indicating that it is scanning for new devices.
- On the motion sensor, press and hold the small button on the side of the device for about 3 seconds. Blue lights on the front motion panel should flash. This indicates the device is attempting to pair with the Zigbee network.
- Once the network is found and the Aqara Motion Sensor has connected to it, a green bar on the Phoscon App will appear at the bottom reading Sensor Ready.
In Home Assistant
If the deCONZ Home Assistant integration is configured to automatically add new devices (see below), no setup steps in Home Assistant are required. Confirming that the Motion Sensor connected can be done with these easy steps though:
- Select Configuration from the left hand menu
- Click on Integrations
- For the deCONZ integration, click on the device ID of the ConBee II device
- Select the the {number} devices link
- The Aqara Motion Sensor should be shown in the list
Configure the Home Assistant deCONZ Integration to Automatically Connection to New Devices
A configuration option in the Home Assistant deCONZ integration allows for new devices in deCONZ (via the Phoscon App) to be automatically recognized in Home Assistant. The result here is that no extra work in Home Assistant is required when pairing new Zigbee devices with the Phoscon App. However, setup in Home Assistant would be required for adding new devices to automations, etc. But the new devices would be automatically paired.
- In Home Assistant, click on the Configuration menu option in the left hand menu
- Select Integrations
- In the deCONZ integration, click on the entry for the device ID of the ConBee II device
- Click on the configuration link
- Check the Allow automatic addition of new devices option
- Click the Submit button
